


How to Sharpen Hair Clippers: Step-by-Step Guide for Smooth Cuts
Dull clippers pull, snag, and leave uneven patches. The fix isn’t complicated. With a few household tools (or a small sharpening stone), you can learn how to sharpen hair clippers at home the right way—and keep your cuts smooth and comfortable. This simple guide covers how to sharpen clipper blades with a stone, quick at‑home alternatives, how to sharpen trimmer blades, and smart maintenance so you won’t need to sharpen as often.
Before You Start: Do You Actually Need to Sharpen?
- Pulling or tugging at hair even after oiling
- Inconsistent cutting—some areas bite, some don’t
- More heat and noise than usual at the same speed
- Visible nicks, rust, or burrs on the blade teeth
- Multiple passes needed to cut what used to take one
What You’ll Need (Sharpening Kit)
- Small screwdriver (usually Phillips)
- Clipper brush or old toothbrush
- Paper towel or microfiber cloth
- Blade wash or 70–90% isopropyl alcohol (for cleaning/disinfecting)
- Clipper oil (a few drops go a long way)
-
Sharpening stone (diamond or whetstone):
-
Coarse/Fine combo works well: ~400–600 grit (repair) + 1000–3000 grit (polish)
-
Optional but handy:
- Flat glass tile + wet/dry sandpaper (600/1000/2000) if you don’t have a stone
- Marker (Sharpie) to check your contact on the stone
- Small magnet or binder clip to hold the blade safely
- Blue threadlocker (a tiny dot on screws after reassembly)
Ceramic moving blades require a diamond stone/plate. Regular whetstones won’t bite ceramic.
Safety First
- Unplug corded clippers and remove batteries or turn off cordless units.
- Work dry and well‑lit. Water on the body/motor is a no‑go.
- Mind the teeth. They’re tiny but sharp. Handle by the spine, not the tips.
- Take a photo of the blade alignment before you remove it. That photo is your reassembly map.
Quick Clean (Sometimes It’s All You Need)
Before sharpening, try this sequence—it often restores cutting performance:
- Brush away hair and debris from the blade and guards.
- Run the blade through blade wash or isopropyl on a paper towel.
- Dry thoroughly.
- Add 2–3 drops of clipper oil across the teeth and side rails.
- Turn the clipper on for 10–15 seconds to distribute.
- Test cut. If it still tugs, proceed to sharpening.
Step‑by‑Step: How to Sharpen Clipper Blades with a Stone
This is the most reliable at‑home method and keeps your edges flat and true.
1) Remove the blades

- With clippers off, unscrew the two blade screws.
- Separate the stationary blade (the larger one) and the moving blade (the smaller one).
- Keep springs/spacers in order. Set screws in a small dish.
2) Deep‑clean the parts

- Brush out trapped hair from the blade backs and teeth.
- Wipe with blade wash or alcohol; remove any rust.
- Dry completely. Moisture under the blade encourages corrosion.
3) Prep your stone

- If using a water stone, soak as directed; for diamond plates, a light splash of water is enough.
- Wipe the stone clean. You want a flat, debris‑free surface.
4) “Ink” the blade (optional but helpful)

- Color the flat underside (the sliding surface) of each blade with a marker.
- As you sharpen, the ink disappears where the blade contacts the stone—this shows if you’re staying flat.
5) Sharpen the stationary blade (flat‑side lapping)

- Place the flat underside of the blade on the stone. Keep it perfectly flat—no rocking.
- Push and pull in straight lines or a figure‑8 pattern, light pressure, 10–15 strokes.
- Check the ink wear: it should fade evenly across the entire surface, especially near the teeth.
- If the edge had nicks, do a few extra strokes on the coarse side (400–600), then switch to 1000–3000 for a smooth finish.
6) Sharpen the moving blade (same approach)
- Repeat the same flat‑side lapping on the moving blade.
- Keep it steady, light pressure, even strokes.
- Finish with the finer grit to polish.
7) Rinse, dry, and oil lightly
- Wipe away grit and metal filings.
- Add 1–2 drops of oil to the blade faces and lightly across the teeth.
8) Reassemble and align
- Reattach the moving blade and stationary blade with their screws loosely at first.
-
Alignment basics (safe setup):
- The blade teeth must be parallel.
- The moving blade should sit slightly behind the stationary blade—no tips sticking out past the edge.
- For beginner comfort, keep a tiny gap (about the thickness of a sheet of paper) so it won’t nick sensitive skin.
- Hold the alignment with your fingers and tighten screws evenly.
- A tiny dot of blue threadlocker on each screw helps them resist vibration.
9) Test run and fine‑tune

- Turn the clippers on for 10–20 seconds.
- Listen for smooth operation—no harsh grinding.
- If the blade runs hot or noisy, re‑check screw tightness, alignment, and lubrication.
- Test on a small section of hair (or a piece of thread). Cutting should feel clean and effortless, with no pulling.
No Stone? Try the Sandpaper on Glass Method
- Tape 600‑grit wet/dry sandpaper to a flat glass tile or mirror.
- Lightly wet the paper.
- Lap the flat underside of each blade with light pressure for 10–15 strokes.
- Finish with 1000–2000 grit to refine.
- Clean, oil, reassemble, and align as above.
Ceramic or Hardened Blades? Use a Diamond Plate
- Use a fine diamond plate (~600 → 1200).
- Same flat‑side lapping process, light pressure, fewer strokes (diamond cuts fast).
- Clean thoroughly—diamond dust and filings shouldn’t end up inside the clipper.
How to Sharpen Trimmer Blades (Detailers, Edgers)
- Remove and clean the blades.
- Lap the flat undersides on a 1000–3000 grit stone or fine diamond plate (short, light strokes).
- Reassemble with very careful alignment—the moving blade must sit just behind the stationary edge to avoid nicks.
- Oil sparingly (one drop is usually enough) and test on arm hair or thread.
Maintenance That Delays Sharpening (Do These Every Time)

- Clean before and after each use—brush out hair, wipe with alcohol/blade wash.
- Oil every session: 2–3 drops across the teeth and rails; run for 10 seconds.
- Don’t cut wet or dirty hair. Moisture and grit dull blades fast.
- Store dry with a blade guard. Humidity is the enemy.
- Check screws monthly. Loose screws cause chatter and uneven wear.
- Disinfect with a clipper spray if you cut for multiple people.
Troubleshooting: After Sharpening
- Still pulling? Re‑oil and check alignment. If the moving blade protrudes even a little, it can catch skin or hair.
- Noisy or vibrating? Screws might be unevenly tightened. Loosen slightly, realign, retighten.
- Uneven cutting (light/dark patches)? You may have rocked the blade on the stone. Re‑lap with the blade perfectly flat until the scratch pattern is even.
- Heats up quickly: Too much friction. Add a drop of oil to the blade rails; ensure the underside is smooth and polished.
- Rust spots: Remove with blade wash and a gentle rub; finish with a light coat of oil.
When to Replace Instead of Sharpen
- Teeth are chipped, bent, or missing.
- Deep pitting rust near the cutting edge.
- Multiple DIY sharpenings have left edges rounded or out of square.
- You prefer a ceramic upgrade for cooler running on high‑speed clippers.
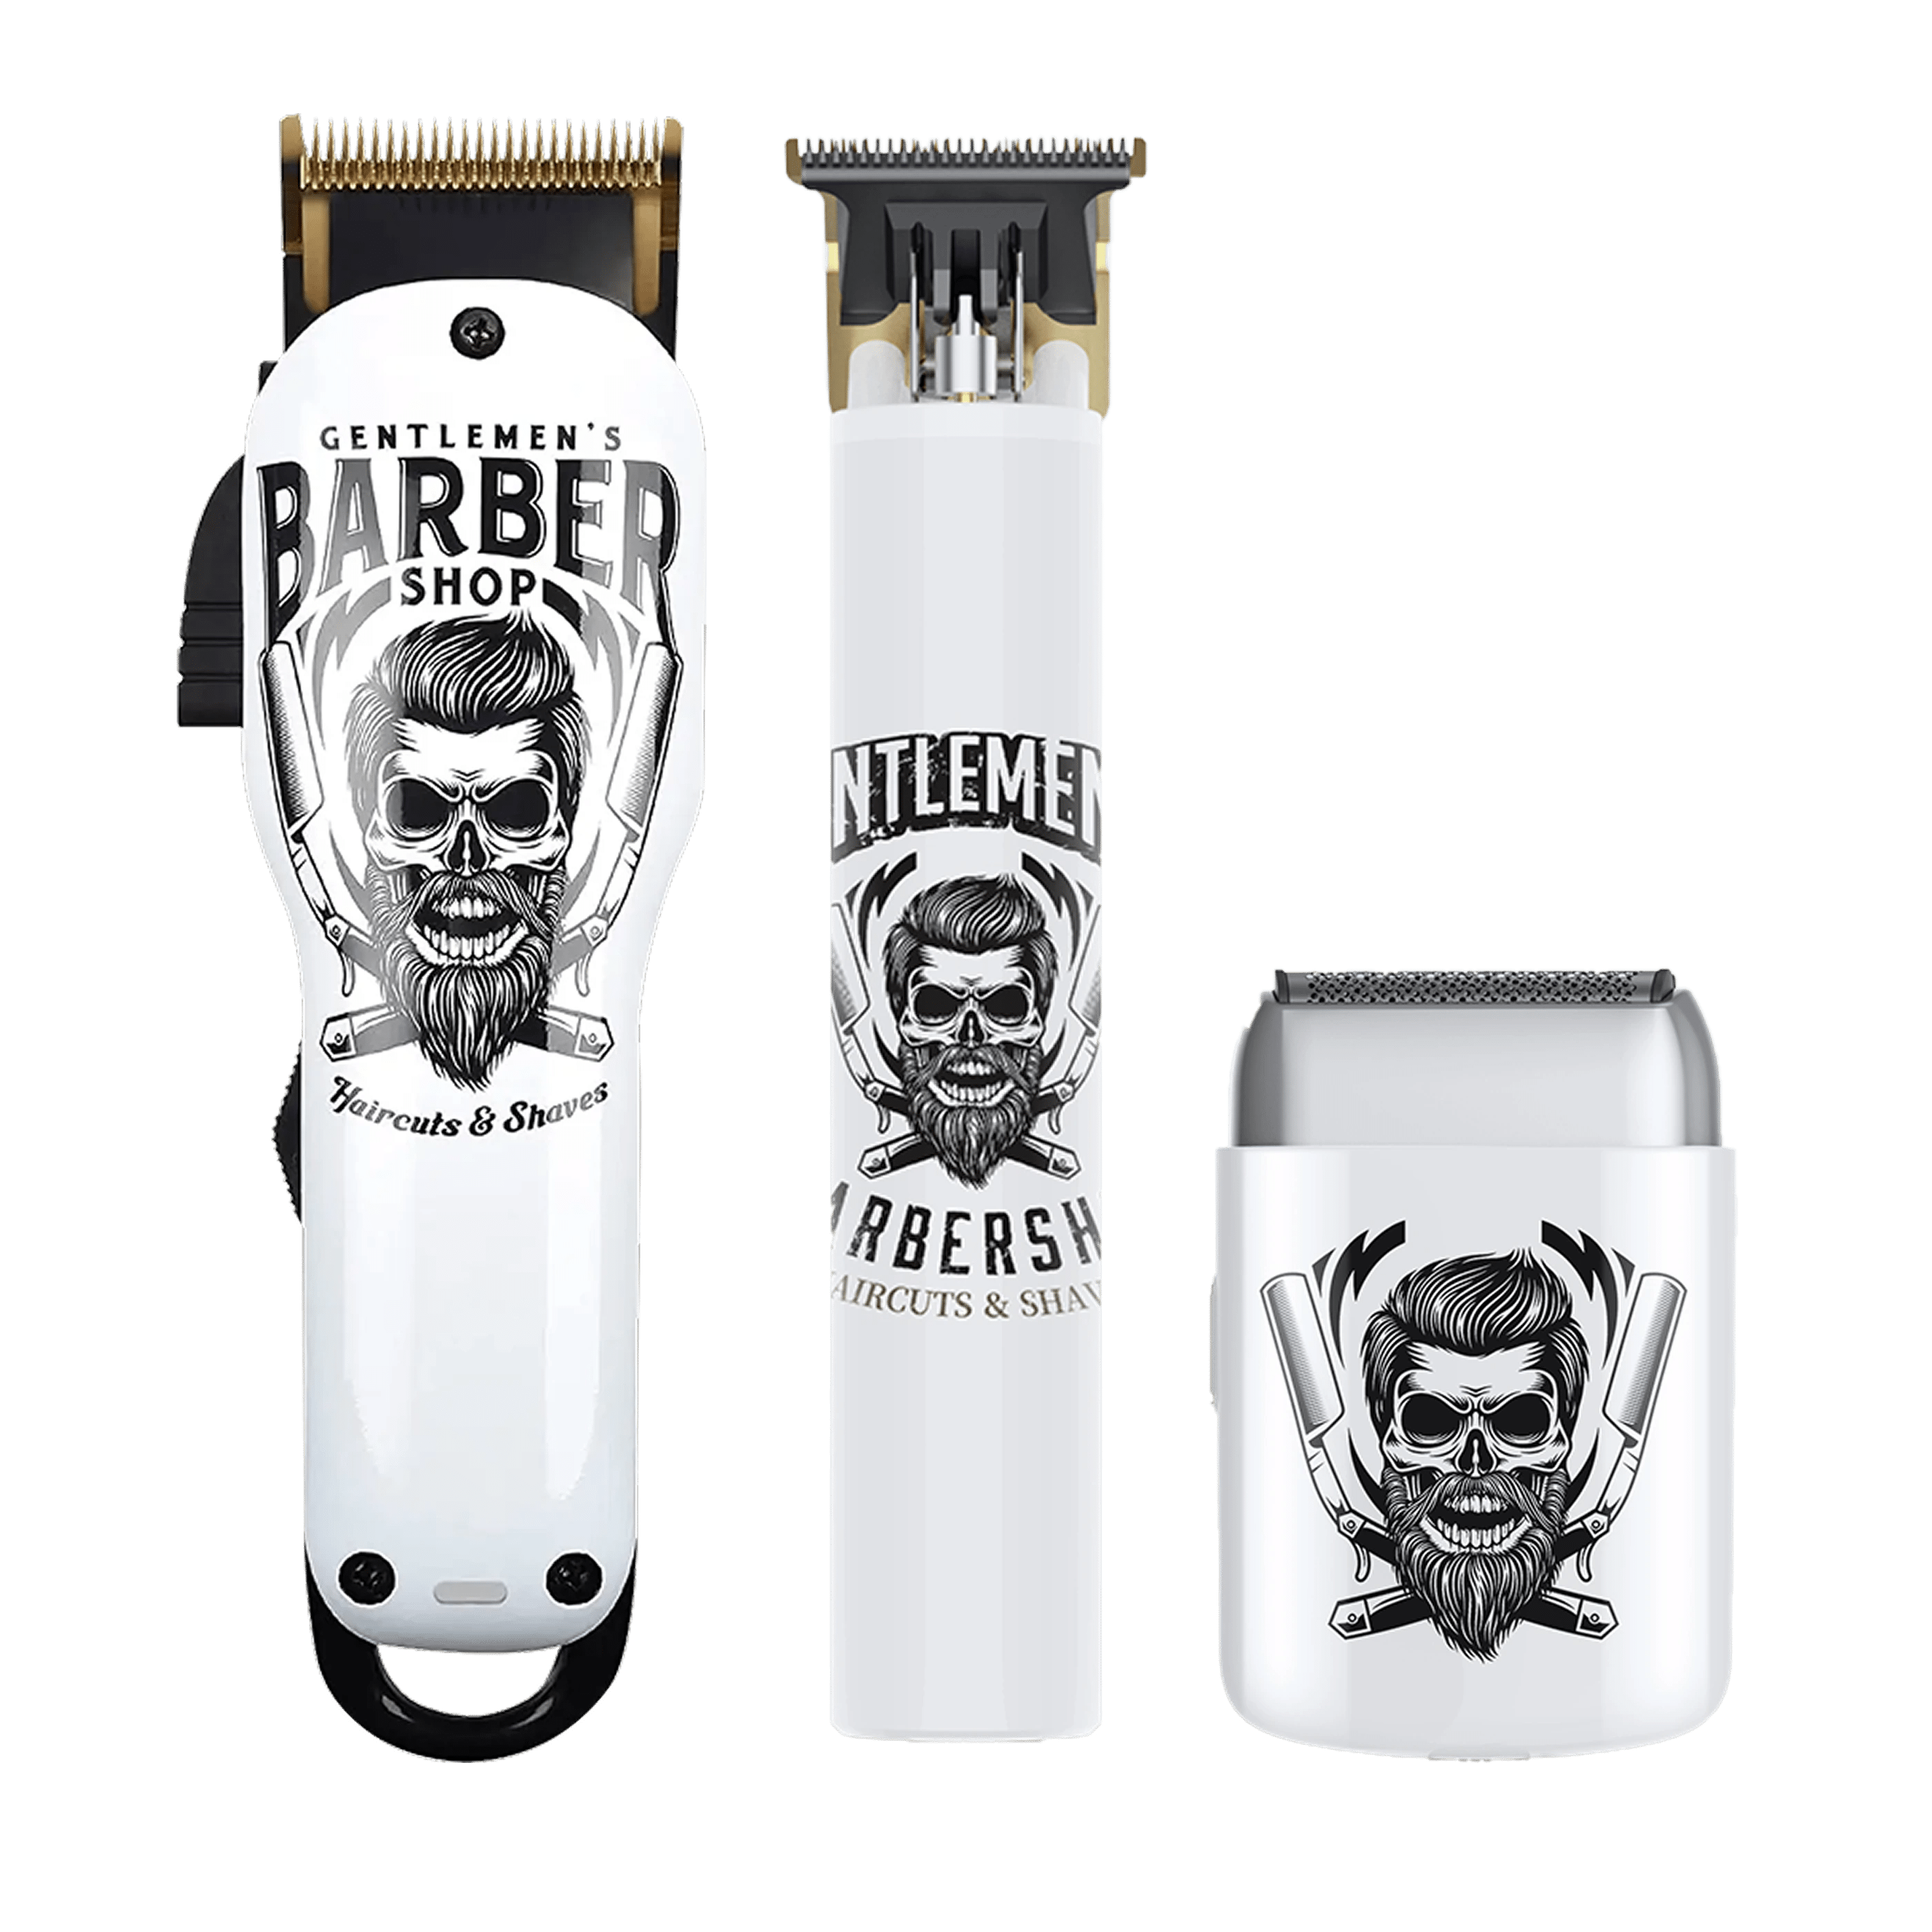
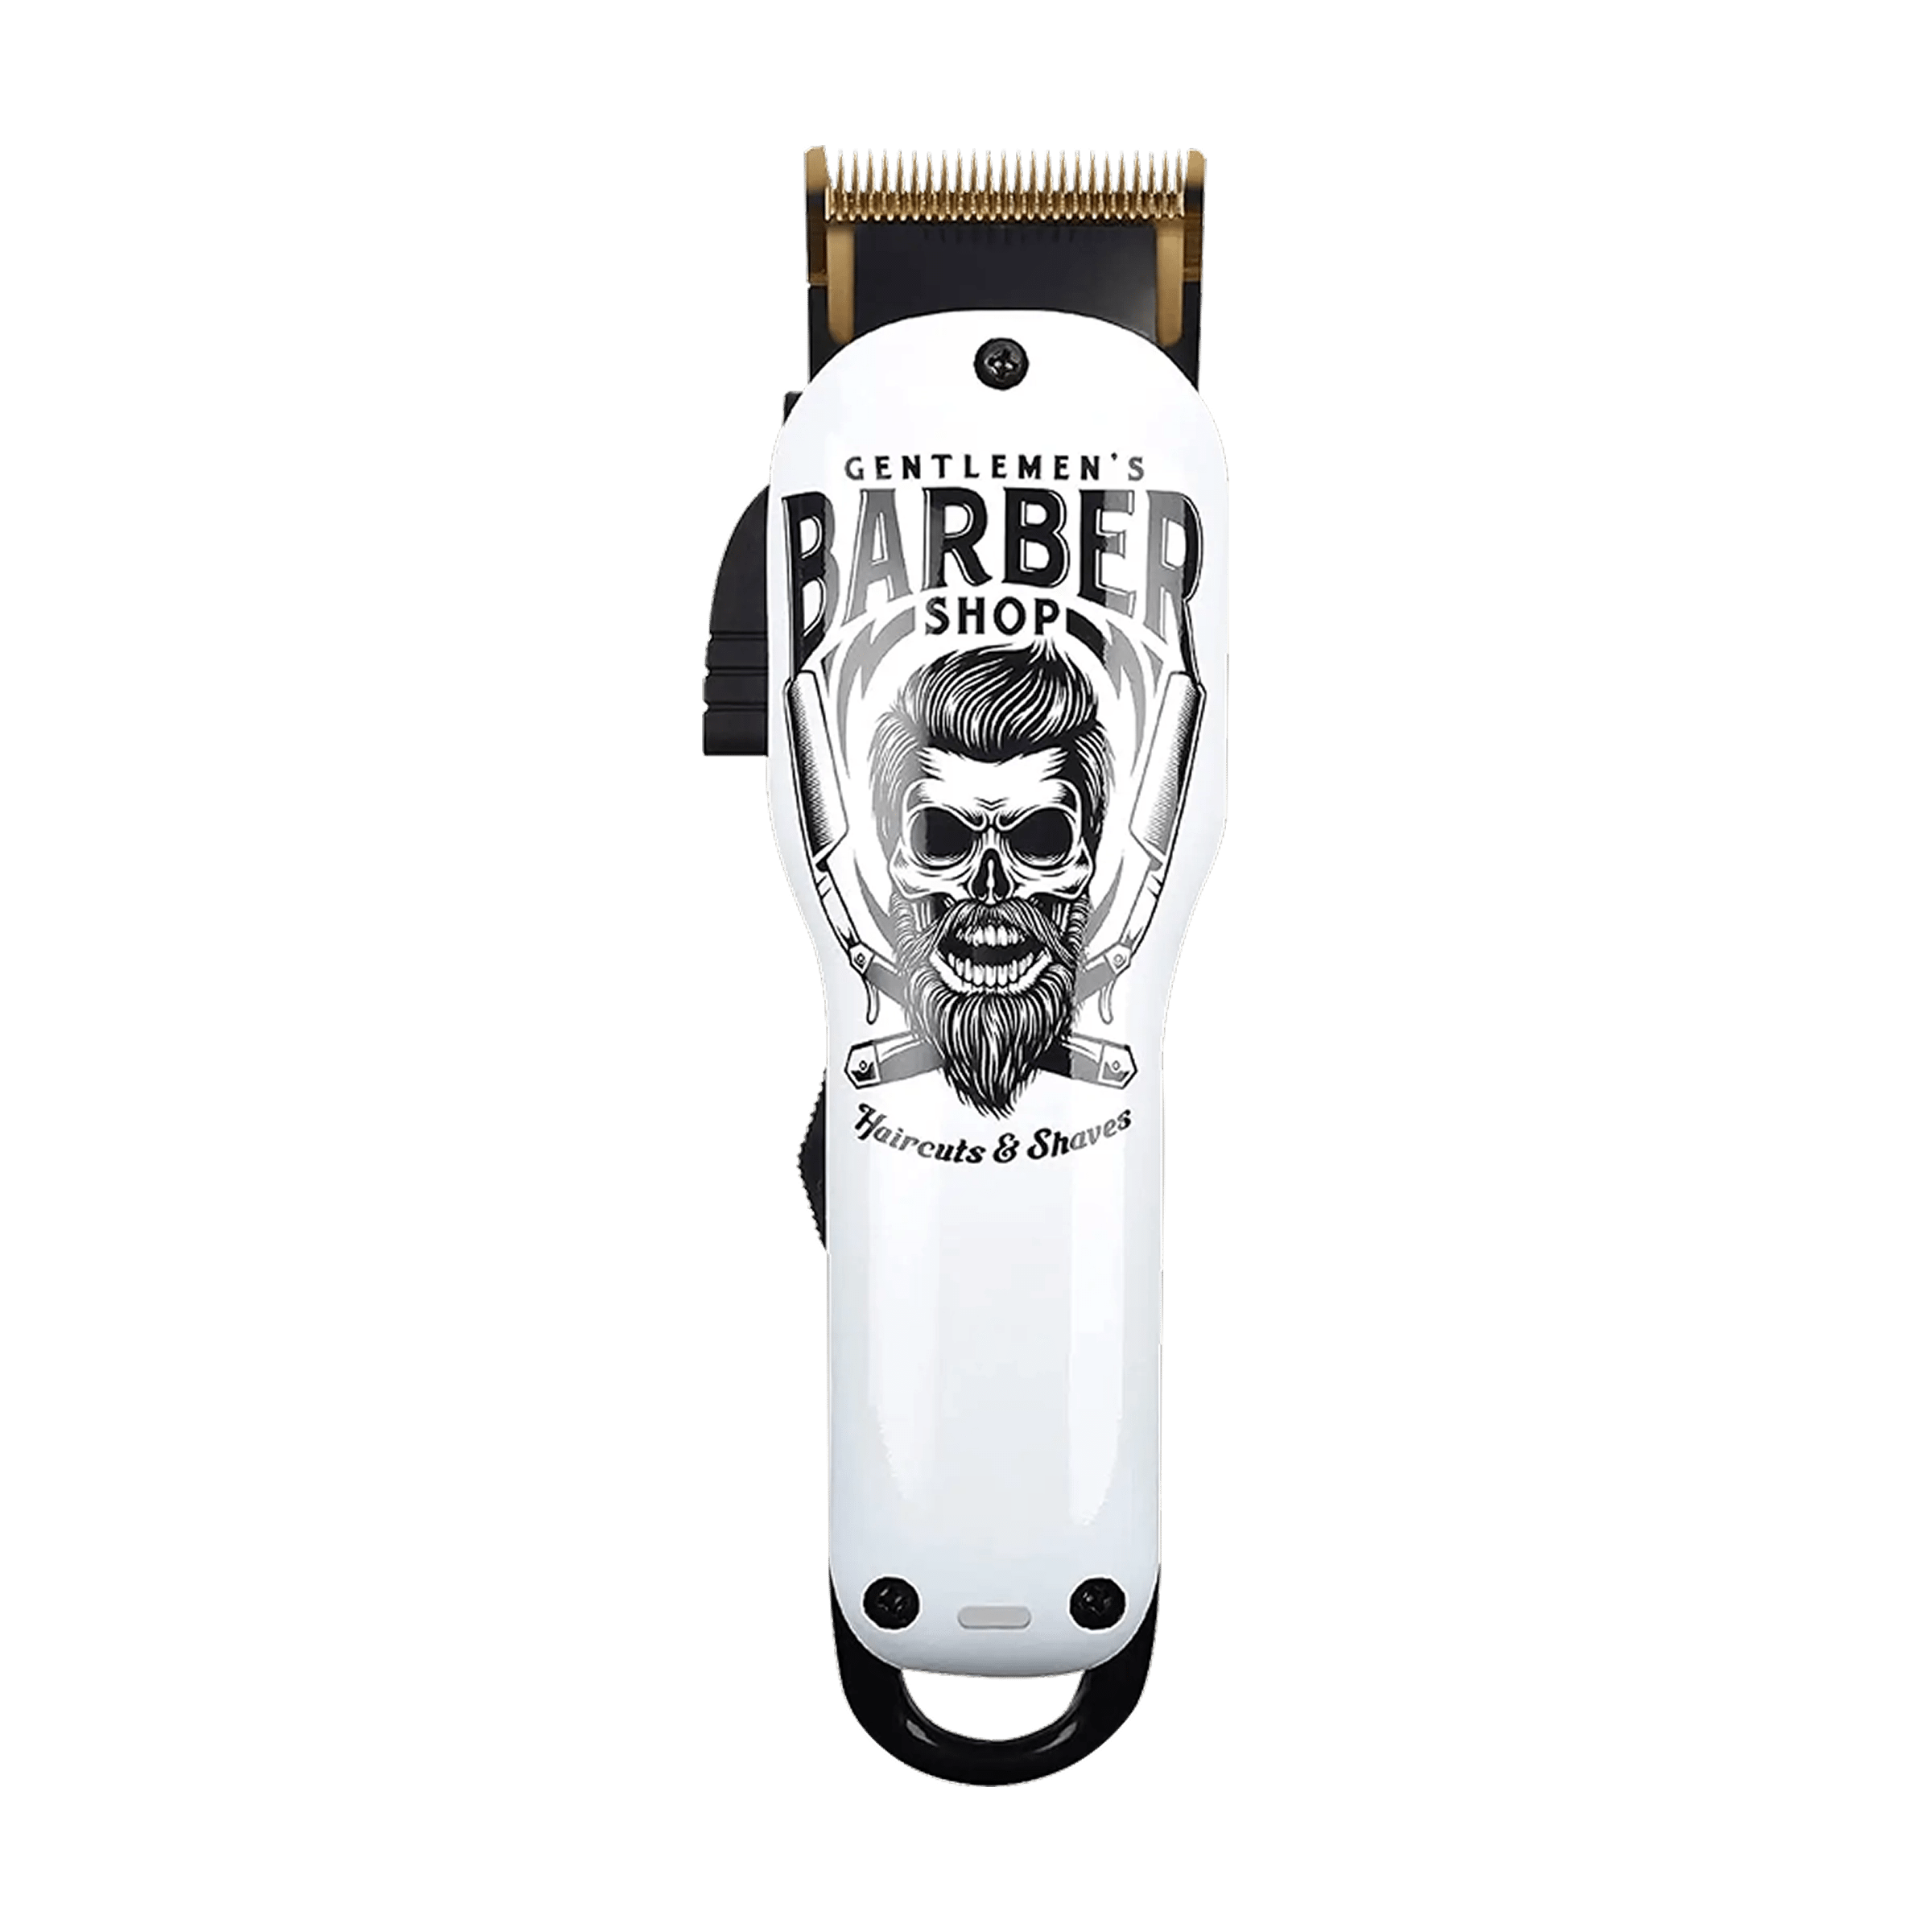
Pair Sharpened Blades with Reliable Clippers

Fresh edges shine when the motor is steady and the housing is comfortable in-hand. Two beginner‑friendly options:
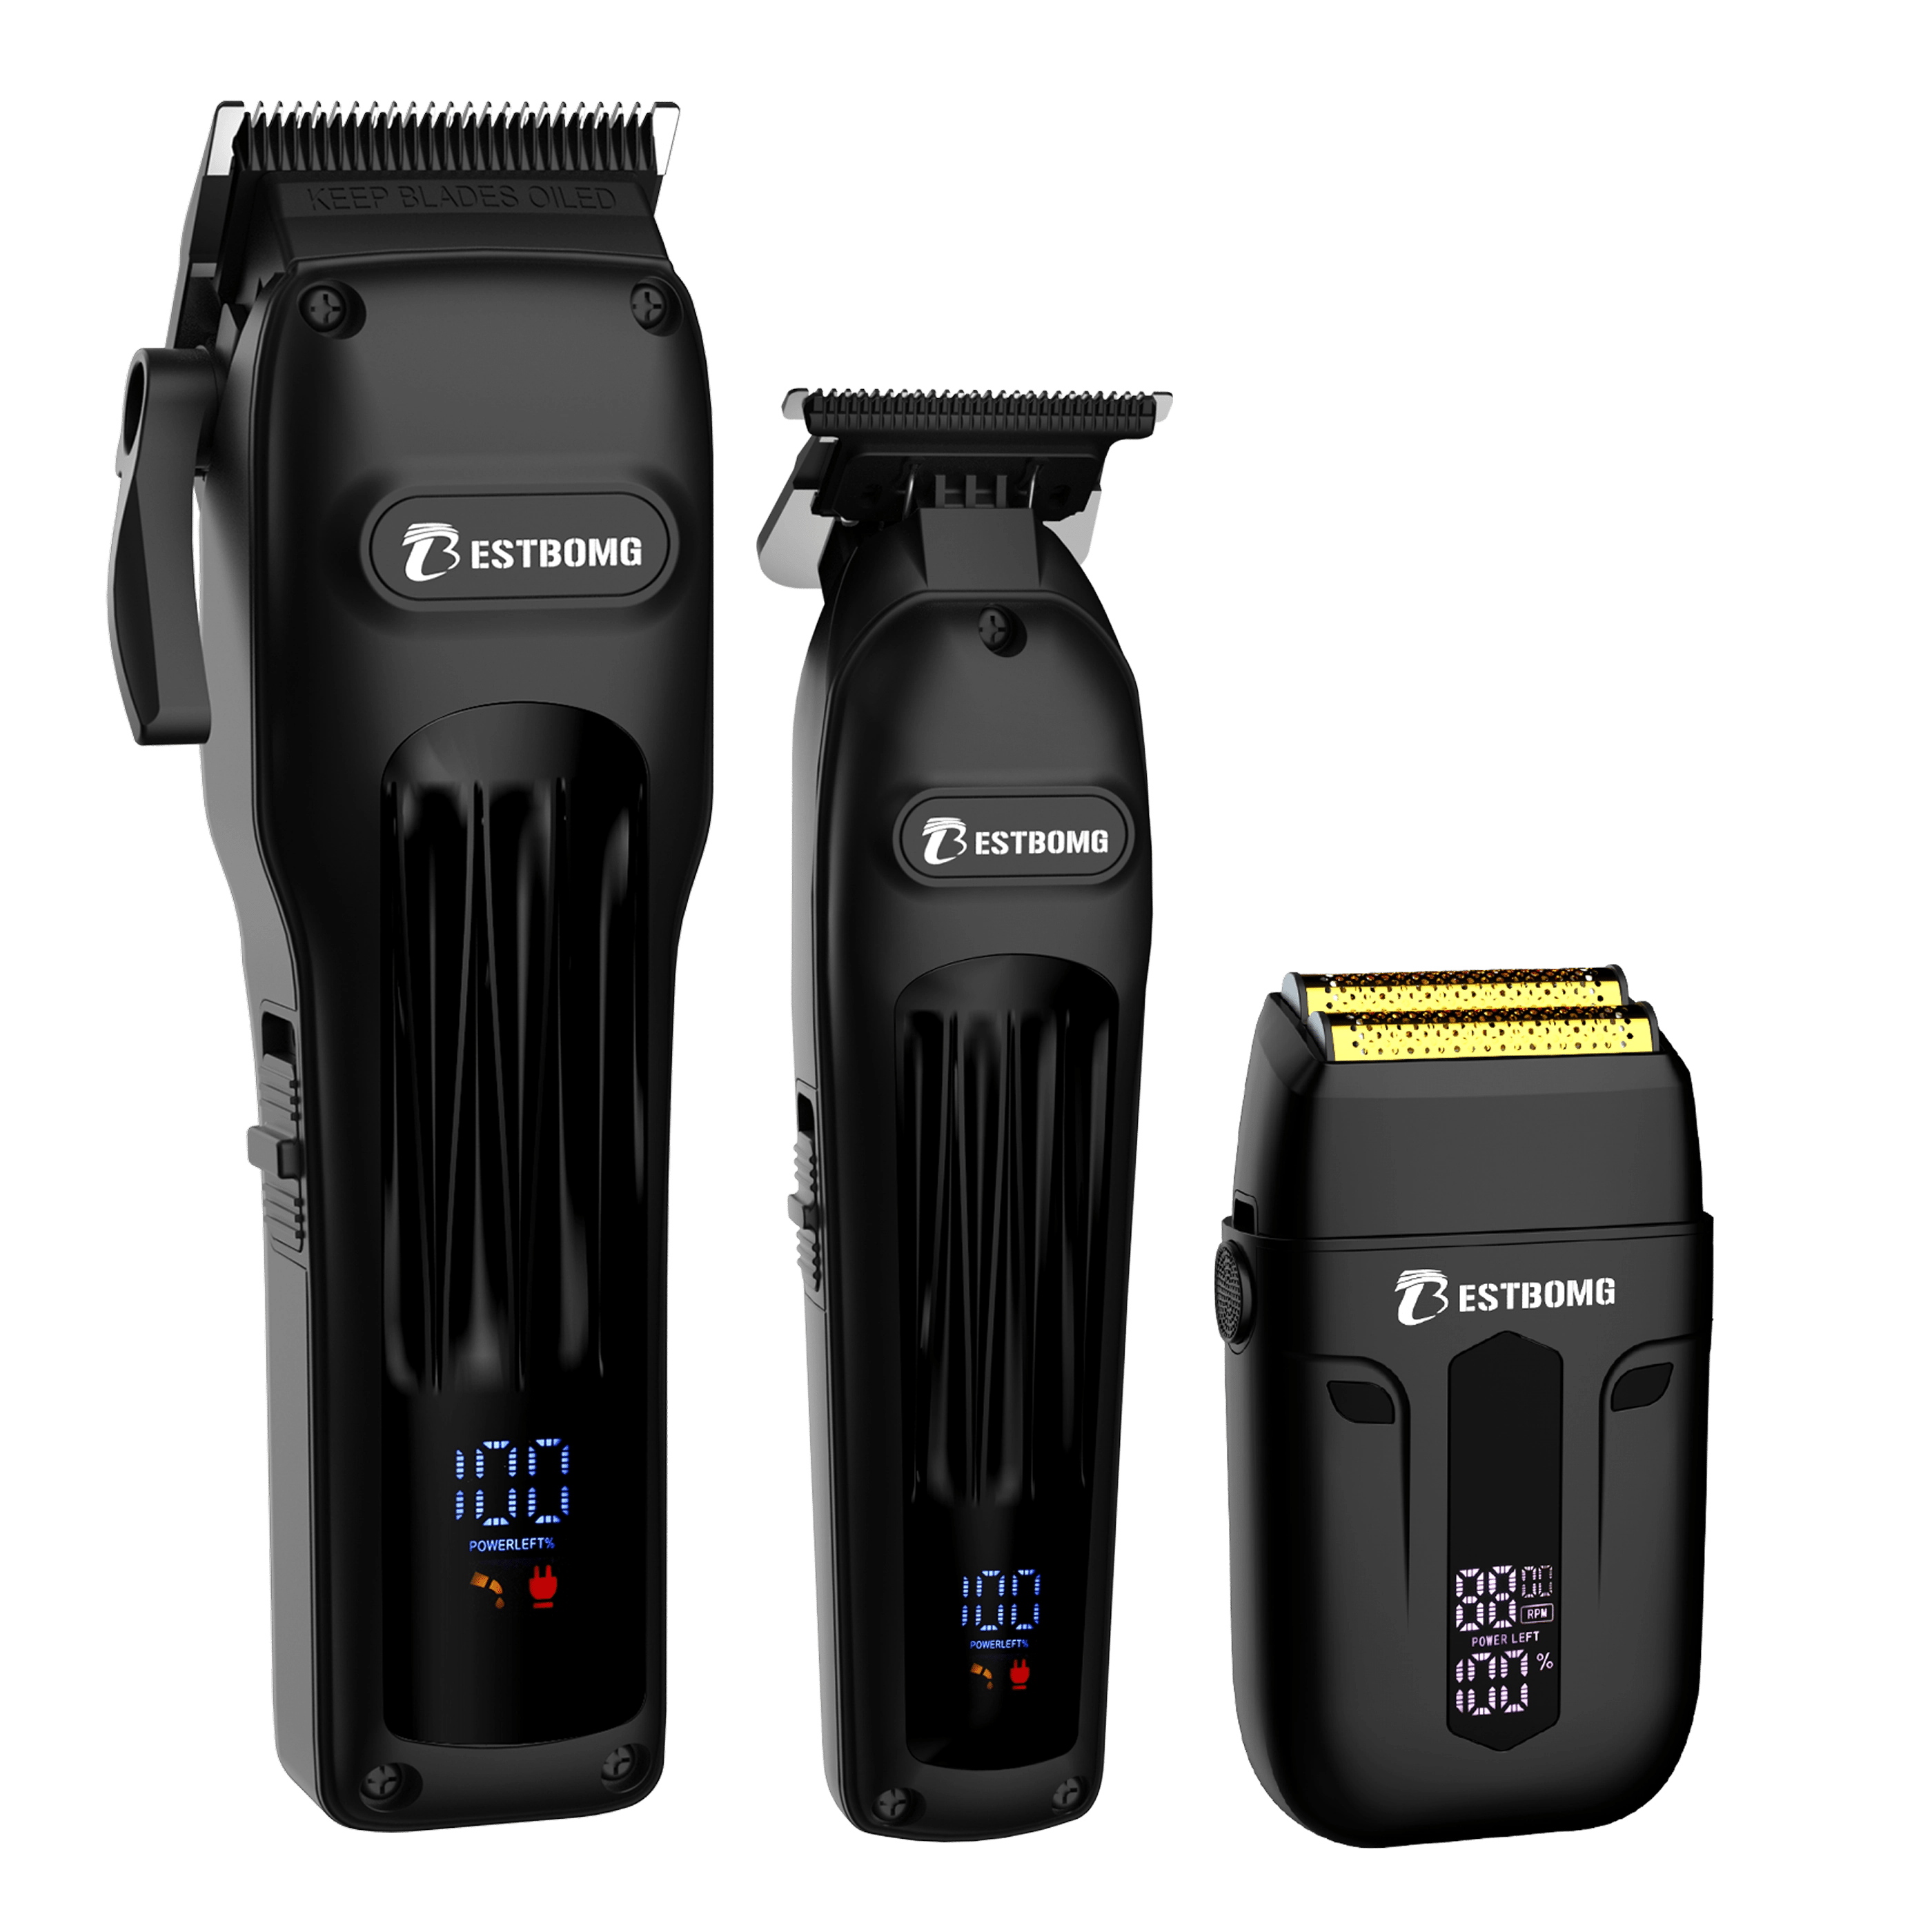
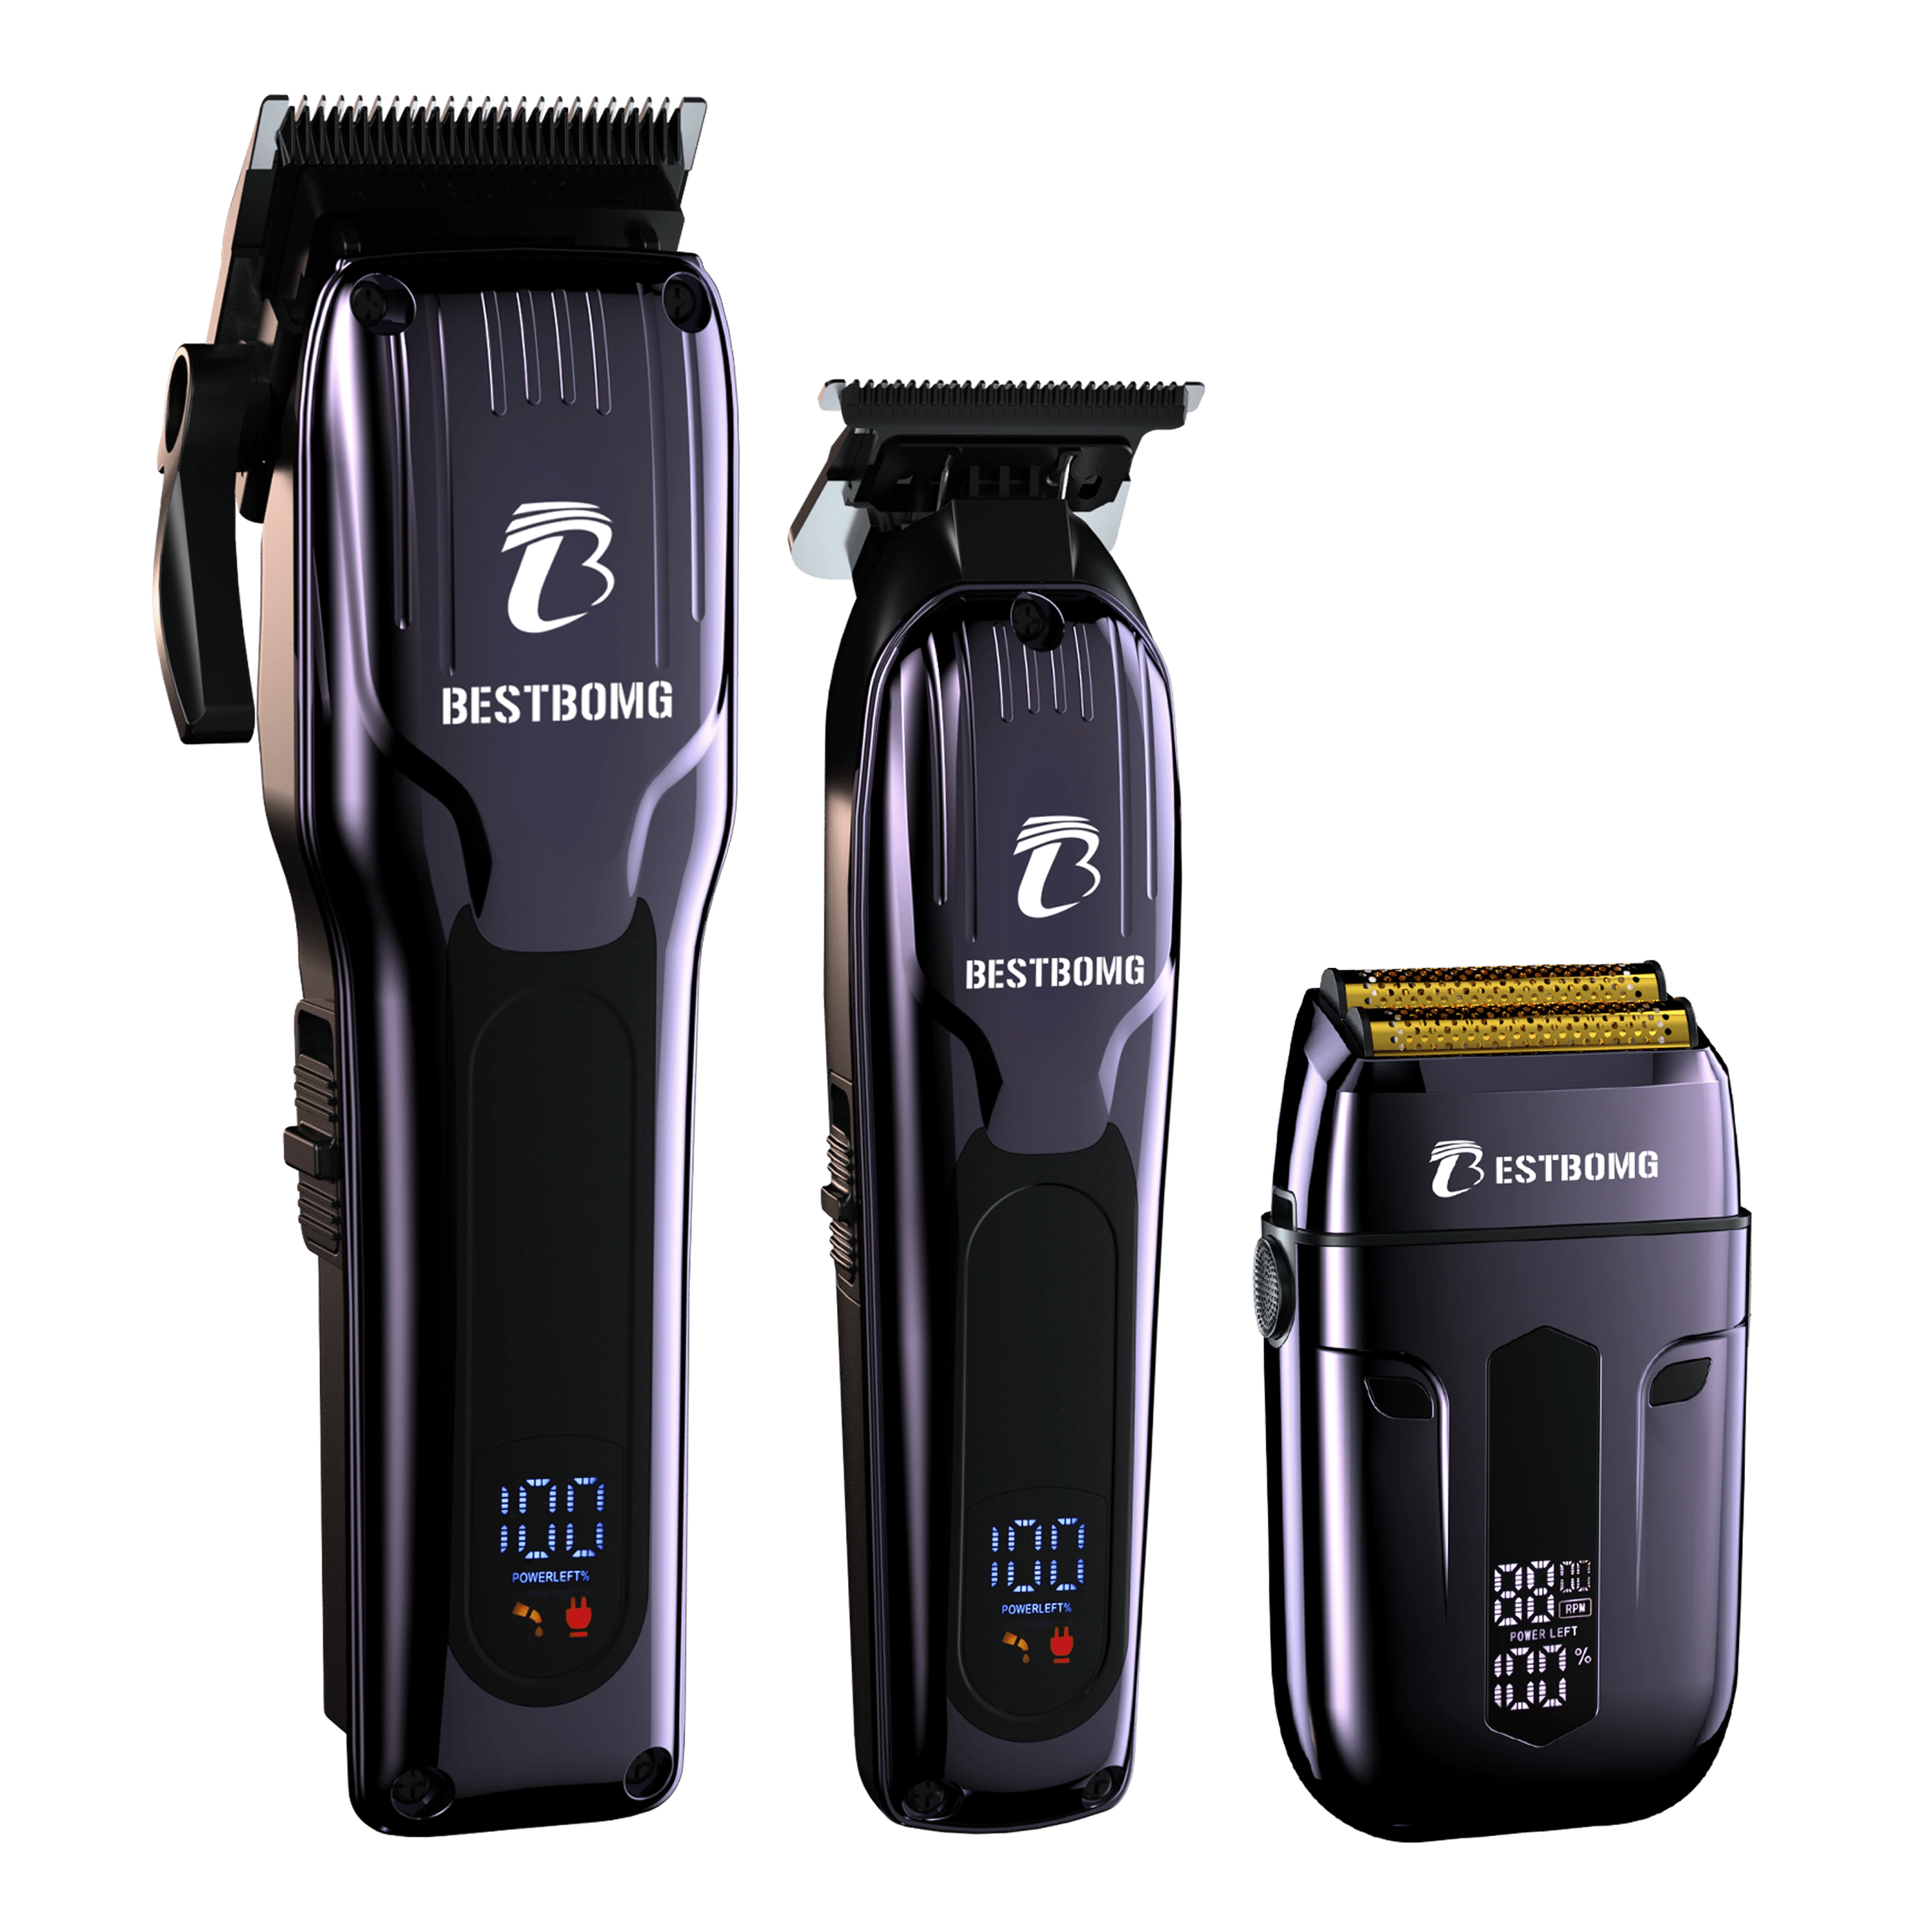
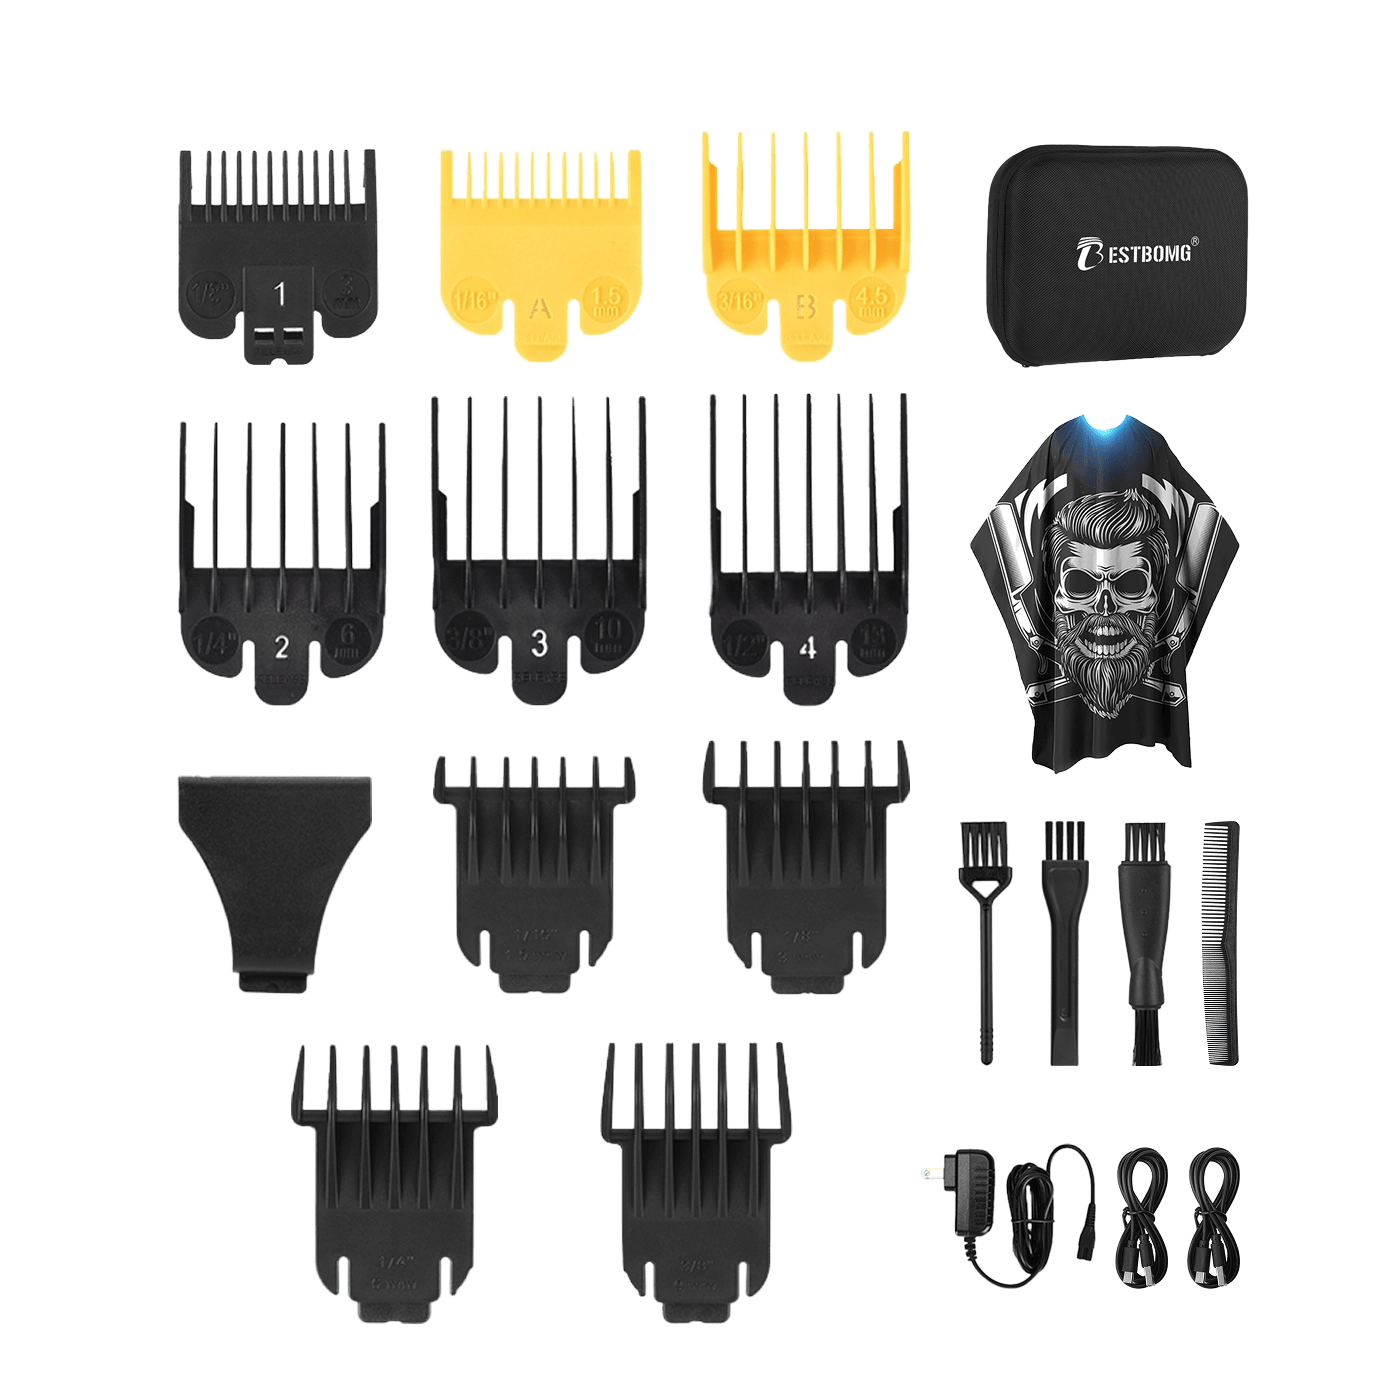
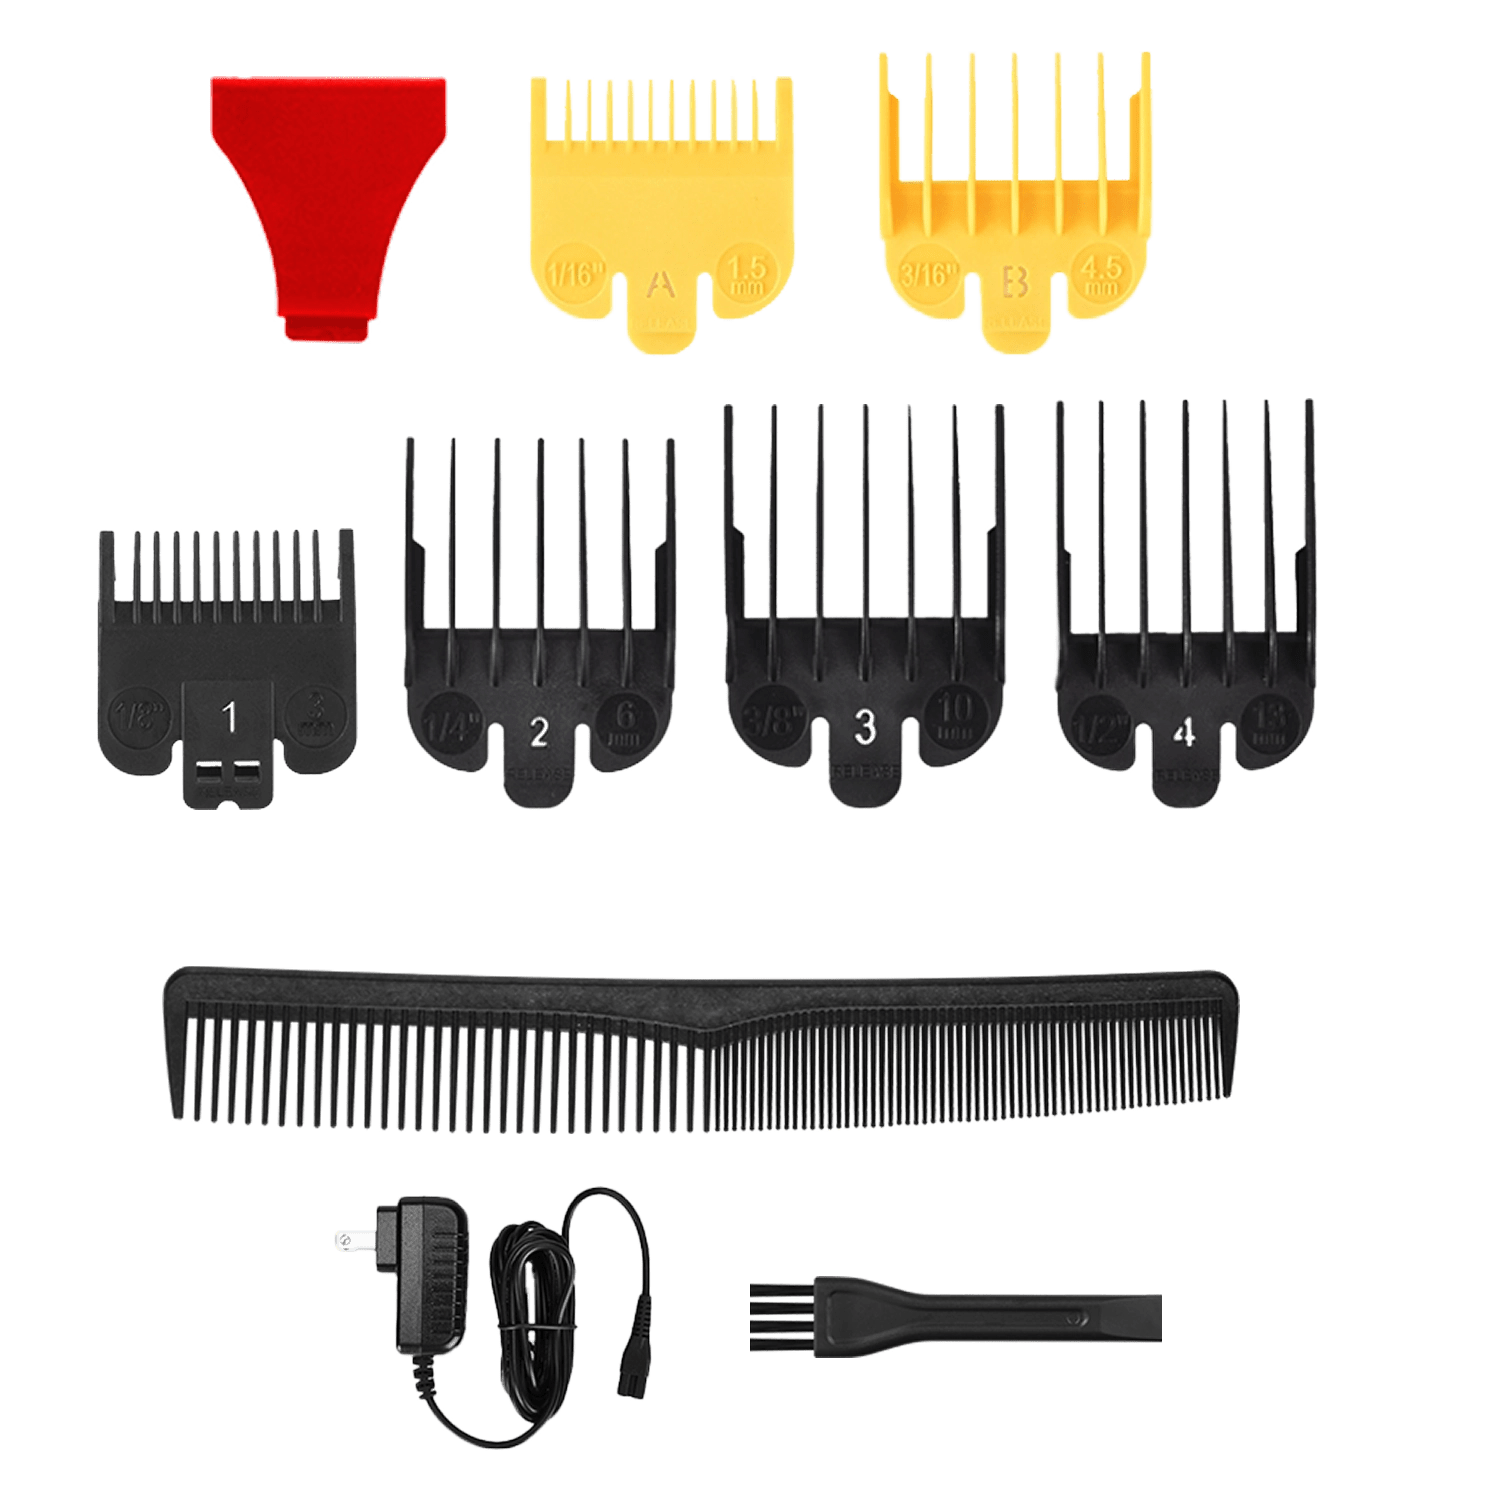
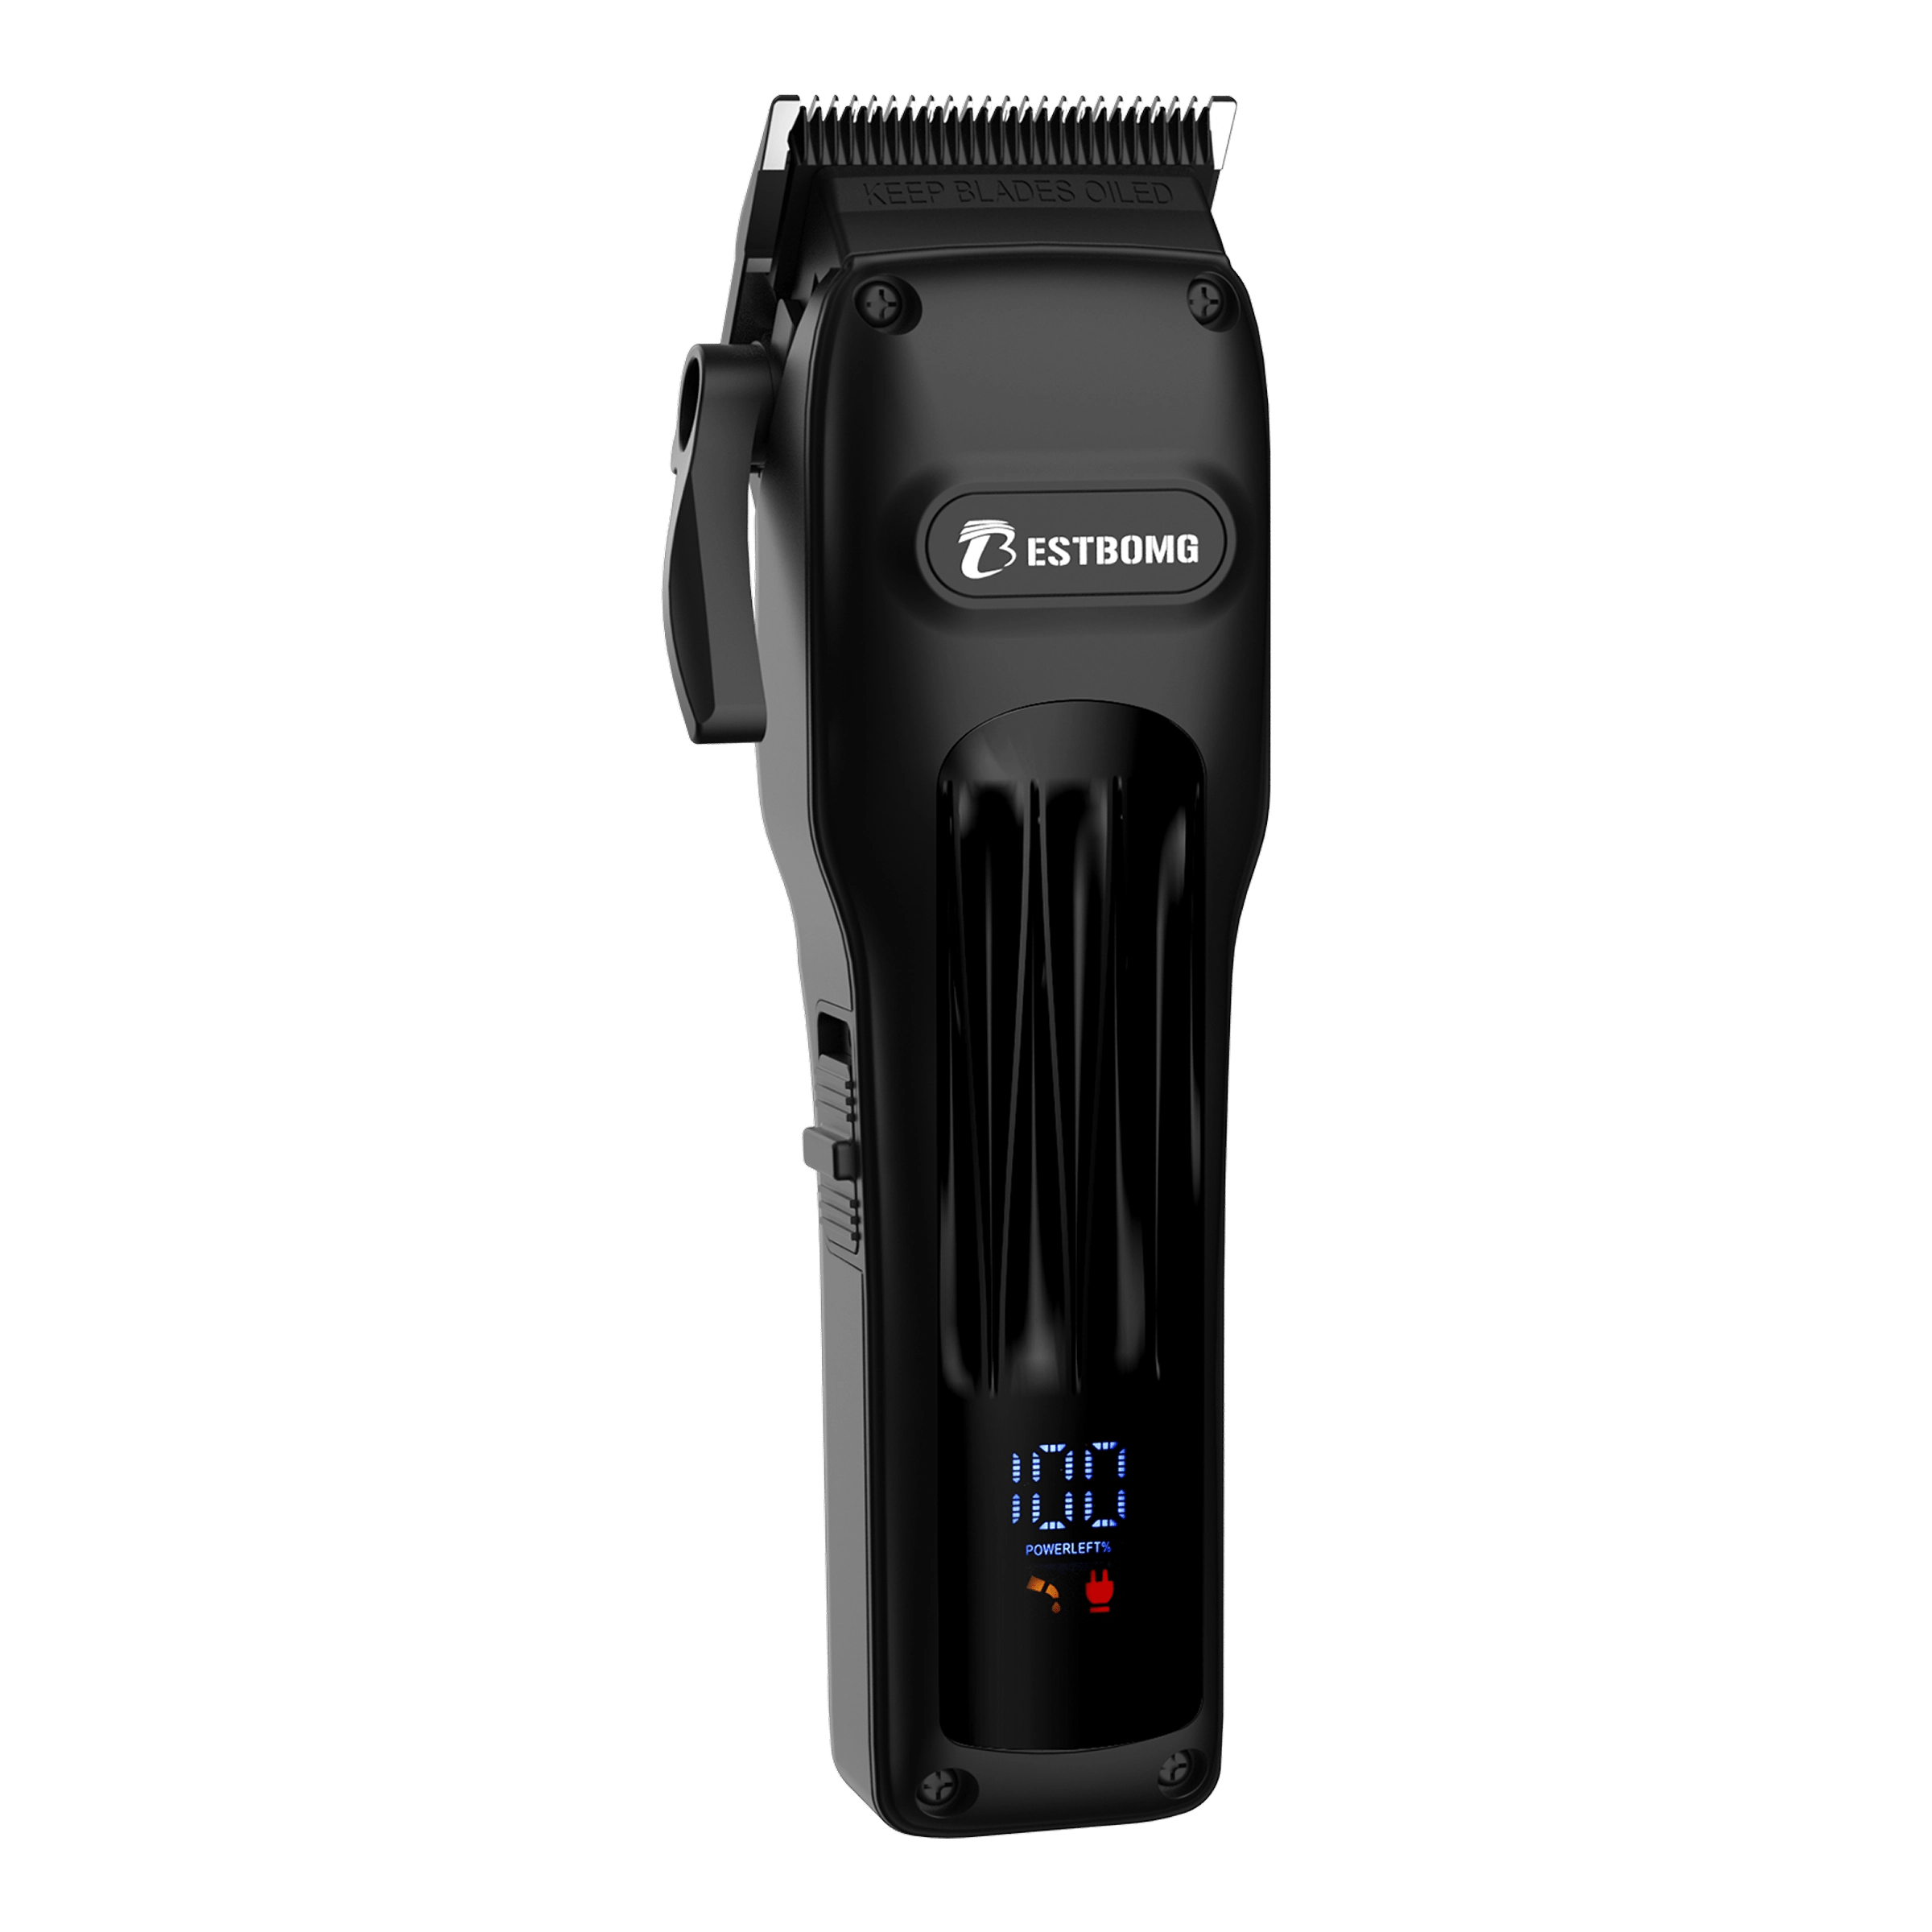
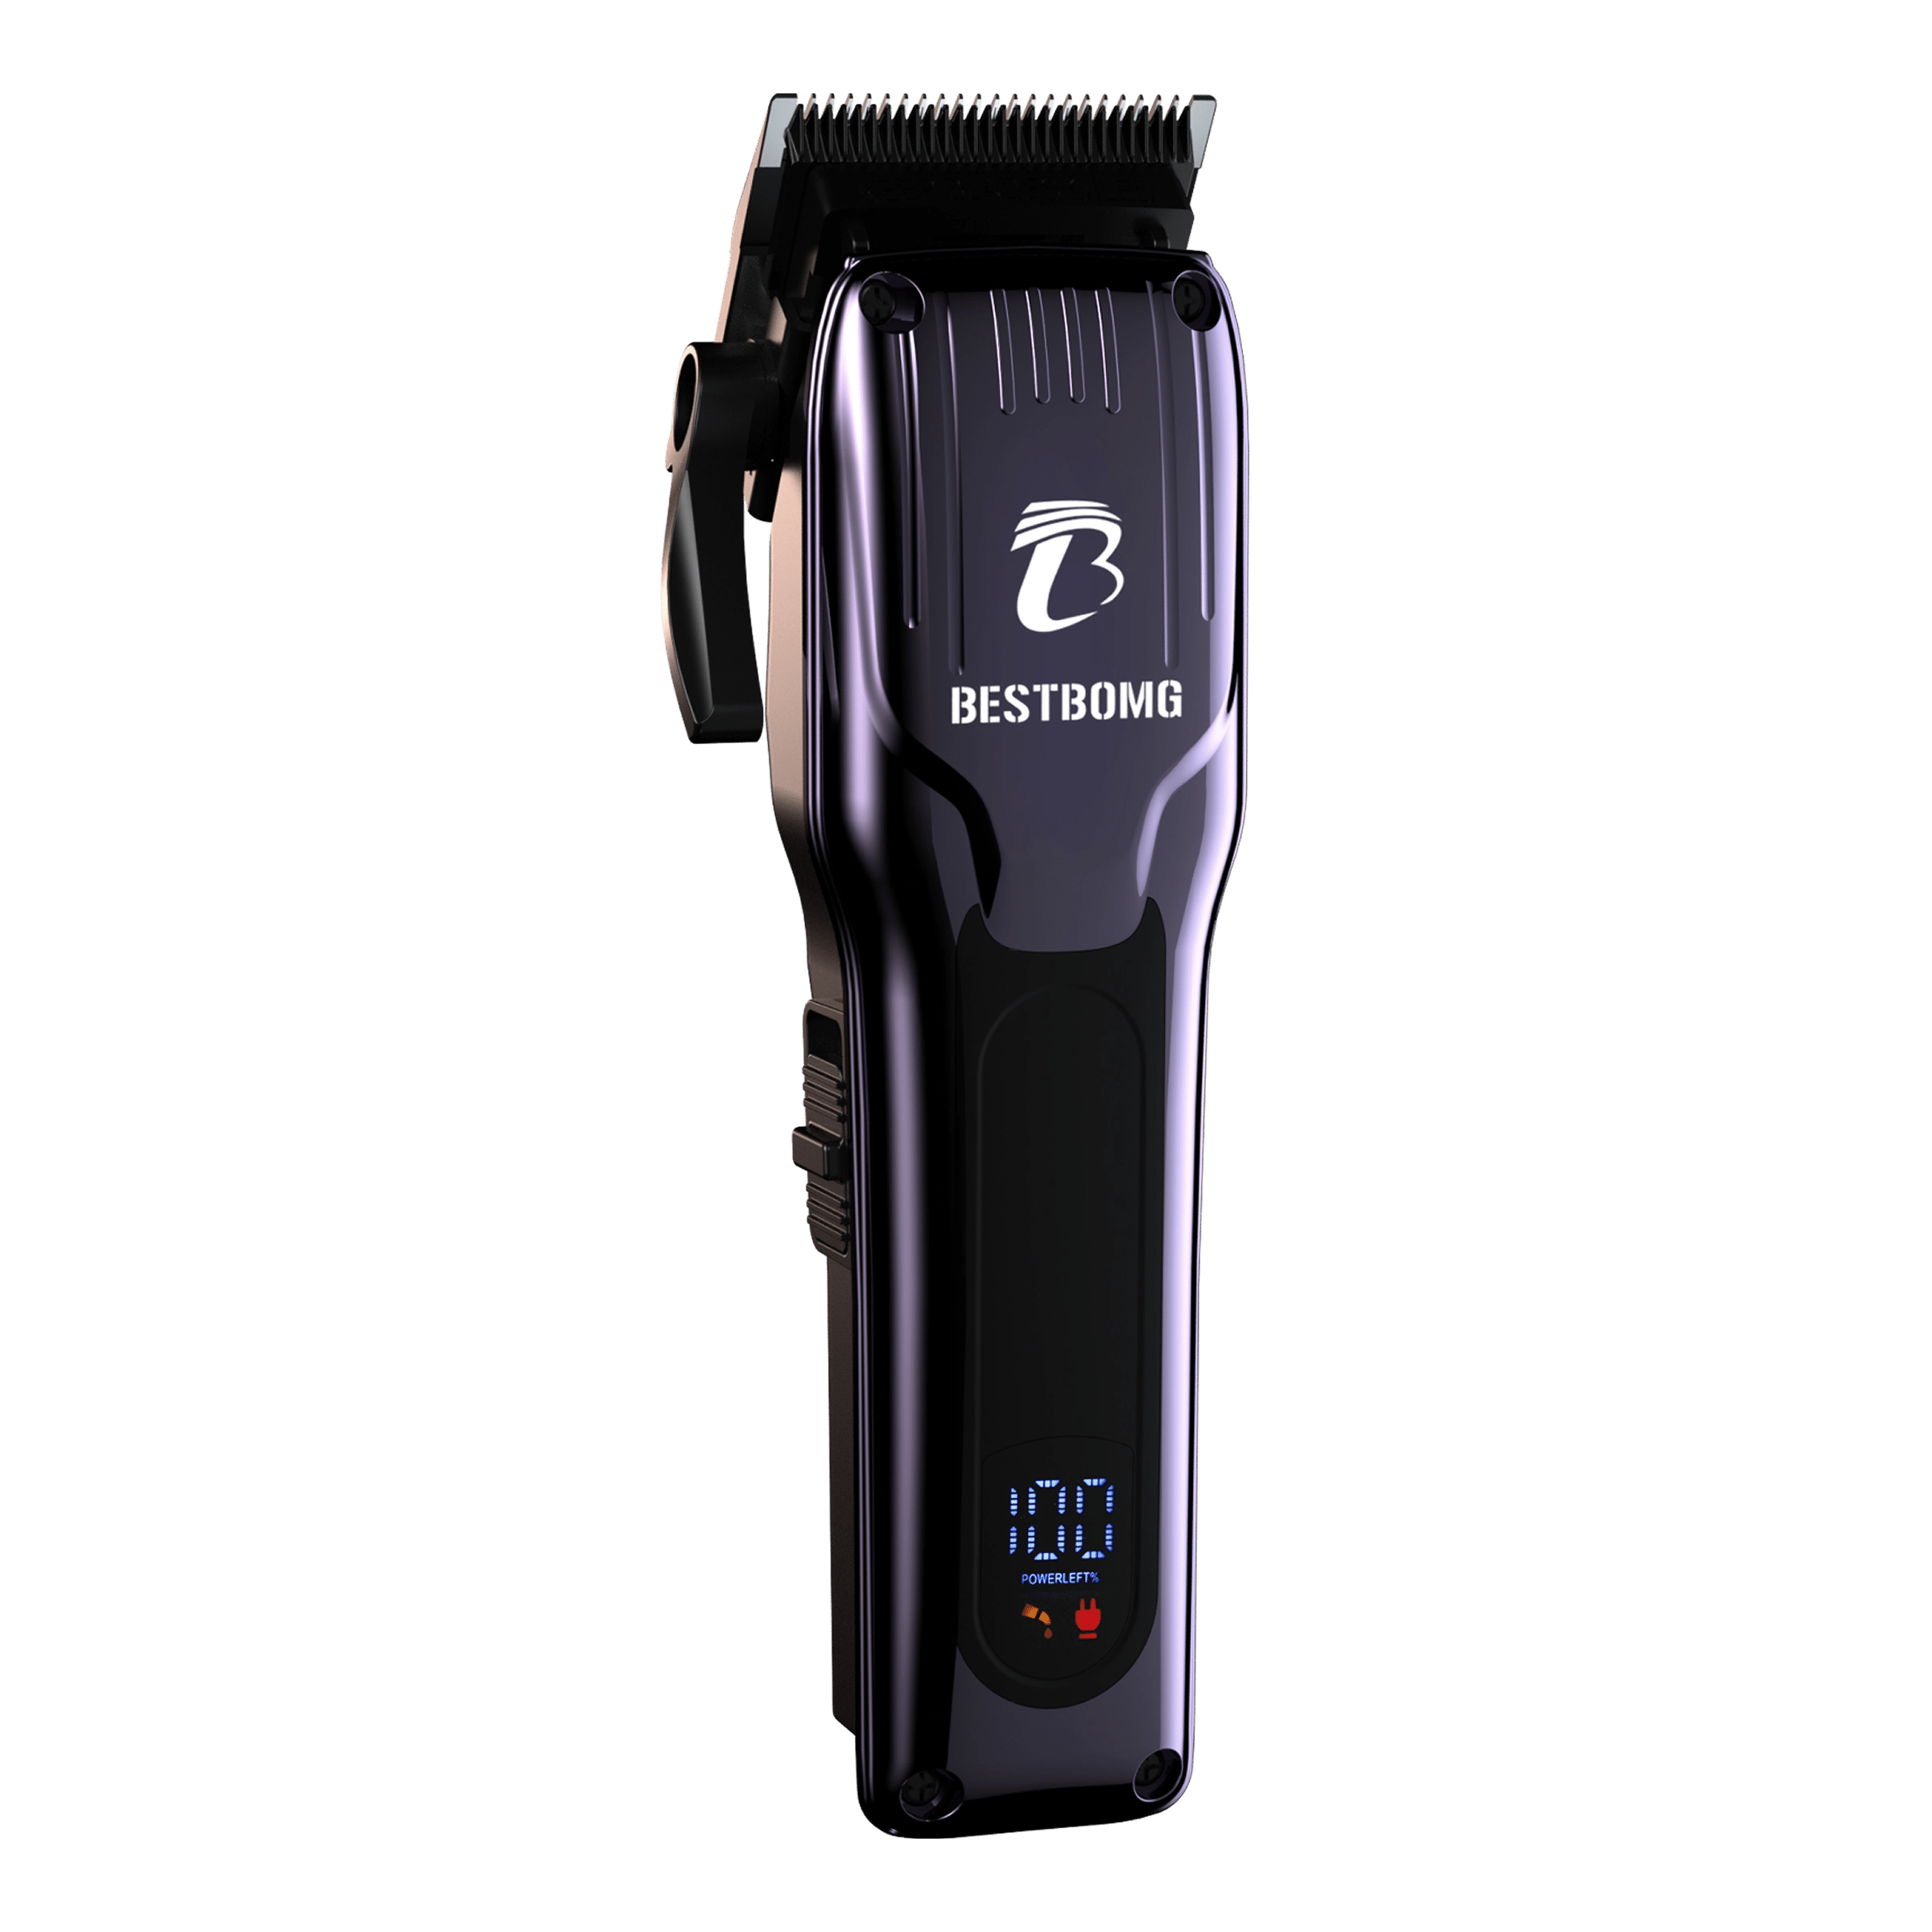
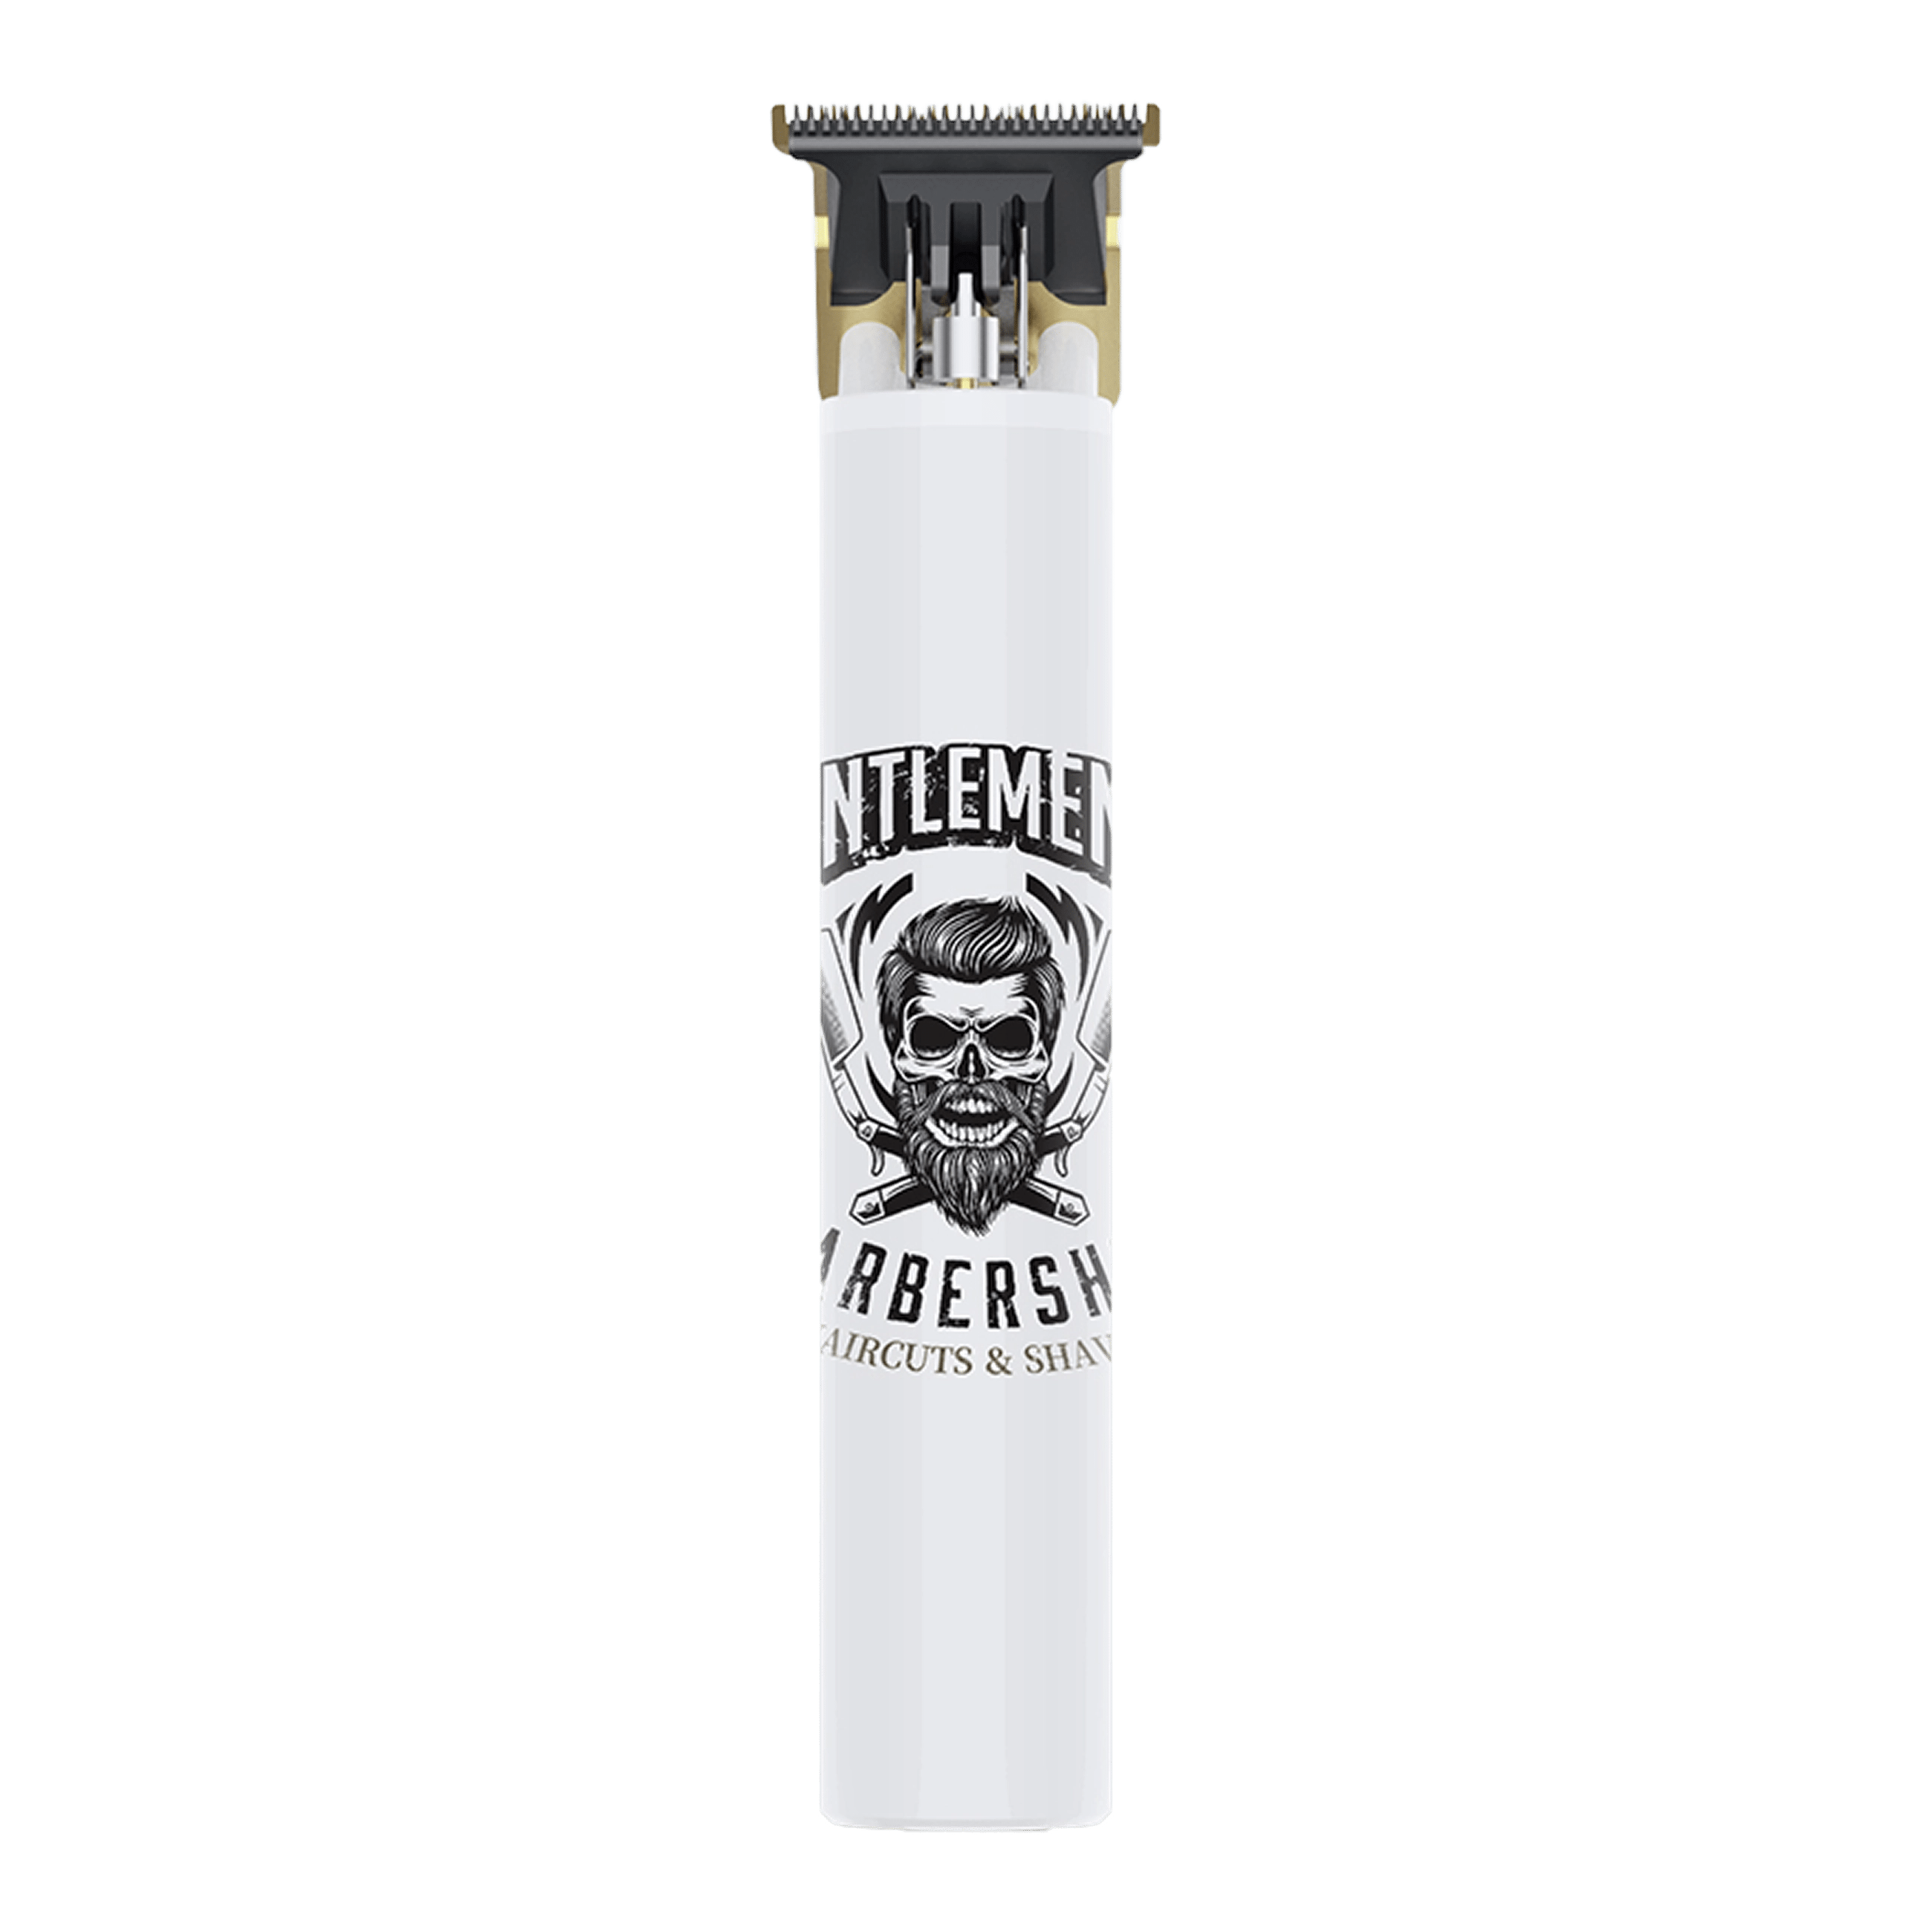
- BESTBOMG Dual‑Blade Y4 — 6500 RPM motor for steady power, up to 240 minutes cordless, adjustable 0.5–2.0 mm blade for close, precise work; includes 6 guide combs.
- BESTBOMG Premium Hair Clippers — 7000 RPM for smoother cutting through thick hair, up to 220 minutes cordless, adjustable blade with 8 guide combs covering ~1.5–19 mm.
Myths to Skip (So You Don’t Ruin Blades)
- “Foil/tin foil sharpens blades.” At best it cleans a little; it won’t meaningfully sharpen steel.
- Toothpaste or kitchen knives stones. Wrong abrasives and angles can round the face and kill performance.
- Heavy pressure on the stone. More pressure removes metal unevenly—light, even strokes win.
- Sharpening only one blade. Both the moving and stationary blades need flat, clean contact.
How Often Should You Sharpen?
- Home use: Once or twice a year if you clean and oil every session.
- Barber/heavy use: Every few weeks to few months depending on volume and hair types.
- If you notice pulling or extra passes, it’s time—regardless of the calendar.
Fast Recap (Cheat Sheet)
- Clean and oil first. Sometimes that’s enough.
- Remove blades; take a photo of alignment.
- Lap the flat undersides on a stone (400–600 → 1000–3000). Light pressure, 10–15 strokes.
- Clean, oil, reassemble, and set a safe alignment (moving blade slightly behind).
- Test and fine‑tune. Add a drop of oil and check screws.
Frequently Asked Questions
What is the easiest way to sharpen hair clippers at home?
Use a fine sharpening stone (or wet/dry sandpaper on flat glass) and lap the flat underside of both blades with light, even strokes. Clean, oil, reassemble, and align. It’s simple, safe, and repeatable.
Can I sharpen clipper blades with a stone I already own?
Yes—if it’s reasonably flat and at least 1000 grit (add 400–600 if the blades are heavily worn). Diamond plates are ideal, and whetstones also work if kept flat.
How do I sharpen trimmer blades without cutting myself?
Hold the blade by the spine, not the teeth; use a magnet or binder clip for grip. Lap the flat underside on a fine stone (1000–3000). Reassemble with a slight gap so the moving blade doesn’t protrude past the edge.
Why do my clippers still pull after sharpening?
Common reasons: poor alignment, no oil, uneven lapping (rocking on the stone), or loose screws. Recheck the alignment (teeth parallel, moving blade a touch behind), add a drop of oil, and try again.
Do I need professional sharpening?
If blades are chipped, badly rusted, ceramic without a diamond plate, or you want a factory‑perfect hone, a pro service is worth it. For normal maintenance, at‑home sharpening is usually enough.
Final Thoughts
Learning how to sharpen hair clippers is mostly about keeping things flat, light, and clean. A few careful passes on a stone, a drop of oil, and proper alignment will make your clippers feel new again. Whether you’re maintaining a daily buzz or cleaning up the family, these at‑home steps keep cuts smooth and skin comfortable.
Lees meer

How to Cut Hair with Clippers: Easy Step-by-Step Guide for Beginners
If you’re brand‑new to cutting hair with clippers, breathe. You don’t need a barber’s license to give a clean, comfortable cut at home—just the right prep, a simple plan, and a steady pace. This be...
What Is a Foil Shaver? Uses, Benefits & How It Works
If you like smooth, quick, low‑irritation shaves, a foil shaver is your friend. In simple terms, a foil shaver uses a thin perforated metal screen (the “foil”) to trap hairs while tiny straight bla...