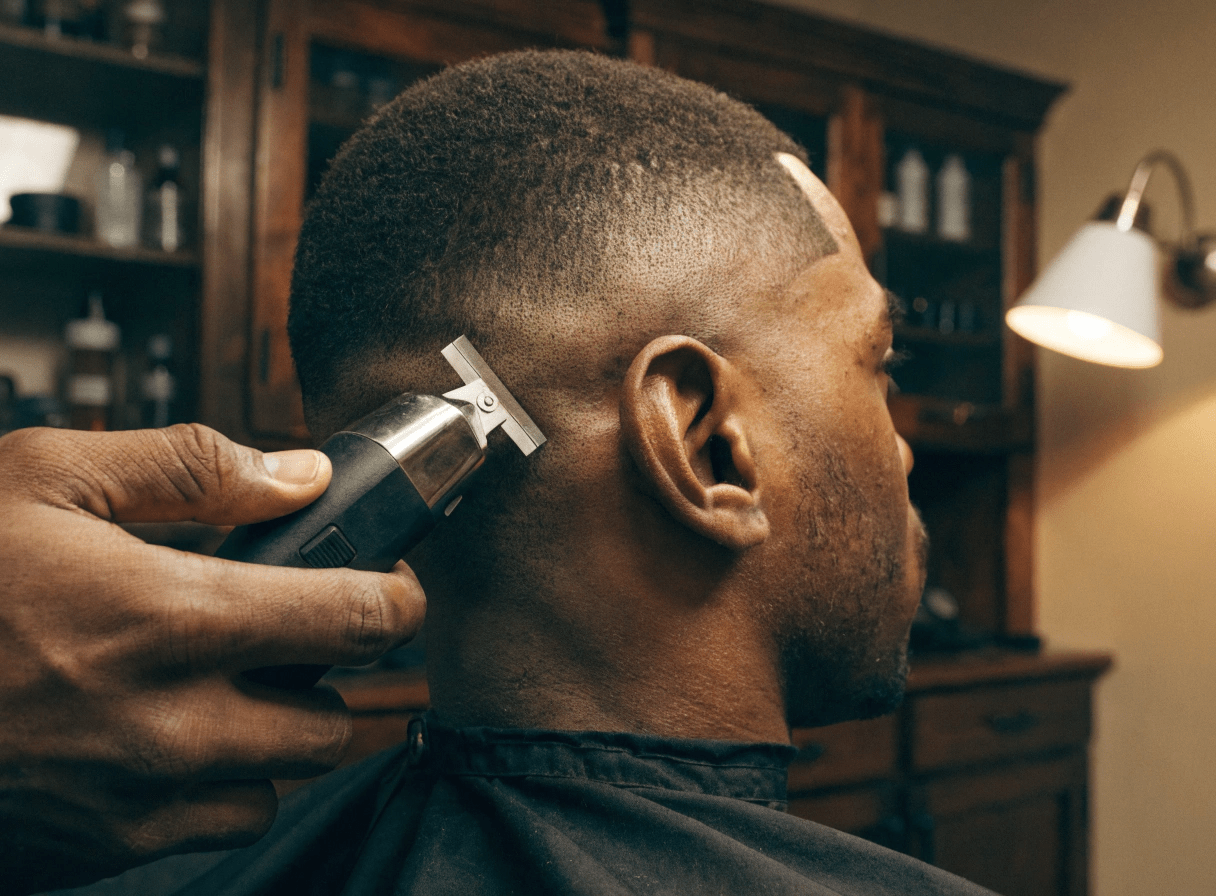


What hair clippers do I need to create a skin fade or taper fade?
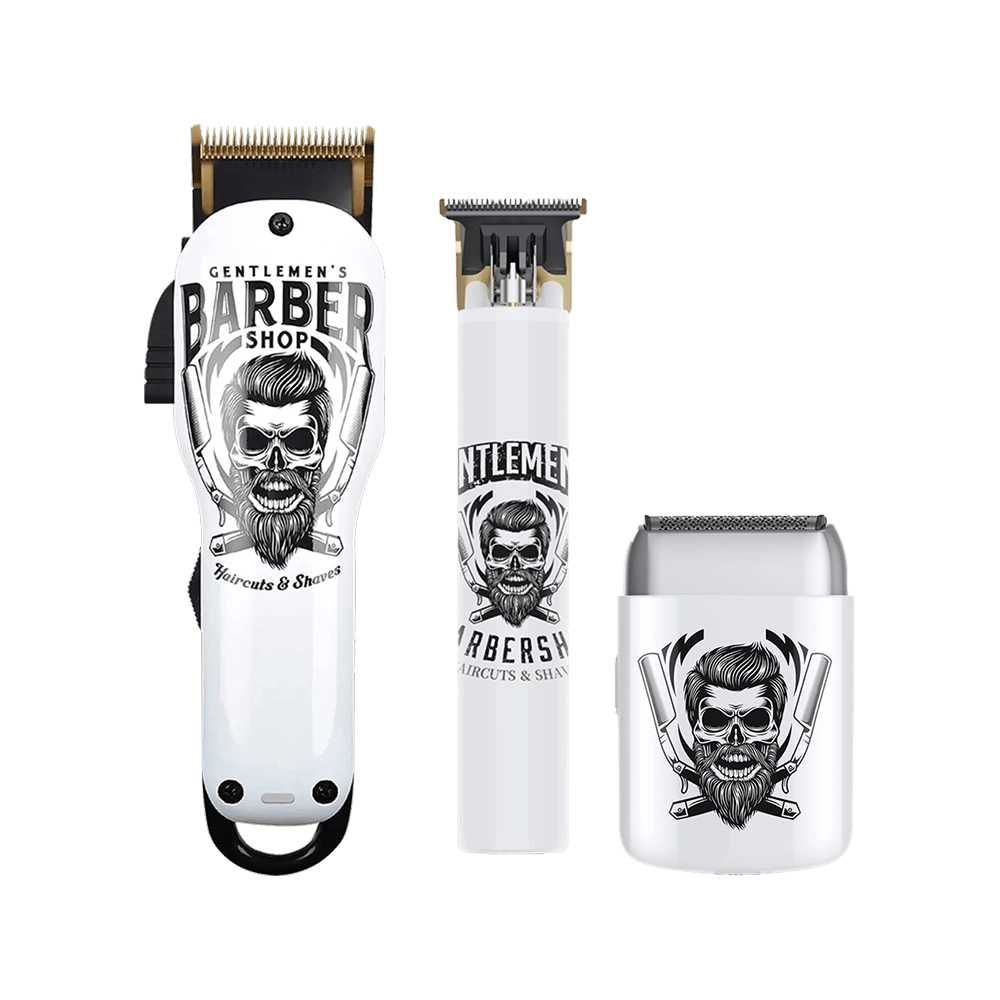
Creating professional skin fades and taper fades requires specialized hair clippers with adjustable taper levers for seamless blending, powerful motors (6,000+ RPM) that cut smoothly through multiple guard transitions, and close-cutting fade blades that work alongside detail trimmers and foil shavers for crisp guidelines and bald finishes. This comprehensive guide covers the best clippers for fading, essential tools, fade technique, guard progressions, and achieving barber-quality fades at home.
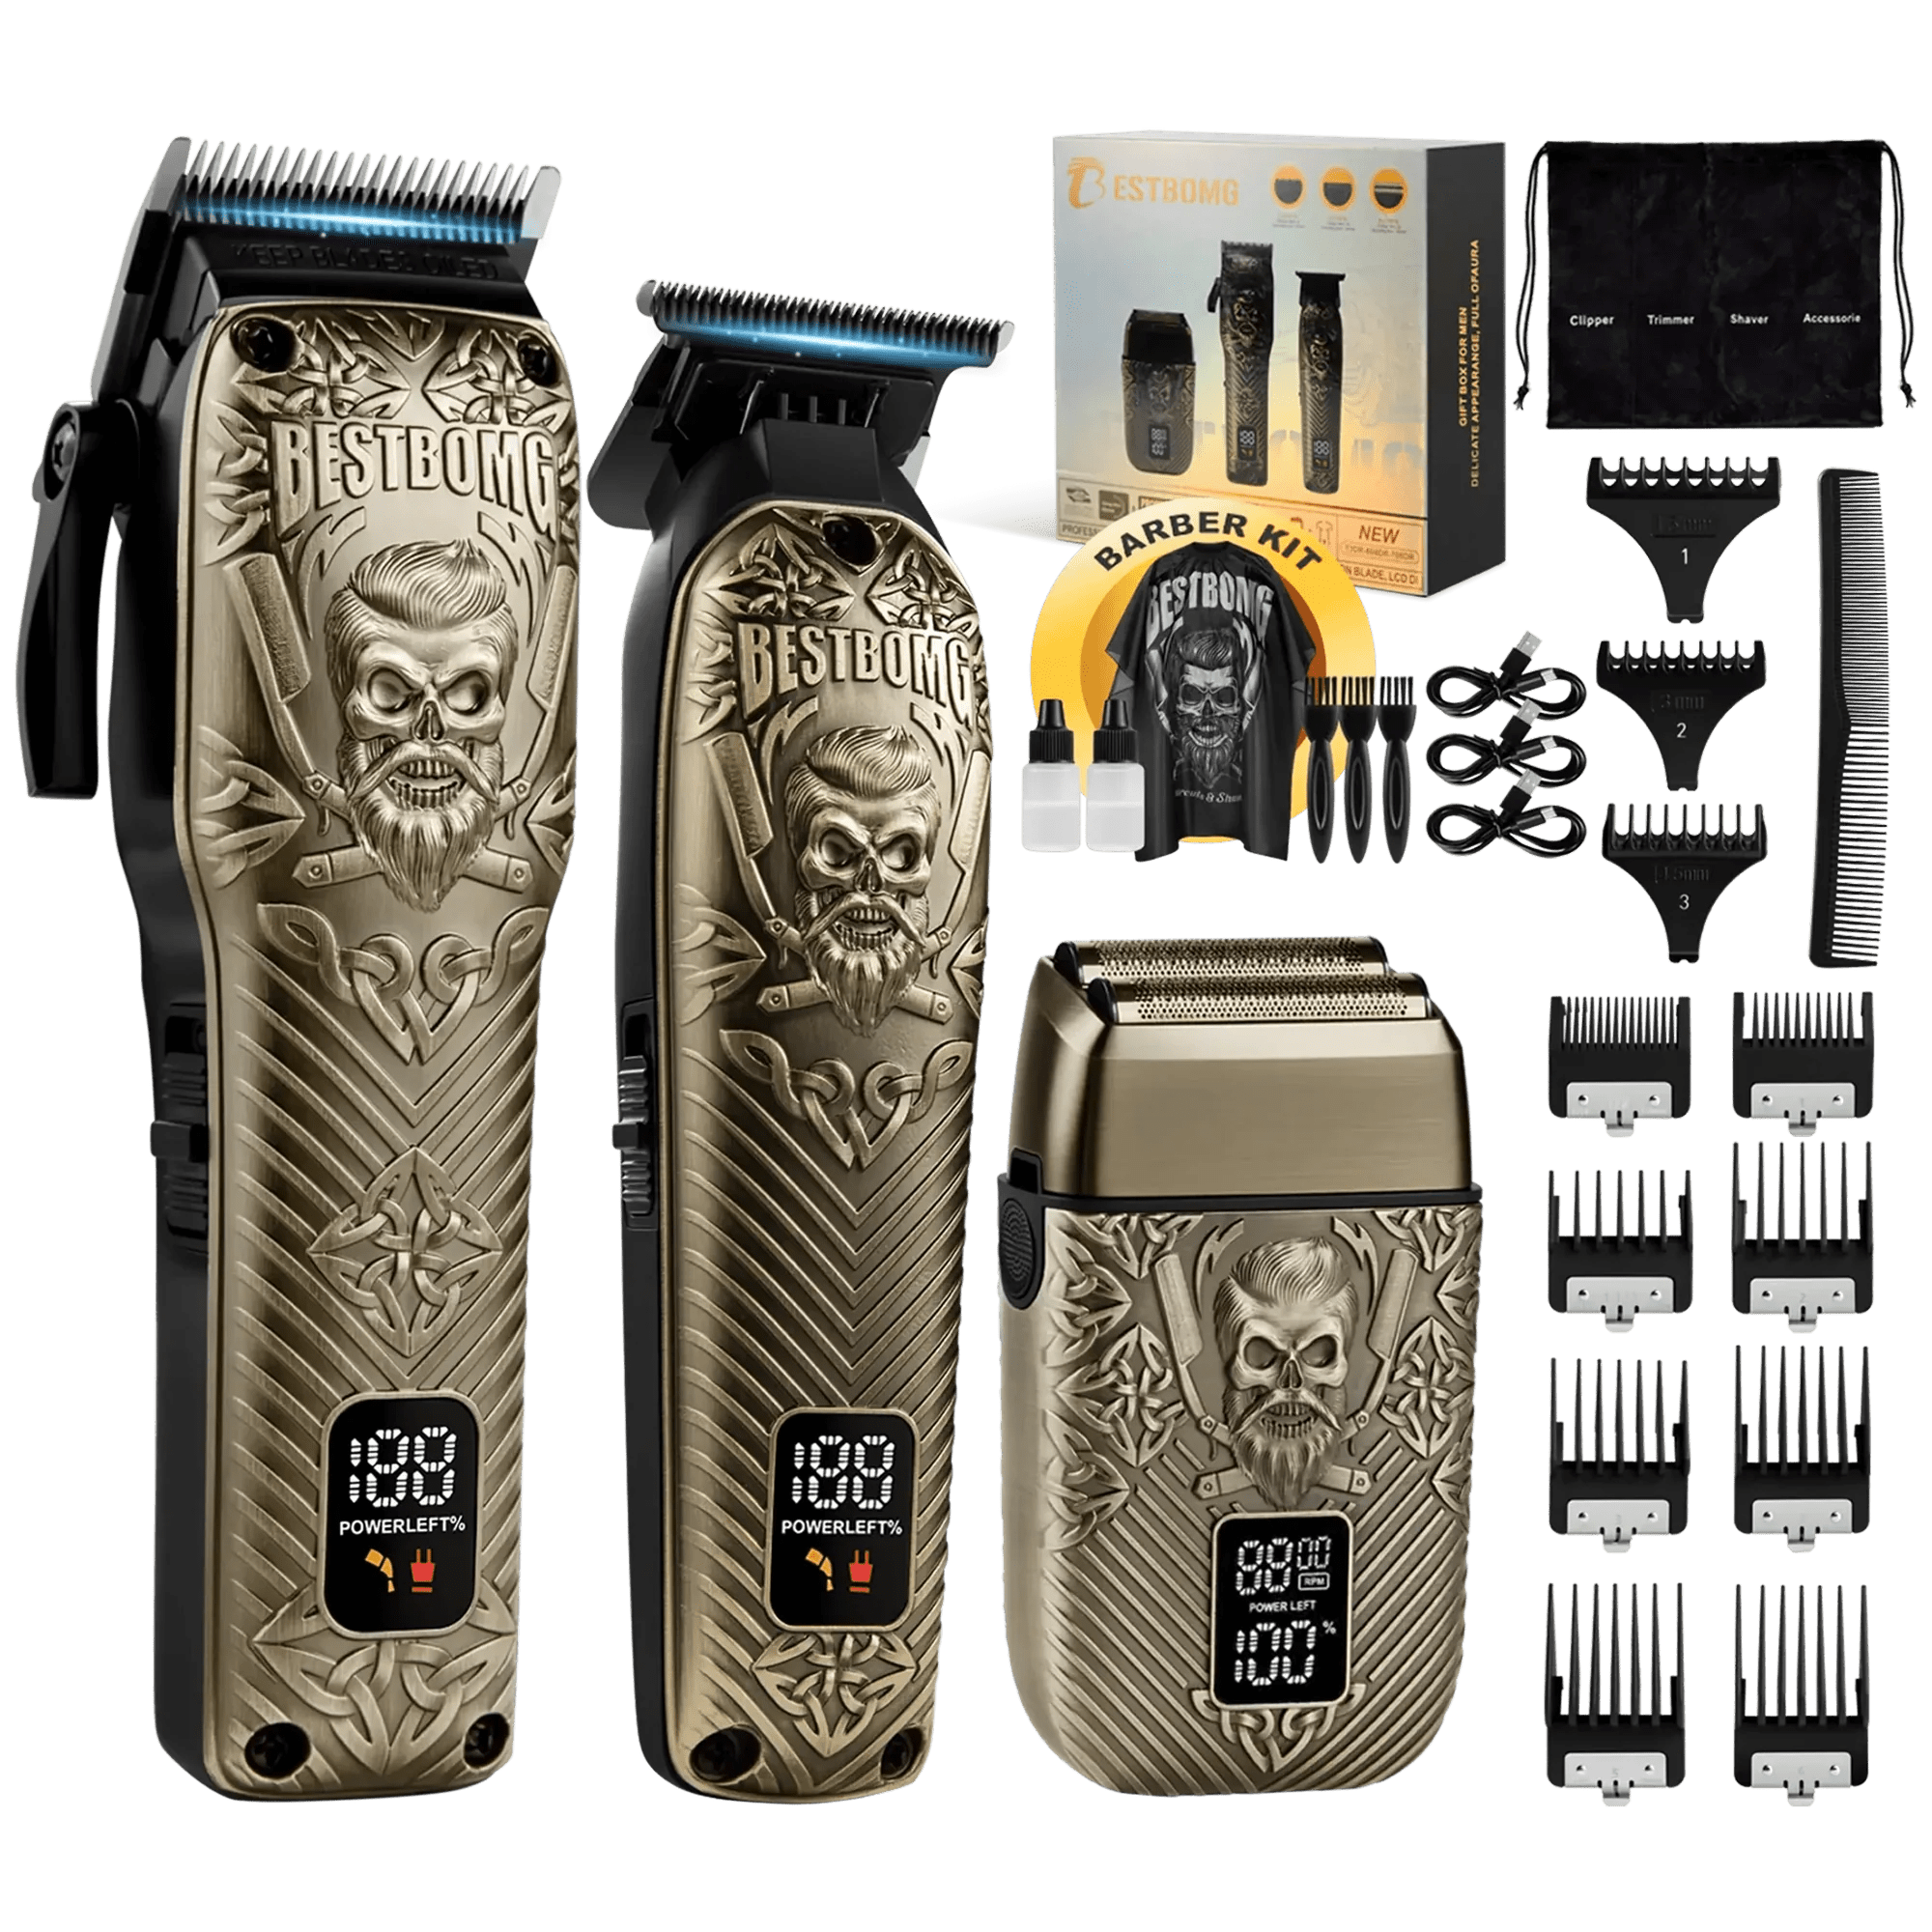
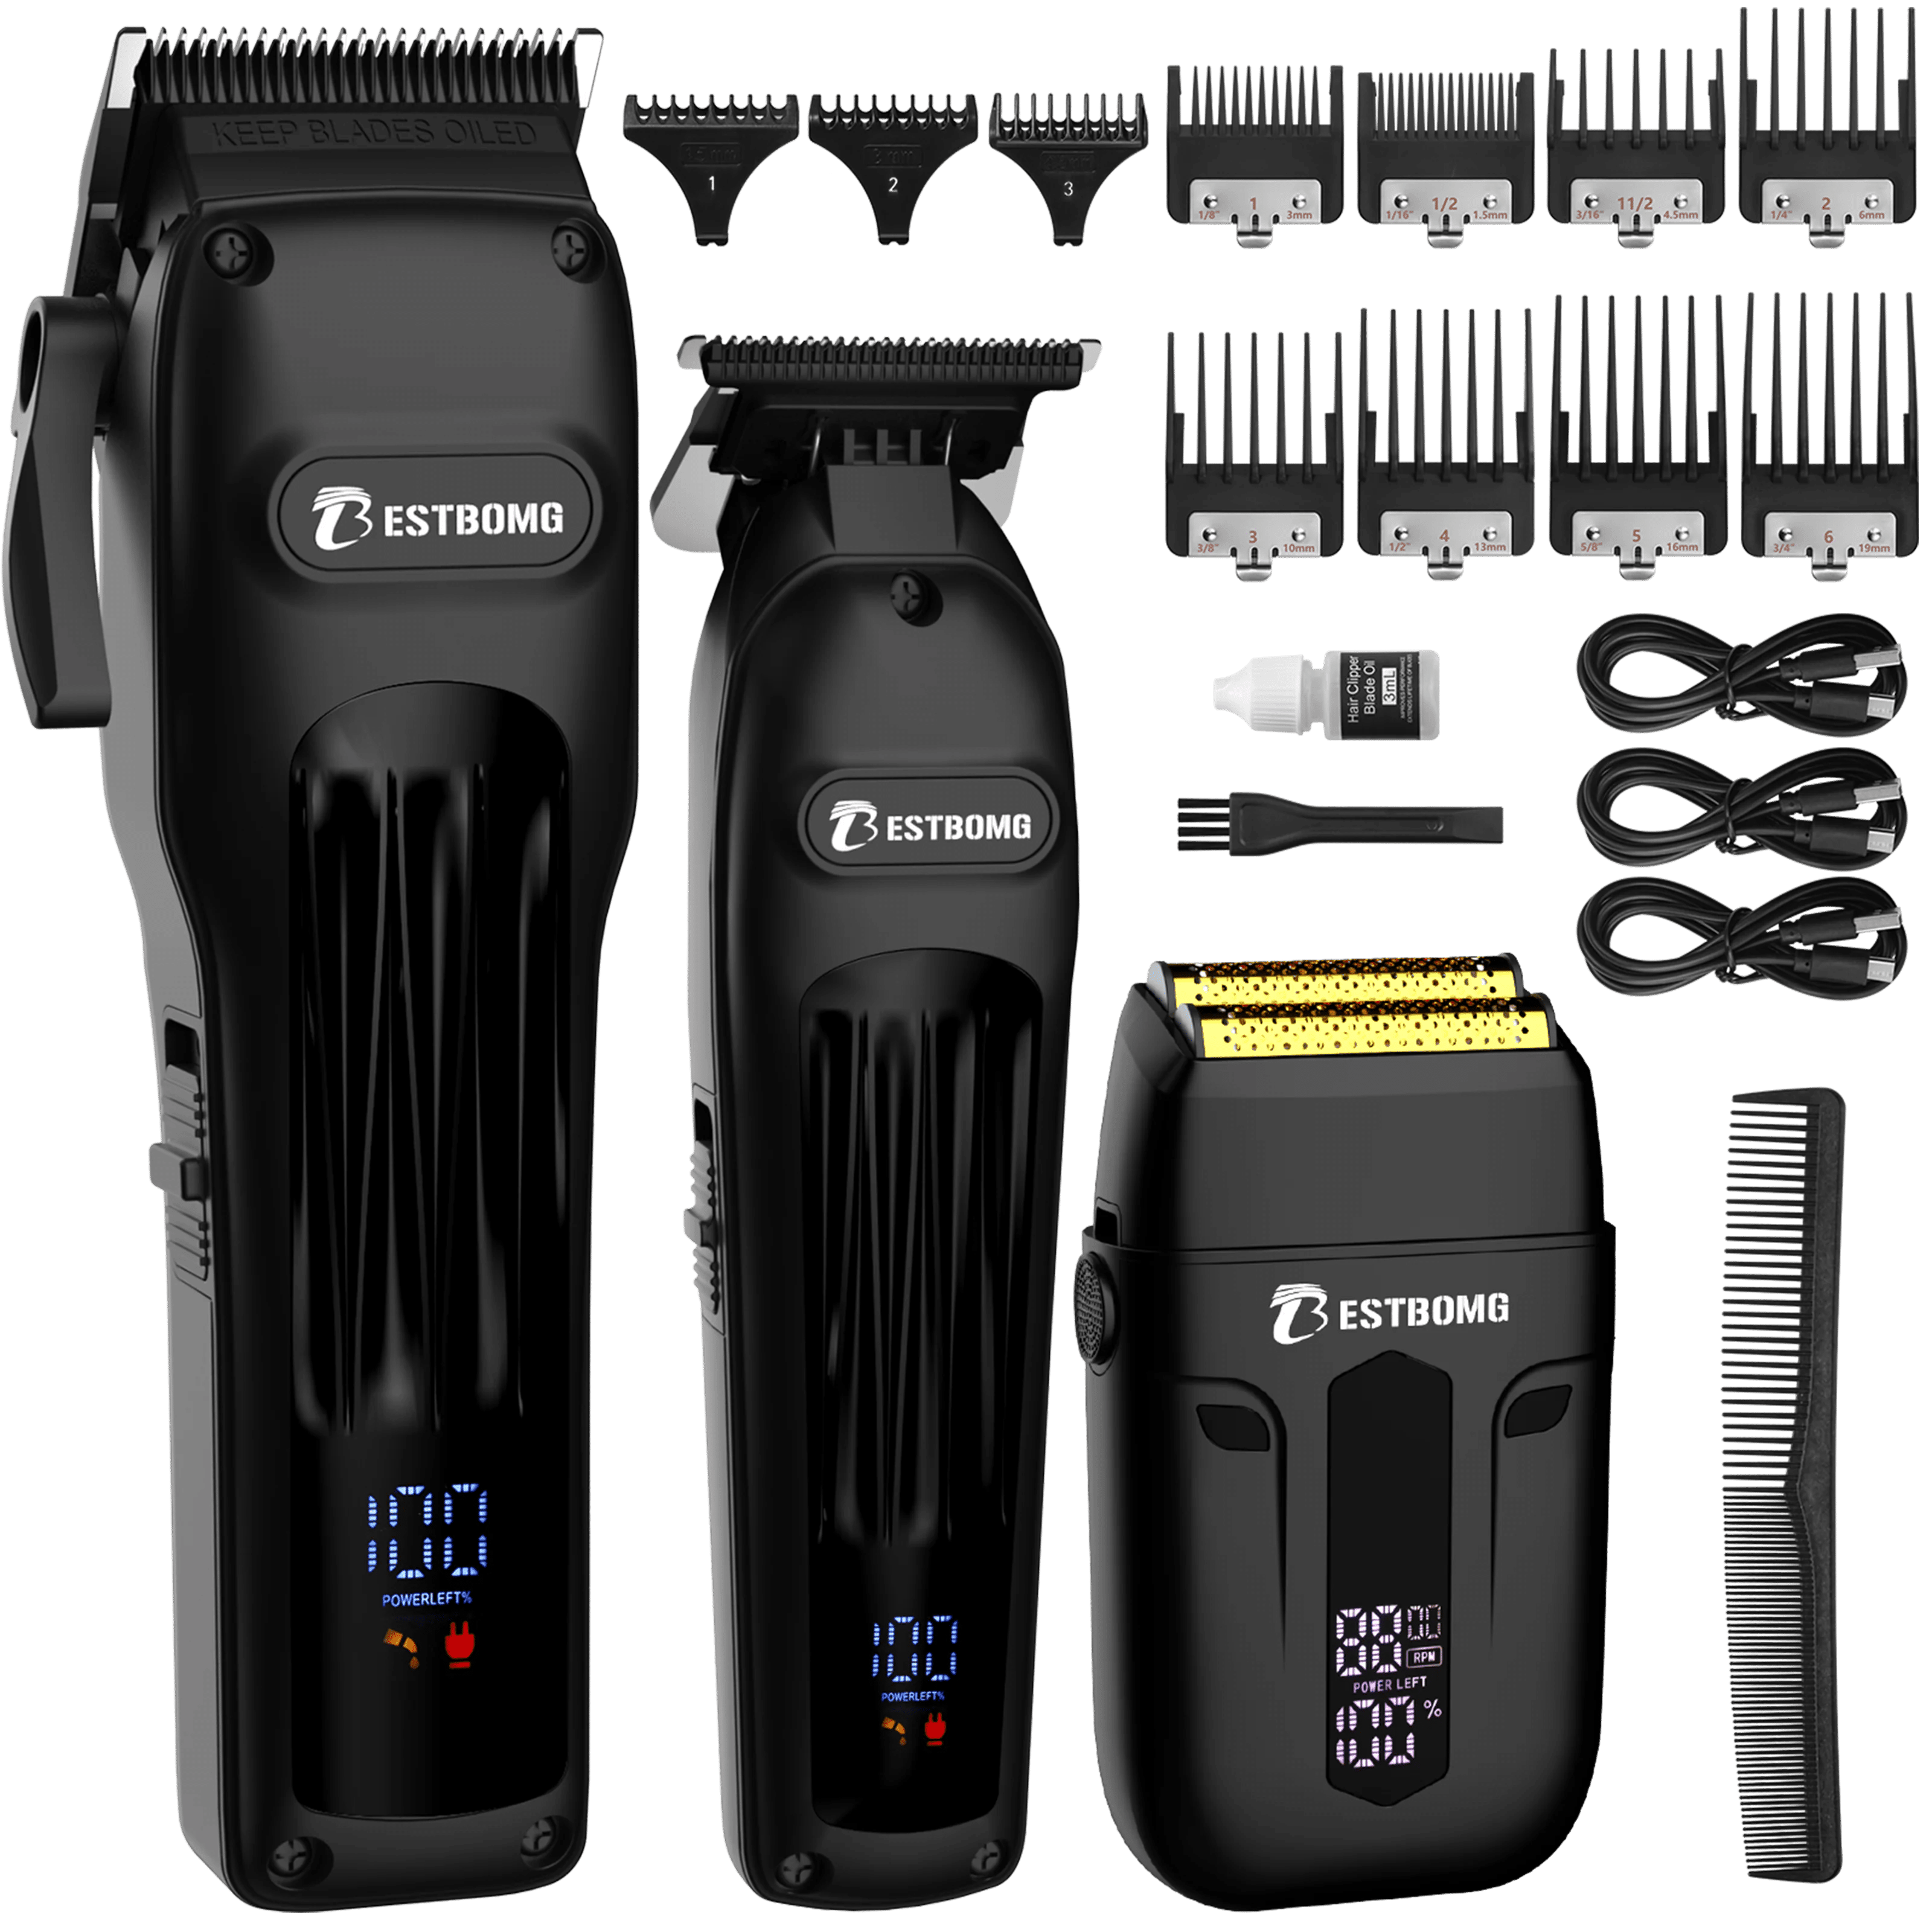
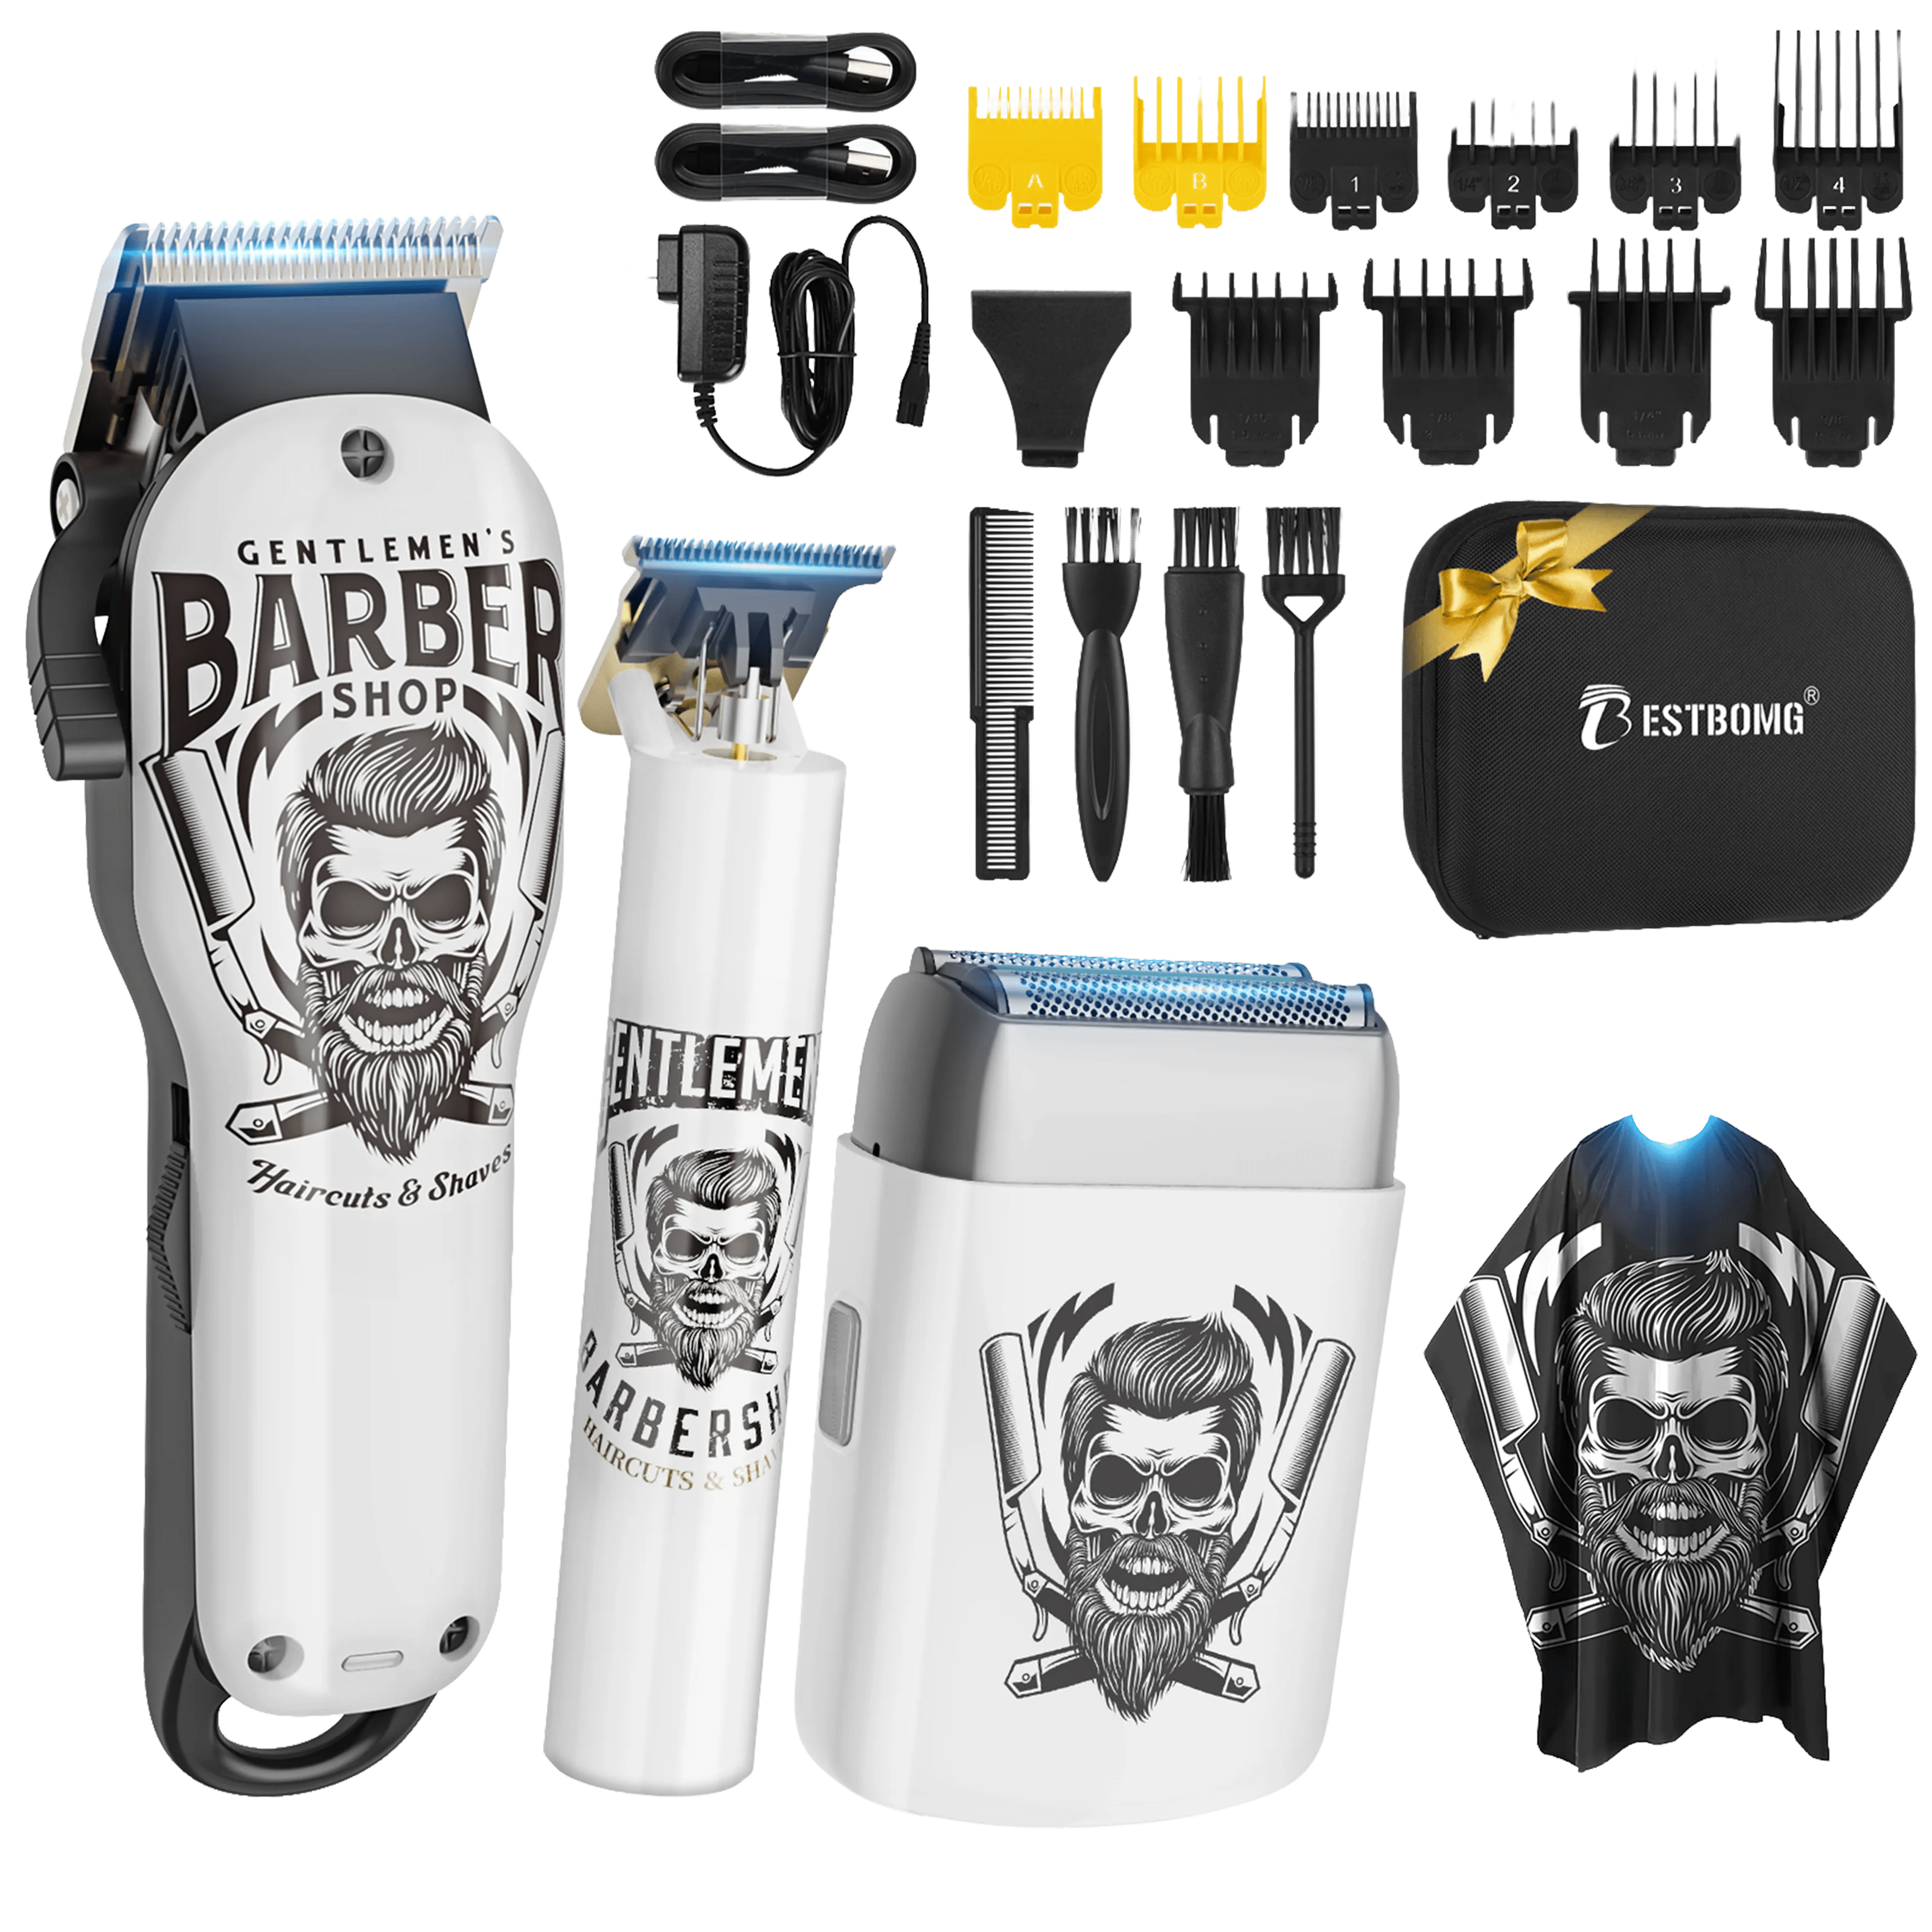
Essential Tools for Perfect Fades

The 3-Tool Fade System
1. Main Clipper (with Taper Lever):
- Purpose: Bulk removal, blending, fade transitions
- Features: Adjustable taper lever (0.5mm range), powerful motor, fade blade
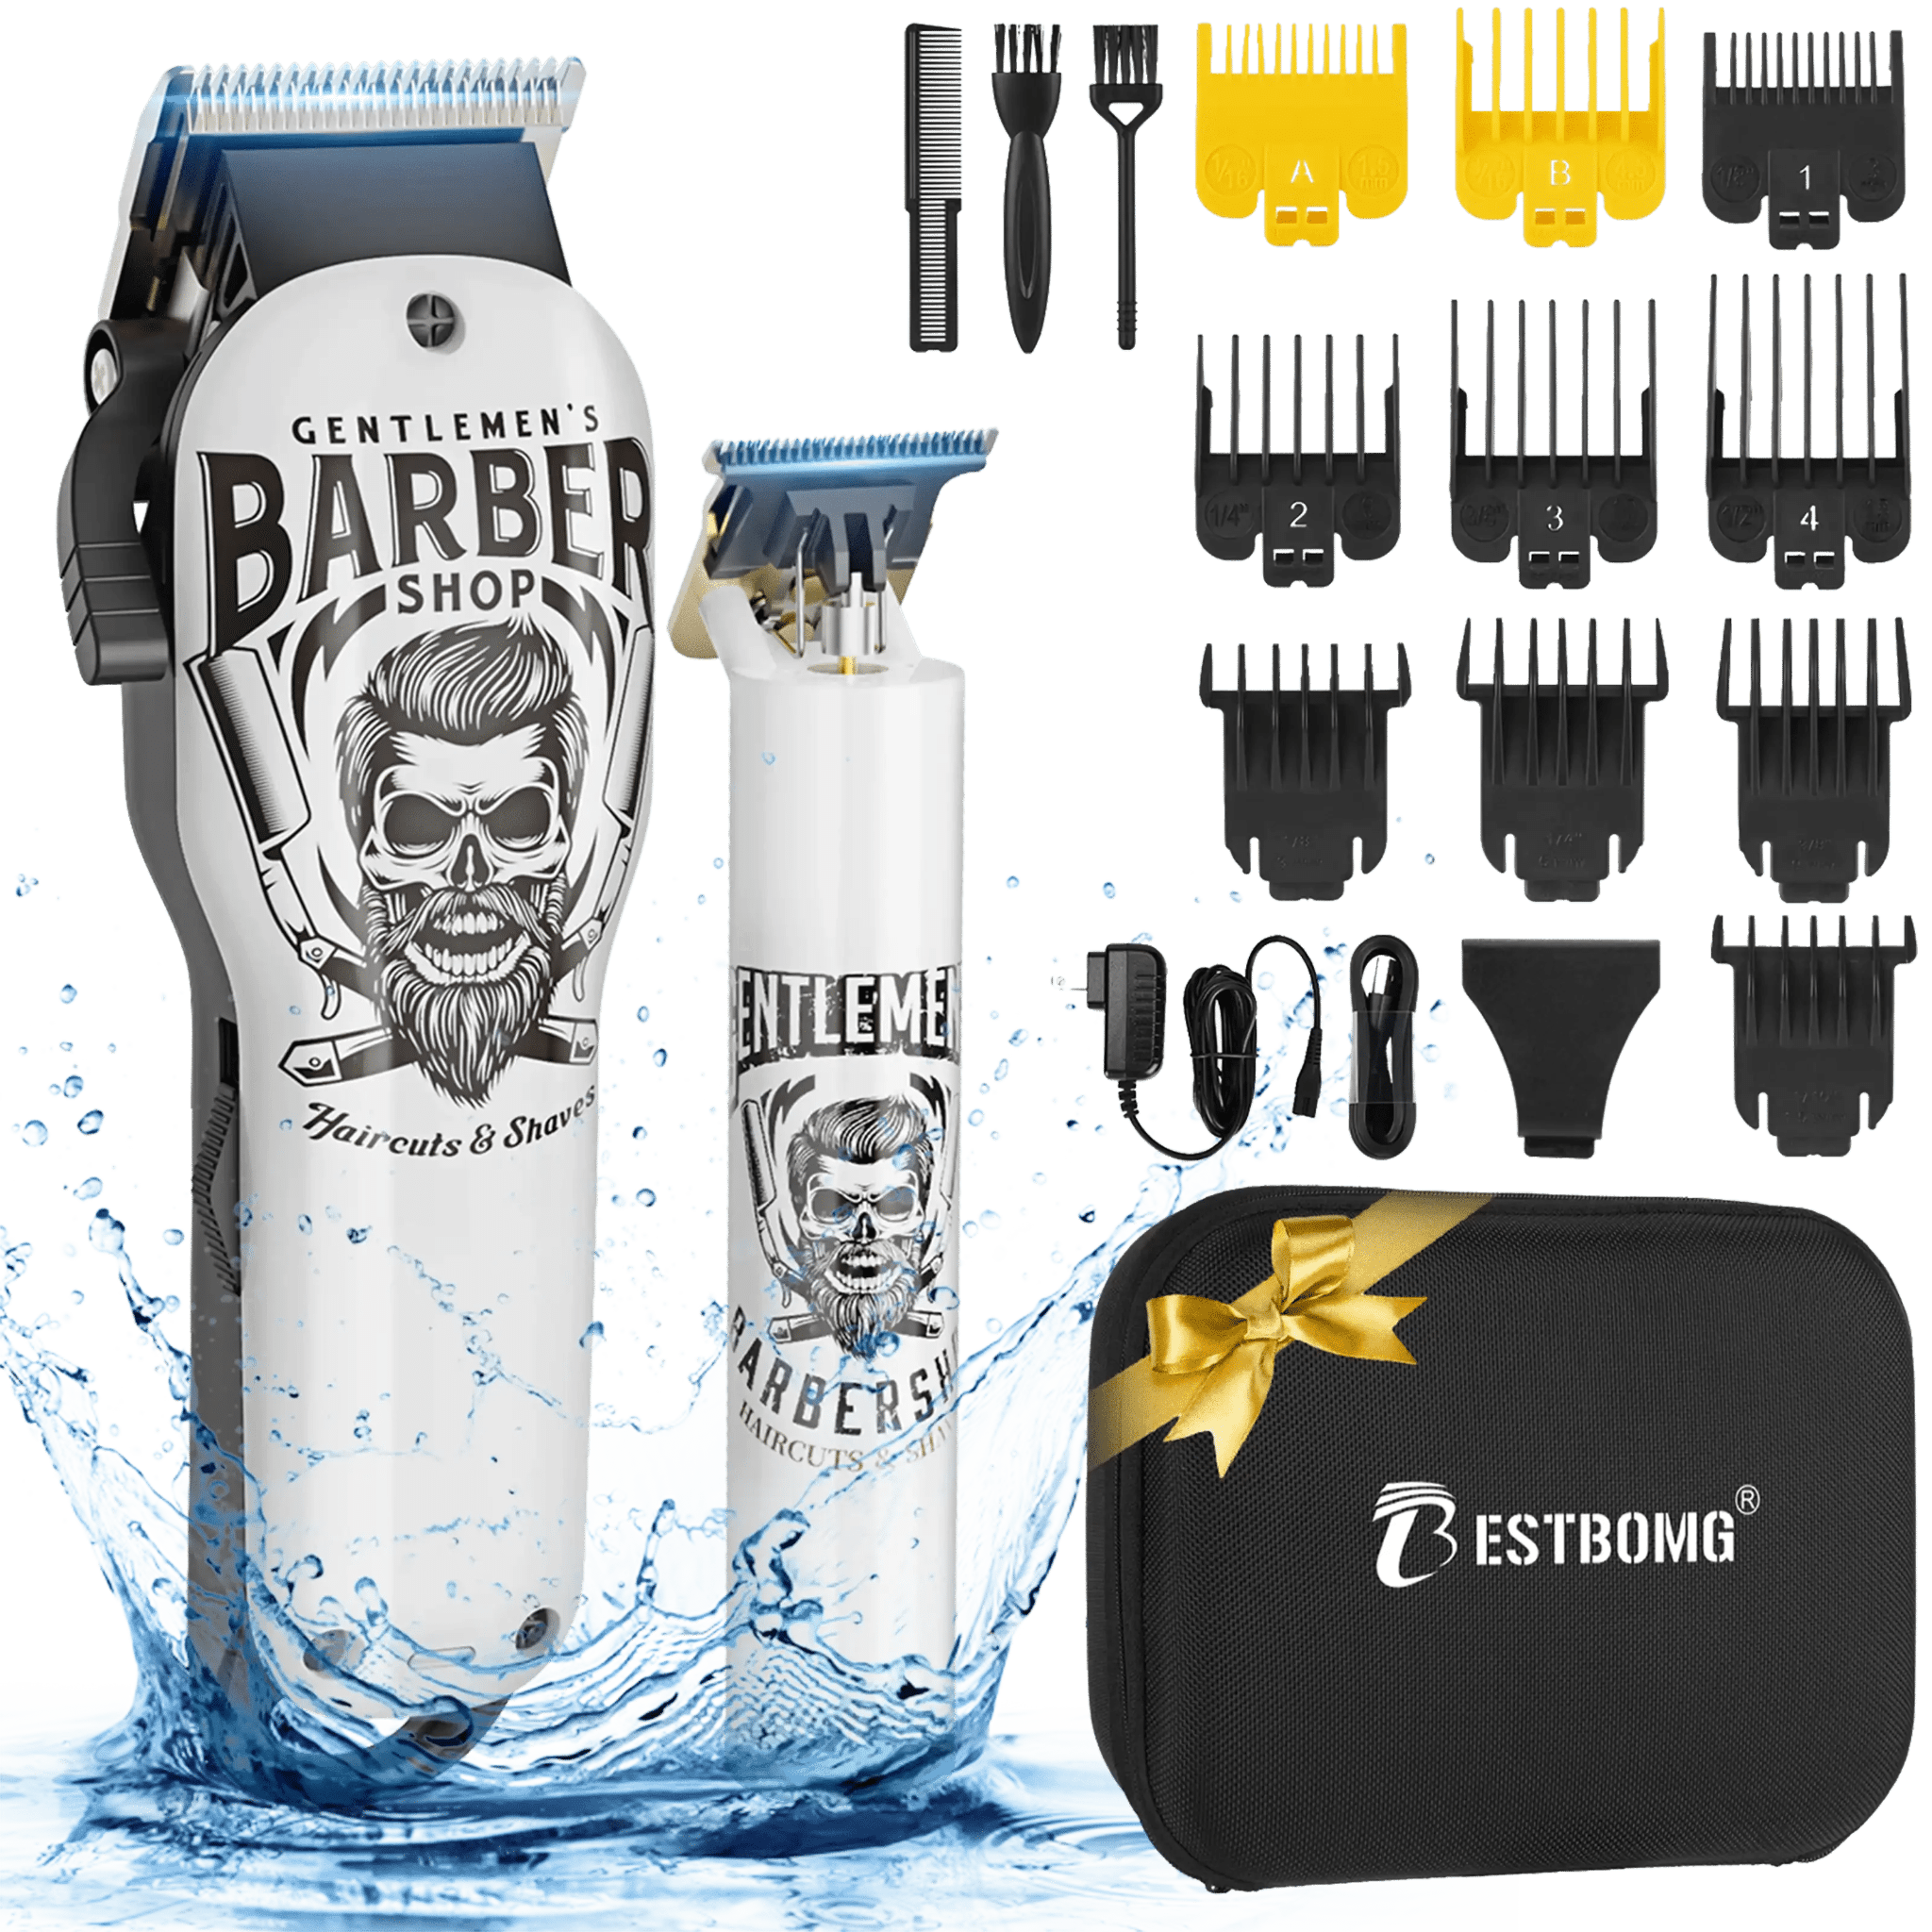
- Examples: Wahl Magic Clip, Andis Master, BaBylissPRO FX3
2. Detail Trimmer (T-Blade):
- Purpose: Create guideline, outline hairline, edges
- Features: Zero-gap capable, T-blade design, precision cutting
- Examples: Wahl Detailer, BaBylissPRO FX3 Trimmer, Andis T-Outliner
3. Foil Shaver:
- Purpose: Bald out skin fade base, smooth finish
- Features: Ultra-close shaving, removes stubble, polished appearance
- Examples: Andis TS-1, Wahl Vanquish, Braun Series 5
For technical background on hair clipper mechanics and fade blade design, see comprehensive overview.
Best Hair Clippers for Fades

Best Overall: Wahl 5-Star Magic Clip
Professional Fade Excellence:
- Stagger-tooth blade (smoother blending than standard)
- V9000 motor (6,000 RPM, powerful cutting)
- Adjustable taper lever (essential for fades)
- Cordless (90+ minute runtime)
- Lightweight (10.2 oz, easy maneuvering)
Best For: Home fades, professional results, cordless convenience
Best High-Performance: Andis Master Cordless
Versatile Power:
- 7,200 RPM rotary motor (cuts all hair types)
- Fade blade (close cutting)
- All-metal construction (durable)
- 120-minute runtime (cordless freedom)
- Adjustable taper lever
Best For: Thick hair, all-day cutting, professional-grade home use
Best Budget Fade Clipper: Wahl Senior
Legendary Reliability:
- Electromagnetic motor (powerful, proven)
- Adjustable taper lever
- Corded (unlimited power, lower cost)
- Durable construction (lasts 10+ years)
Best For: Budget-conscious buyers, corded tolerance, thick hair
Best Premium: BaBylissPRO GoldFX+
High-End Performance:
- Ferrari-designed 7,200 RPM motor
- Gold titanium fade blade (runs cool, sharp)
- All-metal housing (luxury build)
- High-torque cutting (effortless fades)
Best For: Premium performance, professional barbers, investment quality
Best Cordless Value: Andis ReVite
Quality Mid-Range:
- Rotary motor (professional-grade)
- Cordless (freedom of movement)
- Adjustable taper (fade essential)
- All-metal construction
Best For: Home barbers, quality on budget, cordless preference
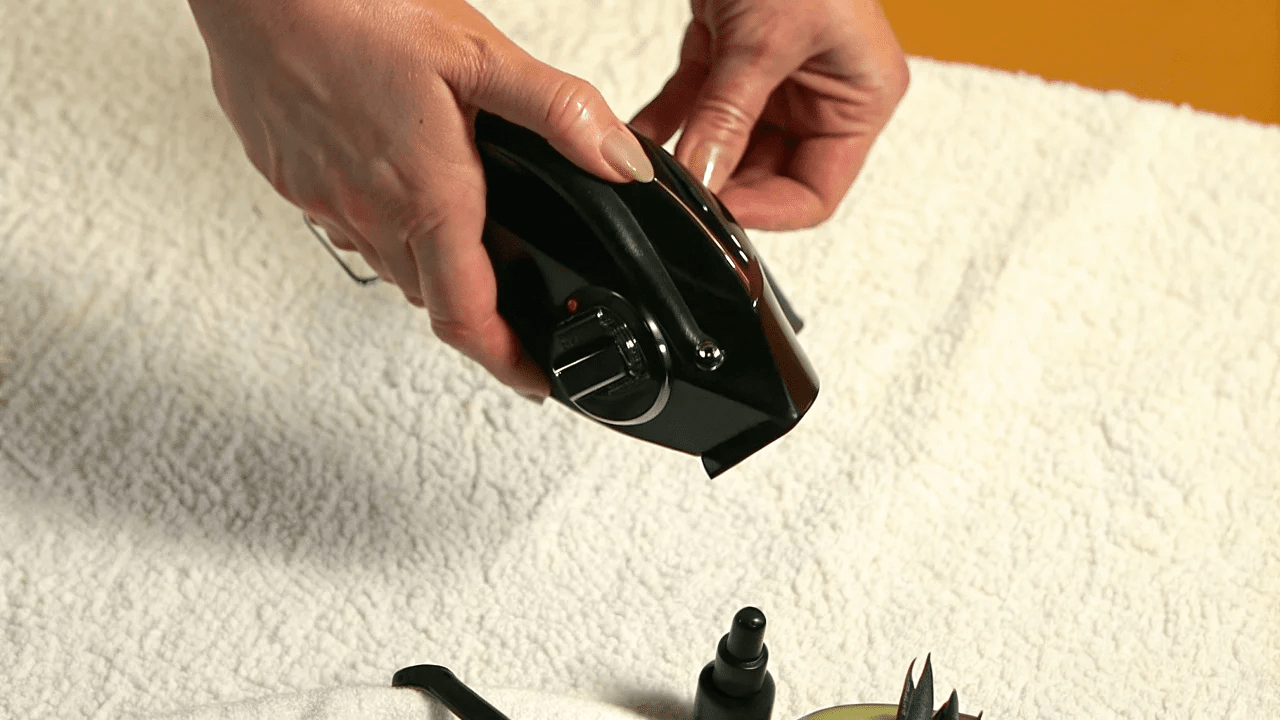
Understanding the Taper Lever

What It Does
Micro-Adjustments:
- Open lever: Cuts longer (3mm with #1 guard)
- Closed lever: Cuts shorter (1.5mm with #1 guard)
- 0.5mm range (5 positions typically)
Why It Matters:
- Seamless blending between guard sizes
- No harsh lines (smooth transitions)
- Essential for fades (creates gradual length changes)
- Saves time (fewer guard changes needed)
How to Use for Fades
Blending Technique:
- Start with open lever (longer cutting)
- Make upward pass
- Close lever halfway (shorter)
- Make another pass (overlapping previous)
- Close lever fully (shortest)
- Final blending pass
Result: Smooth transition between two guard lengths using lever alone.
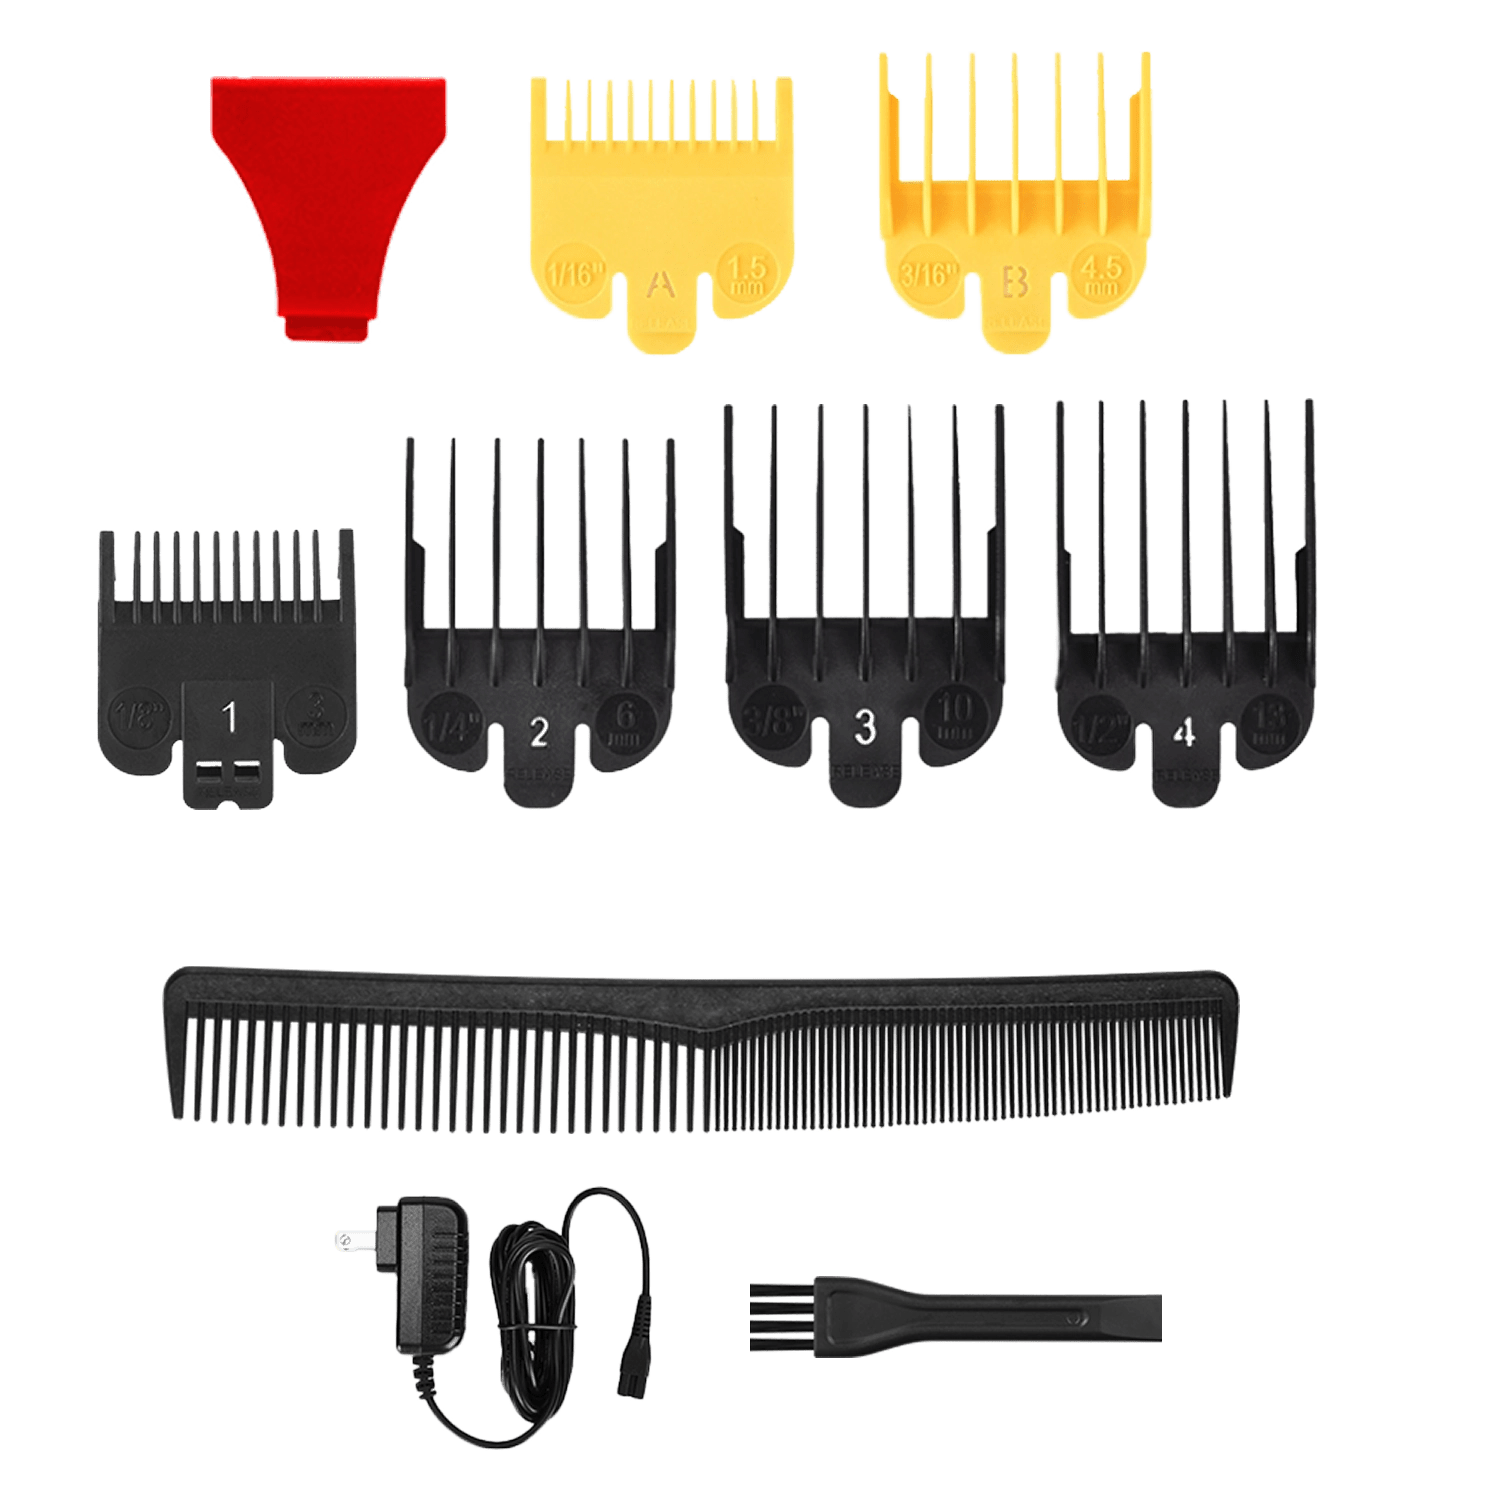
Fade Types & Guard Progressions
Skin Fade (Bald Fade)
Guard Progression:
- Bald (foil shaver): Bottom section
- No guard (clipper, closed lever): Just above bald
- #0.5 guard: Transition zone
- #1 guard (open/closed lever): Blending
- #2+ guards: Top section
Difficulty: Advanced (requires trimmer guideline + shaver + blending)
Time: 30–45 minutes
Taper Fade
Guard Progression:
- #1 guard (closed lever): Bottom
- #1 guard (open lever): Lower middle
- #2 guard (closed/open lever): Upper middle
- #3+ guard: Top
Difficulty: Moderate (standard fade technique)
Time: 20–30 minutes
Drop Fade
Guard Progression:
- Similar to taper fade
- Fade line drops behind ear (follows head curve)
- Requires more blending around ear area
Difficulty: Advanced (curved guideline challenging)
Time: 35–50 minutes
Step-by-Step Fade Technique
Preparation
- Clean, dry hair (wet hair clogs clippers)
- Choose fade type (skin, taper, drop)
- Assemble tools (clipper, trimmer, shaver, guards)
Creating the Fade
Step 1: Bulk Removal
- Use #2 or #3 guard (remove initial length)
- Cut sides and back to manageable length
- Leave top longer for contrast
Step 2: Create Guideline
- Use detail trimmer (T-blade, no guard)
- Create clean line where fade will end (typically 1–2 inches above ear)
- Go all around head (consistent height)
Step 3: Bald Out Base (Skin Fades Only)
- Use foil shaver below guideline
- Shave to skin for bald appearance
- Smooth, even finish
Step 4: Blend with Guards
- Start with #1 guard, open lever
- Cut above guideline (1–2 inches)
- Close lever halfway for next pass (overlapping)
- Close lever fully for final pass
- Repeat with #1.5 or #2 guard (move higher on head)
Step 5: Final Blending
- Use lever adjustments to eliminate any visible lines
- Flick motion at transition zones
- Check all angles in mirror
- Multiple light passes better than one heavy pass
Common Fade Mistakes
Guideline Too High:
- Problem: Fade looks unnatural, too much bald area
- Solution: Start conservative (1–2 inches above ear), can always go higher
Pressing Too Hard:
- Problem: Creates harsh lines, uneven blending
- Solution: Light pressure, multiple passes, trust the lever
Not Using Taper Lever:
- Problem: Visible demarcation lines between guards
- Solution: Use open/closed lever positions for gradual blending
Rushing:
- Problem: Missed spots, uneven transitions
- Solution: Take time, check work frequently, multiple angles
Maintenance for Fade Clippers
After Every Fade (5 Minutes)
- Remove guards and brush out all hair
- Brush blade teeth thoroughly (hair buildup affects performance)
- Apply 2–3 drops clipper oil across moving blade
- Turn on 10 seconds (distributes oil)
- Wipe excess
- Clean trimmer blade (zero-gap blades need careful cleaning)
Why Critical: Fade work involves many passes—clean, oiled blades cut smoothly without pulling.
Weekly (Professional Use)
- Remove blade from clipper
- Deep brush all components
- Check blade alignment (affects fade quality)
- Adjust zero-gap on trimmer if needed
- Oil everything before reassembly
Blade Replacement
Professional Daily Fading:
- Sharpen blades: Every 3–6 months
- Replace blades: Every 12–18 months
Home Weekly Fading:
- Sharpen blades: Every 12 months
- Replace blades: Every 18–24 months
Frequently Asked Questions
What clippers do I need for a fade?
You need three tools for professional fades: (1) Main clipper with adjustable taper lever and fade blade (Wahl Magic Clip, Andis Master), (2) Detail trimmer with T-blade for guidelines (Wahl Detailer, Andis T-Outliner), (3) Foil shaver for skin fade base (Andis TS-1). The taper lever is non-negotiable—it enables seamless blending between guard lengths.
What is the difference between taper and skin fade?
Taper fade gradually blends from short (#1) at bottom to longer (#2–#4) at top, leaving visible short hair at base. Skin fade (bald fade) uses foil shaver to create completely bald base, then fades up to longer hair. Skin fades require trimmer + shaver + clipper; taper fades need only clipper with lever.
Can beginners do fades at home?
Yes, but start with simple taper fades before attempting skin fades. Use #1 (bottom) → #2 (middle) → #3 (top) progression with taper lever for blending. Practice on willing friends/family first. Expect 5–10 attempts before achieving clean fades. Watch tutorial videos, take time, use light pressure, and leverage the taper lever extensively.
What guards do you need for taper fade?
Minimum guards for taper fades: #1, #2, #3 (some include #1.5, #2.5 for finer control). Half-guards (#0.5, #1.5, #2.5) make blending easier but aren't essential if clipper has taper lever. Most complete sets include #1–#8; fade-focused sets add half-sizes. The taper lever does much of the work between guards.
How do you blend a fade with clippers?
Blending technique: (1) Start with guard + open taper lever (longer cut), (2) Make upward pass through transition zone, (3) Close lever halfway for next overlapping pass (shorter), (4) Close lever fully for final pass (shortest), (5) Repeat with next guard size up. Use light pressure and flicking motion at blend points. Multiple light passes create seamless transitions.
Do you need cordless clippers for fades?
No, but cordless clippers make fading easier by allowing unrestricted movement around head curves without cord interference. Corded clippers (Wahl Senior, Oster Fast Feed) work perfectly well for fades—professionals use both. Cordless advantage: 360-degree freedom, especially helpful for self-fades and mobile work. Corded advantage: Unlimited power, never dies mid-fade.
Conclusion
Creating professional skin fades and taper fades requires the right tools and technique: adjustable taper lever clippers for seamless blending, detail trimmers for crisp guidelines, and foil shavers for bald bases on skin fades. Top fade clippers like the Wahl Magic Clip, Andis Master Cordless, and BaBylissPRO GoldFX+ combine powerful motors, fade-specific blades, and taper levers essential for smooth transitions.
Ready to master fades at home? Explore professional-grade hair clippers with adjustable taper levers, powerful motors, and everything needed for barber-quality fade haircuts.
Looking for something else?

How to Cut Baby Boy Hair with Clippers: Step-by-Step Guide
LEARN MORE
Do Hair Clippers Get Dull? Causes, Signs & Prevention
LEARN MORE
Can an Electric Shaver Cut You? Safety Facts & Prevention
LEARN MORE
How to Shave Balls with Electric Shaver: Safe Guide
LEARN MORELooking for something else?

Does Using Trimmer Increase Hair Growth? Facts & Myths
LEARN MORE
Best Hair Clippers for Men: Top Picks for Home & Pro Use
LEARN MORE
Best Professional Hair Clippers for Barbers: Top Picks
LEARN MOREYou may also like


Further reading
Best Hair Clippers for Perfect Fades at Home
Clipper Lever Open vs Closed: What It Means (with mm)
Why You Need a Cordless Detailer Trimmer (And How to Pick the Right One)