


Clipper Lever: How to Adjust Hair Clippers for Perfect Cuts
Whether you’re a beginner or an experienced barber, mastering the clipper lever is essential for achieving clean, precise haircuts. From tapering fades to trimming beards, understanding the hair clipper adjustment lever ensures your tools work exactly how you need them. In this guide, you’ll learn what the lever does, how to adjust it, and how it impacts your haircut style.
Lever Positioning for Classic Fade Cuts
Fades are the most common application for lever adjustments, and mastering this technique requires understanding the relationship between guard sizes and lever positions.
Low Fade Technique:
A low fade begins just above the ears and gradually transitions upward. Here's how to use your clipper lever effectively:
- Bottom section (around ears): Start with a #1 or #2 guard with the lever fully closed (down position)
- Transition zone (1-2 inches above ear): Keep the same guard but open the lever halfway—this creates a micro-transition between the short base and longer top
- Upper section (approaching temple): Switch to the next guard size (#2 or #3) with the lever closed, then gradually open it as you move upward
- Blending pass: Return with the lower guard and lever fully open, using light flicking motions to eliminate any visible lines
Lever Techniques for Beard Trimming and Shaping

When working with facial hair, the clipper lever guide principles remain the same, but the application requires more finesse due to the smaller canvas and varied growth patterns.
Creating a Tapered Beard:
Many men prefer beards that are longer on the chin and gradually shorter as they move toward the cheeks and neckline.
- Chin/mustache area: #4 or #5 guard with lever open (longest length, maximum fullness)
- Mid-cheek transition: Same guard with lever gradually closing as you move toward the sideburns
- Neckline definition: Drop down to #2 or #3 guard with lever closed for clean lines
- Final blend: Use lever-open position with light passes to soften any harsh transitions
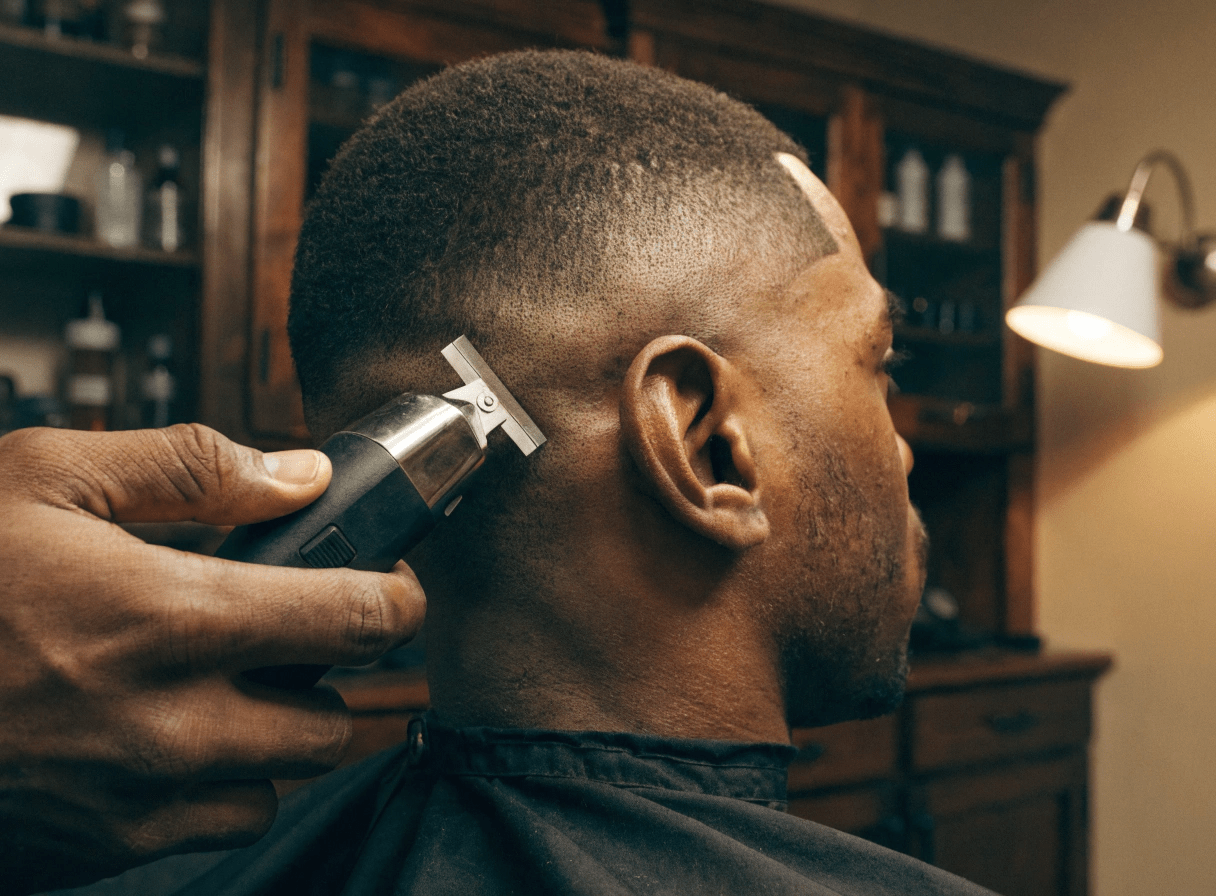
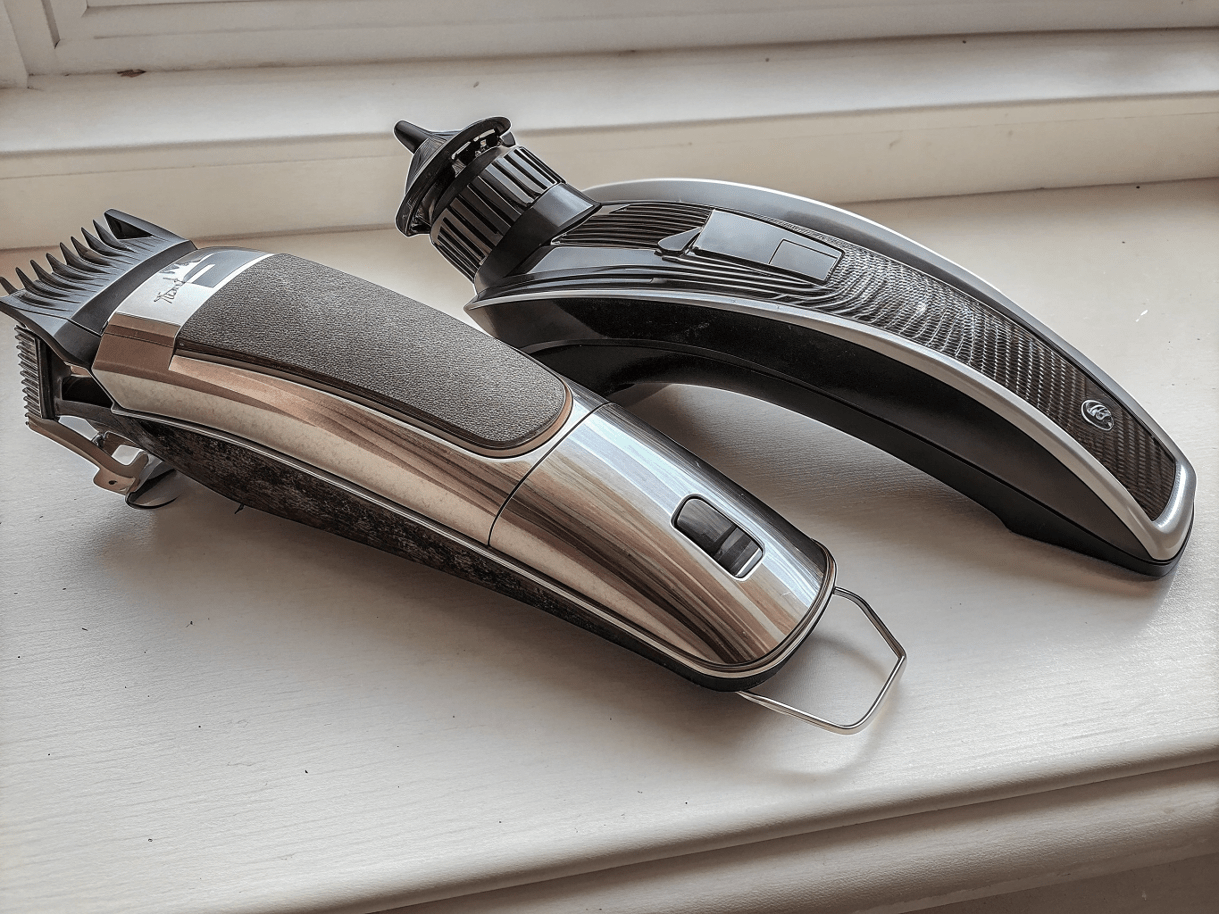
What Is a Clipper Lever?
A clipper lever is the small adjustable lever on the side of a hair clipper that changes the closeness of the cut. Moving the lever up or down alters the blade gap:
- Closed lever down: Cuts hair shorter, ideal for tight fades and close trims.
- Open lever up: Leaves hair longer, suitable for blending or leaving length.
Closed Clipper Lever Up or Down: What You Need to Know
Understanding the closed clipper lever up or down position is key for fade precision:
- Lever Down (Closed): Blade is at minimum exposure. Perfect for creating clean, tight lines around the neckline or sideburns.
- Lever Up (Open): Blade exposes more teeth, leaving a longer cut. Best for blending layers and creating soft transitions.
Tip: Always start with the lever open for longer sections and gradually close it for detailed finishing.
Hair Clipper Lever Types and Their Functions
There are generally two types of hair clipper levers:
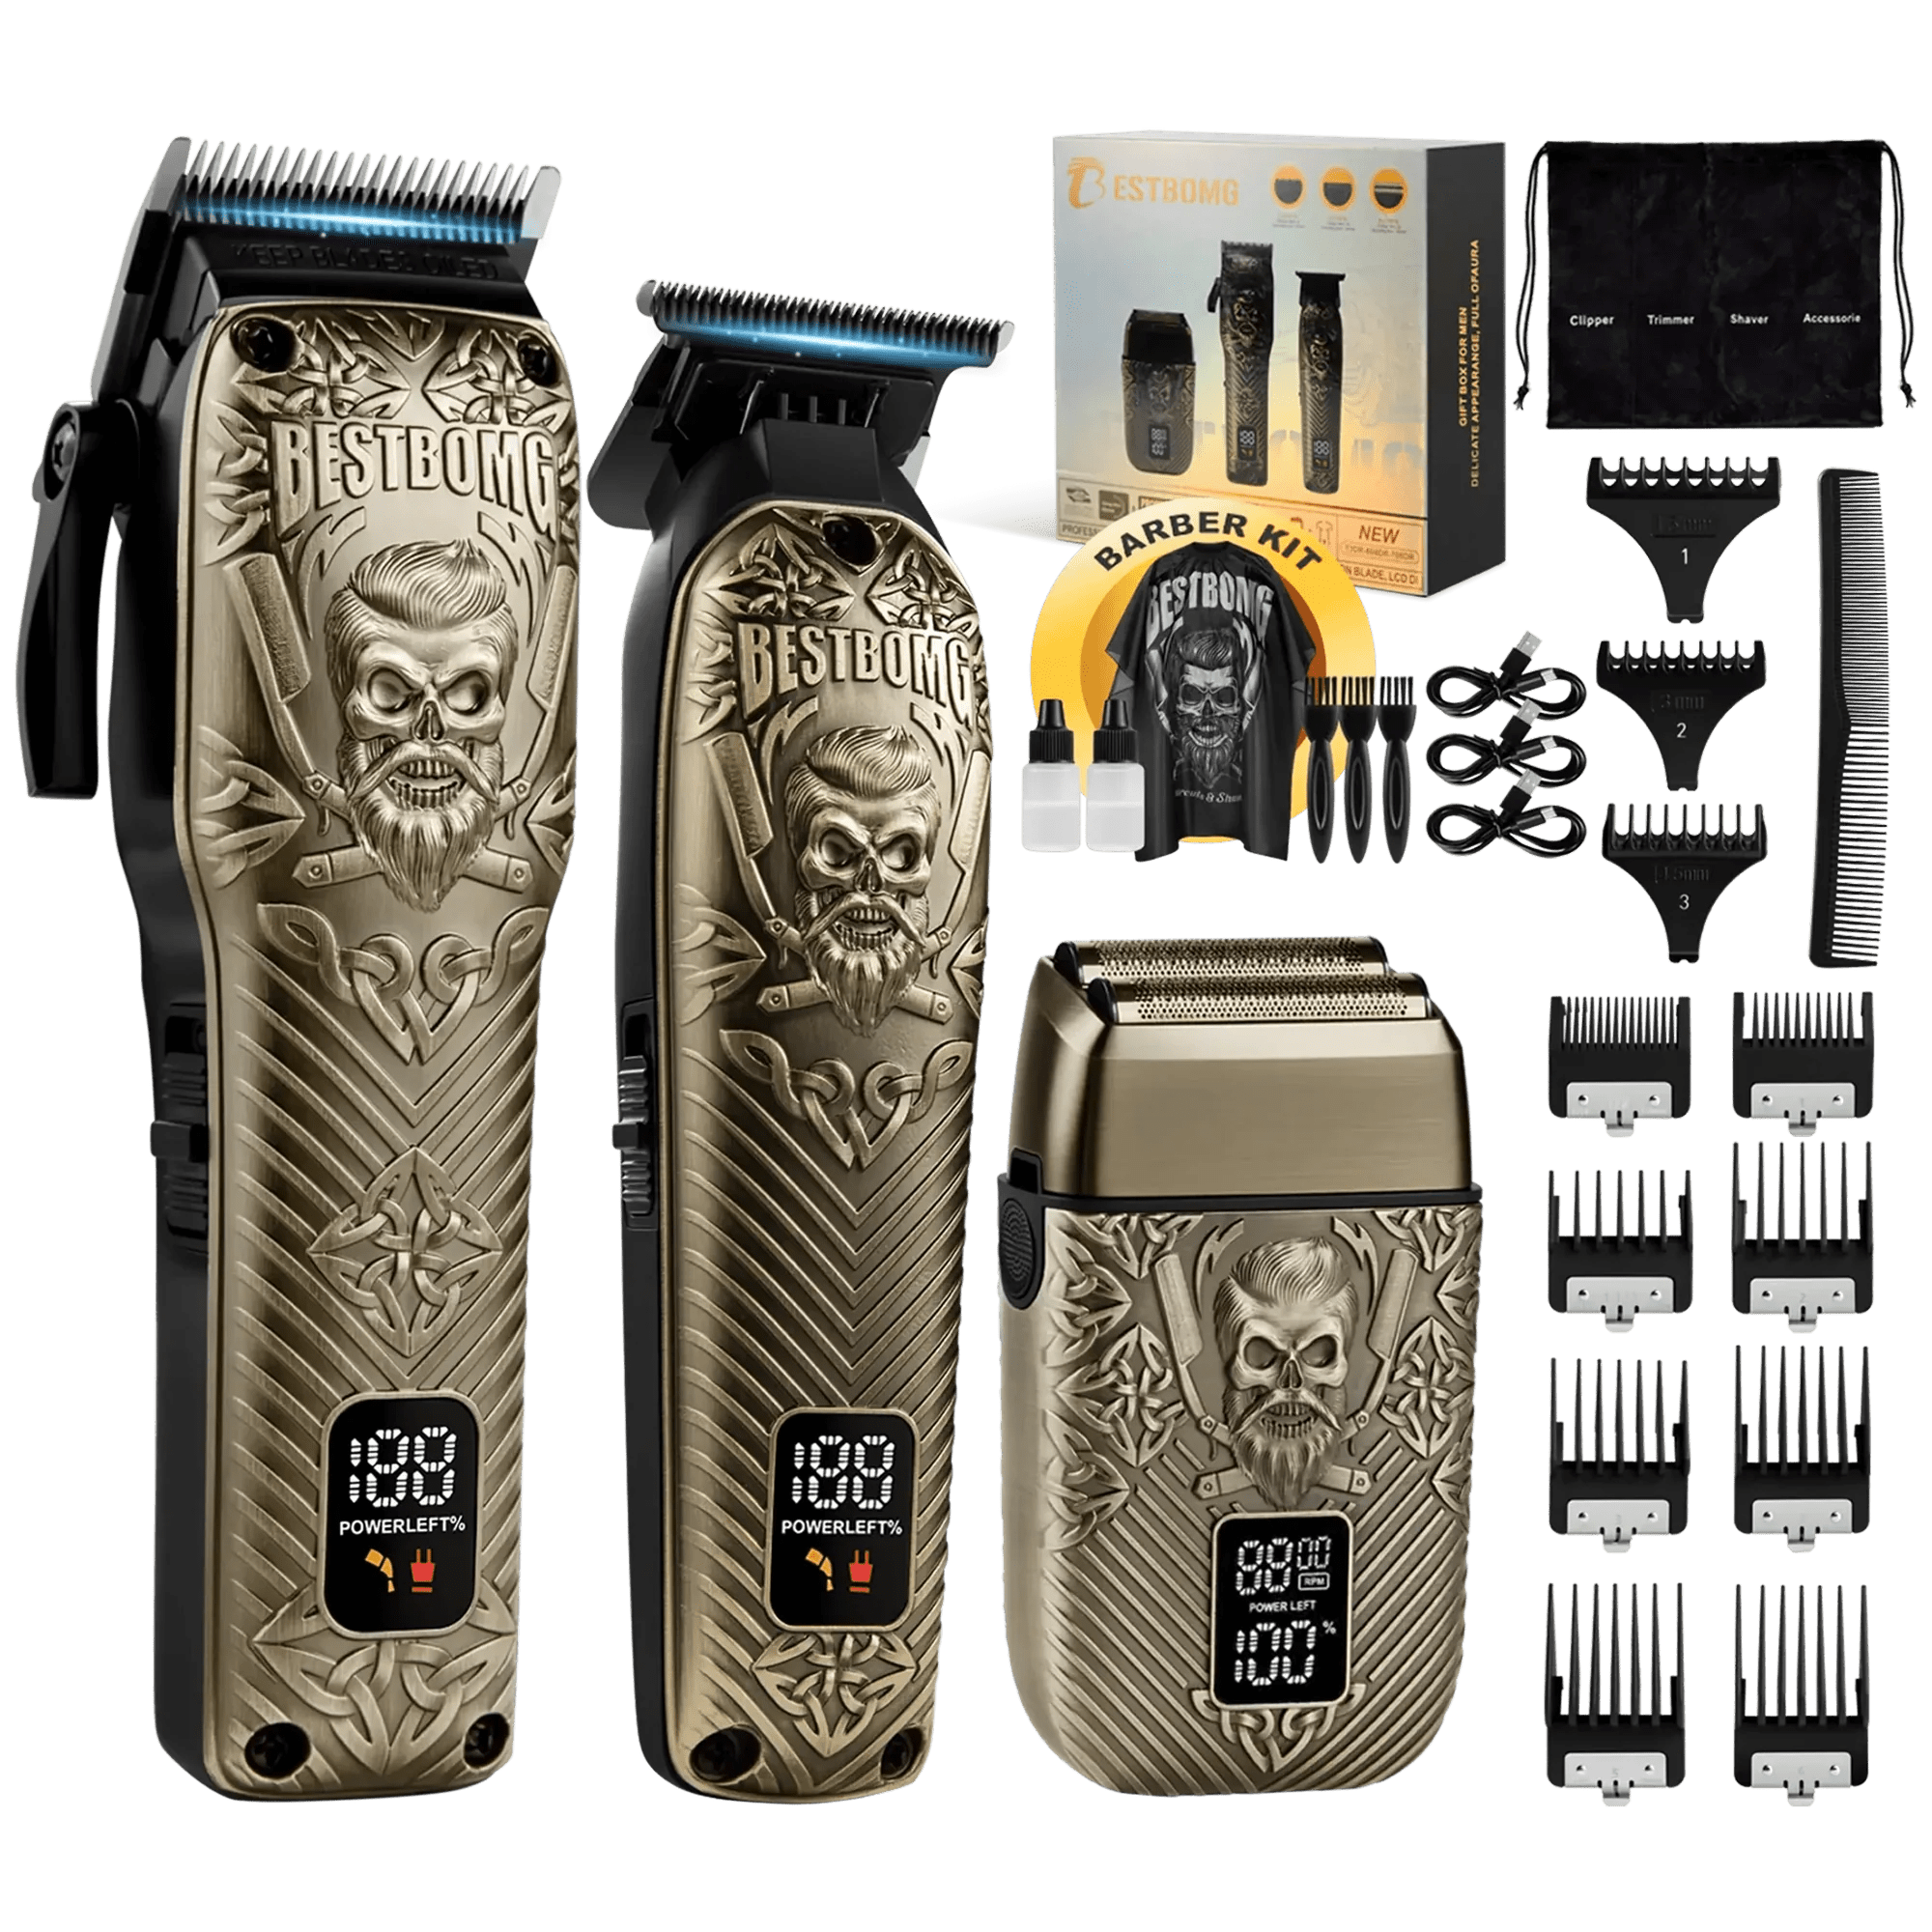
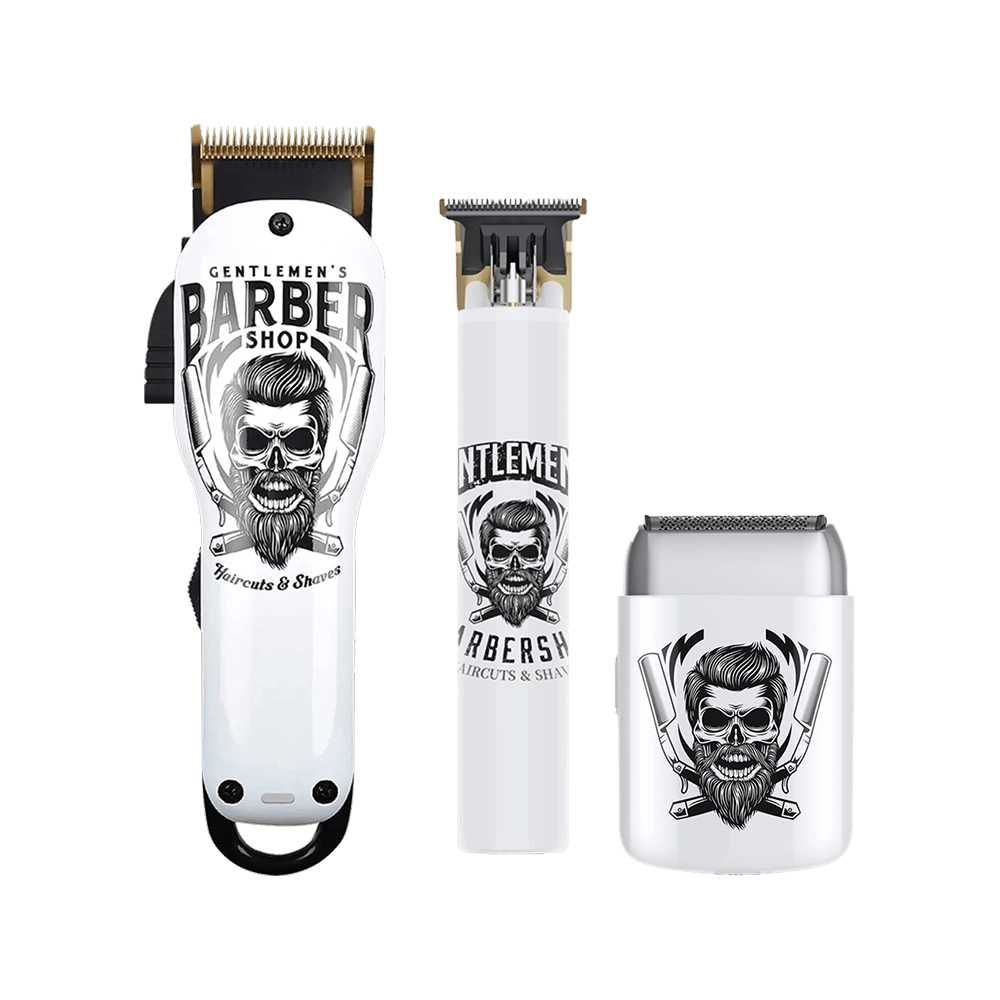
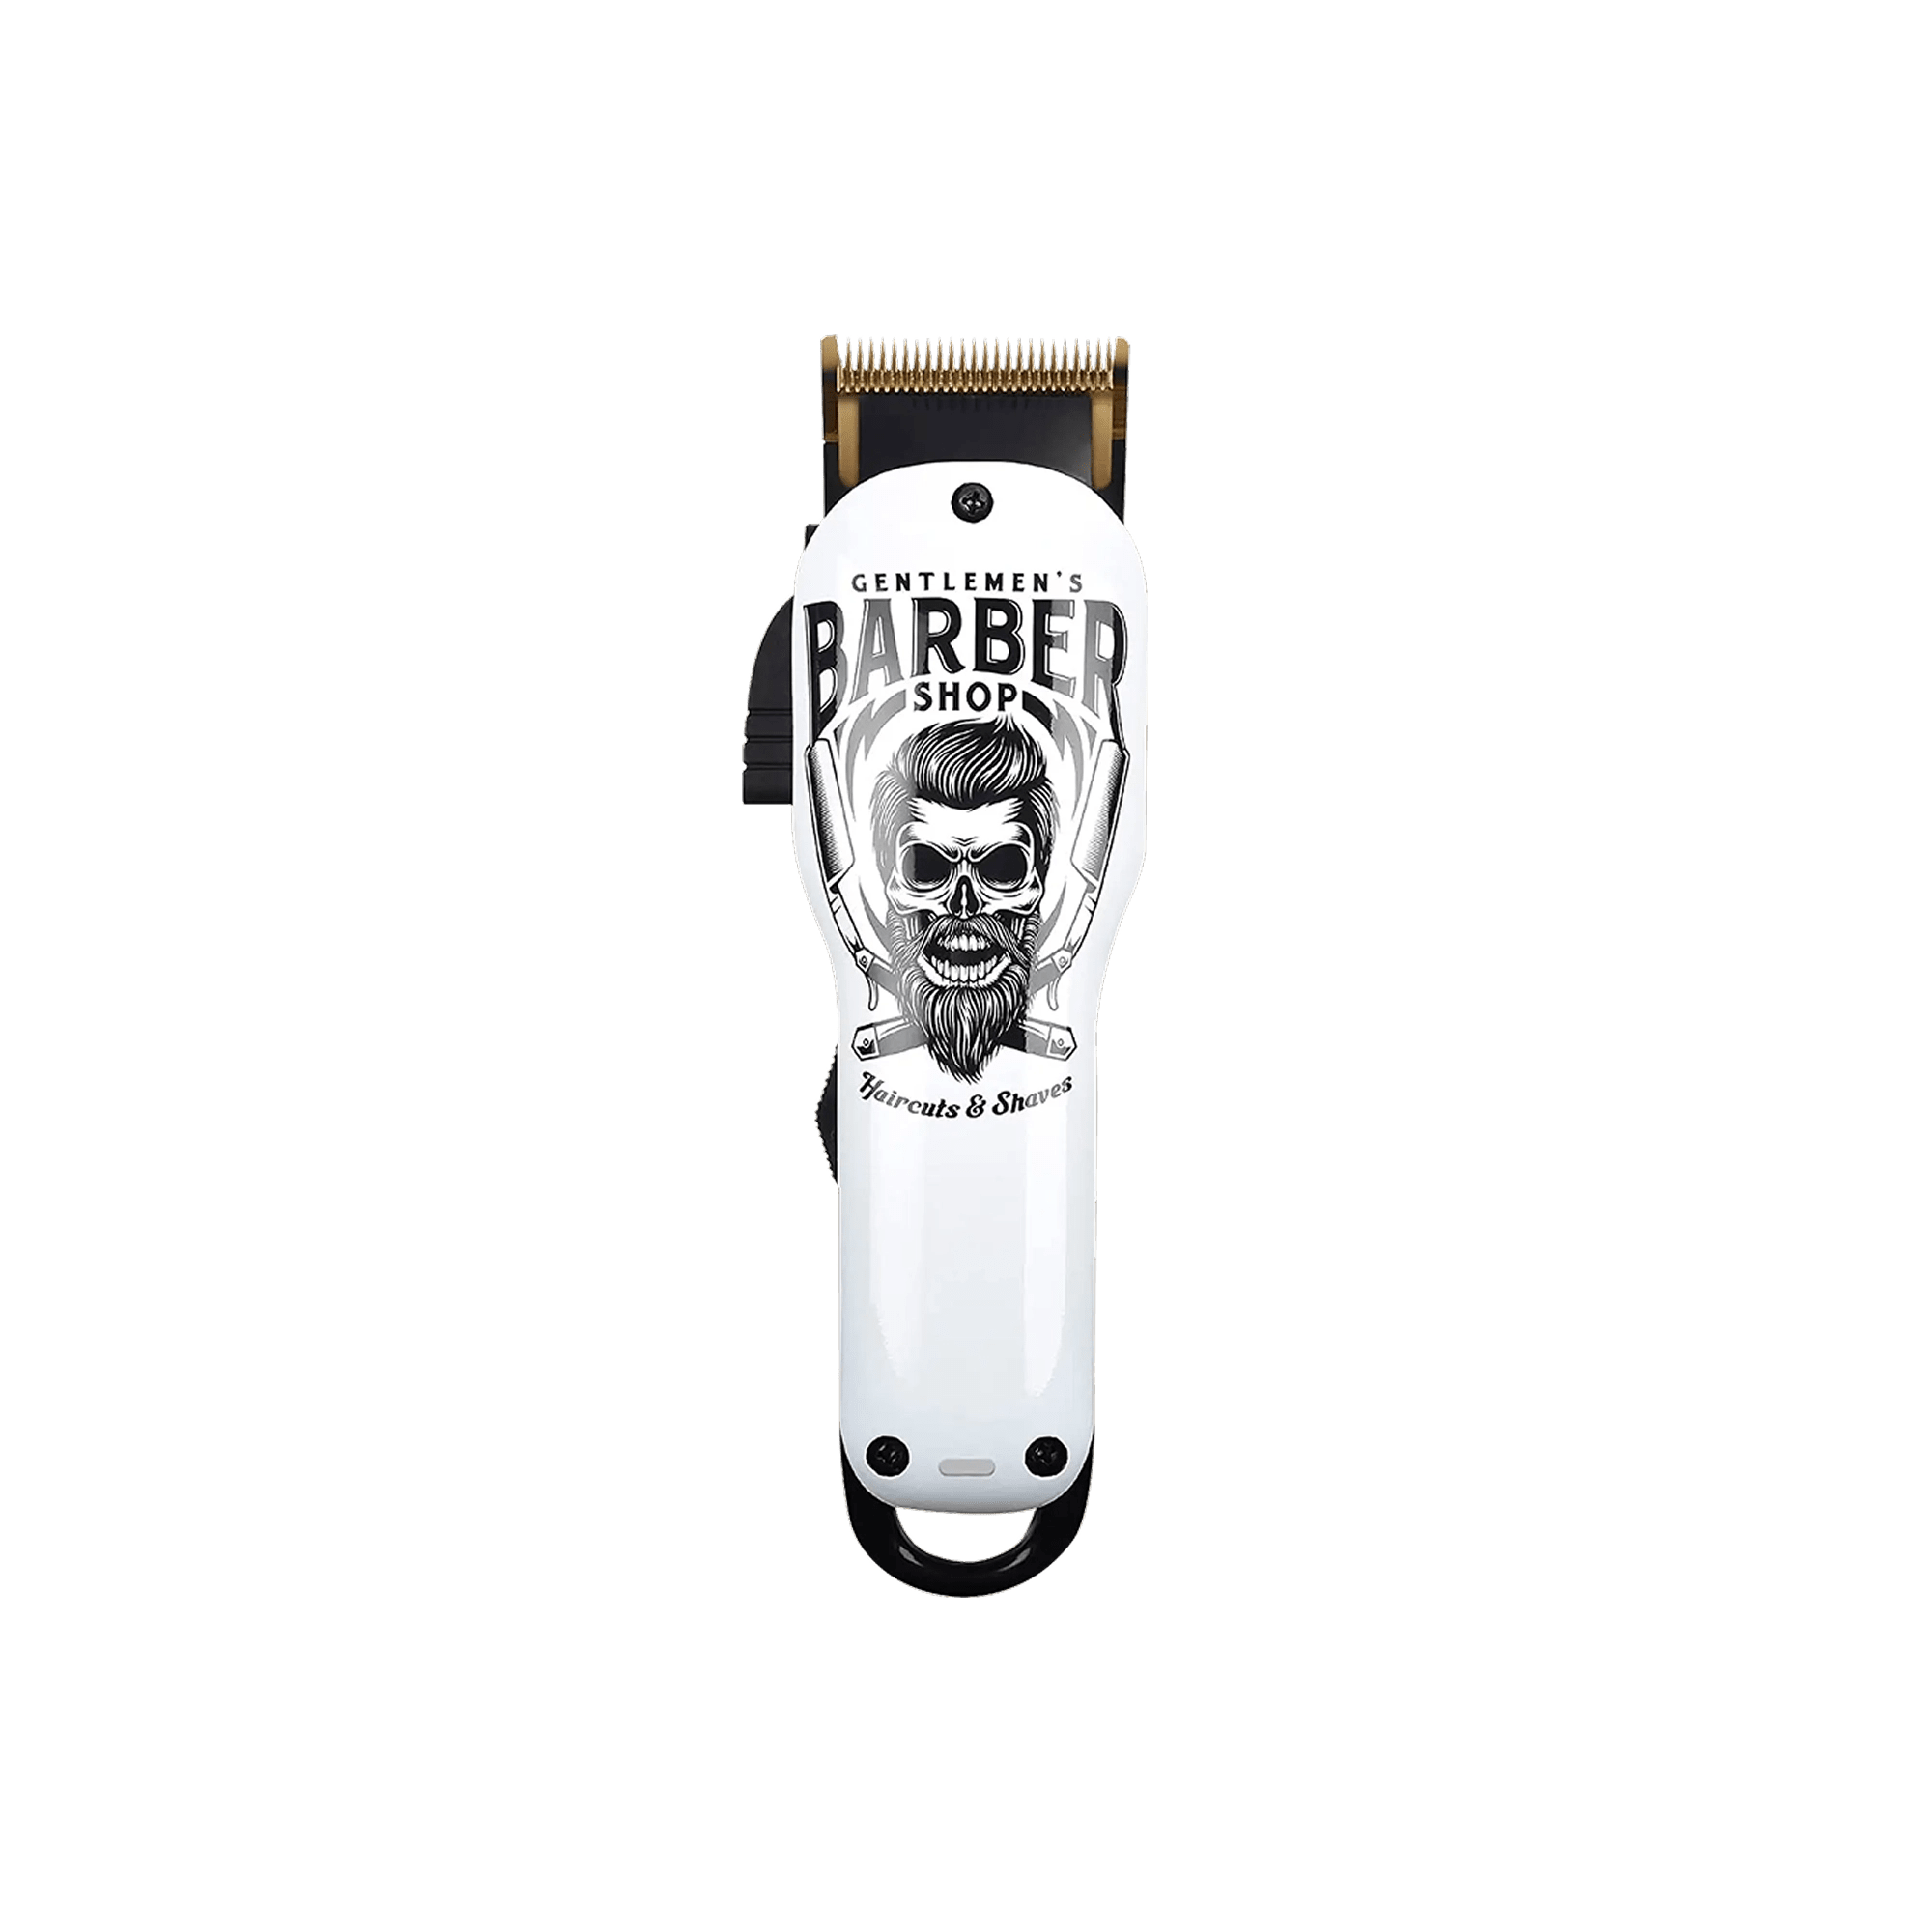
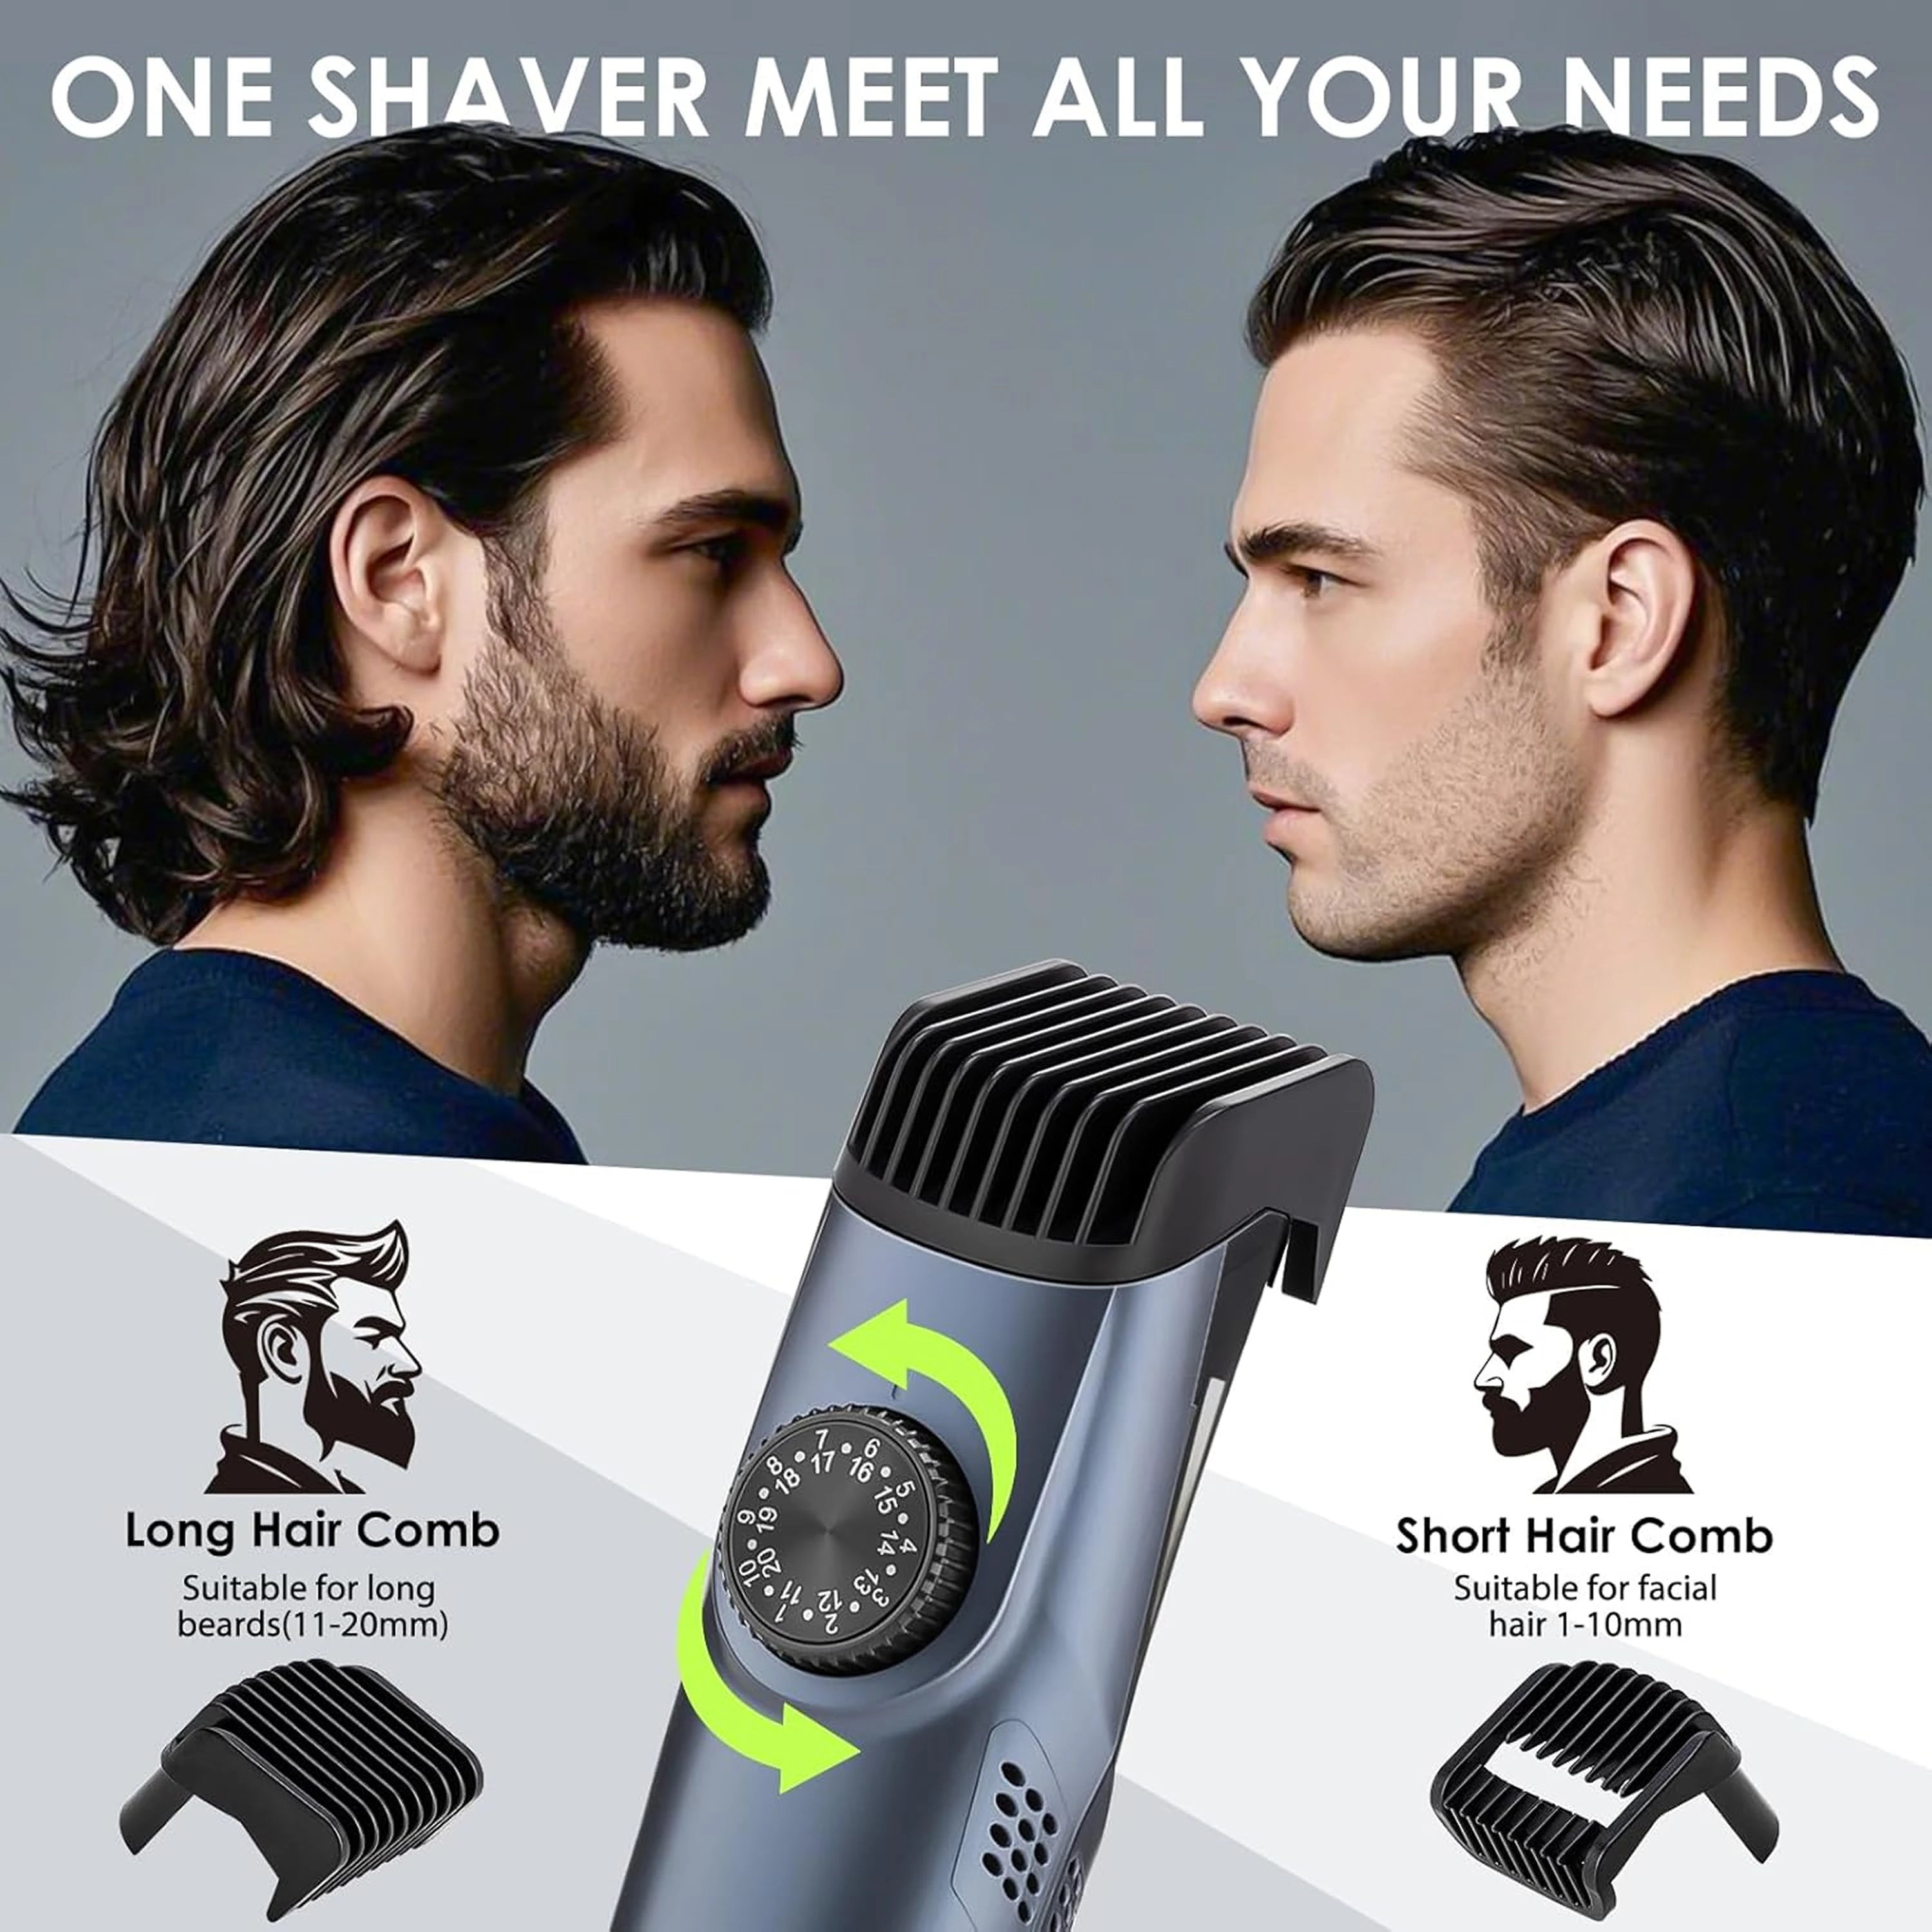
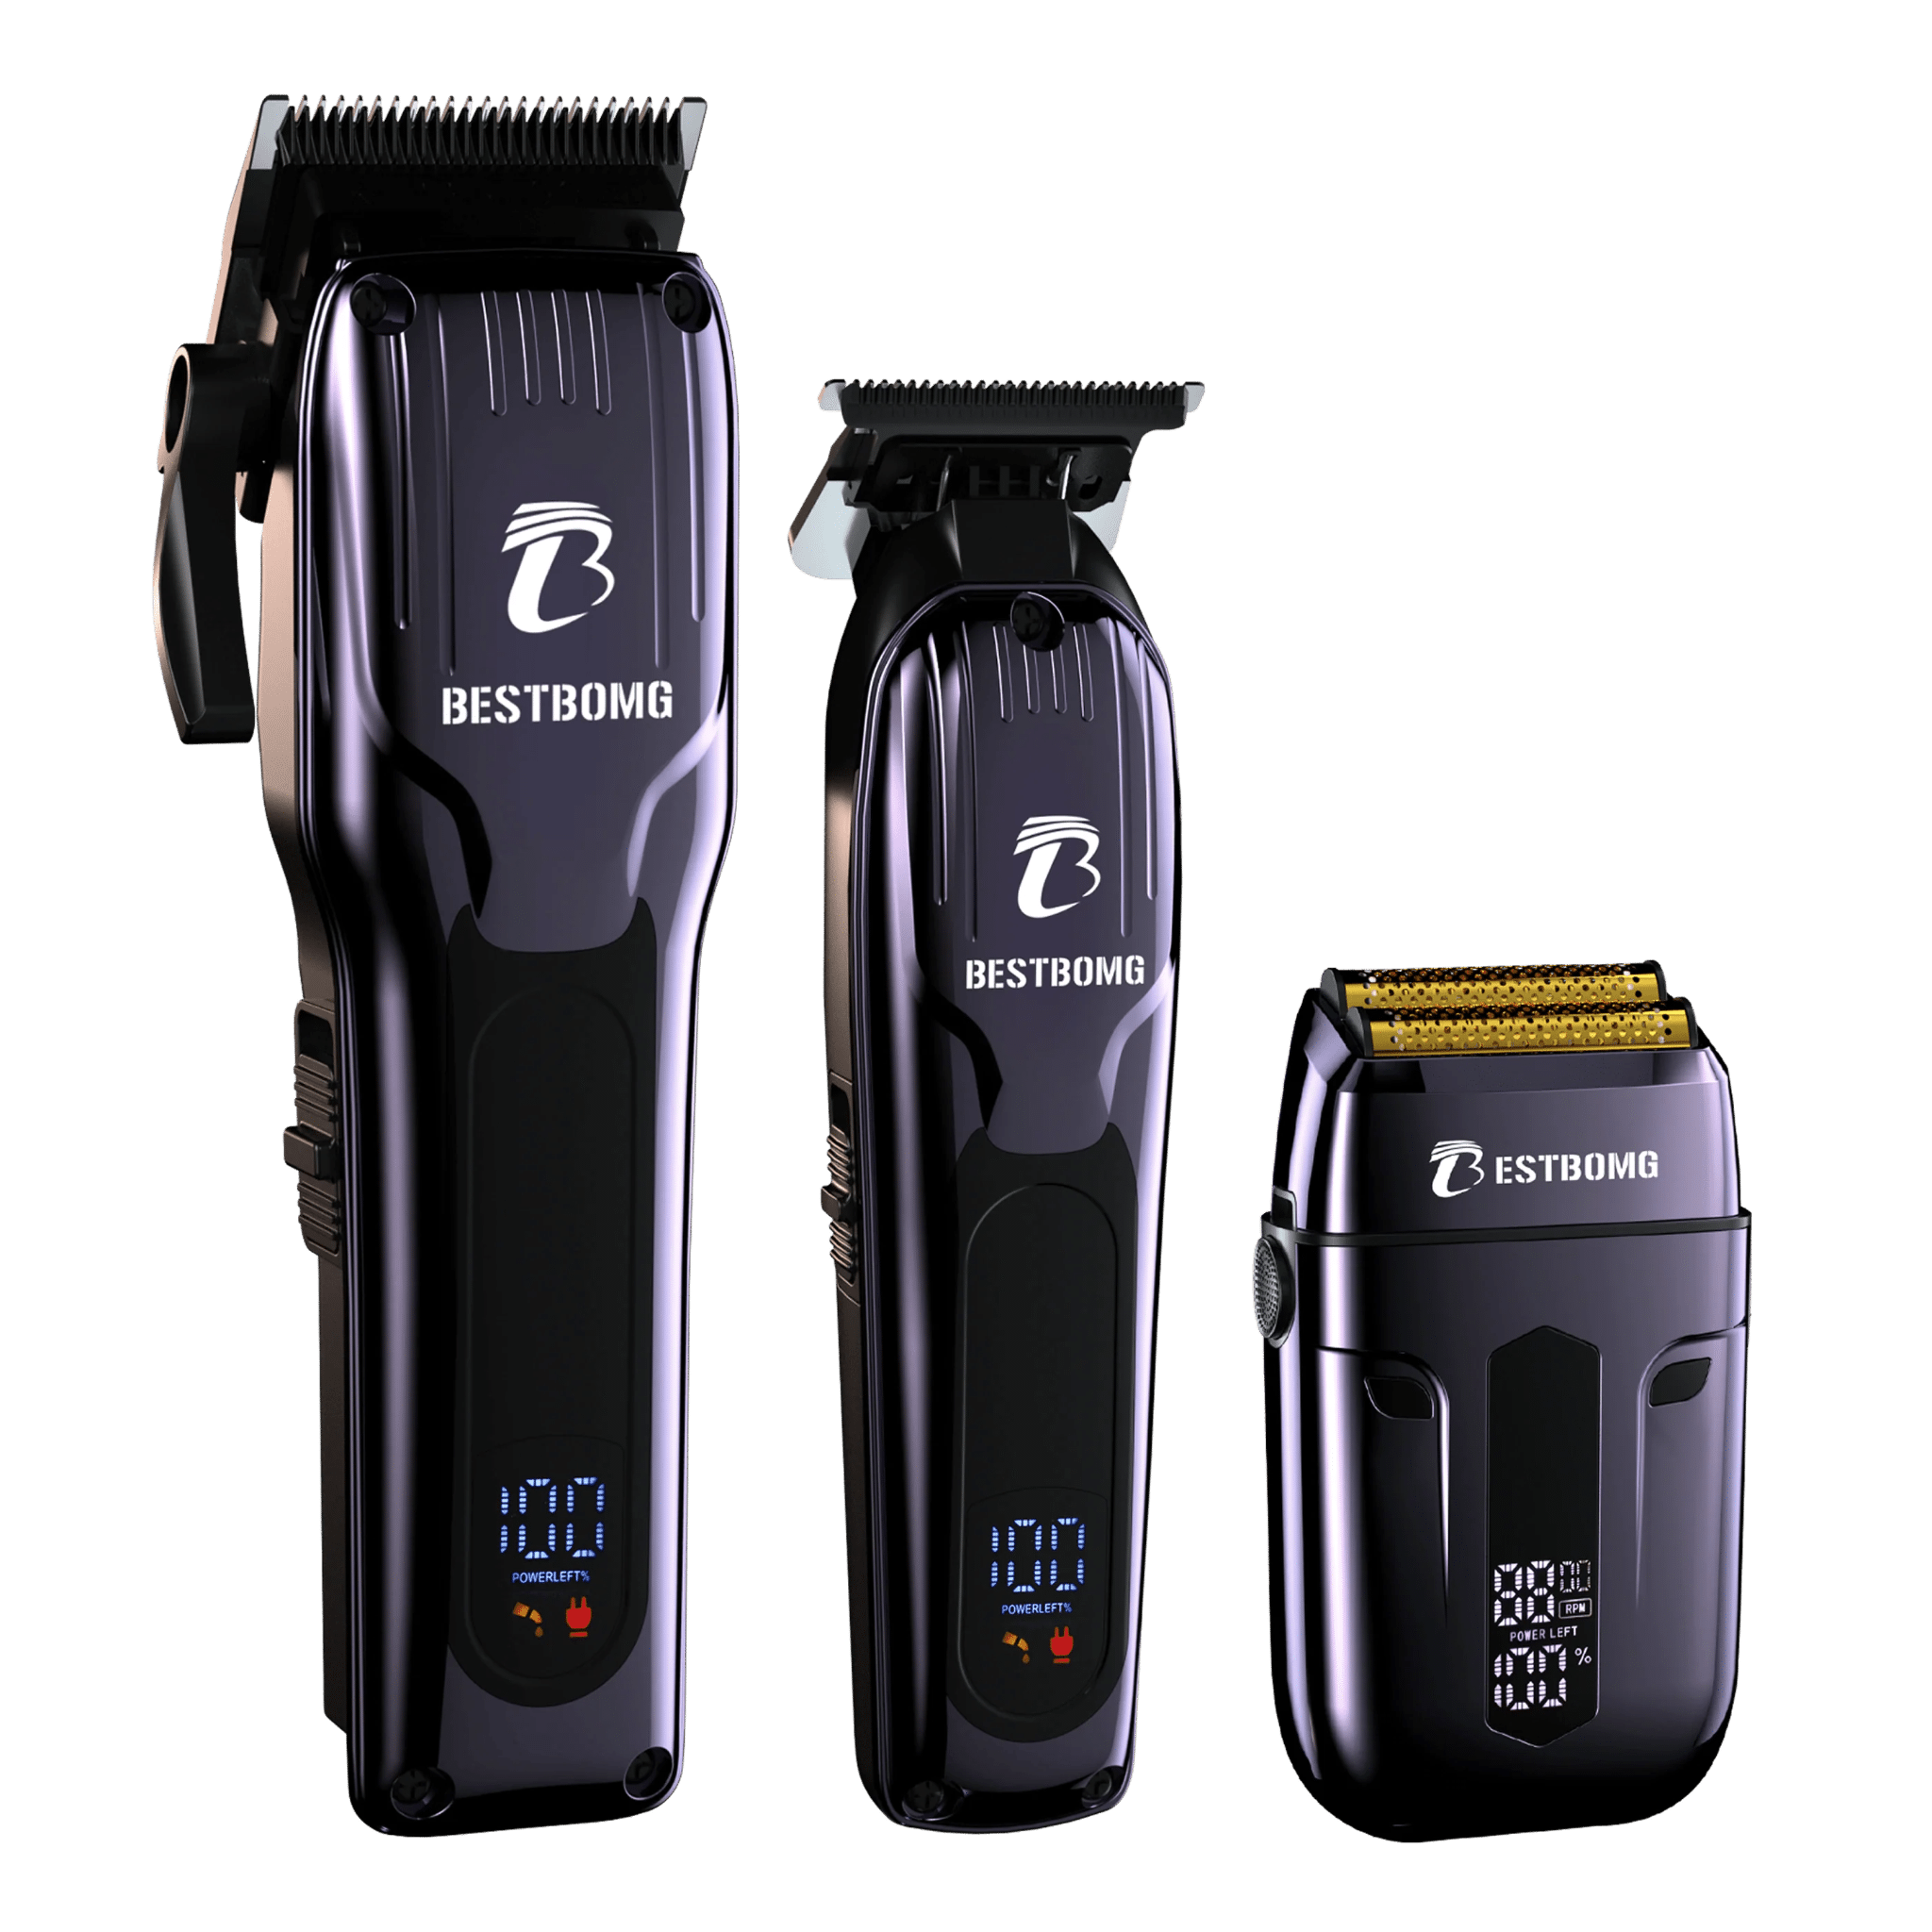
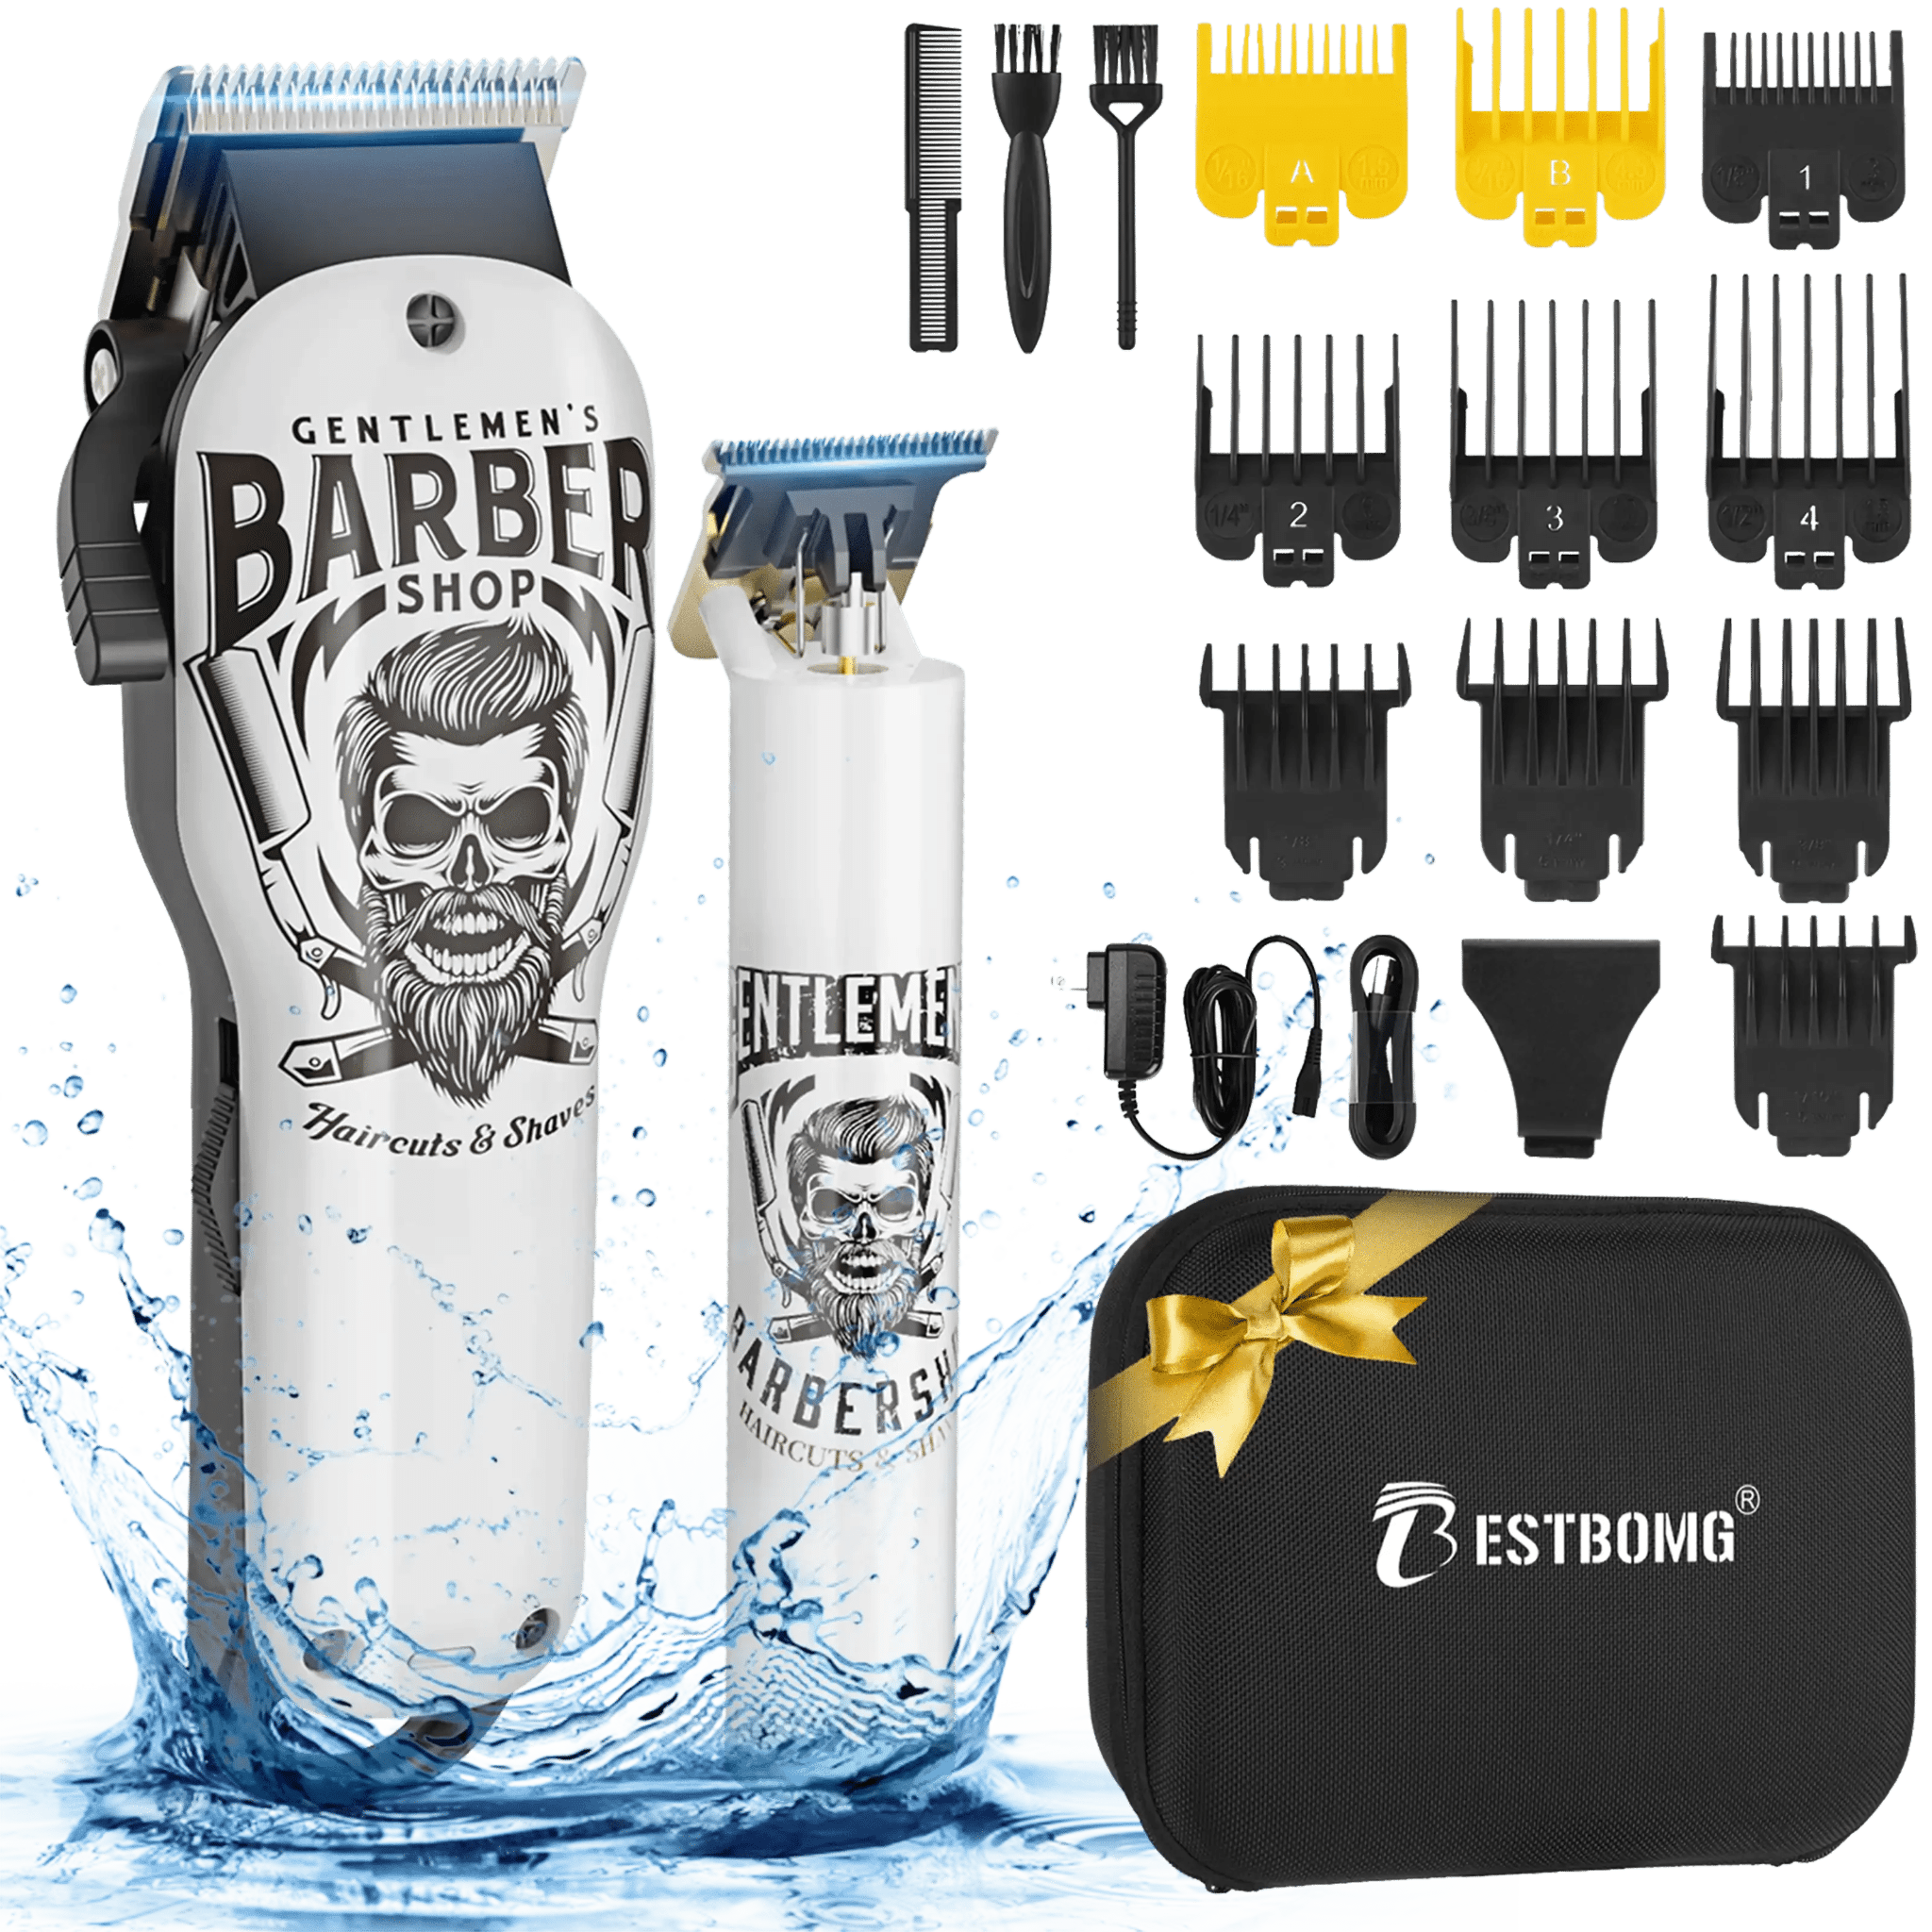
- Standard Adjustment Lever – Found on most home and professional clippers like the Y4T9 Hair Clippers Kit, allows continuous length adjustment without changing guards.
- Precision Lever – Offers finer control, often on professional-grade clippers, ideal for tapering and detailed work.
External reference: Learn more about how clippers work on Wikipedia: Hair Clipper.
How to Use a Hair Clipper Adjustment Lever

Using the hair clipper adjustment lever is simple once you understand its movement:
- Turn the clipper on.
- Start with the lever fully up for a longer initial pass.
- Gradually move the lever down to taper the hair or create fades.
- Use short, overlapping strokes for consistent results.
Pro Tip: When trimming a beard with the T9 Beard Trimmer, start with a longer setting and decrease length gradually for precision.
Choosing Between Clippers, Trimmers, and Shavers
When deciding whether to use a clipper or other grooming tool:
|
Tool |
Best For |
Notes |
|
Clippers |
Full haircuts |
Adjustable lever allows fades and layers |
|
Trimmers |
Beard edges, sideburns |
Fine precision, not ideal for full haircuts |
|
Electric Shavers |
Close shave |
Smooth finish, no lever adjustment needed |
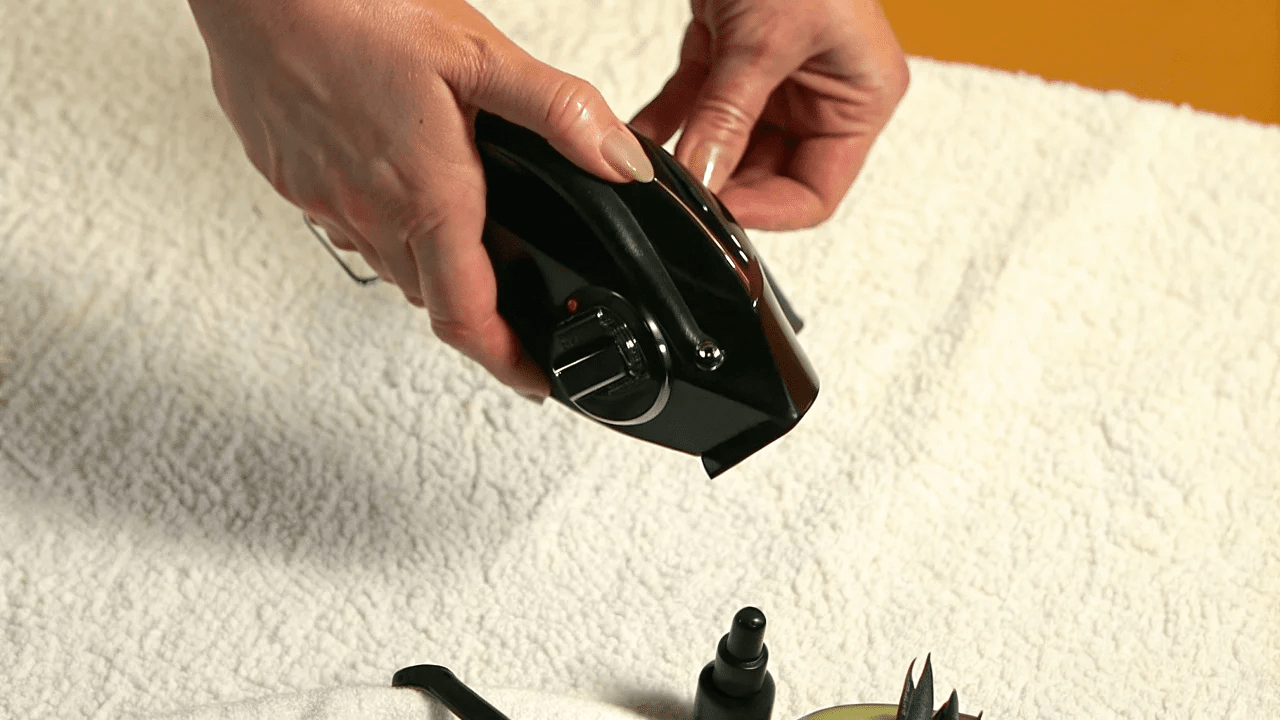
Caring for Your Clipper Lever and Blades
Proper maintenance keeps your clippers performing well:
- Clean blades after each use with a small brush.
- Oil blades regularly to prevent rust and friction.
- Check lever movement; it should be smooth.
- Store in a dry, cool place.
External reference: For skin safety and razor care, see Cleveland Clinic Grooming Tips.
Common Haircut Mistakes Using a Clipper Lever
- Closing the lever too quickly: can create uneven lines.
- Rushing through fades: overlapping strokes yield smoother blends.
- Ignoring maintenance: dull blades tug and irritate skin.
- Using wrong guard/lever combo: always test on a small section first.
Lever Adjustments for Different Hair Types
Hair texture dramatically affects how lever positions impact the final cut.
Straight Hair:
- Shows every imperfection, so use smaller, more gradual lever adjustments
- Multiple passes with slight lever changes work better than dramatic single-pass adjustments
- Lever transitions should occur over 1-2 inches of vertical distance for smooth results
Wavy Hair:
- Natural wave patterns help hide minor blending imperfections
- You can use slightly larger lever adjustments between passes
- Work with the wave direction—cut when waves lie flat for more predictable results
Curly/Coily Hair:
- Requires understanding "shrinkage"—curly hair appears much shorter when dry than when cutting
- Use lever-open positions more frequently to compensate for curl contraction
- Make lever adjustments more gradual since curly hair "hides" the blend naturally
Thick/Coarse Hair:
- Dense hair may resist blade penetration, making lever position more critical
- Keep blades sharp and properly oiled—dull blades with lever adjustments create pulling
- Use slower clipper strokes when making lever transitions to ensure even cutting
Thin/Fine Hair:
- Every lever position shows dramatically on fine hair
- Use the most gradual lever transitions possible
- Consider using guards one size longer than you'd use on thick hair, as fine hair appears shorter after cutting
Practice Exercises for Lever Mastery

Exercise 1: Static Position Control Practice cutting with the lever in each position (closed, quarter-open, half-open, three-quarters-open, fully open) on separate sections. This teaches you exactly how much difference each position makes.
Exercise 2: Smooth Transitions Cut a fade on the back of your head (or a practice mannequin) focusing only on lever control with a single guard. See how smooth a transition you can create without changing guards at all.
Exercise 3: Mirror Matching Cut one side of a fade, then replicate the exact same lever positions and timing on the opposite side. Check for symmetry. This builds muscle memory for consistent technique.
Exercise 4: Speed Variation Practice lever adjustments at different clipper speeds—slow, medium, and fast passes. Notice how speed affects blending quality and adjust your lever technique accordingly.
Frequently Asked Questions
What is a clipper lever used for?
A clipper lever adjusts the blade exposure, letting you control hair length without changing guards. It’s key for fades, tapers, and blended cuts.
Should the clipper lever be up or down for a fade?
Start with the lever up for longer hair, then gradually close it down for a tighter fade. This creates a smooth transition between lengths.
Can I use a hair clipper lever on my beard?
Yes, most clippers with adjustable levers work on beards. Use the T9 Beard Trimmer for precision trimming without harsh lines.
How do I maintain my clipper lever?
Clean after every use, oil regularly, and ensure smooth movement. Avoid water exposure to prevent rust.
What’s the difference between a clipper and a trimmer lever?
Clippers are for full haircut adjustments; trimmers focus on detailed edging. Trimmer levers may have finer control for precise shaping.
Conclusion
Mastering your clipper lever is the key to professional-looking haircuts at home or in a barbershop. From fades to beard trims, the right lever adjustments make all the difference. Explore our full selection of Hair Cutting Kits and find the perfect tool for your style.
Looking for something else?

How to Cut Baby Boy Hair with Clippers: Step-by-Step Guide
LEARN MORE
Do Hair Clippers Get Dull? Causes, Signs & Prevention
LEARN MORE
Can an Electric Shaver Cut You? Safety Facts & Prevention
LEARN MORE
How to Shave Balls with Electric Shaver: Safe Guide
LEARN MORELooking for something else?

Does Using Trimmer Increase Hair Growth? Facts & Myths
LEARN MORE
Best Hair Clippers for Men: Top Picks for Home & Pro Use
LEARN MORE
Best Professional Hair Clippers for Barbers: Top Picks
LEARN MOREYou may also like


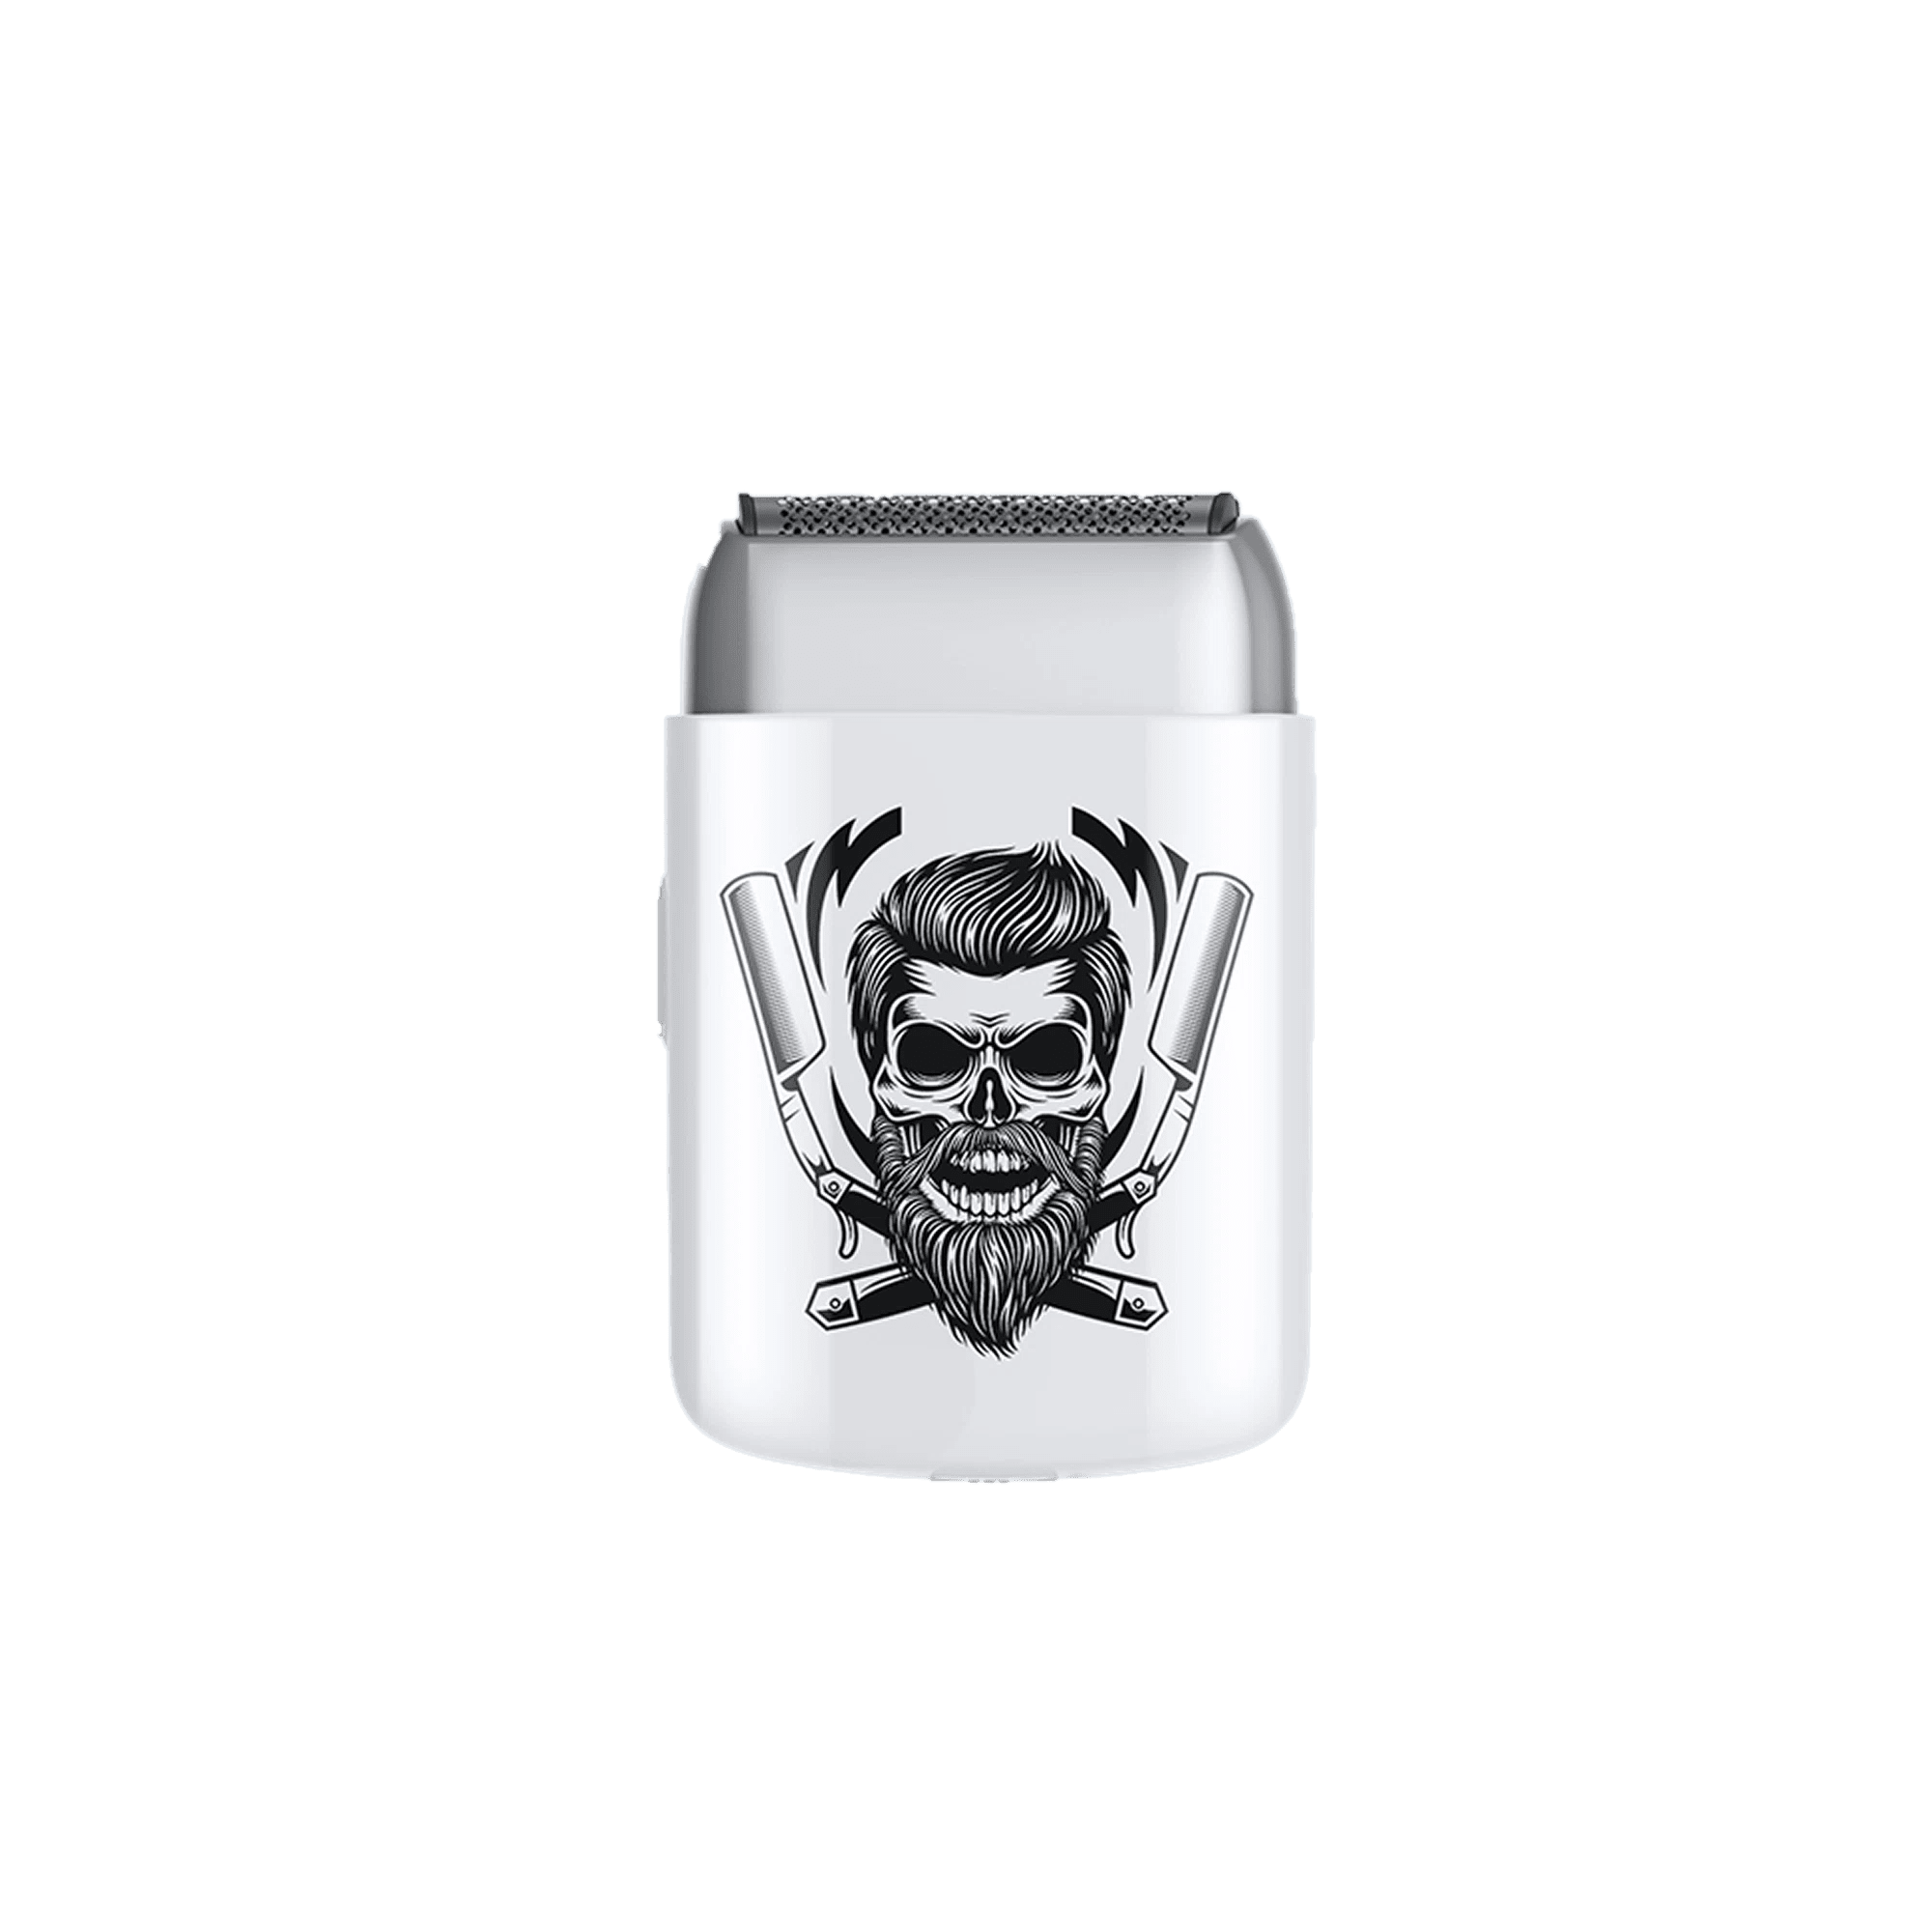
Electric Shaver Y4


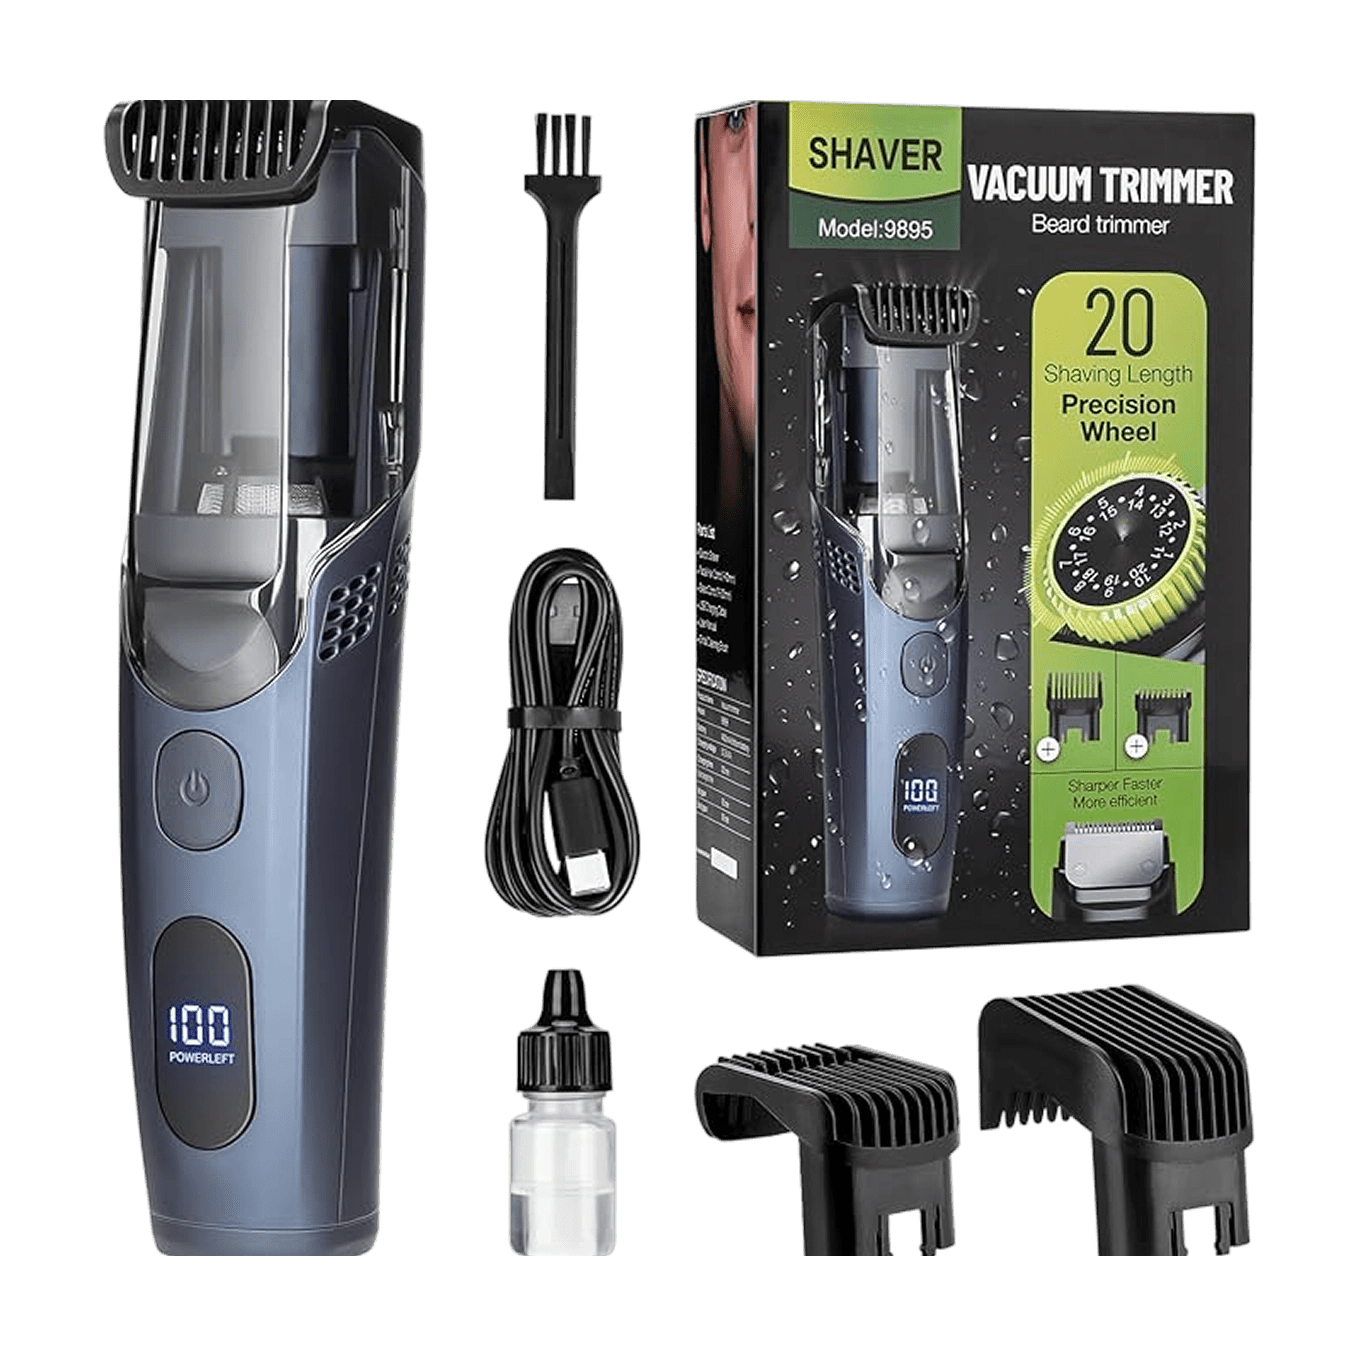
Y4T9 Easy Start Kits
Further reading
Best Hair Clippers for Perfect Fades at Home
Clipper Lever Open vs Closed: What It Means (with mm)
Why You Need a Cordless Detailer Trimmer (And How to Pick the Right One)