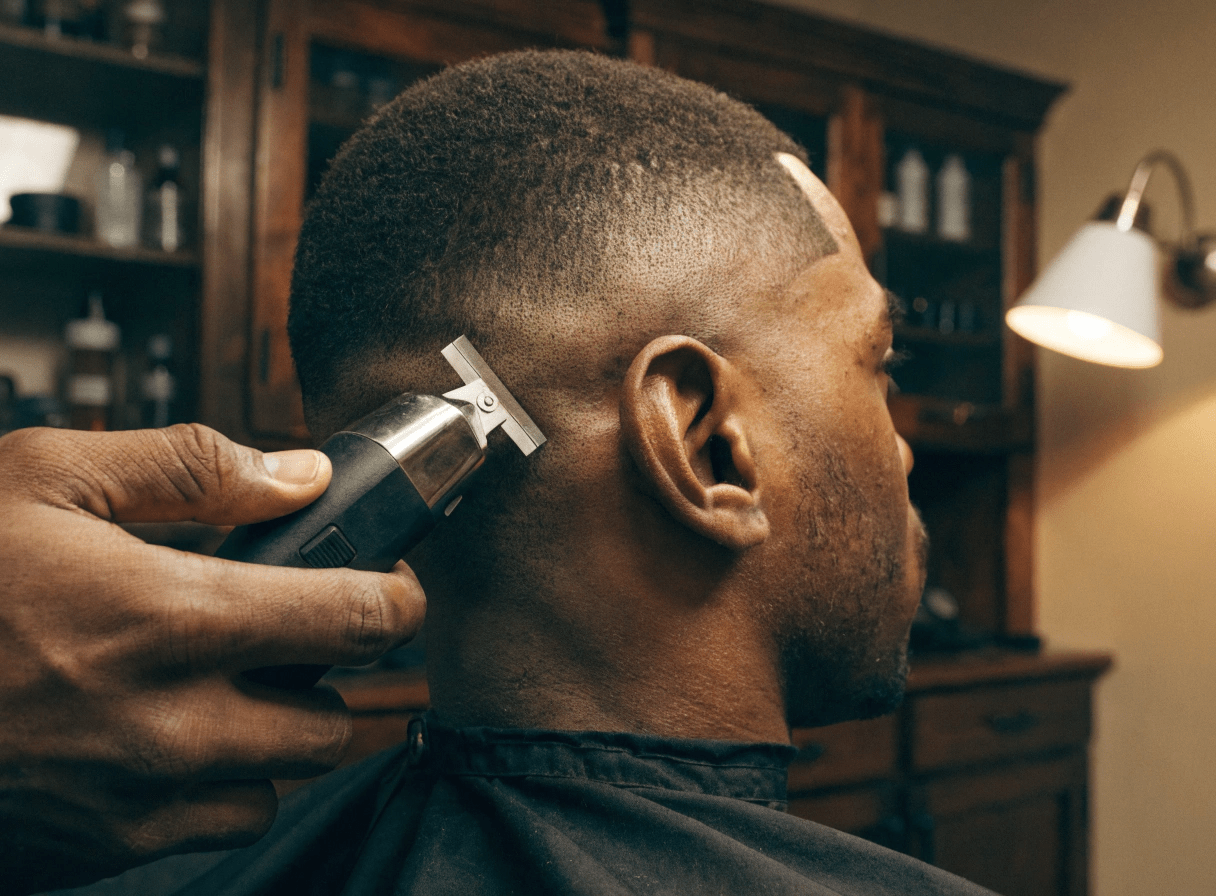


Hair Trimmer Sharpener: How to Sharpen Clipper & Trimmer Blades
Dull blades pull, leave patchy spots, and make lining up edges a pain. The fix is simple: learn how to use a hair trimmer sharpener—whether that’s a sharpening stone, a diamond plate, or a basic DIY lapping setup—to restore a crisp edge. In this guide, you’ll learn how to sharpen hair clippers, how to sharpen trimmer blades, what to buy (and what to avoid), and the quick maintenance routine that keeps everything cutting smooth.
What a “Hair Trimmer Sharpener” Really Means (And the Types You’ll See)
“Hair trimmer sharpener” is a catch-all. It can mean:
- Sharpening stones / whetstones (400–8000 grit): Traditional, precise, affordable. Use coarse (400–600) to repair, then fine (1000–3000) to polish.
- Diamond plates: Cut fast and stay flat—ideal for ceramic moving blades and very hard steels.
- Lapping film or sandpaper on glass: Budget method for flat, even “face-lapping” of the blade underside.
- Purpose-built kits: Jigs, magnetic holders, and preset angles to make handling safer and repeatable.
- Bench grinders / belts with diamond wheels: Pro tools for barbers/shops; overkill for home users but great for volume.
Sharpen vs. Replace: How to Decide in 30 Seconds

Sharpen if you see:
- Mild tugging even after oiling and cleaning
- Light haze or micro-burrs on the blade face
- No chips or missing teeth
Replace if you see:
- Chipped or bent teeth, deep pitting, or heavy rust near the edge
- Repeated DIY sharpenings have rounded the faces
- You want a ceramic upgrade and don’t own a diamond plate
Blades are consumables. One smart upgrade plus good maintenance often beats endless emergency sharpening.
Tools & Setup (Simple, Safe, Repeatable)
You’ll need:
- A whetstone (coarse ~400–600 + fine 1000–3000) or a diamond plate (600–1200)
- Clipper brush / toothbrush, microfiber cloths, paper towels
- 70–90% isopropyl alcohol (cleaning), clipper oil (lubrication)
- Small screwdriver (to remove the blade set), cotton swabs
- Optional: magnetic blade holder (great for small trimmer blades), lapping film/sandpaper on glass for budget work, blue threadlocker for screws
Step-by-Step: How to Sharpen Clipper & Trimmer Blades (Stone Method)
This method works for most steel cutter sets; use a diamond plate for ceramic moving blades.
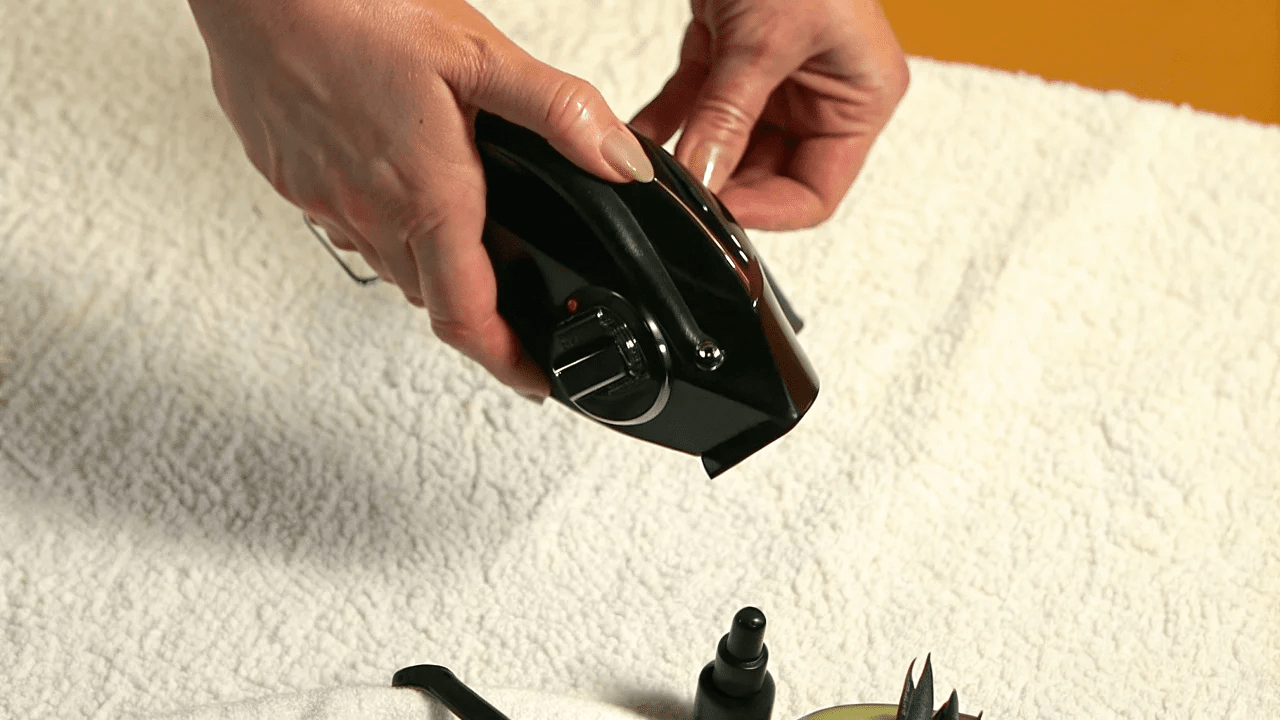
1) Remove and clean

- Unscrew the two blade screws. Separate the stationary (larger) and moving (smaller) blades.
- Brush out hair and debris. Wipe with alcohol; let dry.
- Take a photo of the factory alignment so reassembly is easy.
2) Prep the stone
- Water stones: soak as directed; diamond plates: a splash of water is enough.
- Wipe the surface clean. You want a flat, debris-free lap.
3) Lap the flat underside (stationary blade)

- Place the underside (the sliding face) flat on the stone.
- Use light pressure, push/pull in straight strokes or figure-8s for 10–15 passes.
- You’re aiming for an even, bright scratch pattern across the face—no untouched dull islands.
4) Lap the moving blade
- Same process: keep it perfectly flat, light pressure, 10–15 passes.
- If you started on 400–600 grit to fix nicks, finish on 1000–3000 for a smoother face.
Pro tip: Color the face with a marker before lapping. The ink disappears where you’re contacting the stone, so you’ll see if you’re rocking.
5) Clean, oil, reassemble, align
- Wipe away filings; add 1–2 drops of oil to the faces.
- Reassemble loosely. Align so teeth are parallel and the moving blade sits slightly behind the stationary blade (no tooth tips protruding).
- Tighten screws evenly; a tiny dot of blue threadlocker helps resist vibration.
6) Test and fine-tune
- Run the tool 10–20 seconds. Listen for smooth sound.
- Test on thread or a small hair section. If it tugs, re-oil, confirm alignment, and check evenness of the lapped faces.
No Stone? “Glass & Sandpaper” Lapping That Actually Works

For a budget hair trimmer sharpener:
- Tape 600-grit wet/dry sandpaper to a flat glass tile or mirror; lightly wet it.
- Lap the undersides of each blade with light, even strokes (10–15).
- Finish on 1000–2000 grit for a finer face.
- Clean, lightly oil, reassemble, and align.
It’s not as durable as a true stone/plate, but it restores cut quality surprisingly well.
Ceramic or Hardened Steel? Use a Diamond Plate
Ceramic moving blades (common in some sets) and very hard steels need diamond.
- Start around 600–800, then polish at 1200.
- Fewer strokes—diamond cuts fast.
- Clean thoroughly so diamond grit doesn’t migrate into the clipper.
Keep It Sharp: The 2-Minute Maintenance Loop
Sharpness dies from friction + contamination. This loop prevents both:
- Brush out hair after every session.
- Disinfect the blade surface (alcohol or peroxide on a cloth).
- Oil: 3–5 tiny drops—left/center/right of the teeth + a small drop on each side rail.
- Run 10–15 seconds; open/close the lever to pull oil through.
- Blot excess oil; store dry with a guard.
Proper oiling reduces heat, prevents micro-burrs, and dramatically extends time between sharpenings.
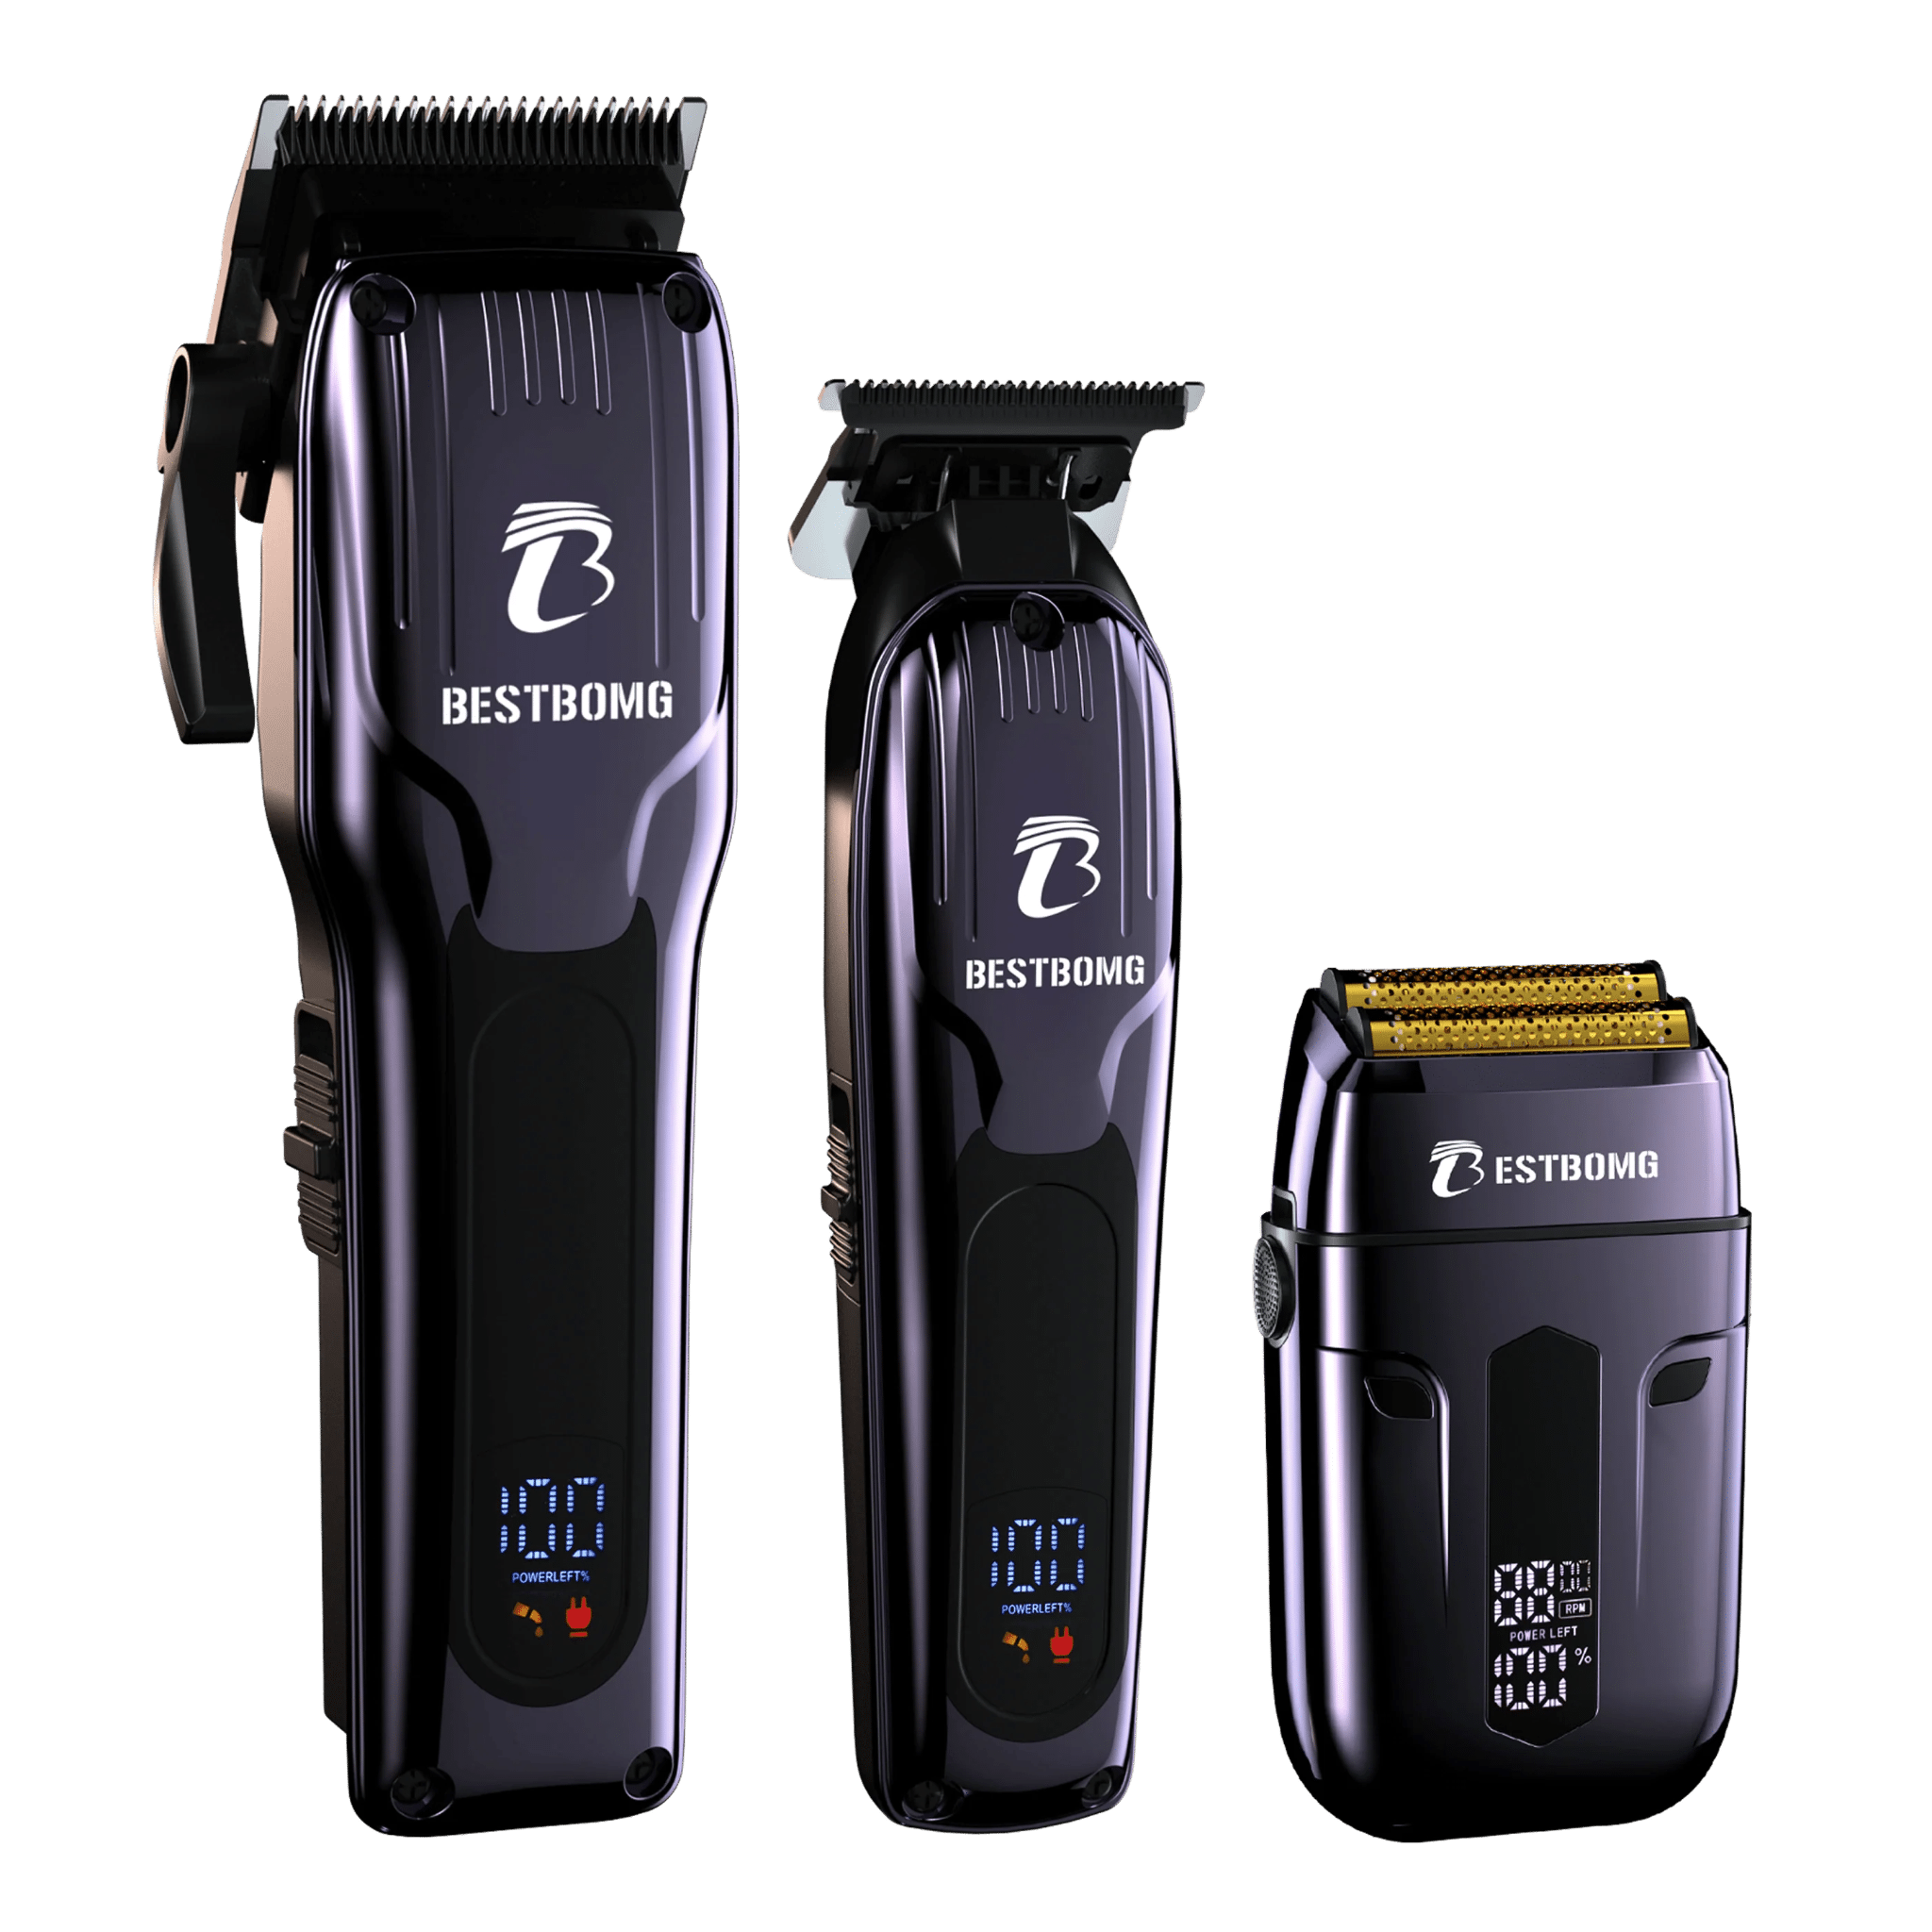
Clipper vs. Trimmer vs. Shaver: What Gets Sharpened (and How)

- Clippers (bulk cutting & guards): You sharpen the blade set (stationary + moving).
- Trimmers (edges/designs): Same principle, but parts are smaller—a magnetic holder helps. “Zero-gapping” is advanced; beginners should leave a safe micro-gap.
- Foil shavers (finish close): You don’t sharpen foils. Replace foils/cutters per the manual. Keep them meticulously clean and lightly lubricated per instructions.
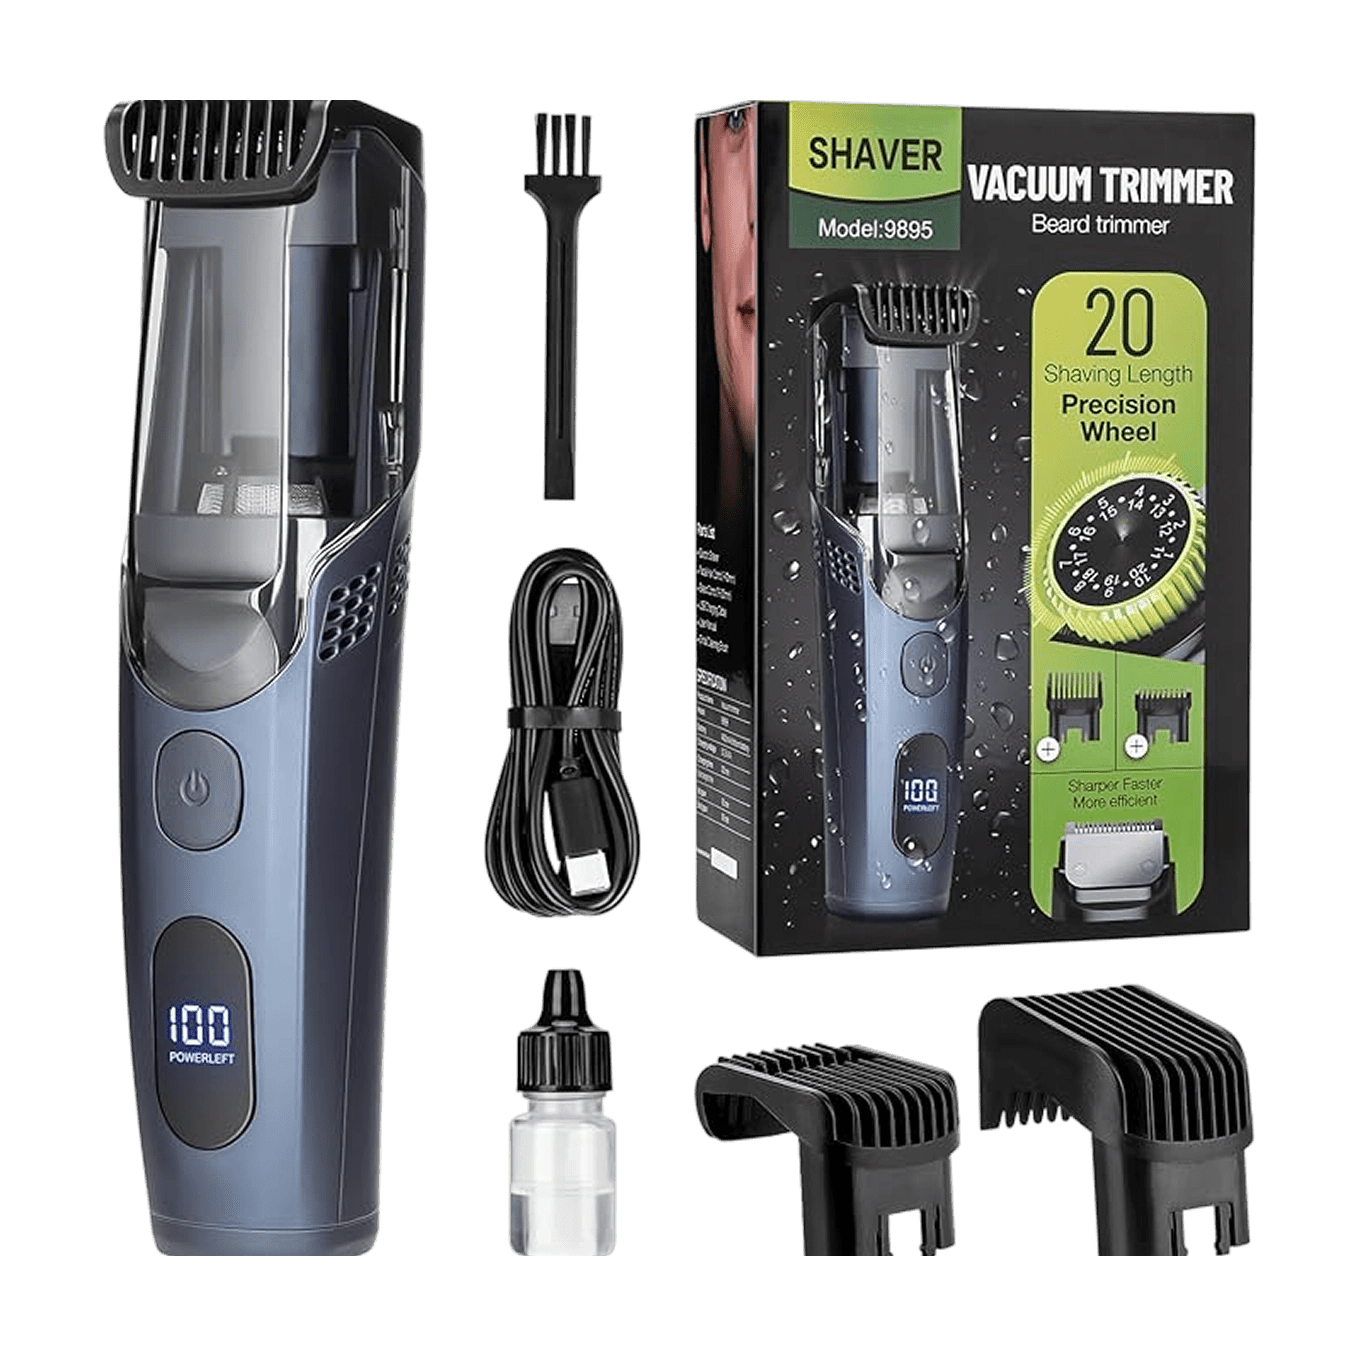
If your priority is beard edges and detailing, a dedicated trimmer is faster to maintain between full sharpenings.
Choosing a Hair Trimmer Sharpener (Buyer’s Cheatsheet)
- New to sharpening? A 1000/3000 combo stone is forgiving and effective.
- Thick or coarse hair / ceramic blades? Grab a fine diamond plate (600–1200).
- Tiny trimmer blades? Consider a magnetic holder or clamp for control.
- Shop volume? Pro gear (diamond wheel, lapping plates) saves time—pair with frequent oiling.
Troubleshooting: After You “Sharpened,” But It Still Pulls
- Alignment off: Moving blade must sit slightly behind the stationary edge; no protruding teeth.
- Uneven lapping: Re-lap lightly until the face shows even scratch patterns.
- No oil: Add 2–3 drops; heat and drag vanish when lubricated.
- Loose screws / chatter: Tighten evenly; a dab of threadlocker helps.
- Edge is done: Replace the blade—chips and deep rust won’t polish away.
Hygiene Note (Why Cleaning Matters for Skin Comfort)
Clean, oiled blades reduce friction and heat—two big triggers for skin irritation and bumps. Disinfect metal surfaces, keep guards clean, and avoid cutting dirty or wet hair. If someone is prone to irritation, a cooler, sharp, well-oiled edge helps a lot.
Frequently Asked Questions
Can hair trimmer blades be sharpened?
Yes. Most steel trimmer and clipper blades respond well to flat-side lapping on a stone or diamond plate. Ceramic moving blades also sharpen, but require a diamond abrasive. If teeth are chipped or severely rusted, replace the blade.
How do I remove the blade from a hair trimmer safely?
Power off/unplug, then remove the two screws holding the blade set. Lift the moving blade and stationary blade carefully, noting springs/spacers. Take a photo of the alignment before removal so you can reassemble to a safe factory gap.
What’s the best hair trimmer sharpener for beginners?
A 1000/3000 grit combo stone is great for learning: it’s slow enough to be forgiving, but fine enough to polish. If you have ceramic blades or want faster cutting, a 600–1200 diamond plate is the better pick.
How do I keep beard trimmer blades sharp longer?
Clean after every use, disinfect, and oil 3–5 tiny drops (teeth and side rails). Avoid cutting dirty or damp hair, and store dry with a guard. This routine delays sharpening and keeps edges cooler.
Can I sharpen clipper blades with sandpaper or without a stone?
Yes—use wet/dry sandpaper (600 → 1000/2000) taped to flat glass, and lap the flat undersides with light, even strokes. It’s a solid budget method. Avoid internet “salt” or foil myths—those don’t sharpen steel.
Conclusion
A reliable hair trimmer sharpener routine is just flat lapping, careful alignment, and a few drops of oil. Do that, and even budget tools cut like they’re new. Ready to pair fresh edges with smooth motors and long battery life? Explore our Hair Clippers and line-perfect T9 Beard Trimmer.
Looking for something else?

How to Cut Baby Boy Hair with Clippers: Step-by-Step Guide
LEARN MORE
Do Hair Clippers Get Dull? Causes, Signs & Prevention
LEARN MORE
Can an Electric Shaver Cut You? Safety Facts & Prevention
LEARN MORE
How to Shave Balls with Electric Shaver: Safe Guide
LEARN MORELooking for something else?

Does Using Trimmer Increase Hair Growth? Facts & Myths
LEARN MORE
Best Hair Clippers for Men: Top Picks for Home & Pro Use
LEARN MORE
Best Professional Hair Clippers for Barbers: Top Picks
LEARN MOREYou may also like


Further reading
Best Hair Clippers for Perfect Fades at Home
Clipper Lever Open vs Closed: What It Means (with mm)
Why You Need a Cordless Detailer Trimmer (And How to Pick the Right One)