


How to Cut a Mullet (Modern & Classic Styles)
The mullet is back—and better than ever. This iconic haircut, once a symbol of ‘80s rebellion, is now one of the most versatile men’s hairstyles of the 2020s. Whether you want a modern mullet with faded sides or a more classic look with length in the back, learning how to cut a mullet at home is completely doable with the right tools and a bit of patience.
In this complete guide, we’ll walk you through step-by-step instructions to create a professional-looking mullet haircut—plus tips on styling, maintenance, and choosing the best clippers for your skill level.
What Is a Mullet and Why It’s Trending Again
The mullet’s appeal is simple: low maintenance, high attitude. Its distinctive “short front, long back” shape adds personality to any haircut and flatters most face shapes.
From rockstars to athletes, the mullet has made countless comebacks. Today’s versions—like the modern mullet or the faded mullet—add texture, precision, and tapering for a cleaner finish. Celebrities such as Morgan Wallen and Miley Cyrus have helped reintroduce this look into mainstream style, and it’s now one of the most-requested cuts in barbershops.
Fun fact: According to Wikipedia, mullets date back to ancient warriors who kept their hair long in the back for protection while maintaining short sides for practicality.
Understanding Mullet Anatomy: Key Zones and Proportions

Before you pick up clippers, understanding the structural elements of a mullet ensures better results. Every successful mullet haircut balances three distinct zones that work together to create the signature silhouette.
The Three Essential Zones
Zone 1: The Top (Crown to Forehead)
- Length range: Typically 2–4 inches
- Purpose: Creates volume and frames the face
- Styling approach: Can be left natural, textured for movement, or slicked for contrast
The top section determines your mullet's overall personality. Shorter tops (2 inches) create a cleaner, more conservative look suitable for professional settings. Longer tops (3-4 inches) allow for dramatic styling—think pompadours, messy texture, or forward-swept bangs.
Zone 2: The Sides (Temple to Ear)
- Length range: Very short (skin-level) to medium (1-2 inches)
- Purpose: Provides contrast and defines face shape
- Styling approach: Can be faded, tapered, or kept uniform
Modern mullets almost always feature shorter sides than classic versions. This is where you'll spend the most time blending when you cut a modern mullet, as the gradient from short sides to longer back requires precision. The sides frame your face and determine whether your mullet looks intentionally styled or accidentally grown out.
Zone 3: The Back (Below Crown)
- Length range: Collar-length to shoulder-length (or longer for dramatic styles)
- Purpose: The mullet's defining feature; creates the signature silhouette
- Styling approach: Can be layered, blunt-cut, or textured
This is where the mullet gets its identity. The back should flow naturally from the crown, maintaining enough length to create obvious contrast with the front and sides. Too short, and it's just a regular haircut. Too long without proper shaping, and it looks unkempt rather than stylish.
Proportion Guidelines for Different Face Shapes

Round Faces:
- Keep sides tight (faded or very short)
- Add height to the top (2.5-3 inches)
- Let the back flow past the jawline to create vertical lines
- Why it works: Elongates the face and adds definition
Square Faces:
- Moderate side length (#2-#3 guard)
- Textured, slightly messy top
- Back length to mid-neck
- Why it works: Softens angular features without hiding strong jawlines
Oval Faces:
- Most flexible—nearly any proportion works
- Experiment with dramatic contrast or subtle variations
- Why it works: Naturally balanced proportions accommodate extreme styling
Long/Oblong Faces:
- Avoid excessive top height
- Keep sides slightly longer (#3-#4 guard)
- Back at collar-length or slightly below
- Why it works: Adds width rather than vertical emphasis
Heart-Shaped Faces:
- Balanced proportions across all zones
- Avoid super-short sides that emphasize narrow chin
- Textured back adds visual weight to lower face
- Why it works: Creates balance between wider forehead and narrower chin
Why Fades Are the Most Popular Men's Haircut
Fade haircuts have dominated men's grooming for decades, and their popularity shows no signs of slowing down. But what makes fades so universally appealing?
Versatility for Every Style: Fades work with virtually any top hairstyle—from slicked-back looks to textured crops, pompadours to buzz cuts. This adaptability makes them suitable for professional settings, casual outings, and everything in between.
Face-Framing Benefits: A well-executed fade draws attention upward, emphasizing facial features and creating a more defined, sculpted appearance. The gradual transition from short to long hair naturally frames your face, making it appear more balanced and proportionate.
Low Maintenance After the Cut: Once you've mastered how to fade hair or found a reliable barber, fades are surprisingly easy to maintain. Unlike styles requiring daily styling products or constant attention, a fade maintains its shape for 2–3 weeks before needing a touch-up.
Cultural Significance: Fades have deep roots in barbering tradition, particularly within Black and Latino communities where barbers elevated the fade to an art form. Today, fade variations continue to evolve, blending classic techniques with modern trends.
Whether you're aiming for a conservative professional look or an edgy street style, understanding how to fade your own hair gives you complete control over one of the most adaptable haircuts available.
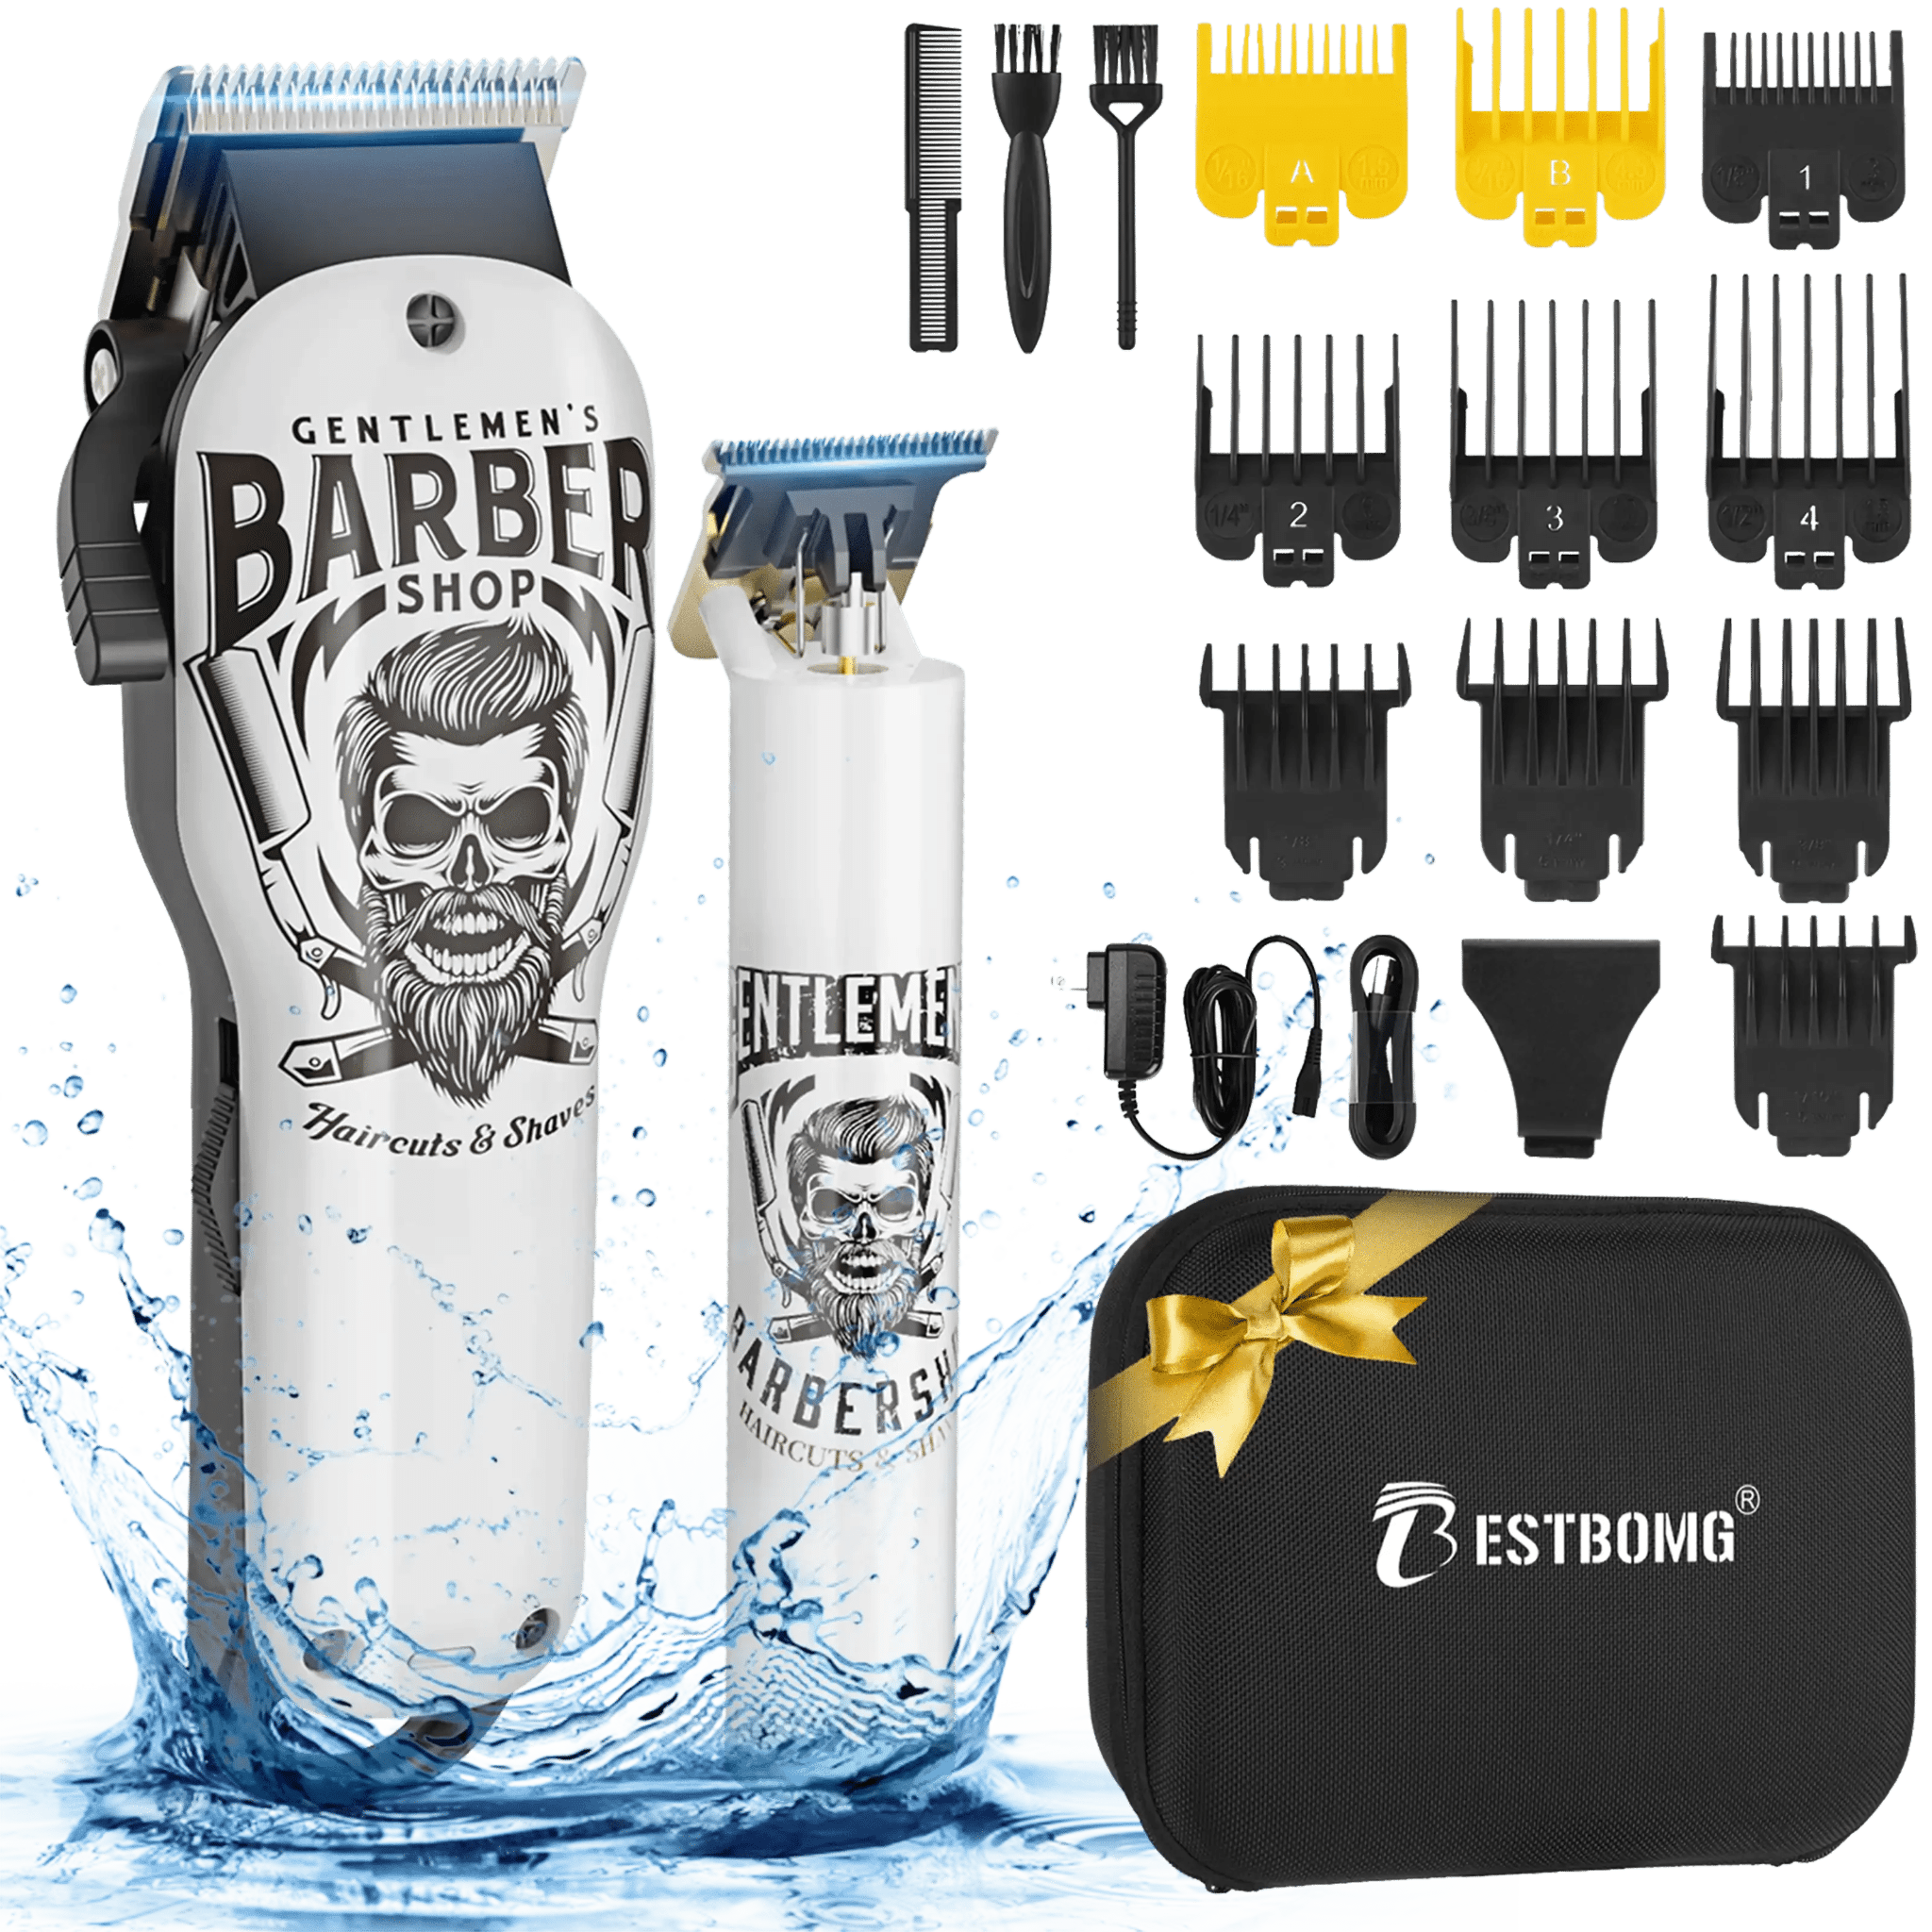
Tools You’ll Need to Cut a Mullet at Home

Before you start, gather the right gear. A precise cut depends on reliable tools—especially when working with fades and blends.
Essential Tools
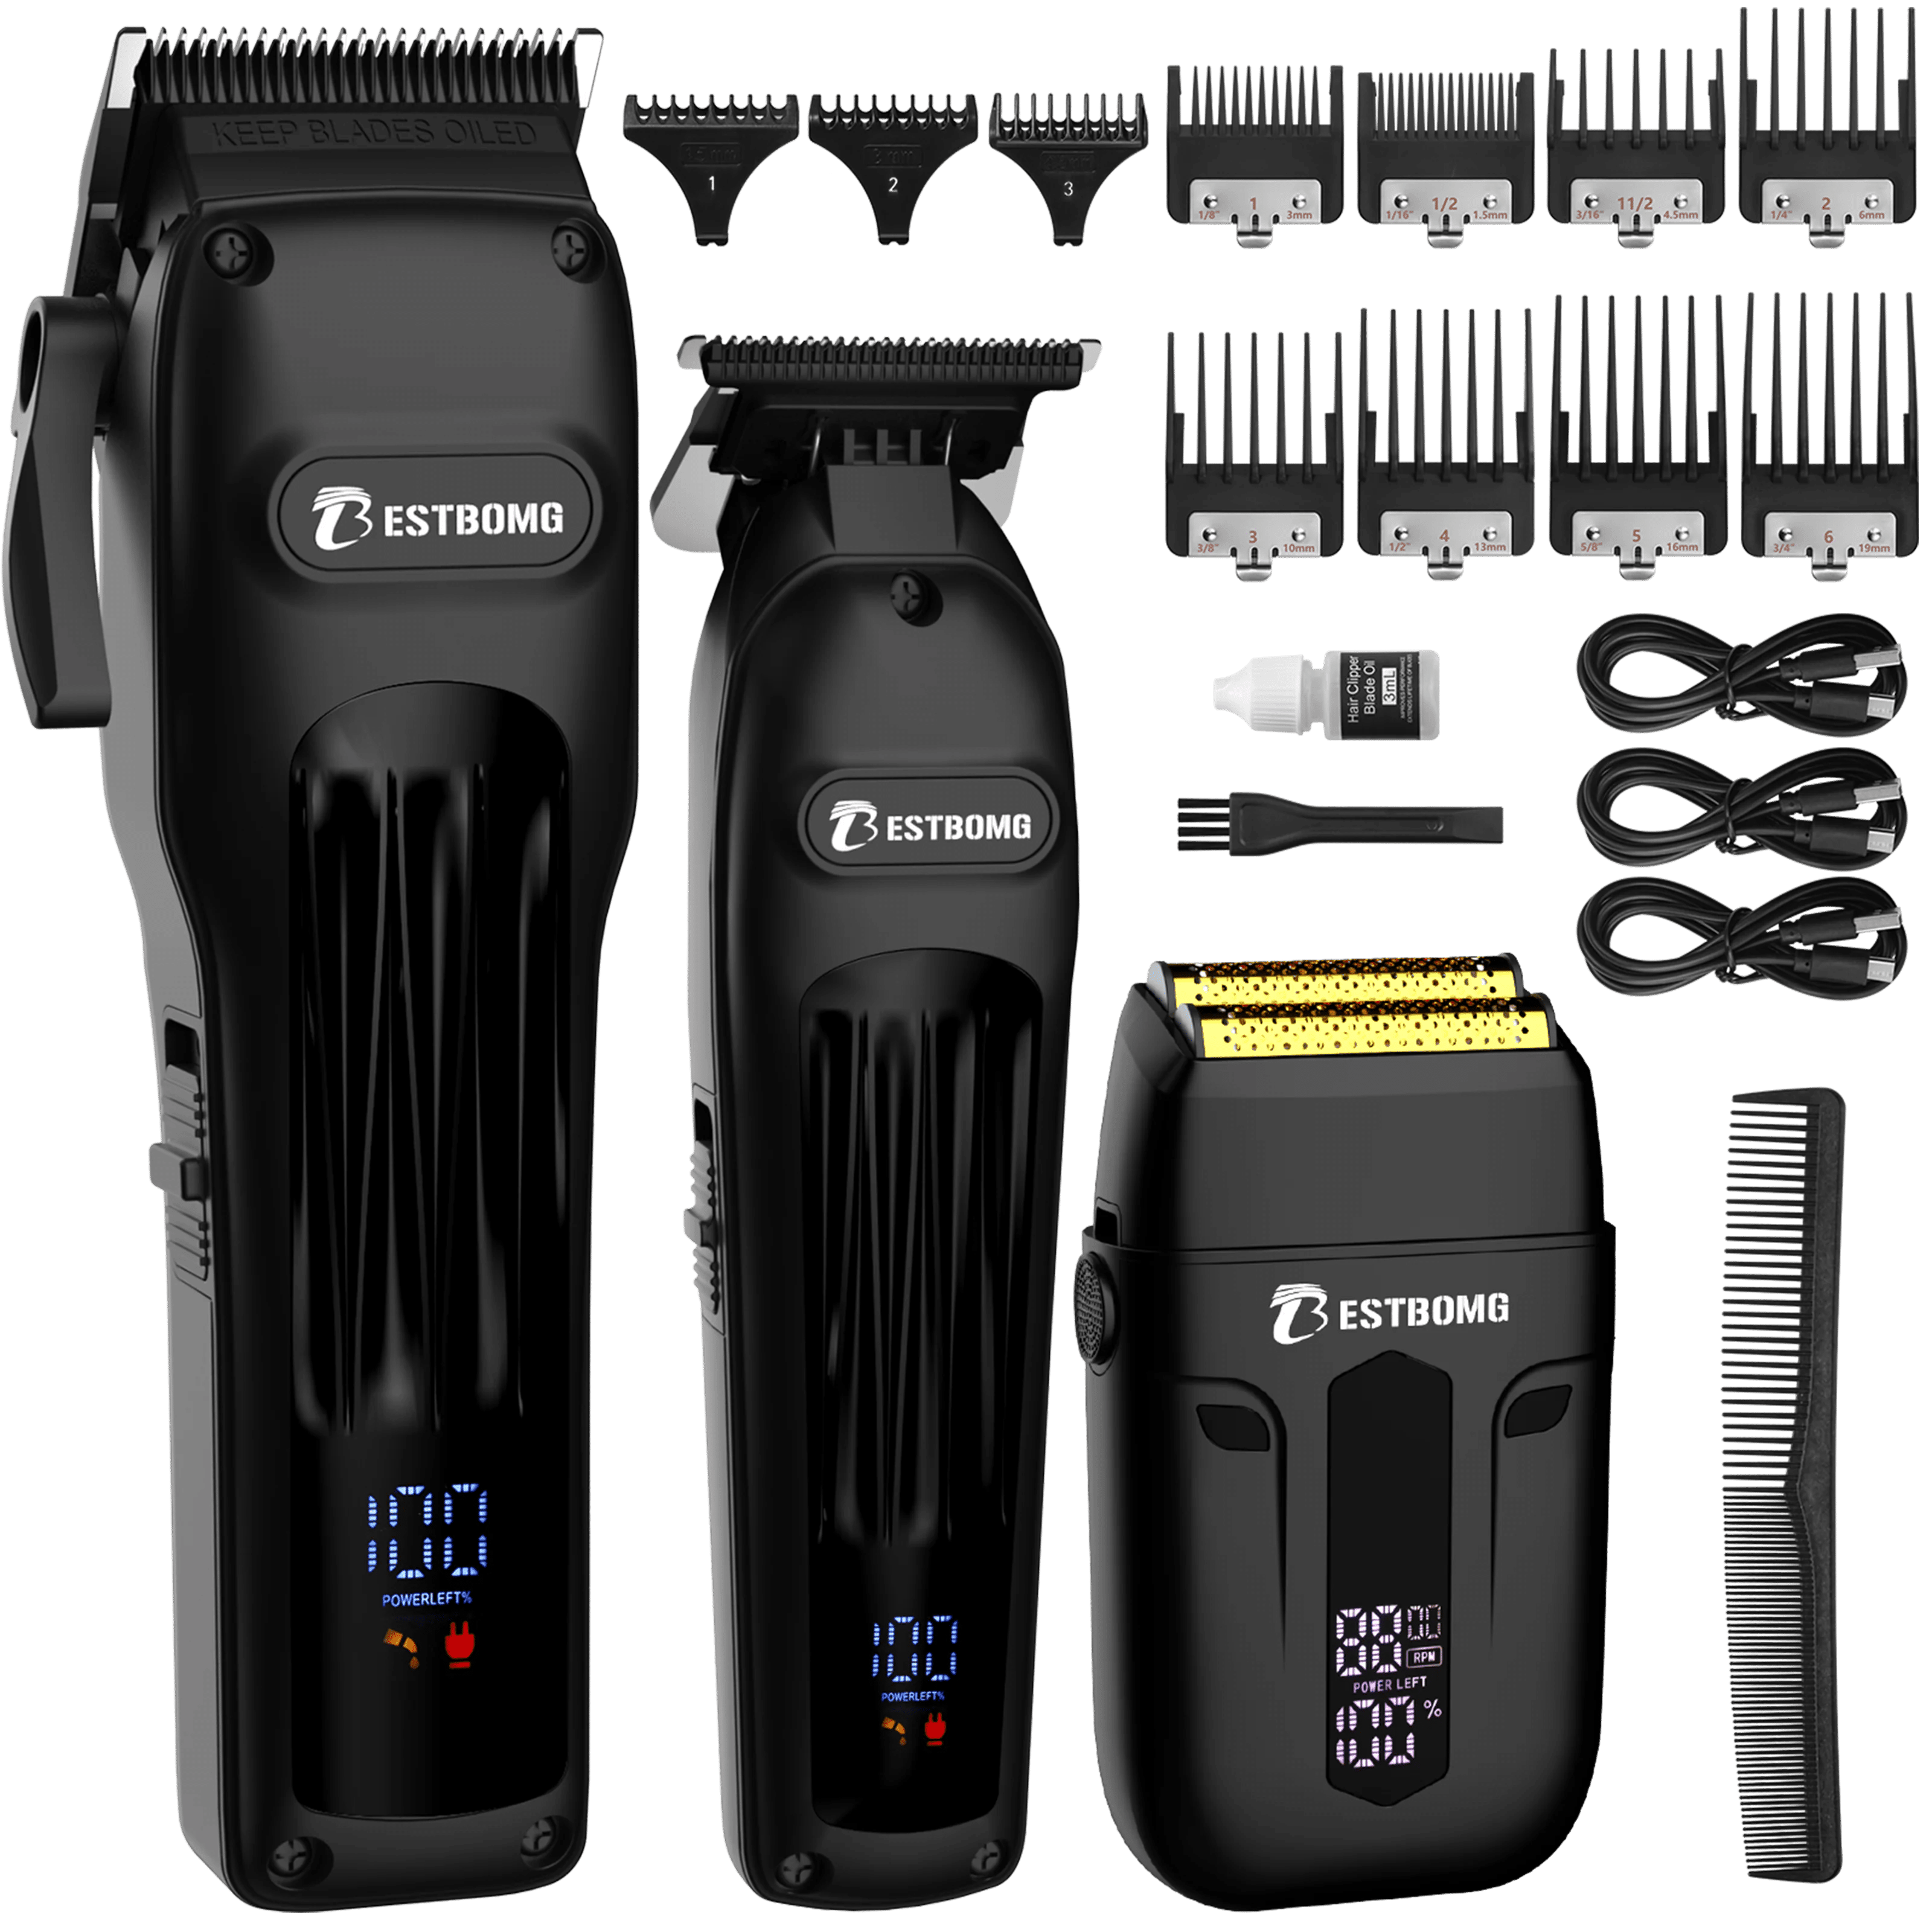
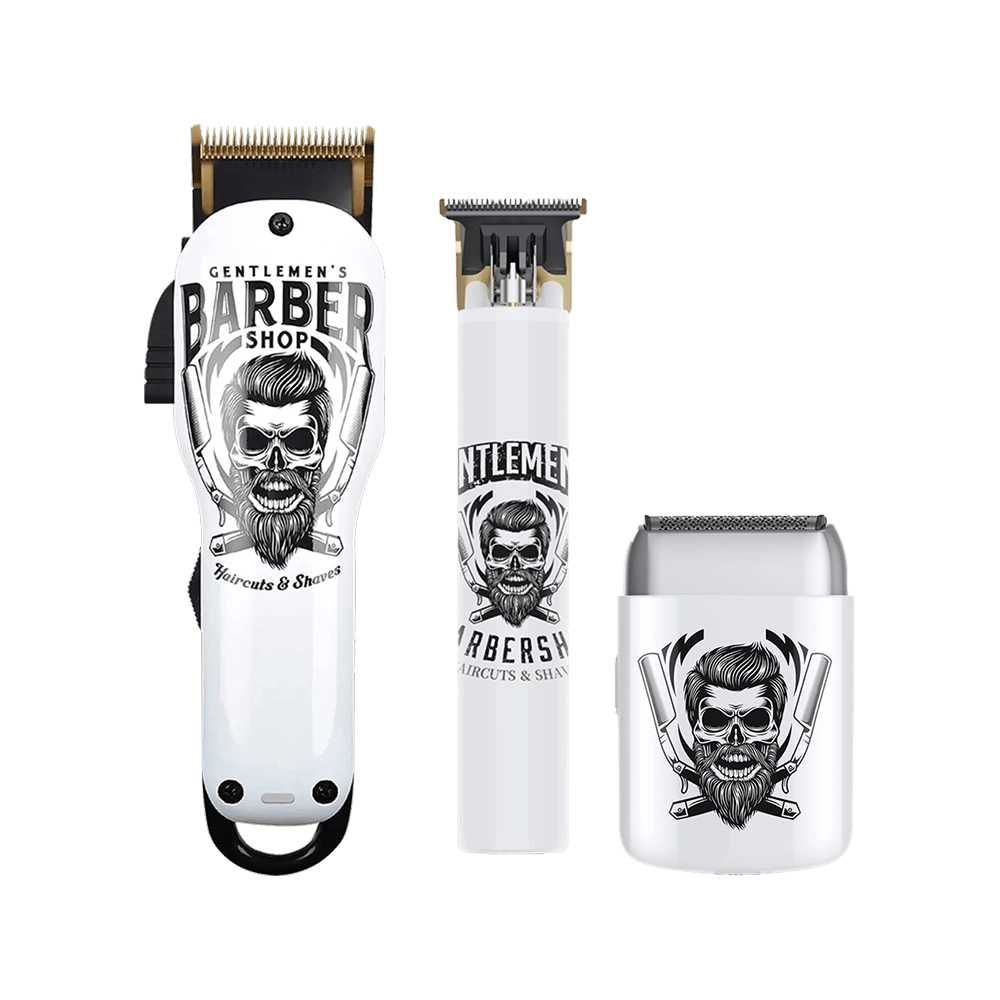
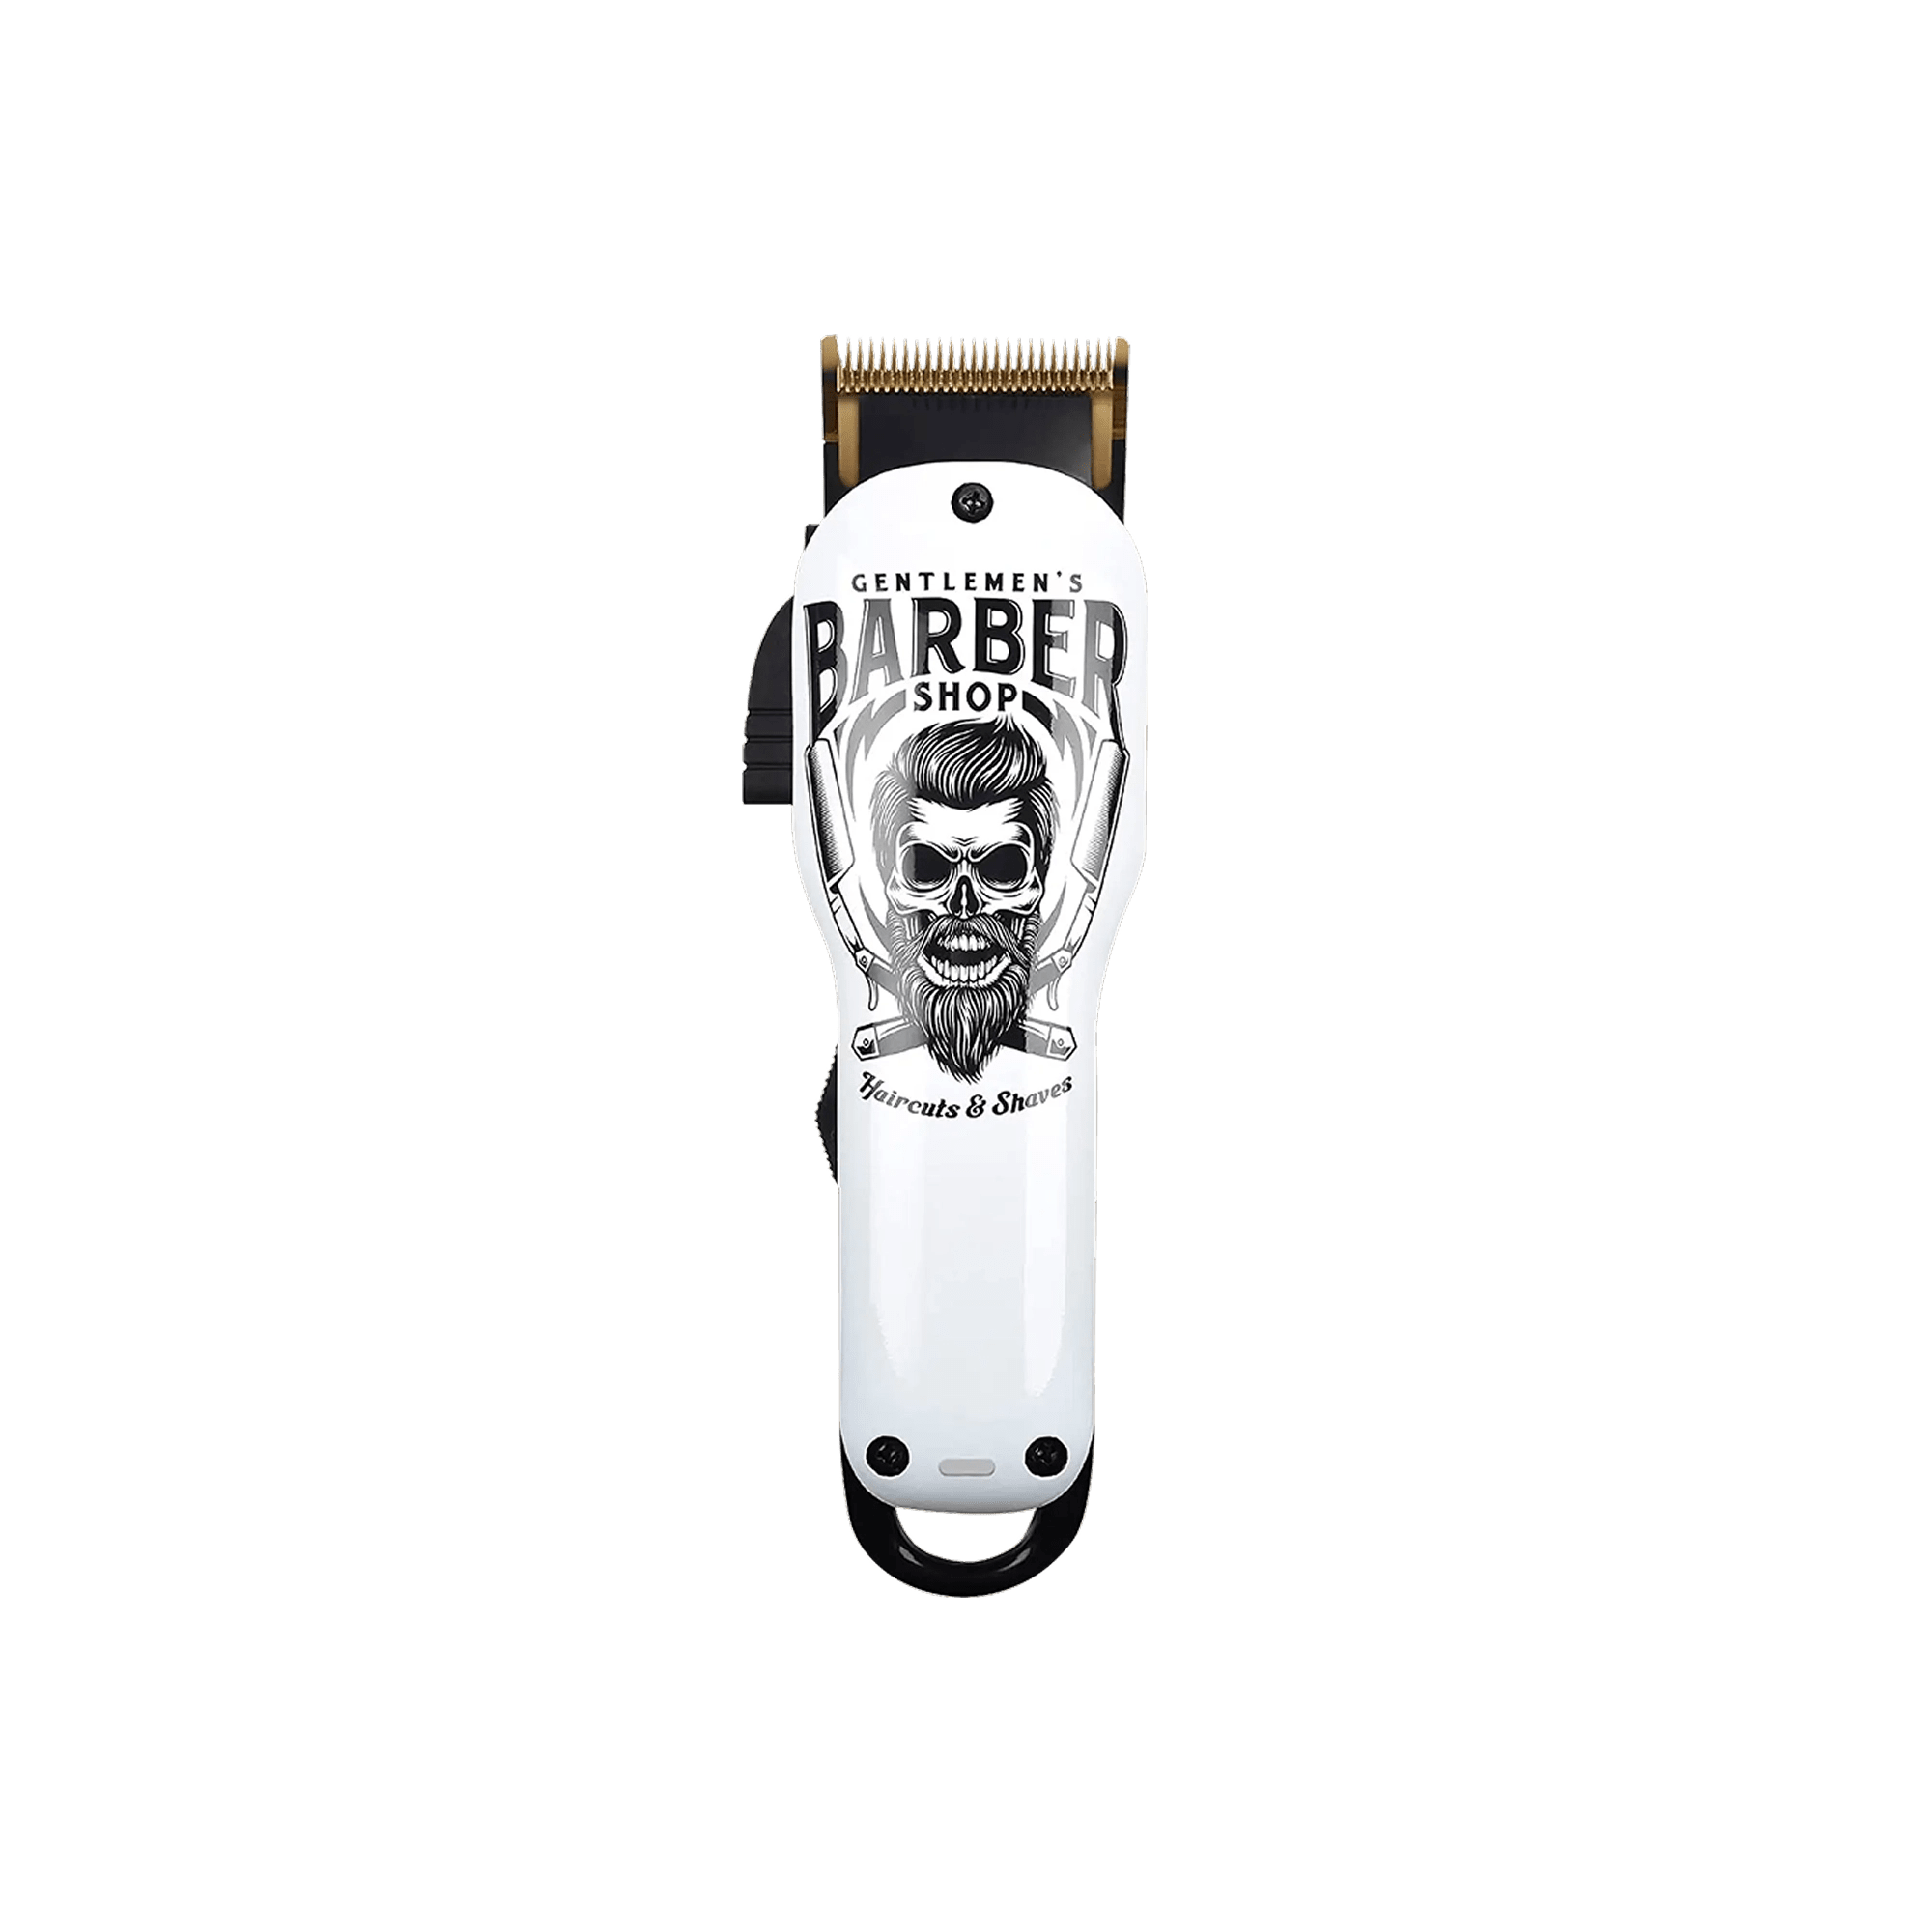
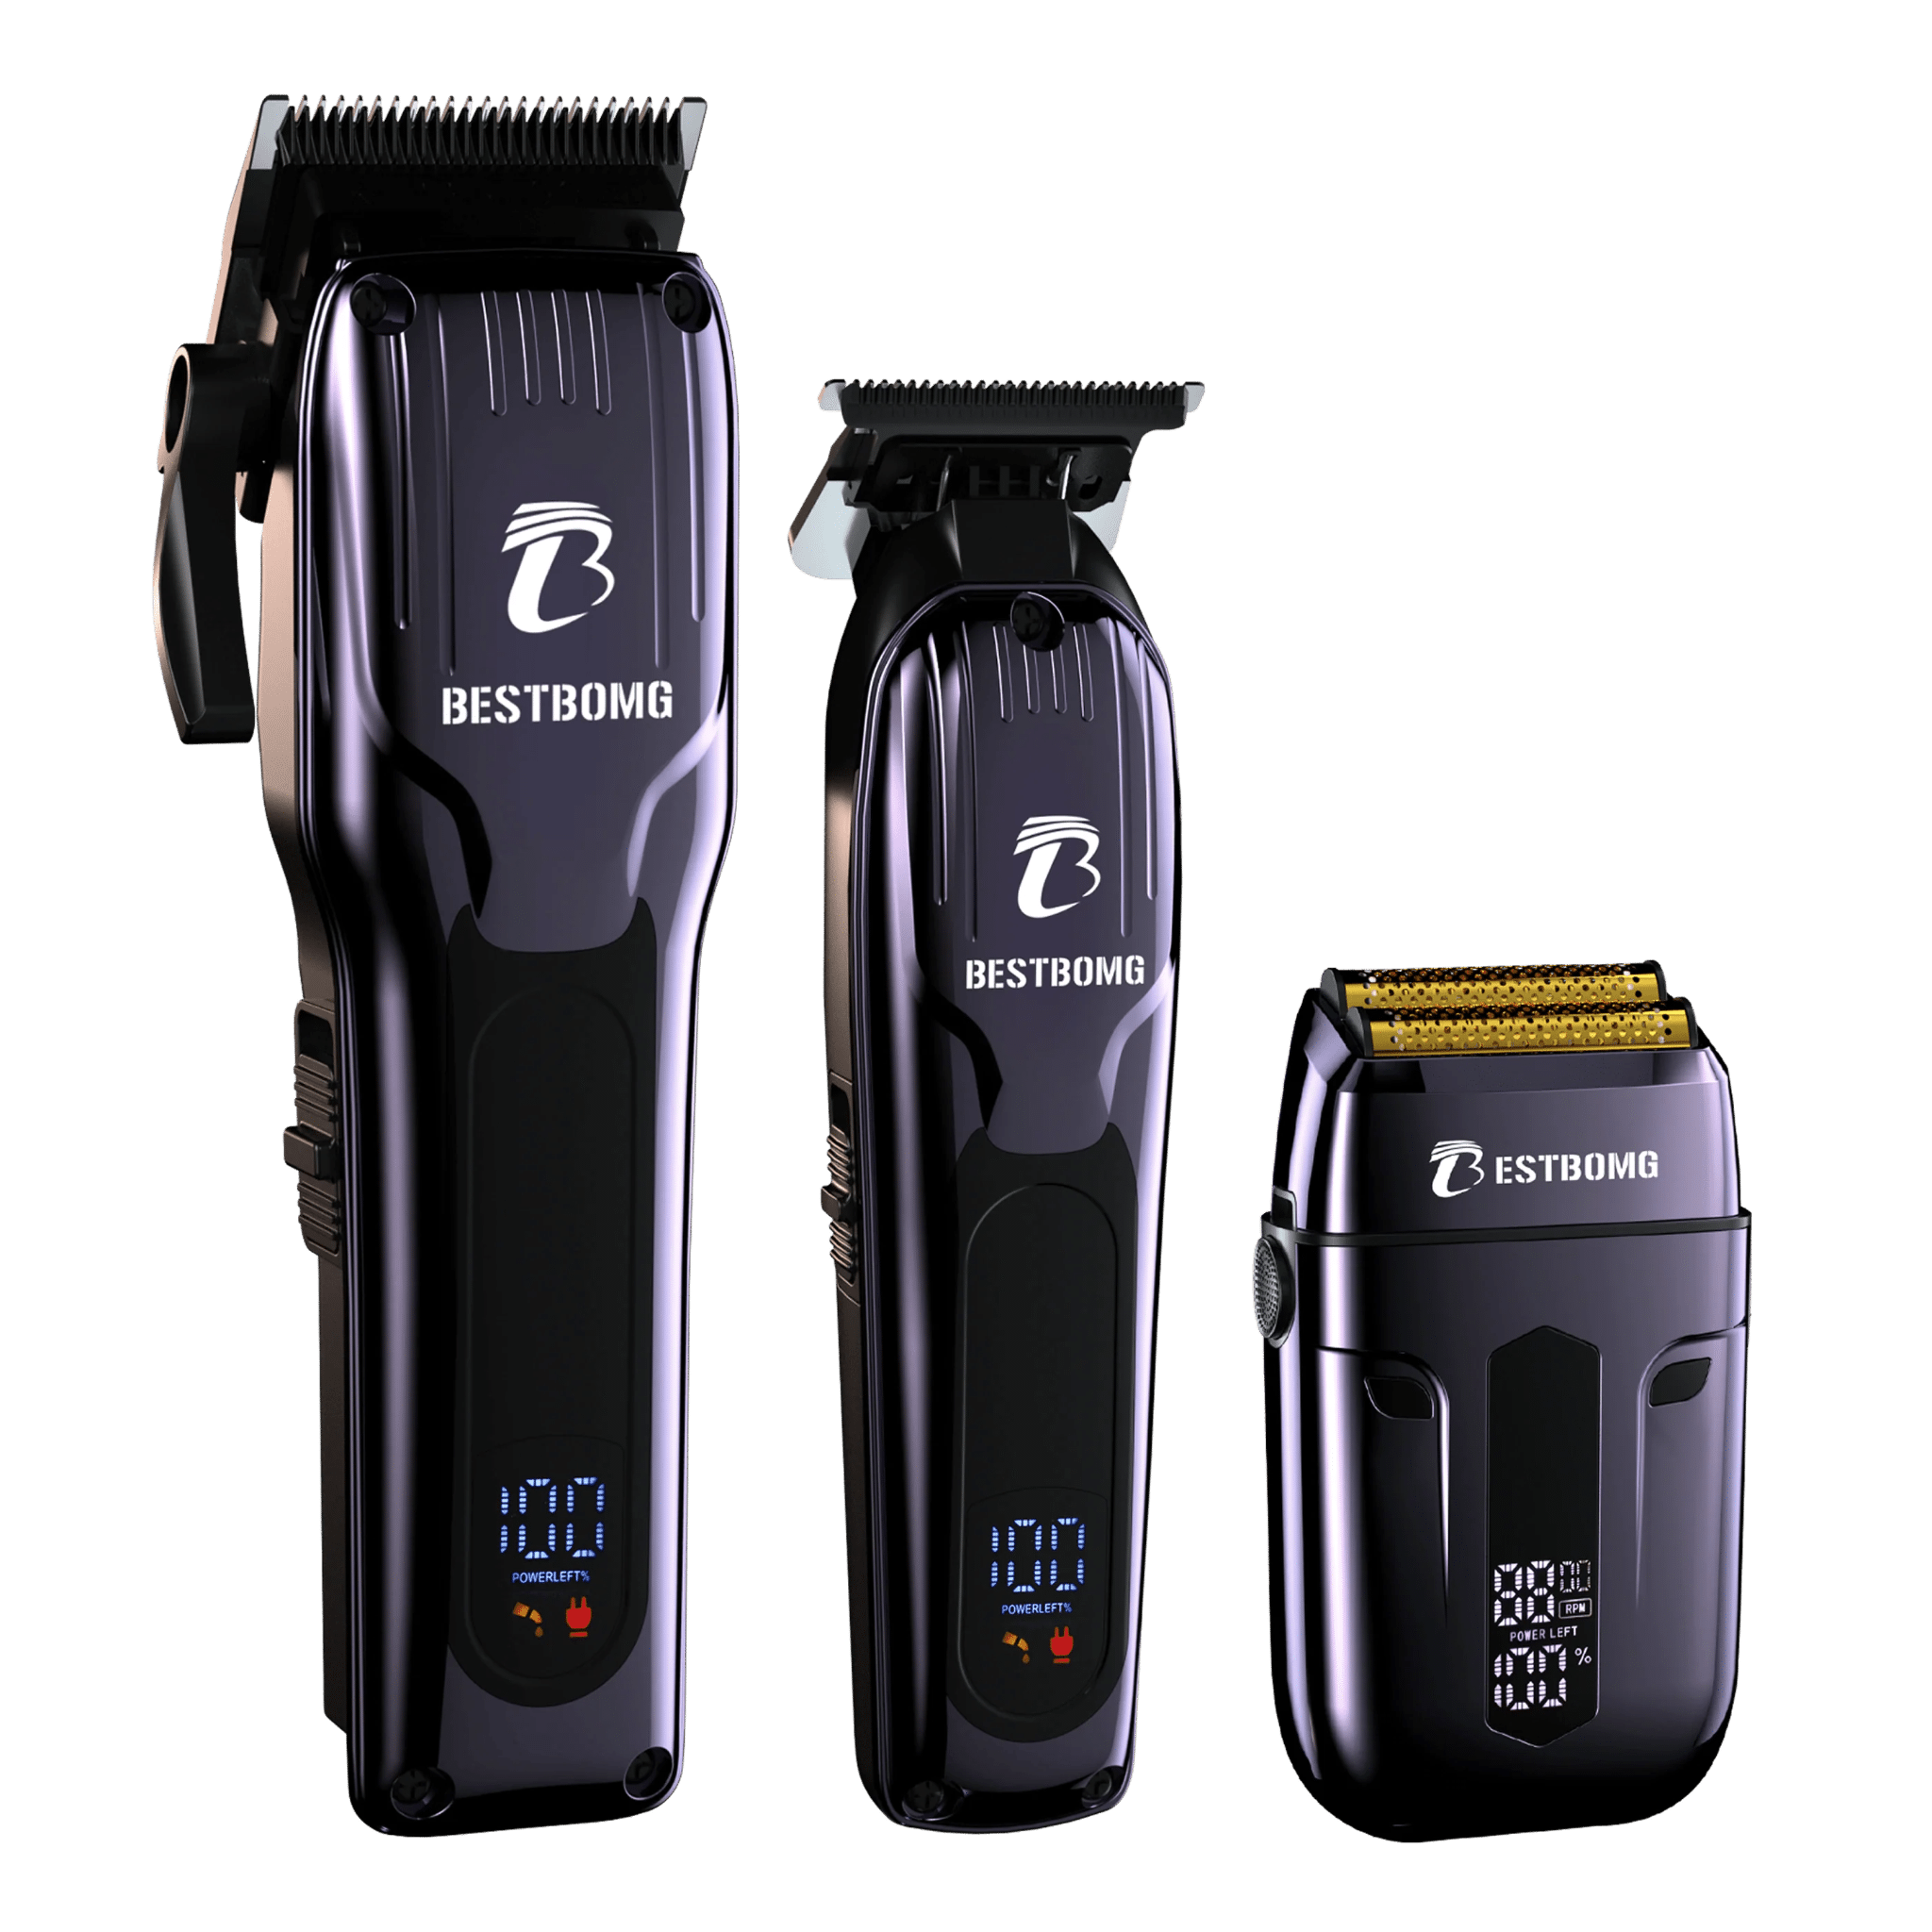
- Hair Clippers: Your main tool for shaping, fading, and maintaining even lengths. Try the BS-808A Hair Clipper Kit for adjustable guards and strong battery life.
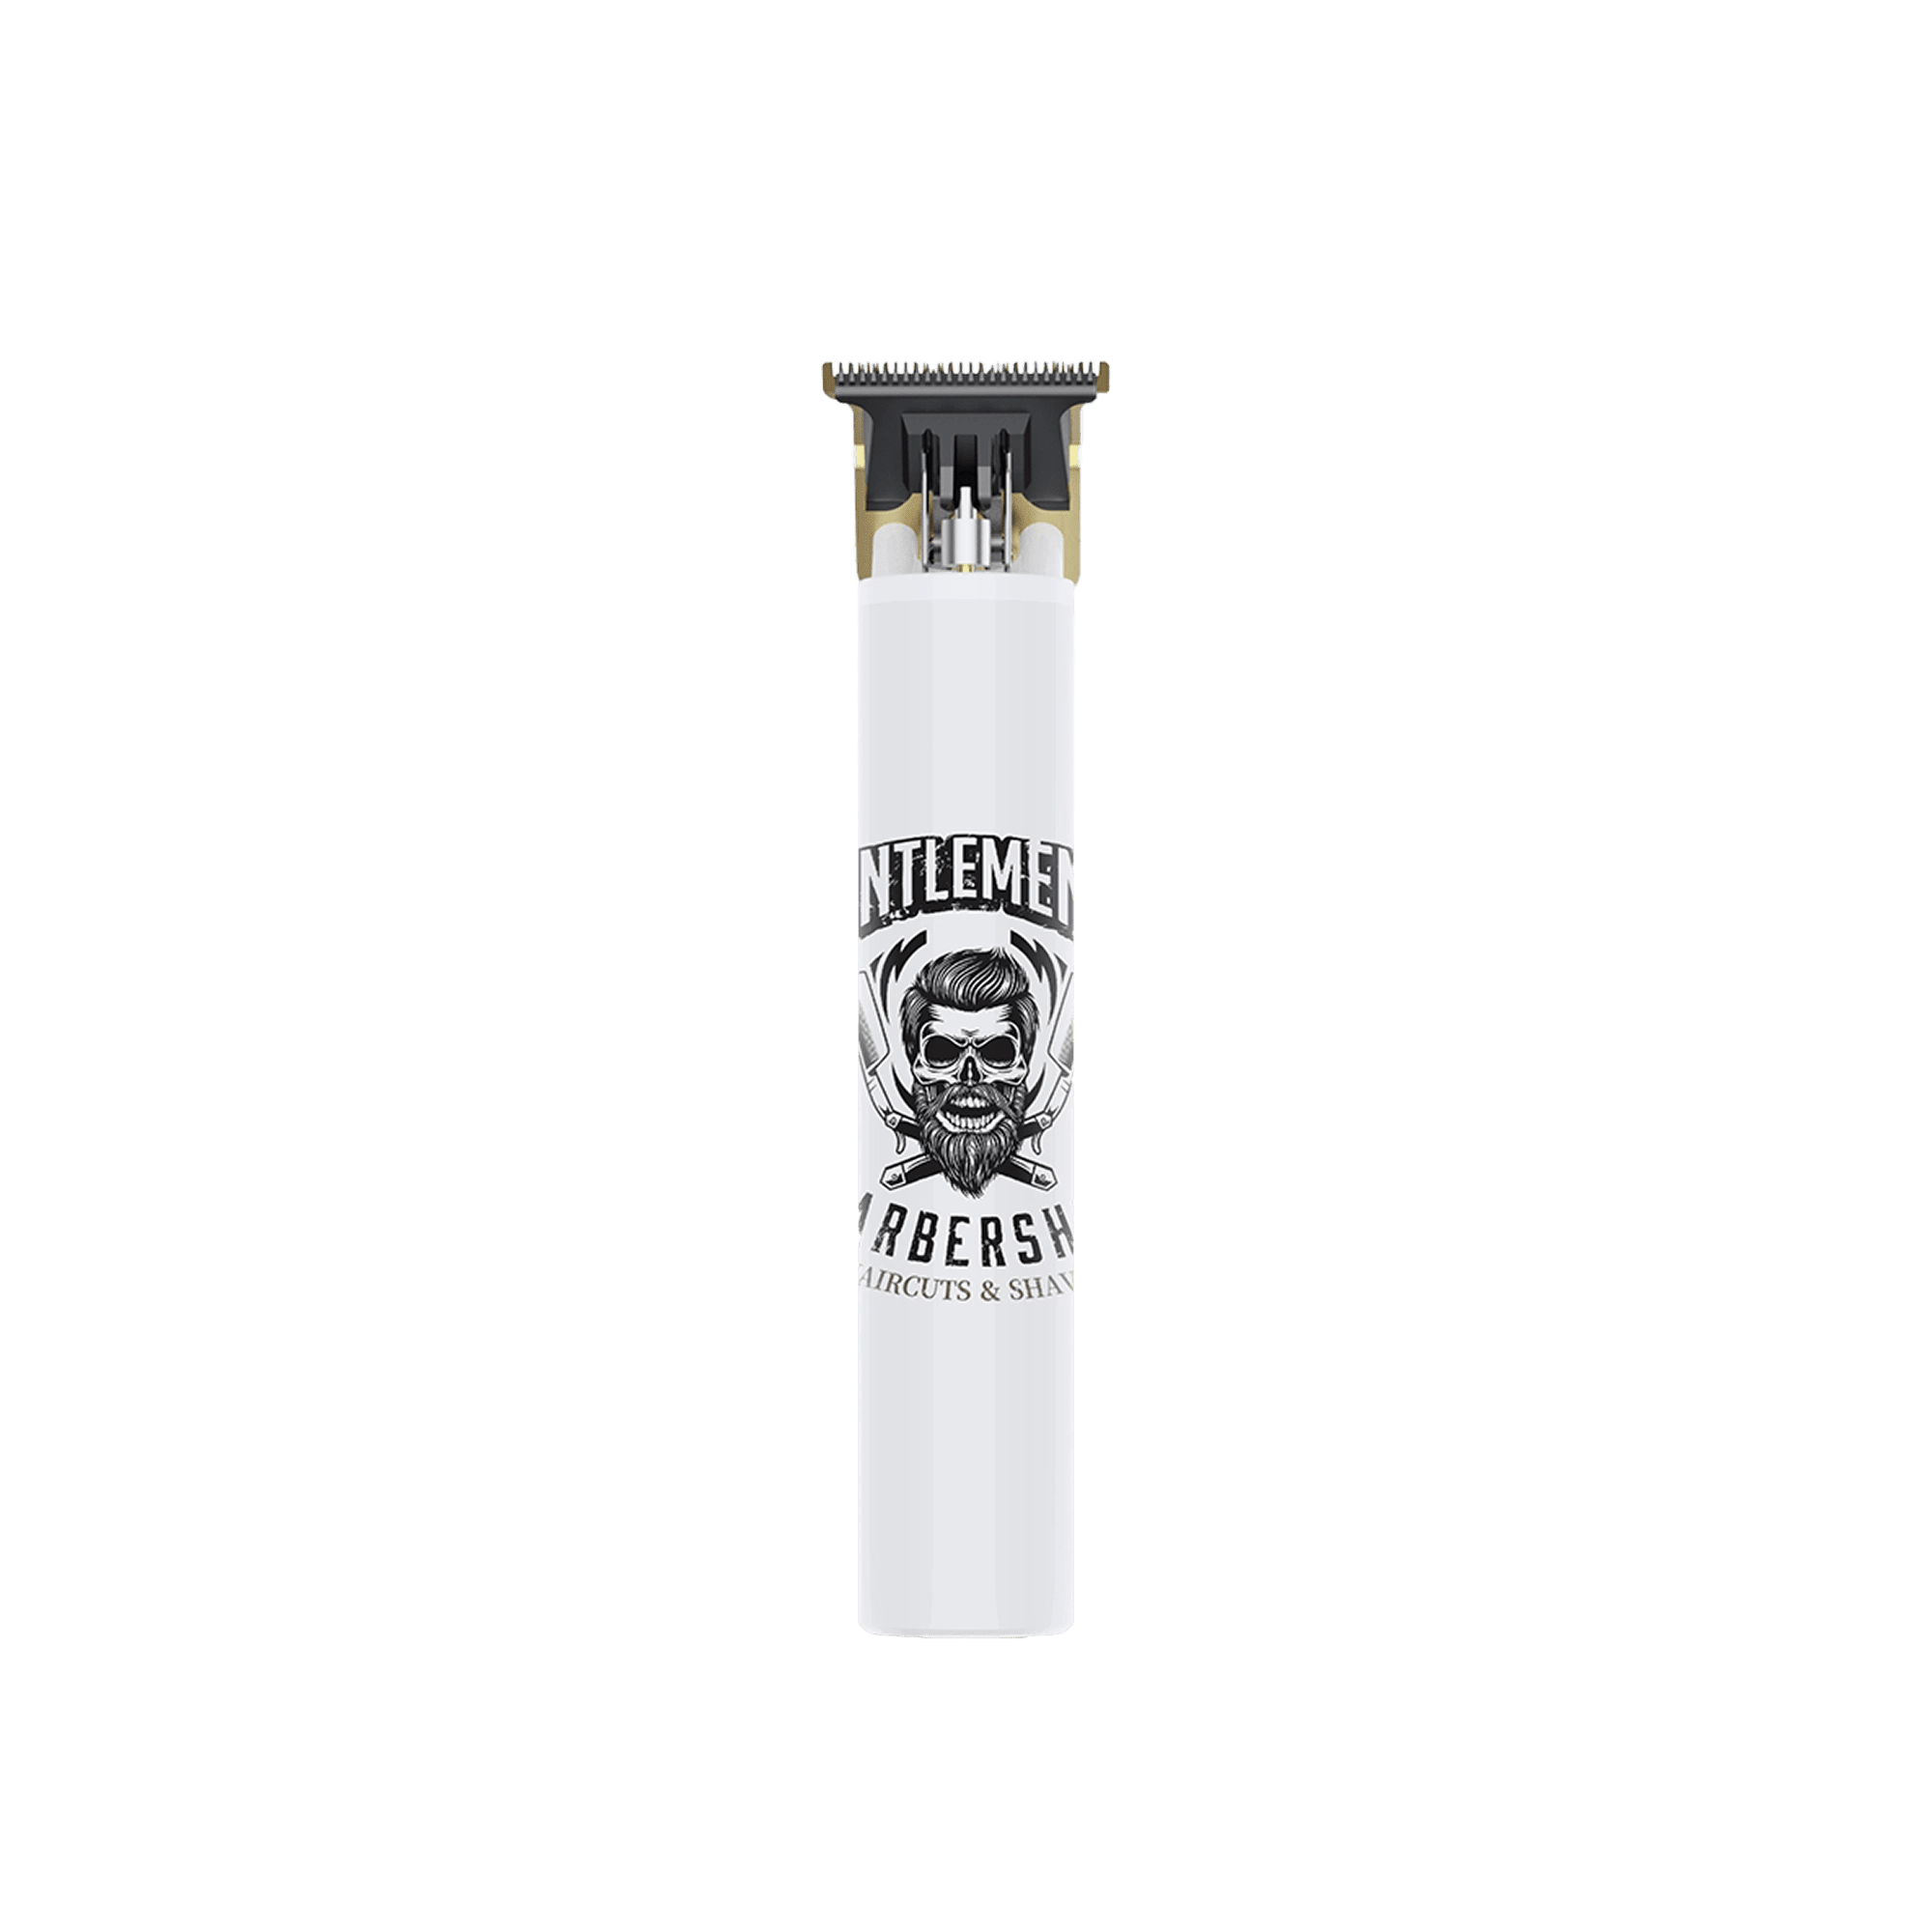
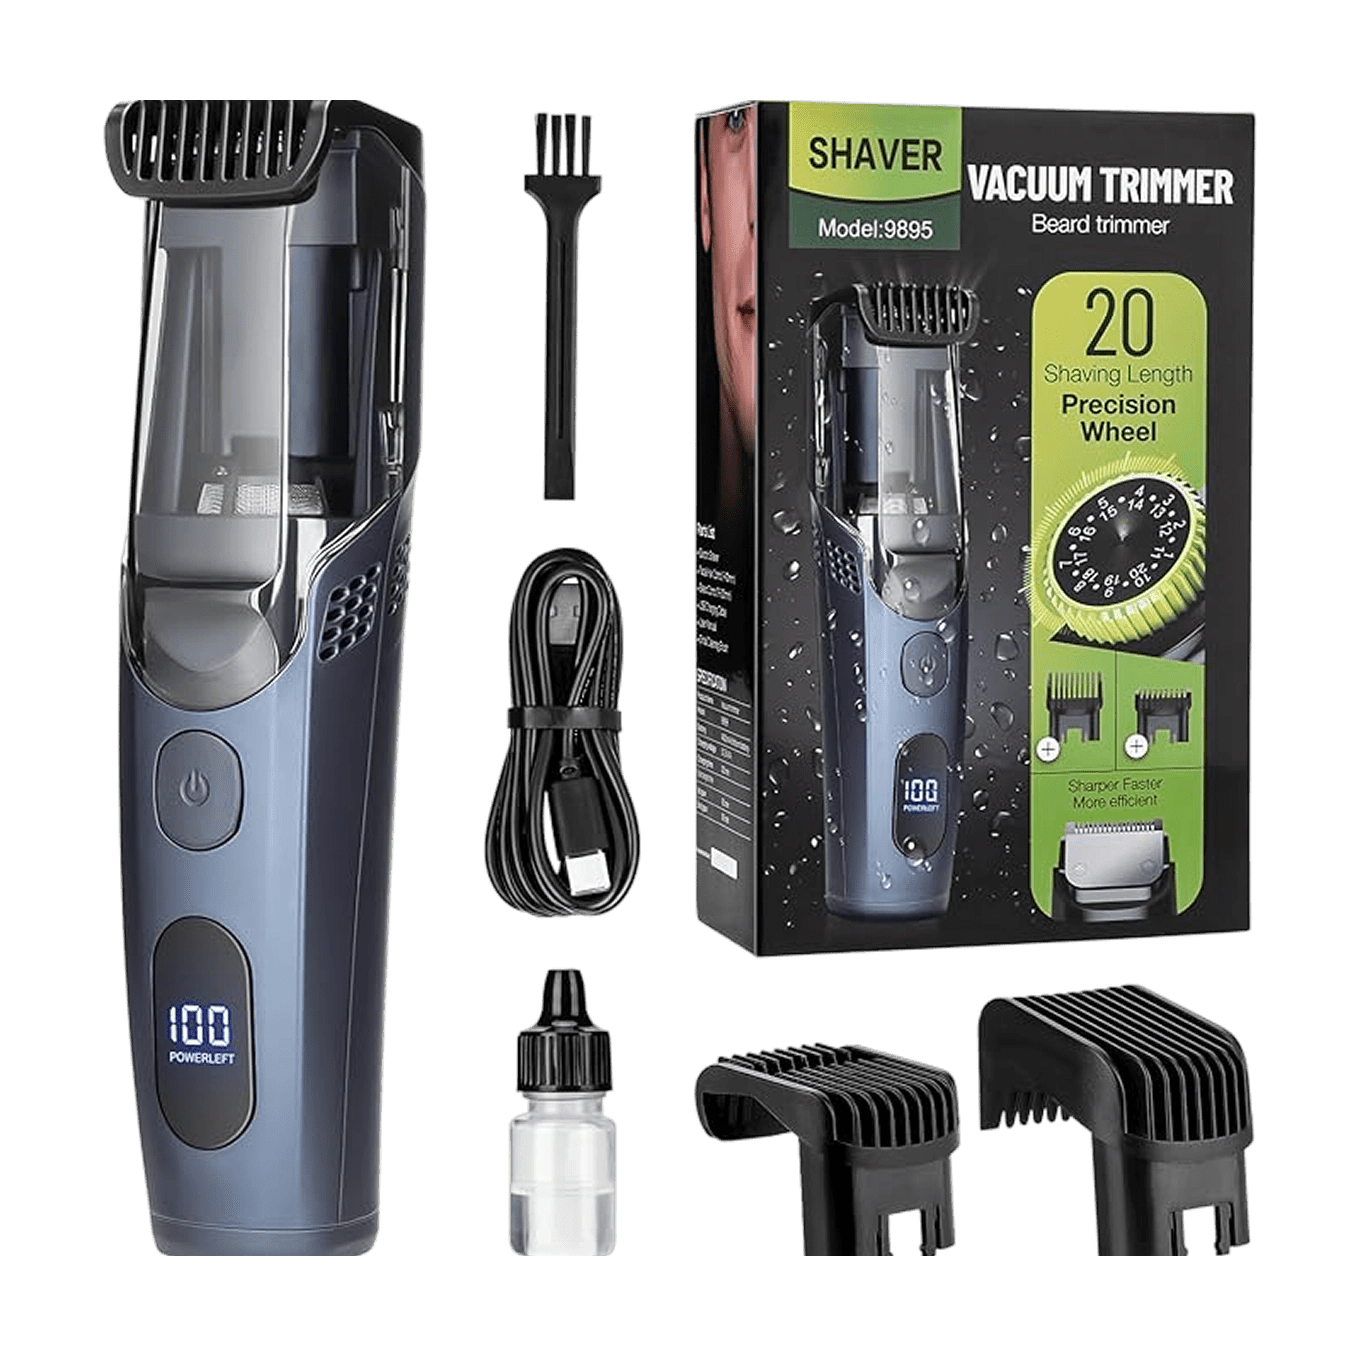
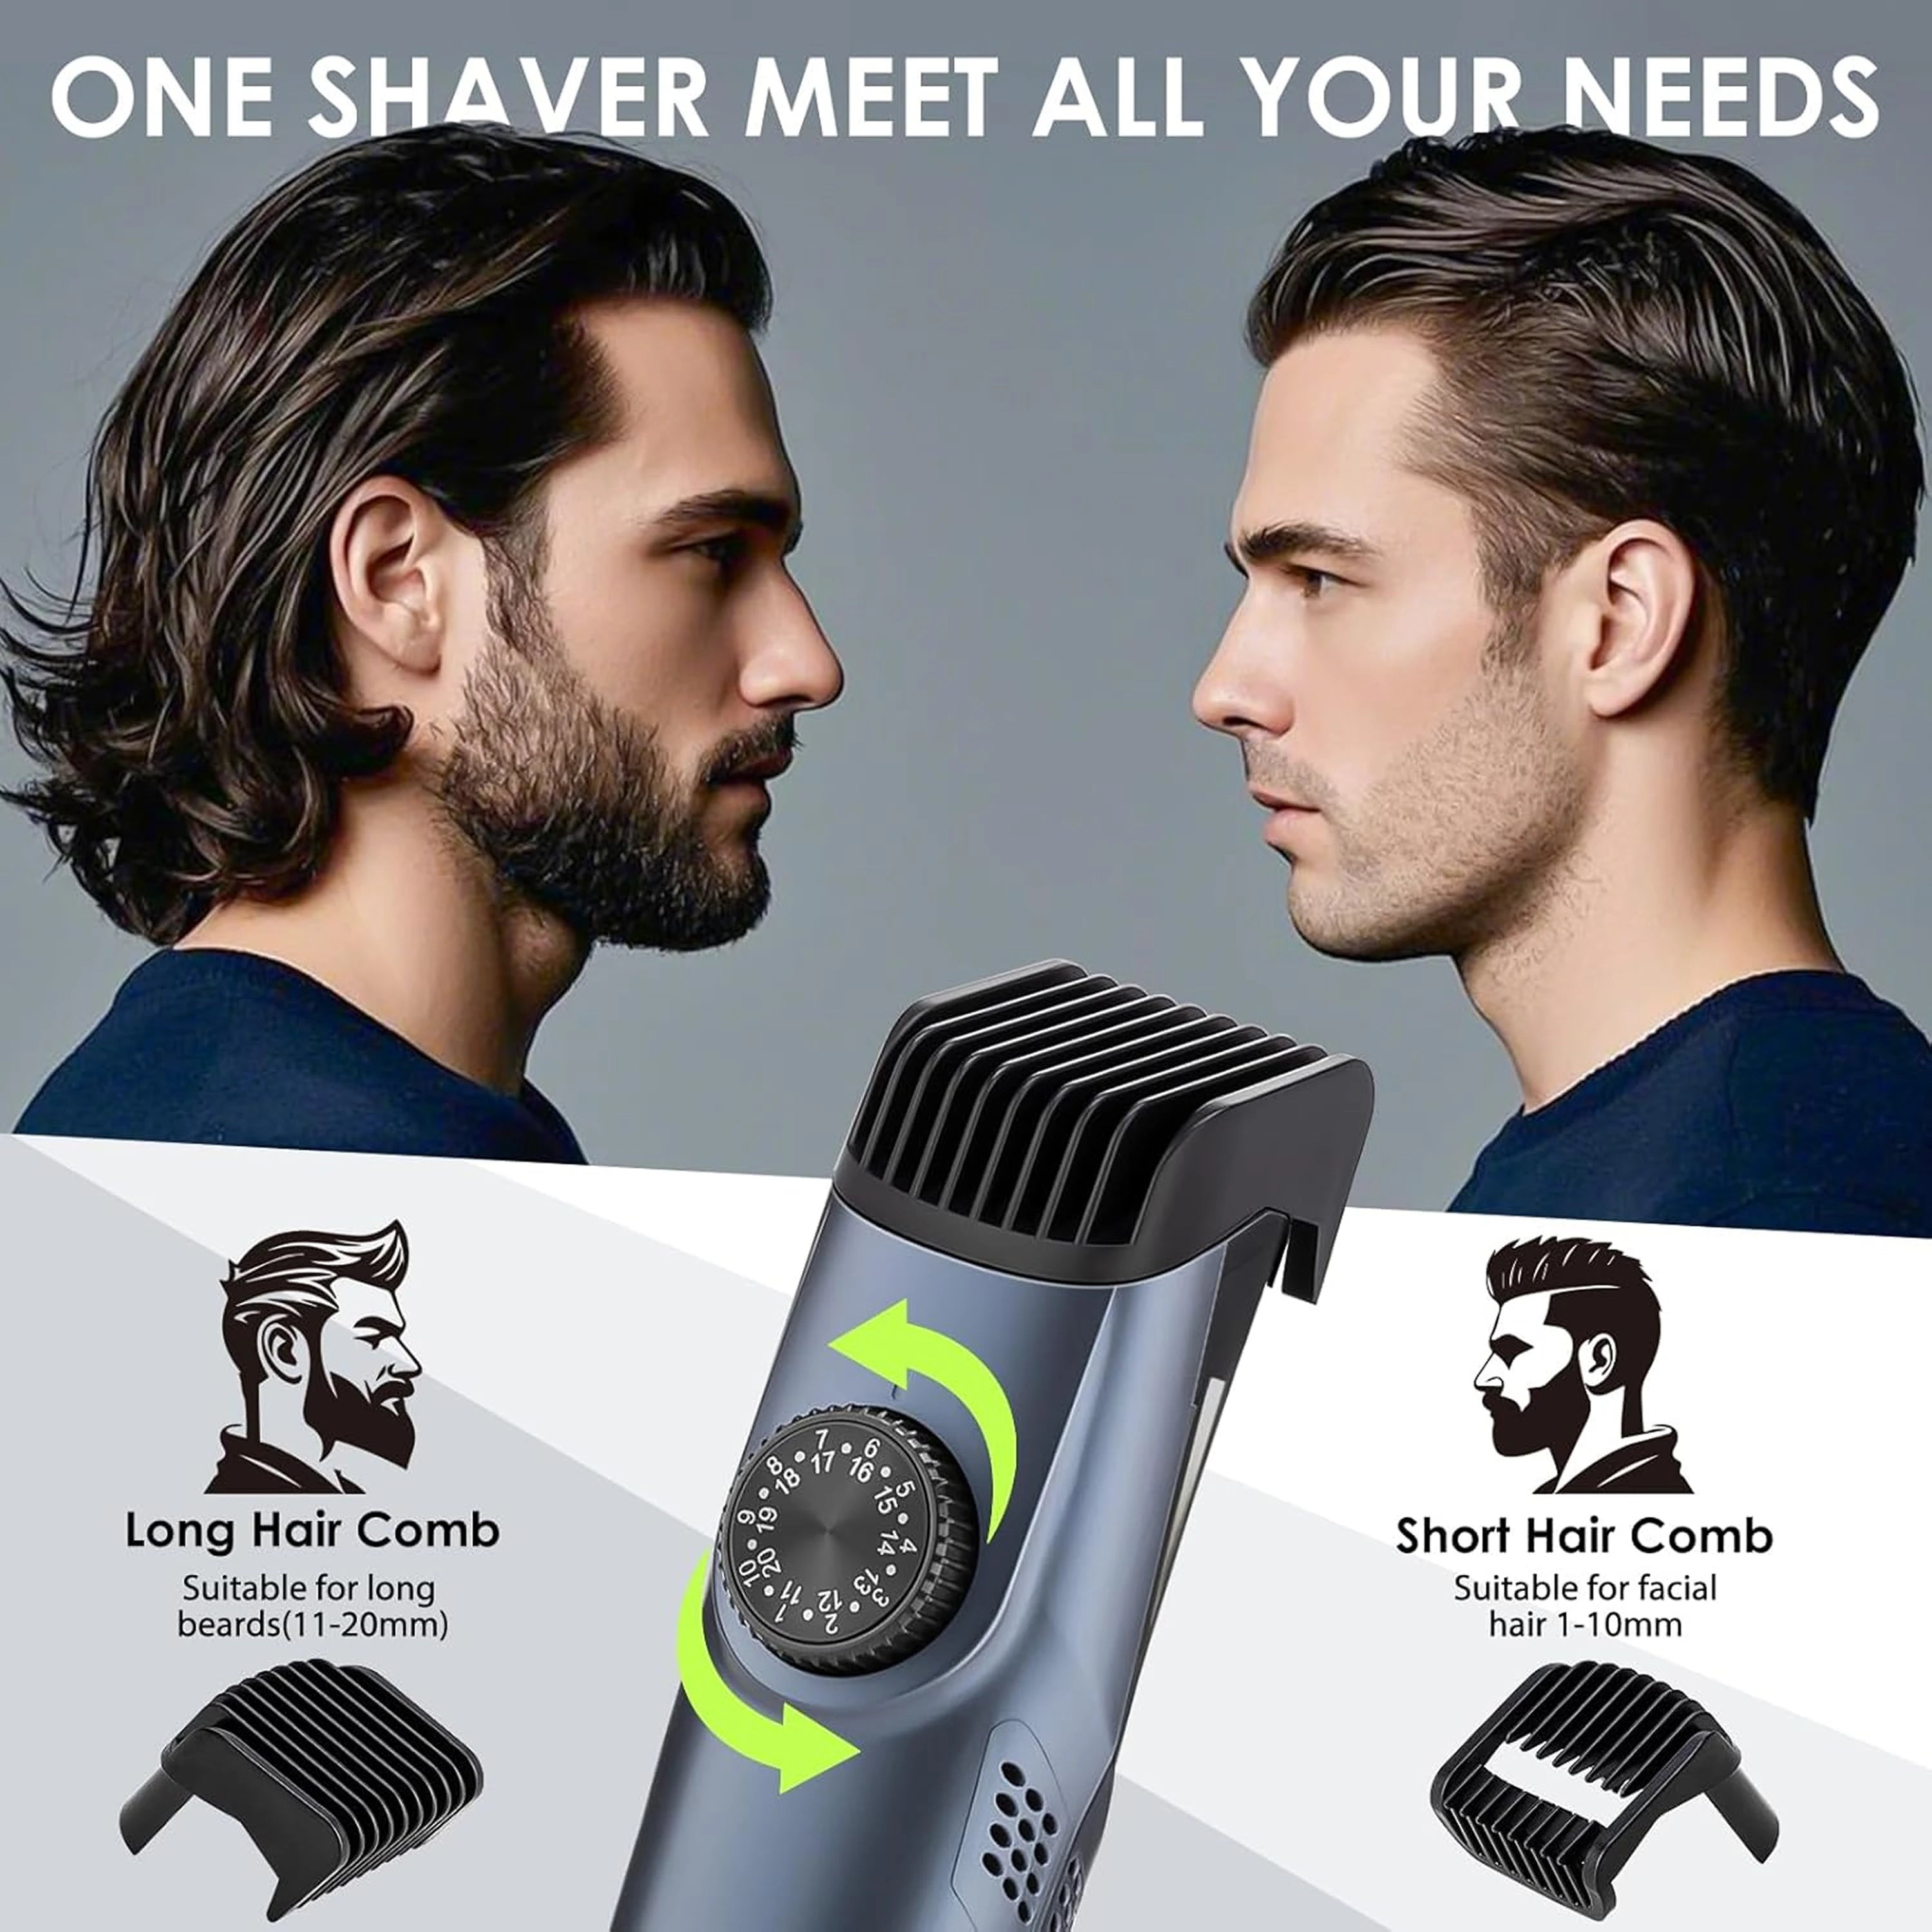
- Beard Trimmer: Perfect for edges, sideburns, and detailed finishing. The Bestbomg T9 Trimmer gives barbershop-level precision at home.
- Scissors: Use for trimming the top and refining texture.
- Comb and Section Clips: Help divide sections neatly.
- Mirror Setup: Two mirrors make it easier to see the back.
- Neck Brush and Towel: Keep your workspace clean.
If you don’t already own these, consider an all-in-one hair cutting kit that includes everything you’ll need for home styling.
Step-by-Step: How to Cut a Mullet

This breakdown will help you go from prep to finish—no barber required.
1. Wash and Dry
Start with clean, dry hair. Dirt or oil can make your clippers snag. If your hair is curly or wavy, lightly dampen it to make sectioning easier.
2. Section the Hair
Divide your hair into three parts:
- Top: From the forehead to the crown.
- Sides: From temples to behind the ears.
-
Back: Everything below the crown.
Clip each section up so you can work cleanly and symmetrically.
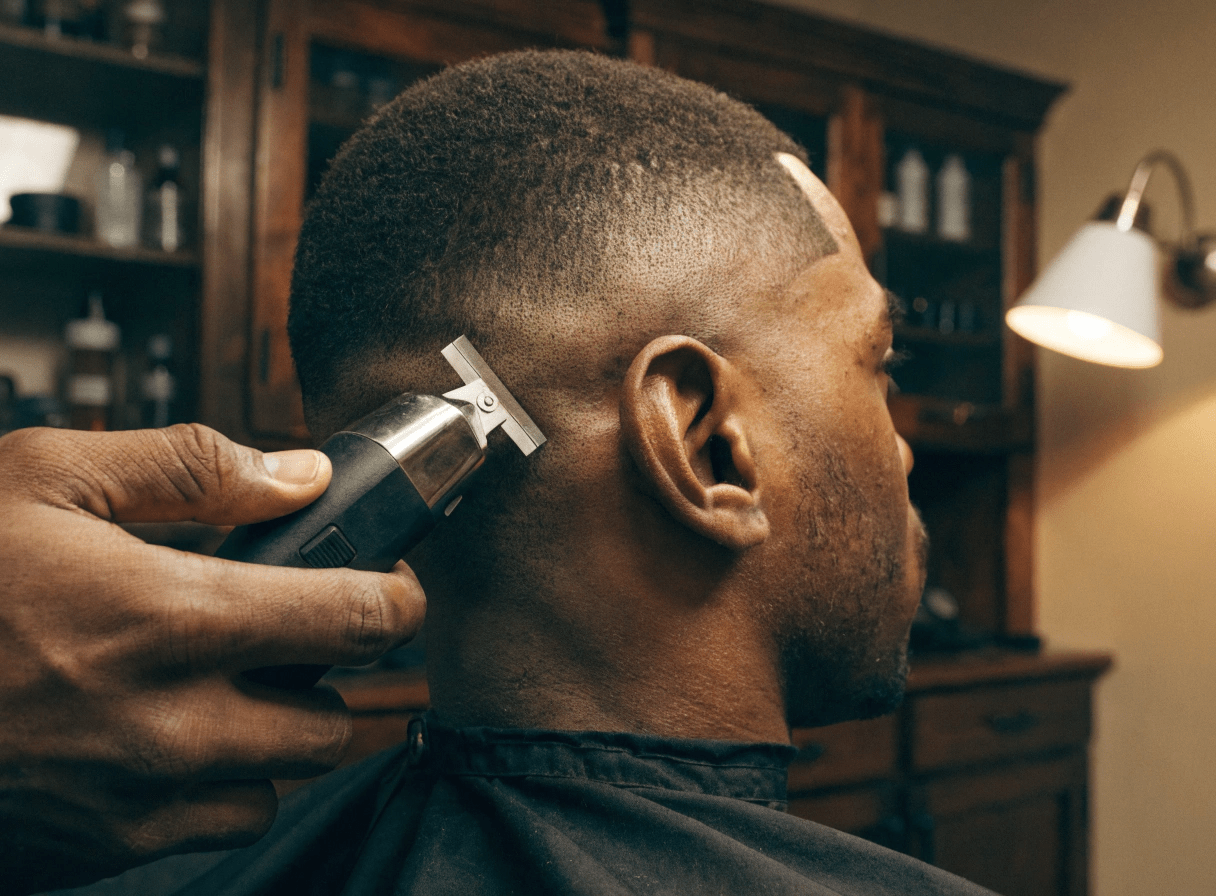
3. Cut the Sides
- Use a clipper with a #2 or #3 guard.
- Start just above the ear and move down toward the neckline.
- For a modern mullet, fade the sides gradually using guard sizes #1 → #2 → #3.
- Keep the temple area slightly higher for a lifted look.
Pro Tip: Always cut against the direction of hair growth for an even trim.
4. Trim the Top
- Comb the top section forward.
- Use scissors or the clipper-over-finger method to shorten to your desired length (typically 2–3 inches).
- The top should blend slightly into the back but stay shorter for contrast.
5. Shape the Back
This is what gives the mullet its identity.
- Let down the back section and decide how long you want it—typically collar-length or slightly longer.
- Use scissors for natural layering or a #4–#6 guard for cleaner lines.
- Avoid trimming too high; keep it flowing.
6. Blend the Transitions
Use a trimmer or clipper lever to blend where the top meets the back. Adjust your lever slightly open for smoother fades.
7. Edge and Finish
Use your trimmer to clean around ears, neckline, and sideburns. Double-check symmetry using a handheld mirror.
When done, rinse off loose hair and style with pomade or texture spray.
Different Types of Mullets You Can Try
Mullets come in dozens of variations. Here are the most popular types for 2025:
|
Style |
Description |
Who It Suits |
|
Classic Mullet |
Longer in back, uniform top and sides |
Straight hair; vintage fans |
|
Modern Mullet |
Faded or tapered sides, textured top |
Trendsetters; medium hair |
|
Curly Mullet |
Emphasizes natural curls at the back |
Curly or wavy hair types |
|
Shag Mullet |
Layered with messy volume |
Thin or fine hair |
|
Wolf Cut |
Hybrid of mullet and shag; popular among Gen Z |
Anyone wanting bold texture |
|
Bald Fade Mullet |
Sharp fade into long back |
High-contrast lovers |
|
Short Mullet |
Low-key version with moderate length |
Office-appropriate variant |
Each variation can be tailored to your face shape. Oval faces handle most styles, while rounder faces benefit from longer sides to elongate the jawline.
How to Cut a Modern Mullet with Clippers

Modern mullets focus on clean blending and sharp fades. Here’s how to get that precise, updated look.
- Start with a low fade. Use guard #1 near the temple and gradually move to #3 toward the crown.
- Blend into the top. Keep the lever halfway open for a smooth gradient.
- Trim the top shorter. Add texture using point-cutting with scissors.
- Shape the back. Let it grow out but trim the ends evenly.
- Detail with a trimmer. Outline the neckline and sideburns crisply.
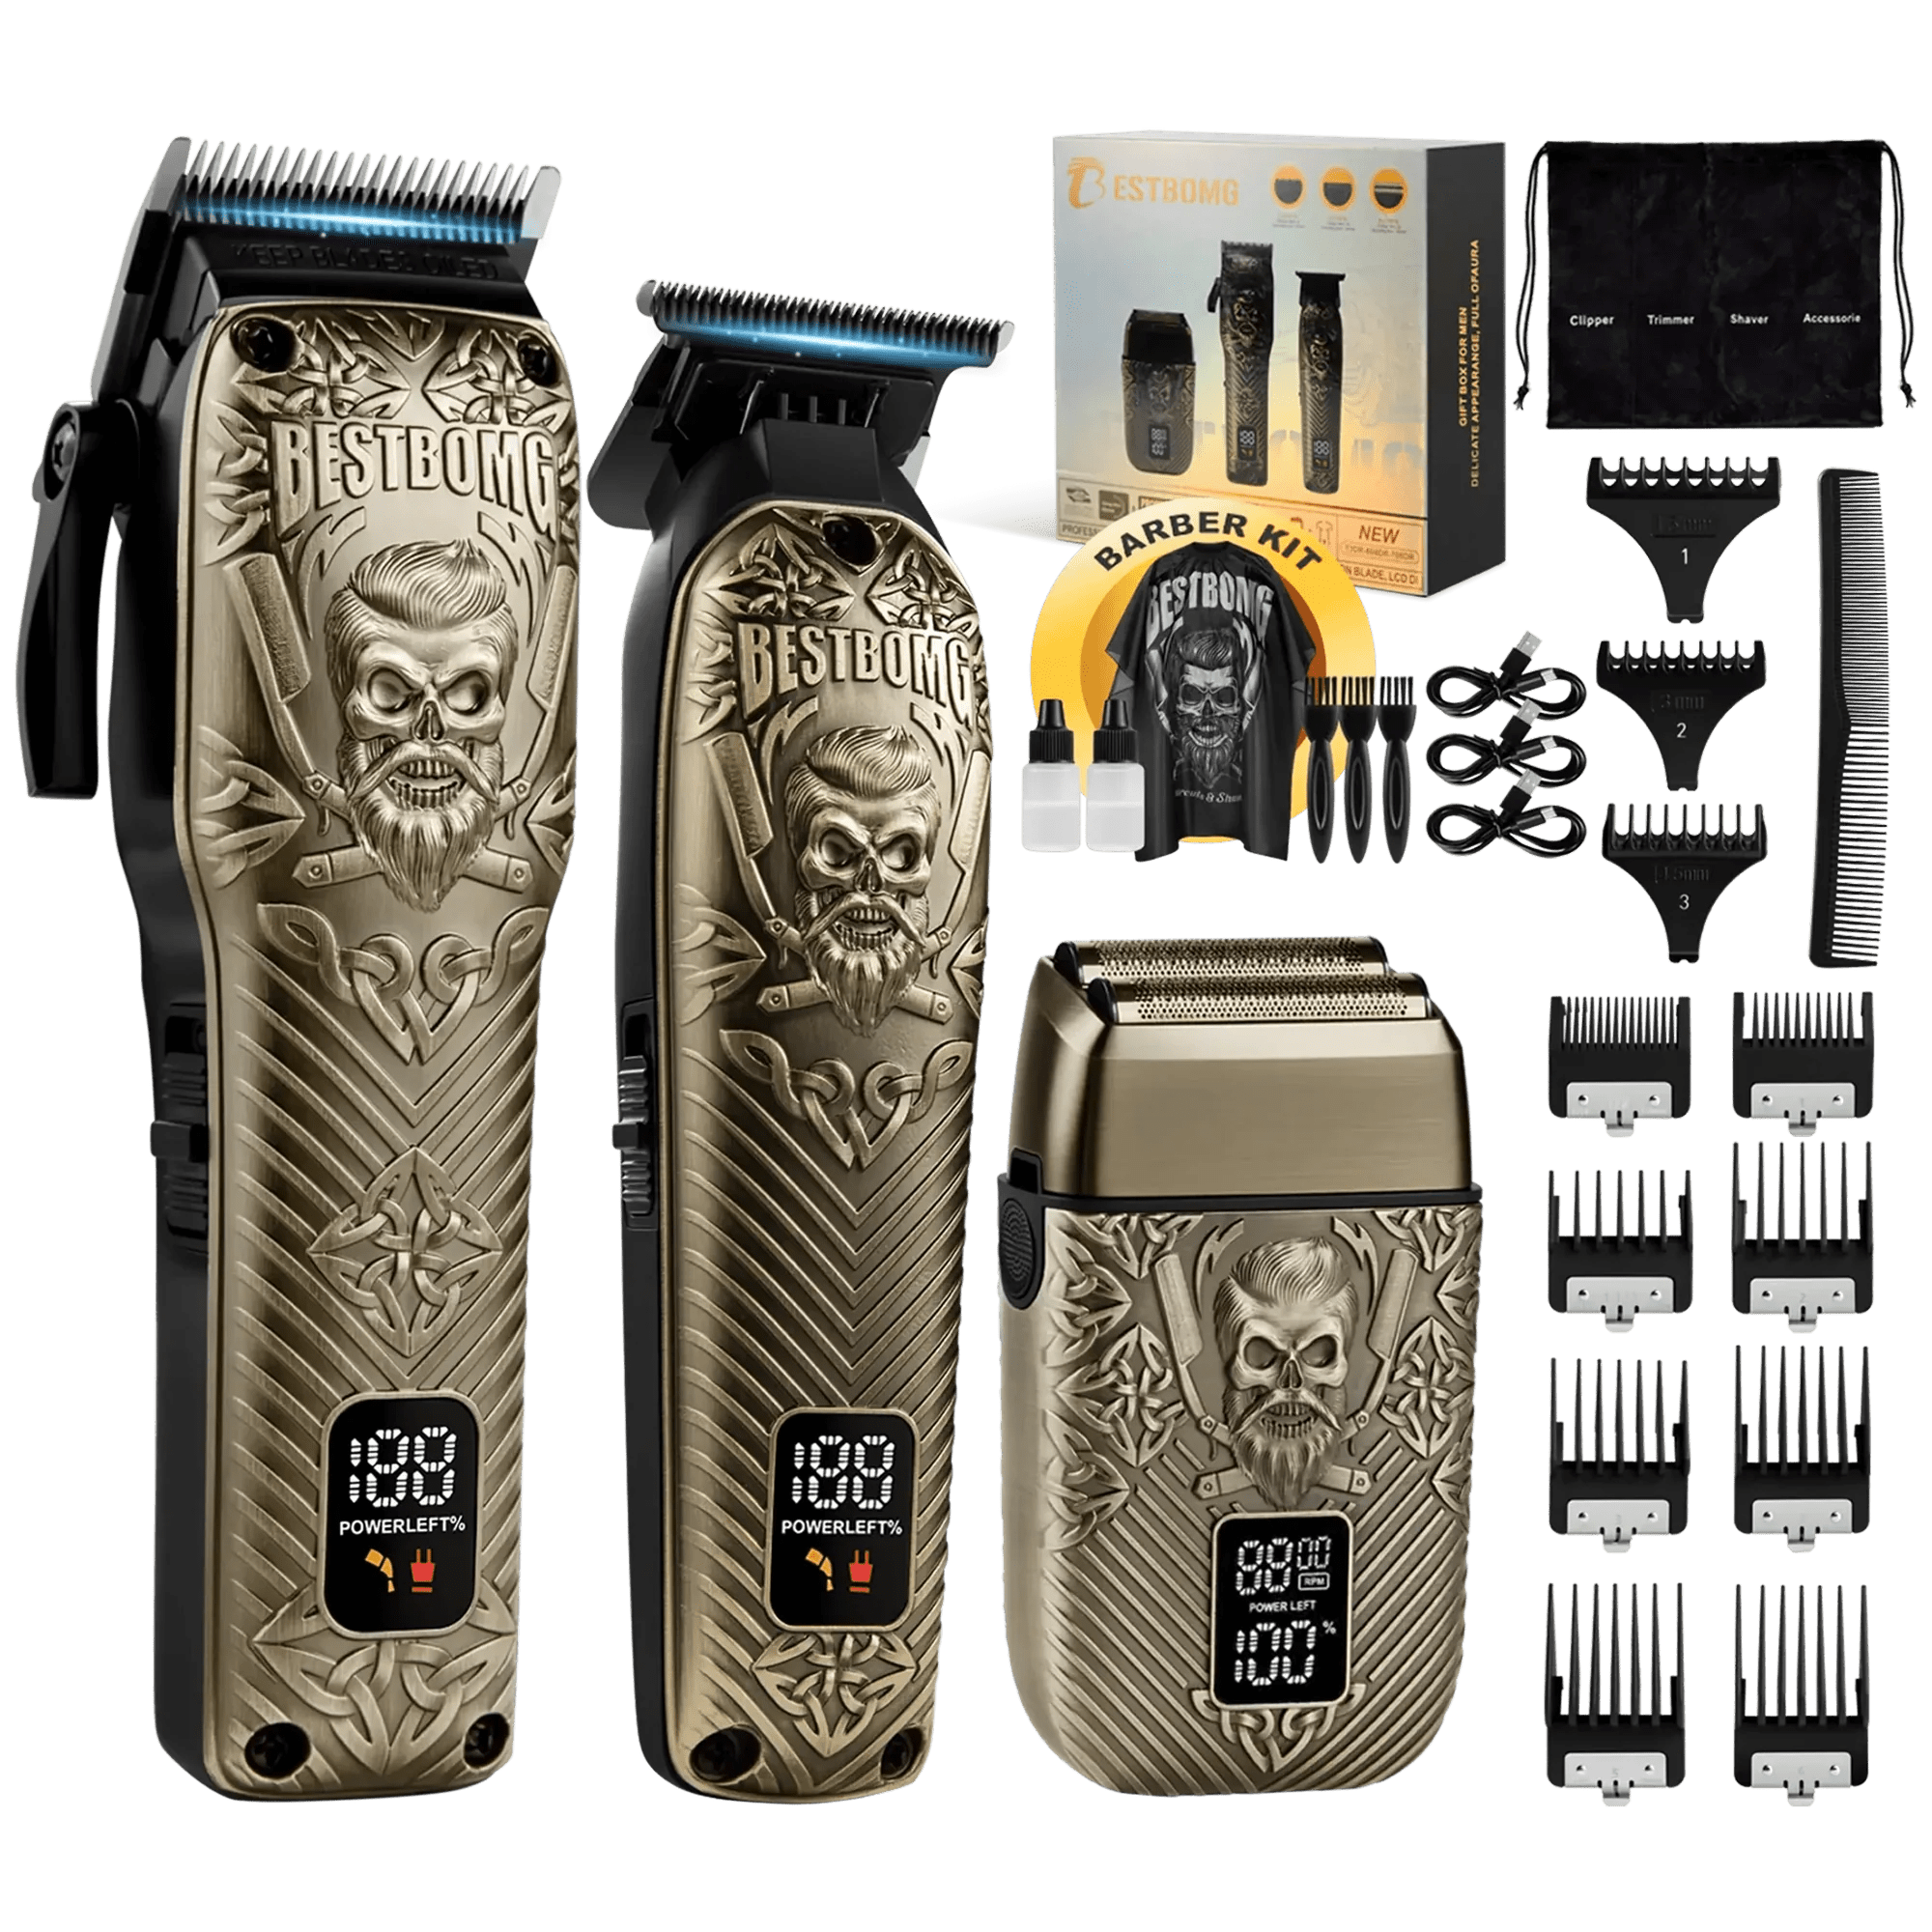
If you’re using professional tools, the Y4T9 Hair Clipper Kit offers excellent blade precision and adjustable guards ideal for clean blending.
Styling Your Mullet: Tips & Products
Once your mullet is cut, styling makes the biggest difference. Here’s how to make it look intentional and polished.
For a Sleek Finish
- Use a small amount of pomade or styling cream.
- Comb the top forward or sideways.
- Blow-dry on low heat for smoothness.
For a Messy or Textured Look
- Apply sea salt spray or matte clay.
- Use your fingers to tousle the top.
- Let the back flow naturally for a relaxed vibe.
For Curly Hair
- Apply leave-in conditioner to define curls.
- Use a diffuser when blow-drying to add bounce.
As GQ notes, the key to pulling off a modern mullet is balancing the cut with subtle texture and volume—don’t over-style it.
How to Maintain Your Mullet at Home
Keeping your mullet sharp doesn’t require a trip to the barber every week. Follow these quick routines:
- Trim the sides every 3–4 weeks to maintain shape.
- Condition the back to prevent split ends.
- Use dry shampoo if you have fine or oily hair.
- Oil your clipper blades regularly to ensure longevity.
Cleaning your clippers after each use is essential. According to the Cleveland Clinic, keeping grooming tools clean helps avoid skin irritation and infections.
Common Mistakes to Avoid When Cutting a Mullet
Even experienced DIY stylists can make a few missteps. Watch out for these:
- Cutting the top too short — you’ll lose contrast.
- Ignoring symmetry — always check both sides before finalizing.
- Skipping the fade — harsh lines can make the cut look uneven.
- Over-thinning the back — the mullet’s signature lies in its length.
- Using dull clippers — they tug and cause uneven cuts.
If you want professional-grade tools for consistent results, explore Bestbomg’s lineup of hair clippers designed for both beginners and pros.
Clippers vs. Trimmers vs. Shavers: What to Use
It’s easy to confuse these, but each serves a unique purpose:
|
Tool |
Purpose |
Best Use |
|
Clippers |
Cut large volumes of hair quickly |
Shaping and length blending |
|
Trimmers |
Fine detailing |
Outlining and fading edges |
|
Electric Shavers |
Smooth finishes |
Creating skin fades or bald sides |
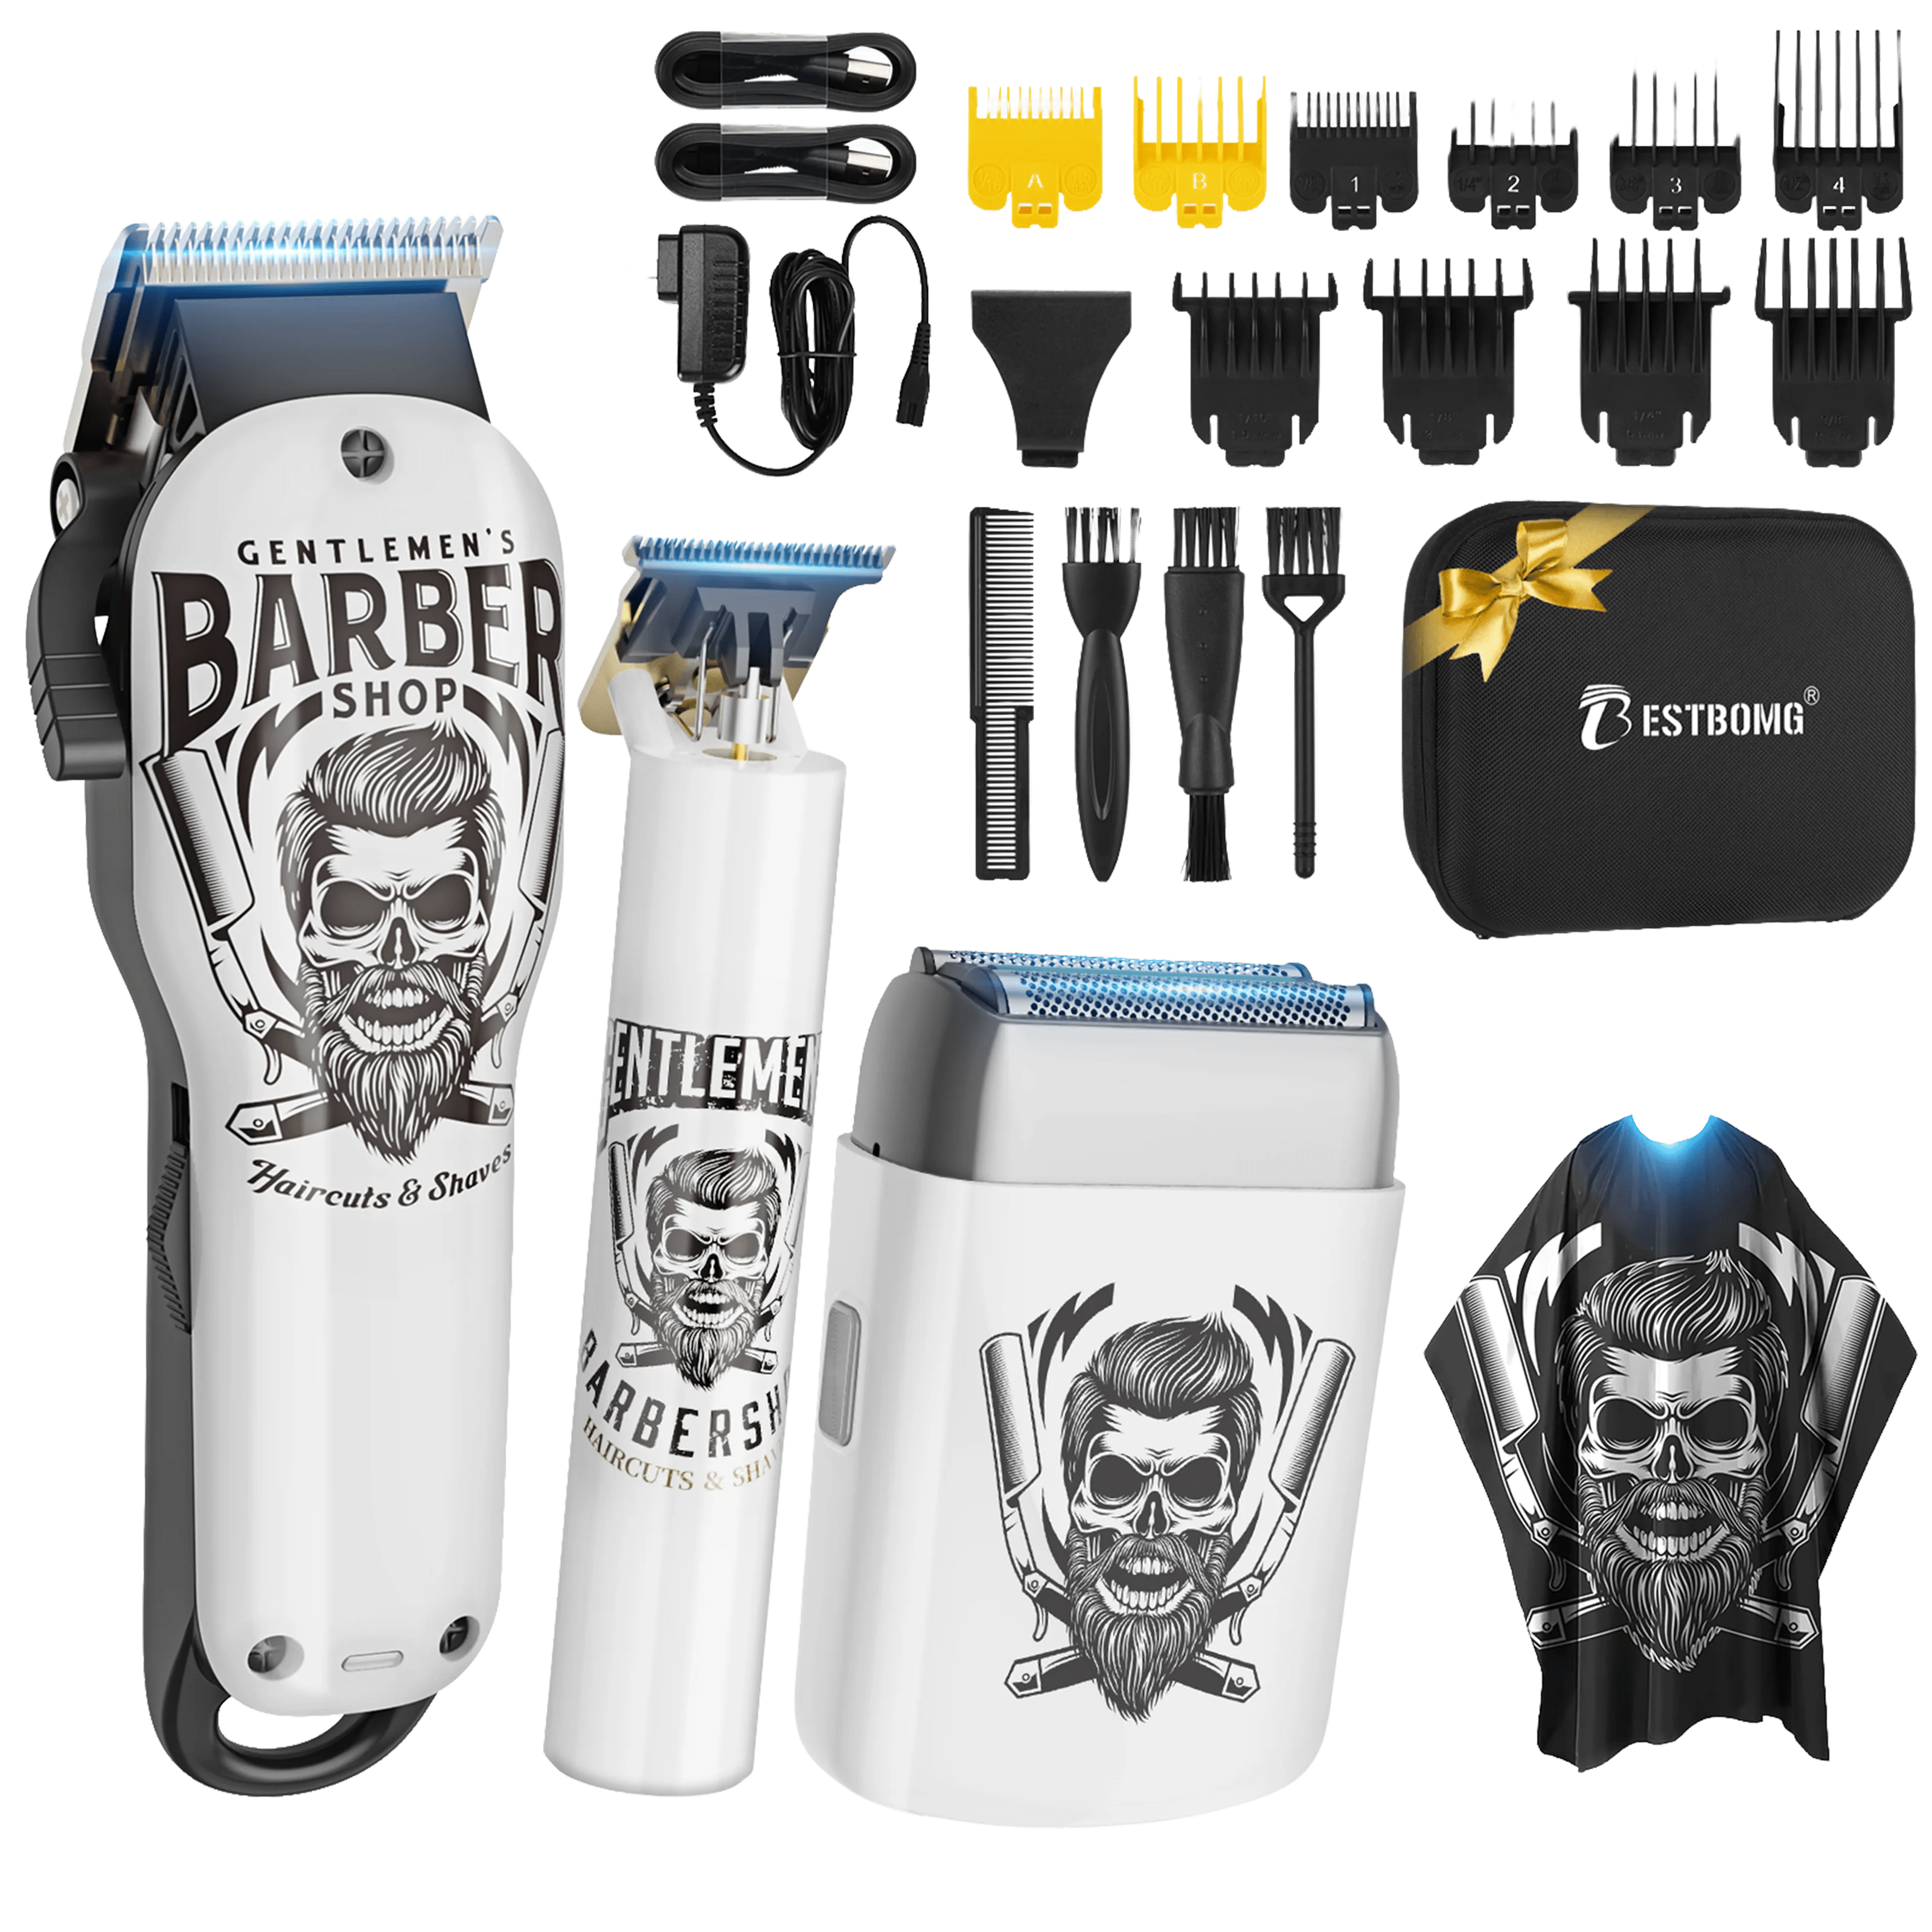
For example, pairing a Bestbomg BS-808C clipper with a T9 trimmer gives you full control from fade to finish. Check out the electric shavers if you prefer ultra-clean skin fades.
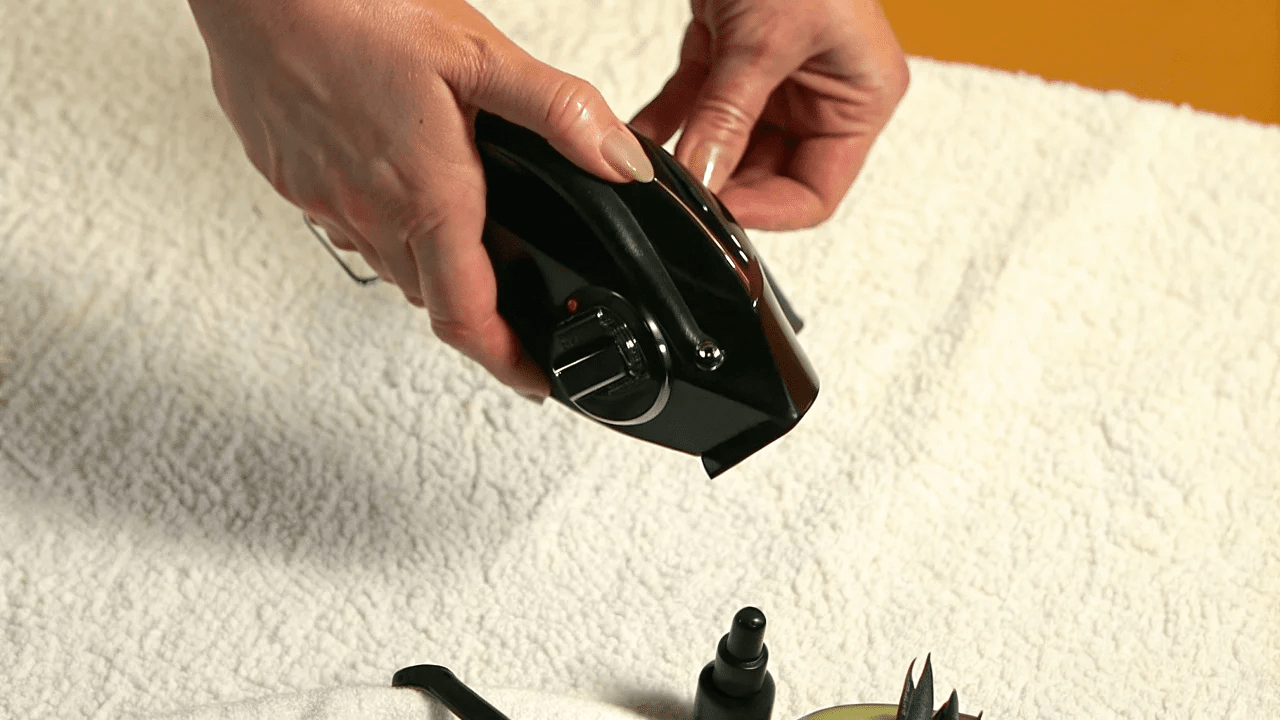
How to Care for Your Clippers and Tools
A great haircut starts with well-maintained tools. Follow this after each use:
- Brush away loose hair using a small cleaning brush.
- Disinfect blades with alcohol or clipper spray.
- Add 1–2 drops of clipper oil to moving parts.
- Store in a dry place to prevent rust.
- Recharge batteries fully before storing cordless units.
Frequently Asked Questions
How do I cut a mullet for beginners?
Start with longer guards and work gradually. Keep sides short and the back long. Use mirrors to check progress and trim in small increments.
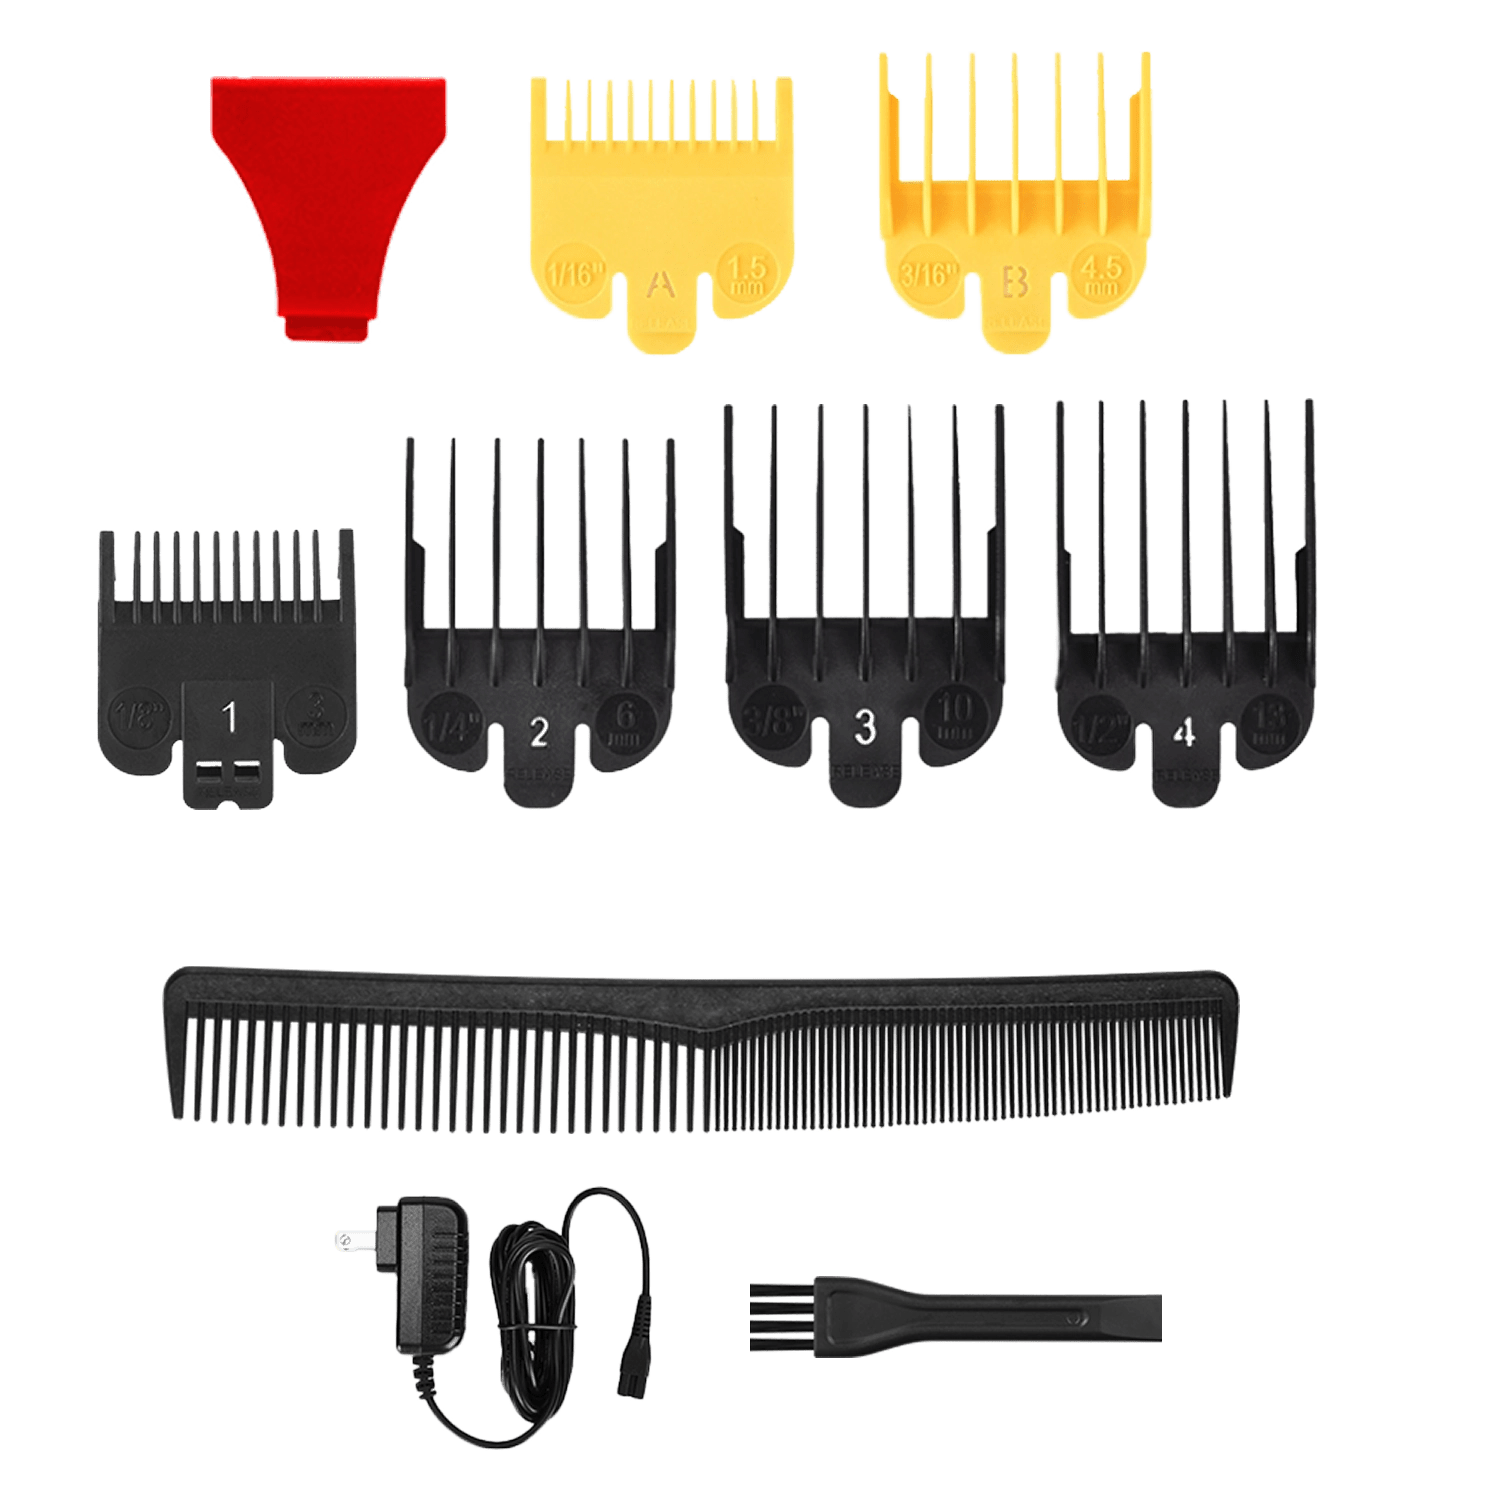
What clipper guards should I use for a mullet?
Use #1–#3 for sides, #4–#6 for the back, and scissors for the top. Adjust based on your preferred length and hair density.
Can I cut a mullet with curly or thick hair?
Absolutely. Use scissors for the top to reduce bulk and keep the back slightly longer for shape. Layering adds definition to curls.
How can I make my mullet look modern?
Incorporate a fade on the sides and texture on top. Avoid overly long backs—aim for a natural, blended look.
How often should I get a trim?
Every 3–5 weeks is ideal. Maintain the fade and edge regularly to keep it sharp.
What’s the easiest way to fade the sides?
Start with a low guard (#1), then move up to #2 and #3 while slightly opening the clipper lever each time to soften the blend.
Final Thoughts
Learning how to cut a mullet is both fun and rewarding. With the right tools and patience, you can achieve a barbershop-quality cut without leaving home. From sleek, modern fades to rugged retro versions, the mullet lets you express your personality with confidence.
If you’re ready to start, explore Bestbomg’s premium hair clippers and grooming kits—built for precision, comfort, and control. With practice, your next great haircut might just happen in your own bathroom mirror.
Looking for something else?

How to Cut Baby Boy Hair with Clippers: Step-by-Step Guide
LEARN MORE
Do Hair Clippers Get Dull? Causes, Signs & Prevention
LEARN MORE
Can an Electric Shaver Cut You? Safety Facts & Prevention
LEARN MORE
How to Shave Balls with Electric Shaver: Safe Guide
LEARN MORELooking for something else?

Does Using Trimmer Increase Hair Growth? Facts & Myths
LEARN MORE
Best Hair Clippers for Men: Top Picks for Home & Pro Use
LEARN MORE
Best Professional Hair Clippers for Barbers: Top Picks
LEARN MOREYou may also like


Electric Shaver Y4


Y4T9 Easy Start Kits
Further reading
Best Hair Clippers for Perfect Fades at Home
Clipper Lever Open vs Closed: What It Means (with mm)
Why You Need a Cordless Detailer Trimmer (And How to Pick the Right One)