


How to Fade Hair: A Complete Guide for Beginners and Pros
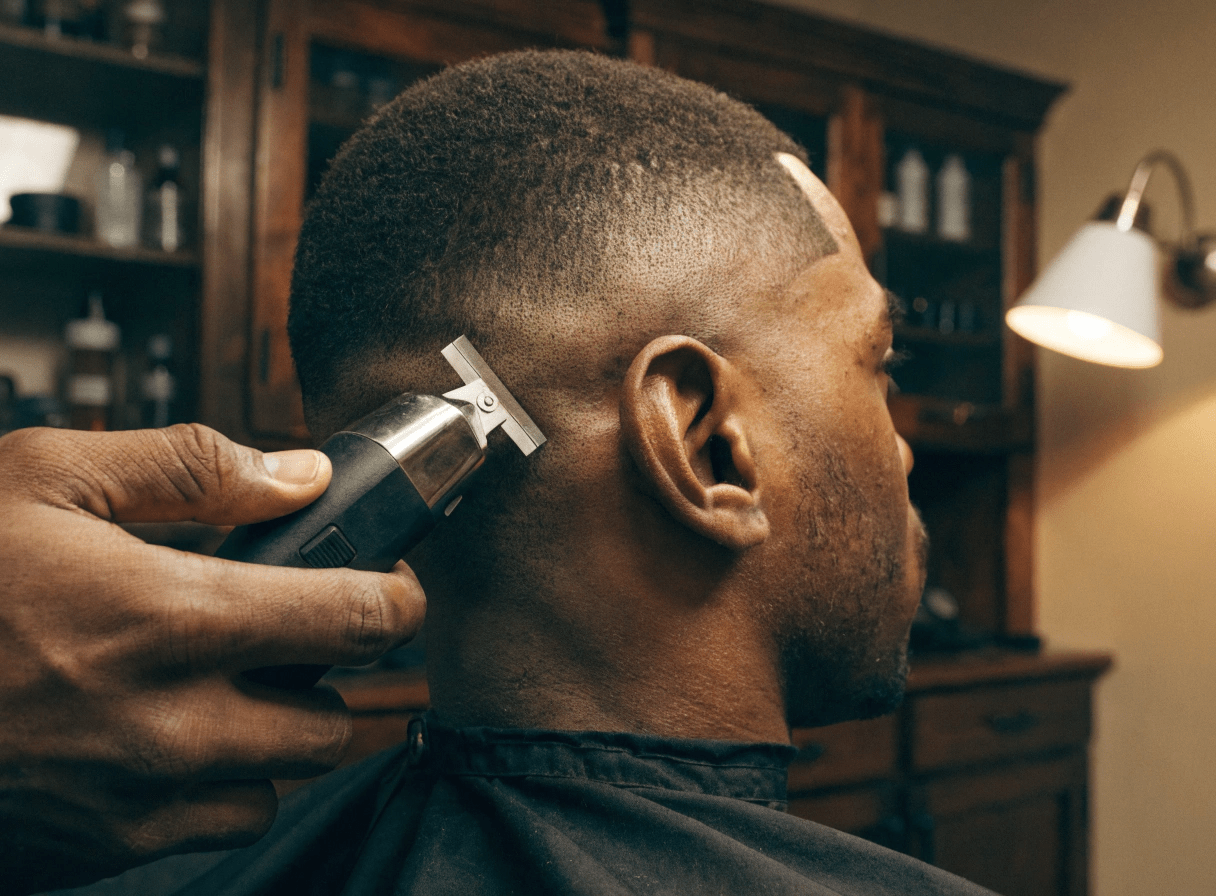
A perfectly executed fade haircut is one of the most versatile and stylish haircuts you can have. Whether you’re going for a low fade, mid fade, or high fade, understanding the techniques and tools involved is essential.
In this guide, you’ll learn how to fade hair with clippers, blend hair naturally, and even fade hair color. We’ll cover step-by-step instructions, recommended tools, and tips for beginners and pros alike, including how to fade your hair at home safely.
Types of Fades: Finding Your Perfect Style

Before learning how to fade hair with clippers, you need to choose which fade type suits your goals. Each variation offers distinct characteristics:
Low Fade
What It Is: The fade begins just above the ears and gradually tapers down to the skin or a very short length around the lower sides and back.
Best For:
- Conservative, professional environments
- Men who want subtle style enhancement
- Round or oval face shapes
Why Choose It: Low fades offer maximum hair coverage while still providing clean, defined edges. They're perfect for men transitioning from traditional haircuts to modern styles.
Mid Fade (Medium Fade)
What It Is: Starting around the temple area, the mid fade creates a balanced transition between the top and sides, typically ending about halfway down the head.
Best For:
- Versatile styling options
- Most face shapes
- Men seeking a modern, balanced look
Why Choose It: The mid fade is the Goldilocks of fade haircuts—not too subtle, not too bold. It provides enough contrast to be noticeable while remaining appropriate for most settings.
High Fade
What It Is: Beginning near the top of the head (often 2–3 inches above the temples), high fades create dramatic contrast between the longer top and closely shaved sides.
Best For:
- Bold, fashion-forward individuals
- Athletic or edgy styles
- Long or square face shapes
Why Choose It: High fades make a statement. They maximize the contrast between top and sides, emphasizing volume and height on top while keeping sides ultra-clean.
Skin Fade (Bald Fade)
What It Is: The ultimate fade that transitions all the way down to bare skin, creating the smoothest possible gradient.
Best For:
- Maximum definition and contrast
- Men with strong hair growth patterns
- Those who want the cleanest possible look
Why Choose It: Skin fades require the most skill but deliver the most striking results. They're particularly popular in urban barbering and among men who want razor-sharp precision.
Taper Fade
What It Is: A gentler variation where hair gradually shortens but doesn't necessarily reach skin level. The transition is more subtle than traditional fades.
Best For:
- Natural, understated looks
- Professional settings with conservative dress codes
- Men with thinner hair
Why Choose It: Taper fades offer fade-style appeal without extreme contrast, making them ideal for men who want cleaner lines without the high-maintenance requirements of skin fades.
Choosing Your Fade: Consider your workplace dress code, face shape, hair texture, and maintenance commitment. If you're new to fades, start with a low or mid fade—they're more forgiving and easier to maintain as you learn how to fade your own hair.
Essential Techniques for Seamless Blending

The difference between an amateur fade and a professional one comes down to blending technique. Here's how to achieve that seamless gradient when you fade hair with clippers:
The Flick-Out Method
This is the foundational technique for creating smooth transitions:
- Position your clippers at a 45-degree angle to the head
- Move upward through the area you want to fade
- Flick outward as you reach the transition point, lifting the clippers away from the scalp
- Repeat in overlapping sections, moving around the head systematically
The flick-out motion prevents harsh lines by gradually reducing the pressure and contact as you move into longer hair.
Leveraging the Clipper Lever
Most quality hair clippers include an adjustable lever that changes cutting length between guard sizes:
- Closed lever = Shortest cut for that guard size
- Open lever = Longer cut (approximately half a guard size longer)
How to Use It for Fading:
- Start with a guard and the lever closed for your shortest length
- Gradually open the lever as you move upward to create micro-transitions
- Switch to the next guard size and repeat
This technique creates incredibly smooth fades with minimal visible lines.
The "No Guard" Detail Work
For the lowest section of a skin fade:
- Remove all guards from your clippers
- Use only the base blade to trim the very bottom edge
- Work in small sections with light, controlled strokes
- Follow the hairline's natural shape rather than creating artificial straight lines
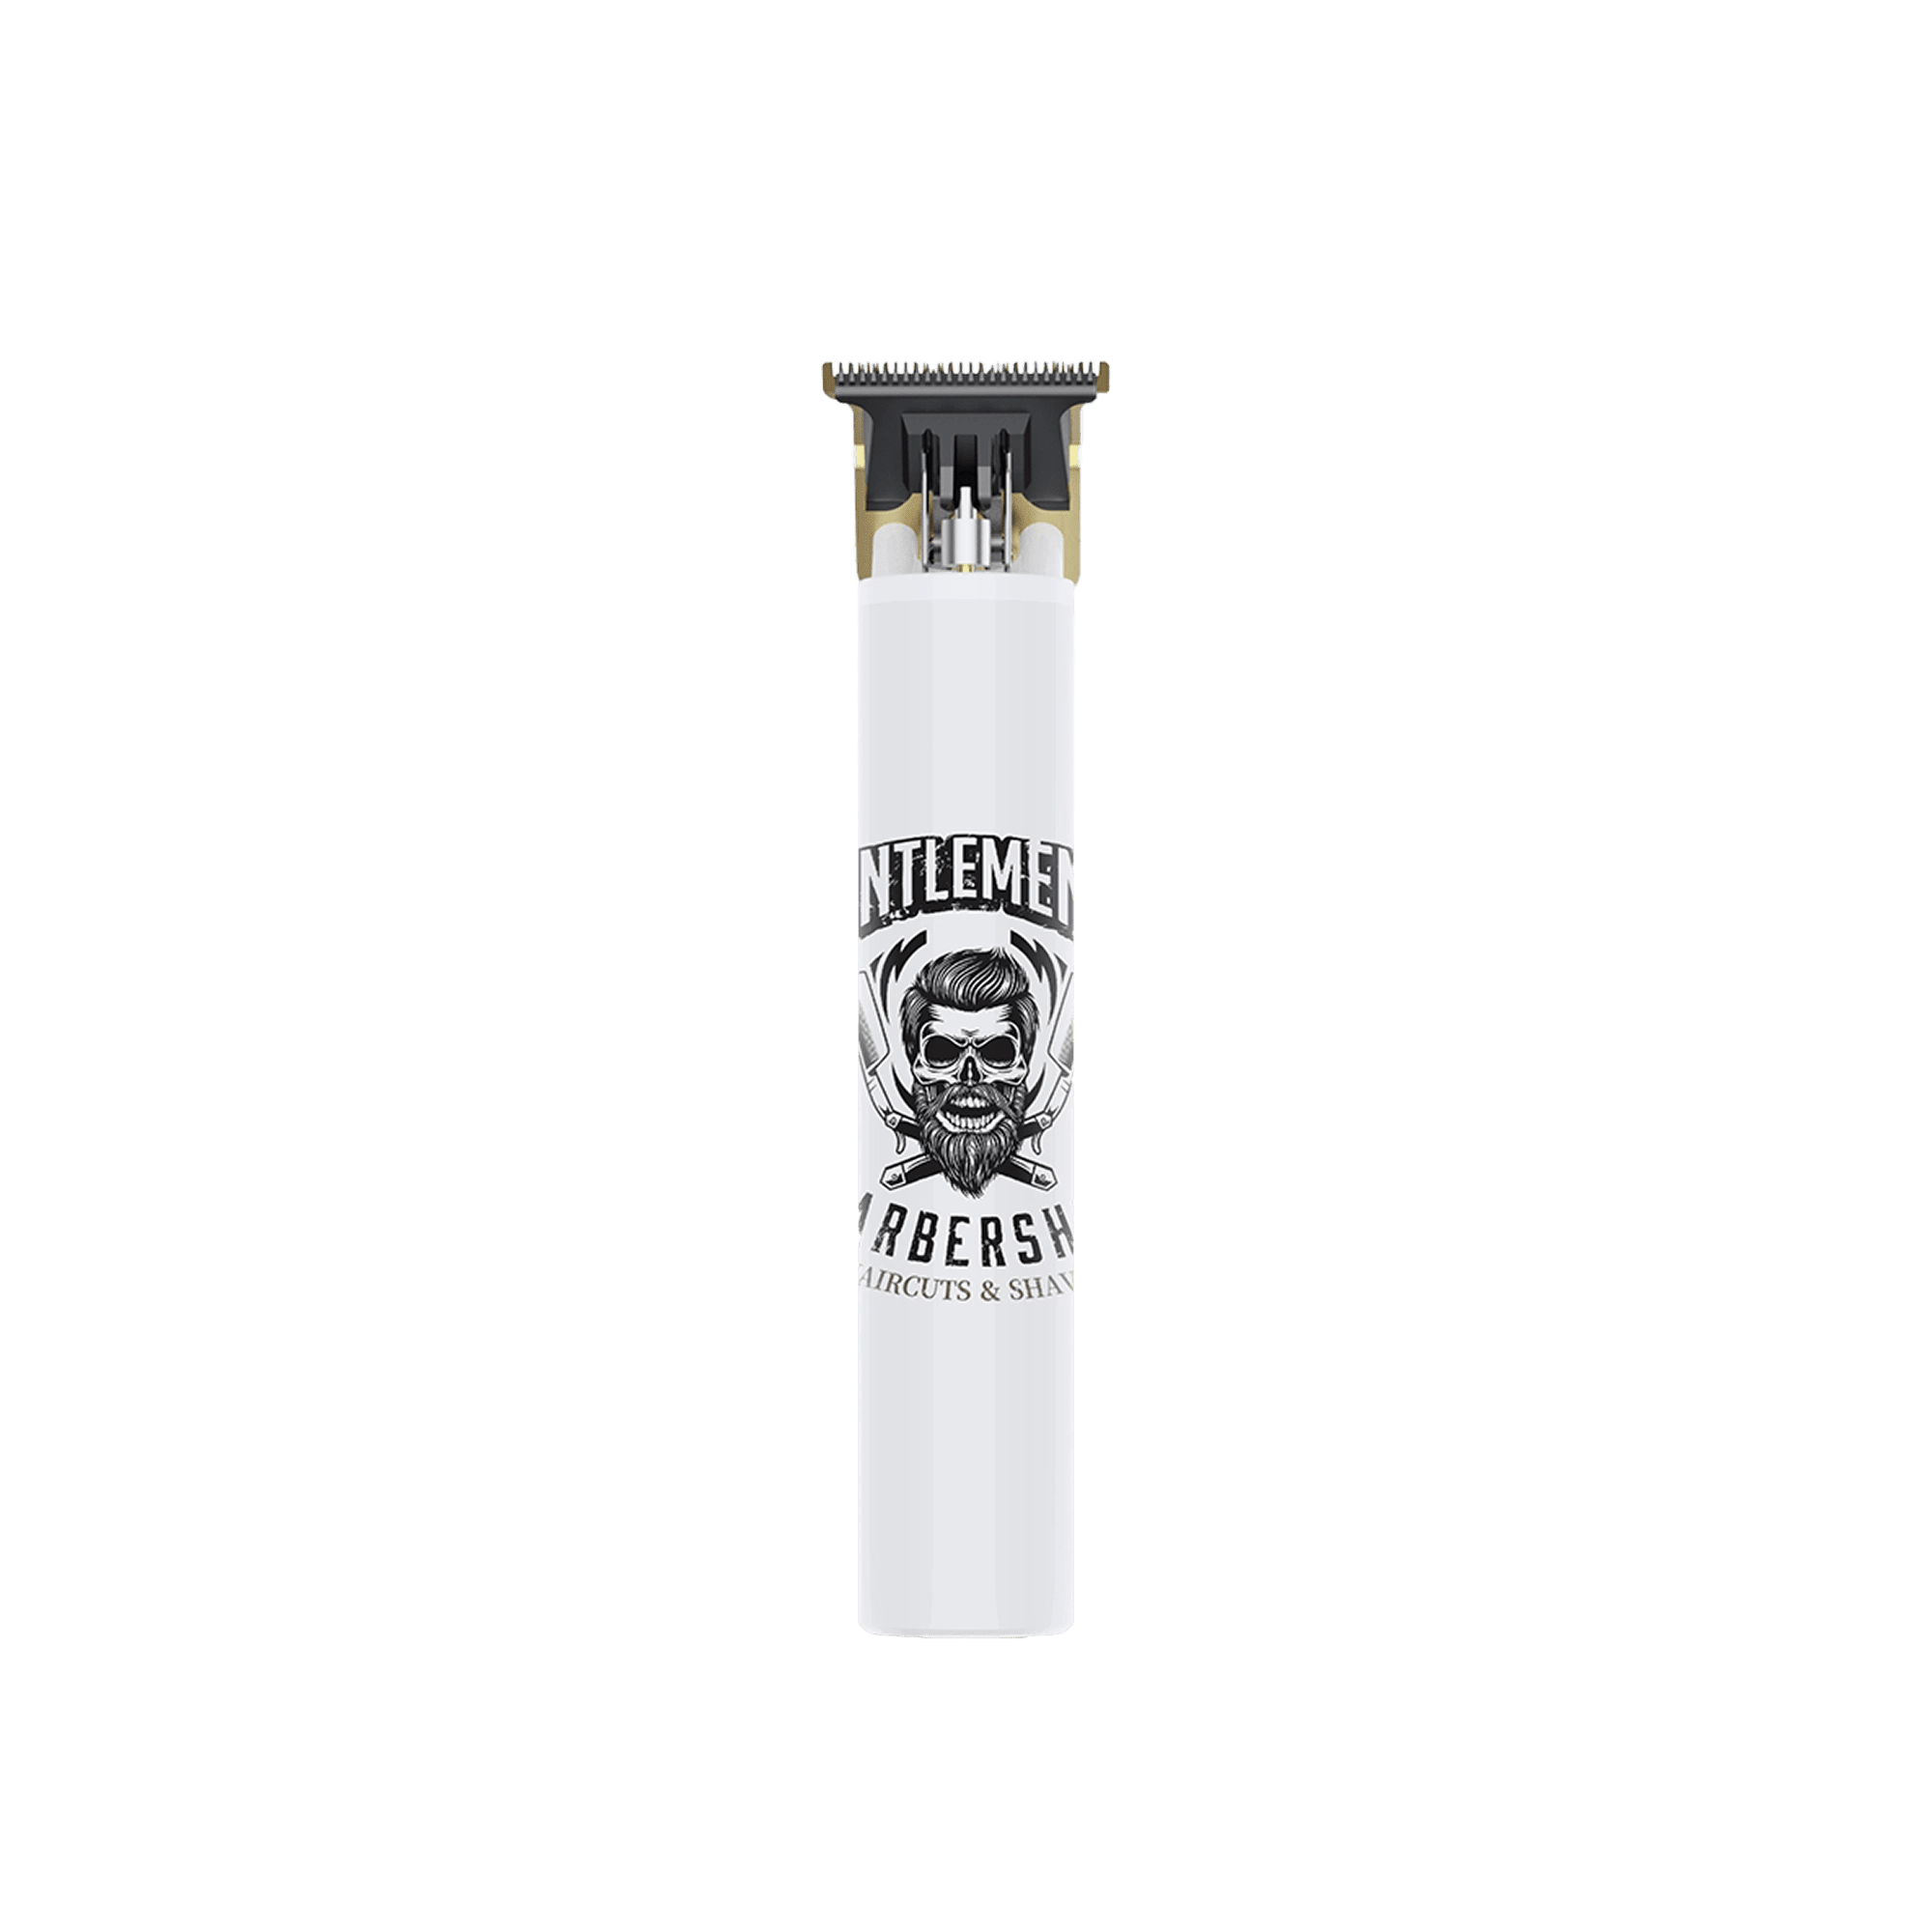
For even more precision around edges and hairlines, switch to a dedicated beard trimmer like the T9 model, which offers greater control for detail work.
The Guideline Method
Professional barbers use "guidelines" to maintain consistency:
- Create your first fade section on one side
- Use that as a visual reference when working on the opposite side
- Check frequently in the mirror to ensure both sides match
- Make small adjustments rather than large corrections
Symmetry is crucial—an uneven fade is immediately noticeable and difficult to fix without cutting everything shorter.
Dealing with Different Hair Textures
Straight Hair: Shows every imperfection, so take your time with blending. Use smaller guard increments.
Wavy Hair: Waves can help hide minor blending issues, but be careful around the hairline where hair lies flatter.
Curly/Coily Hair: Requires extra attention to growth patterns. Always cut with the grain for the smoothest fade. Curly hair "springs back" when cut, so leave slightly more length than you think you need.
Pro Tip: Practice these techniques on the sides and back before attempting more visible areas. As you learn how to fade your own hair, muscle memory will develop, making each fade smoother and faster than the last.
Understanding Hair Fades
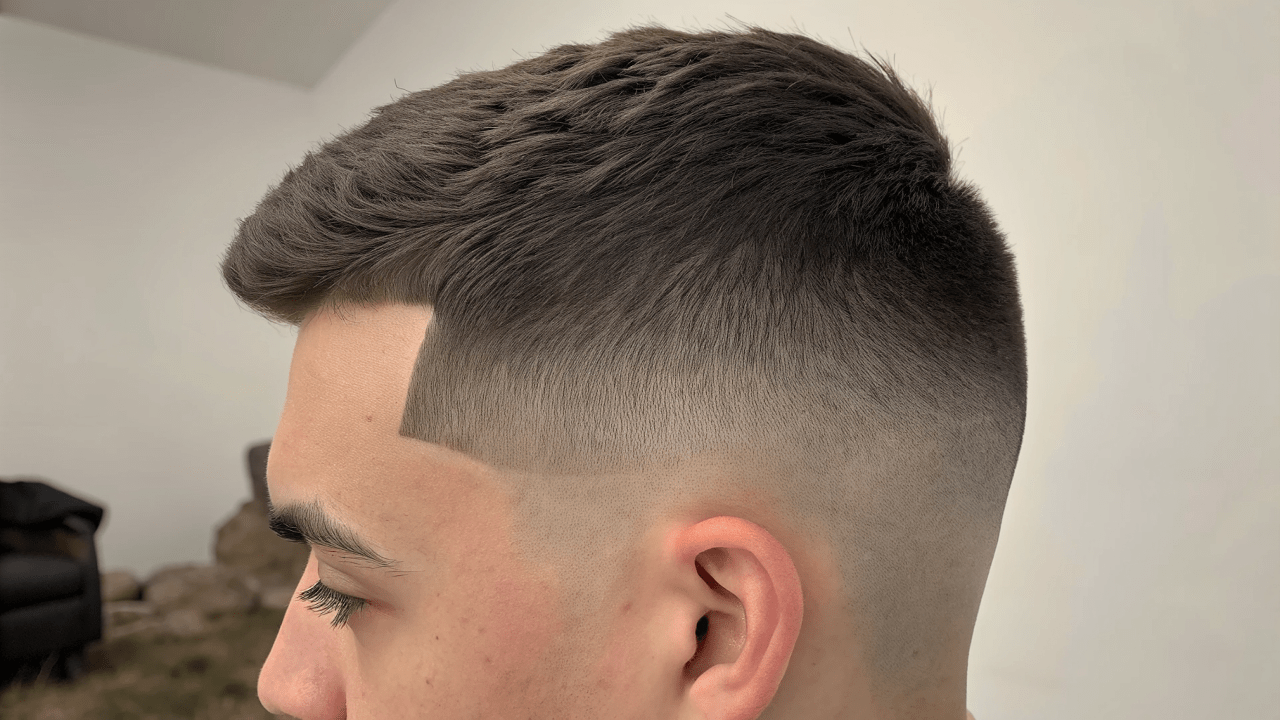
A fade haircut gradually transitions the hair length from longer at the top to shorter at the sides and back. The key to a great fade is blending, creating a seamless transition that complements your face shape and hairstyle. Fades can be customized in many ways:
- Low Fade: Begins just above the ears and fades down. Subtle and clean.
- Mid Fade: Starts around the temples, creating a balanced, natural look.
- High Fade: Begins near the top of the head and gives a bold, dramatic style.
Fades aren’t just about length—they’re about precision. Knowing your fade style before starting will make the process easier and more professional-looking.
External Reference: For more on fade styles and history, check Wikipedia: Haircut.
Tools You’ll Need to Fade Hair
To achieve a smooth fade, investing in the right tools is crucial. Here’s what you’ll need:
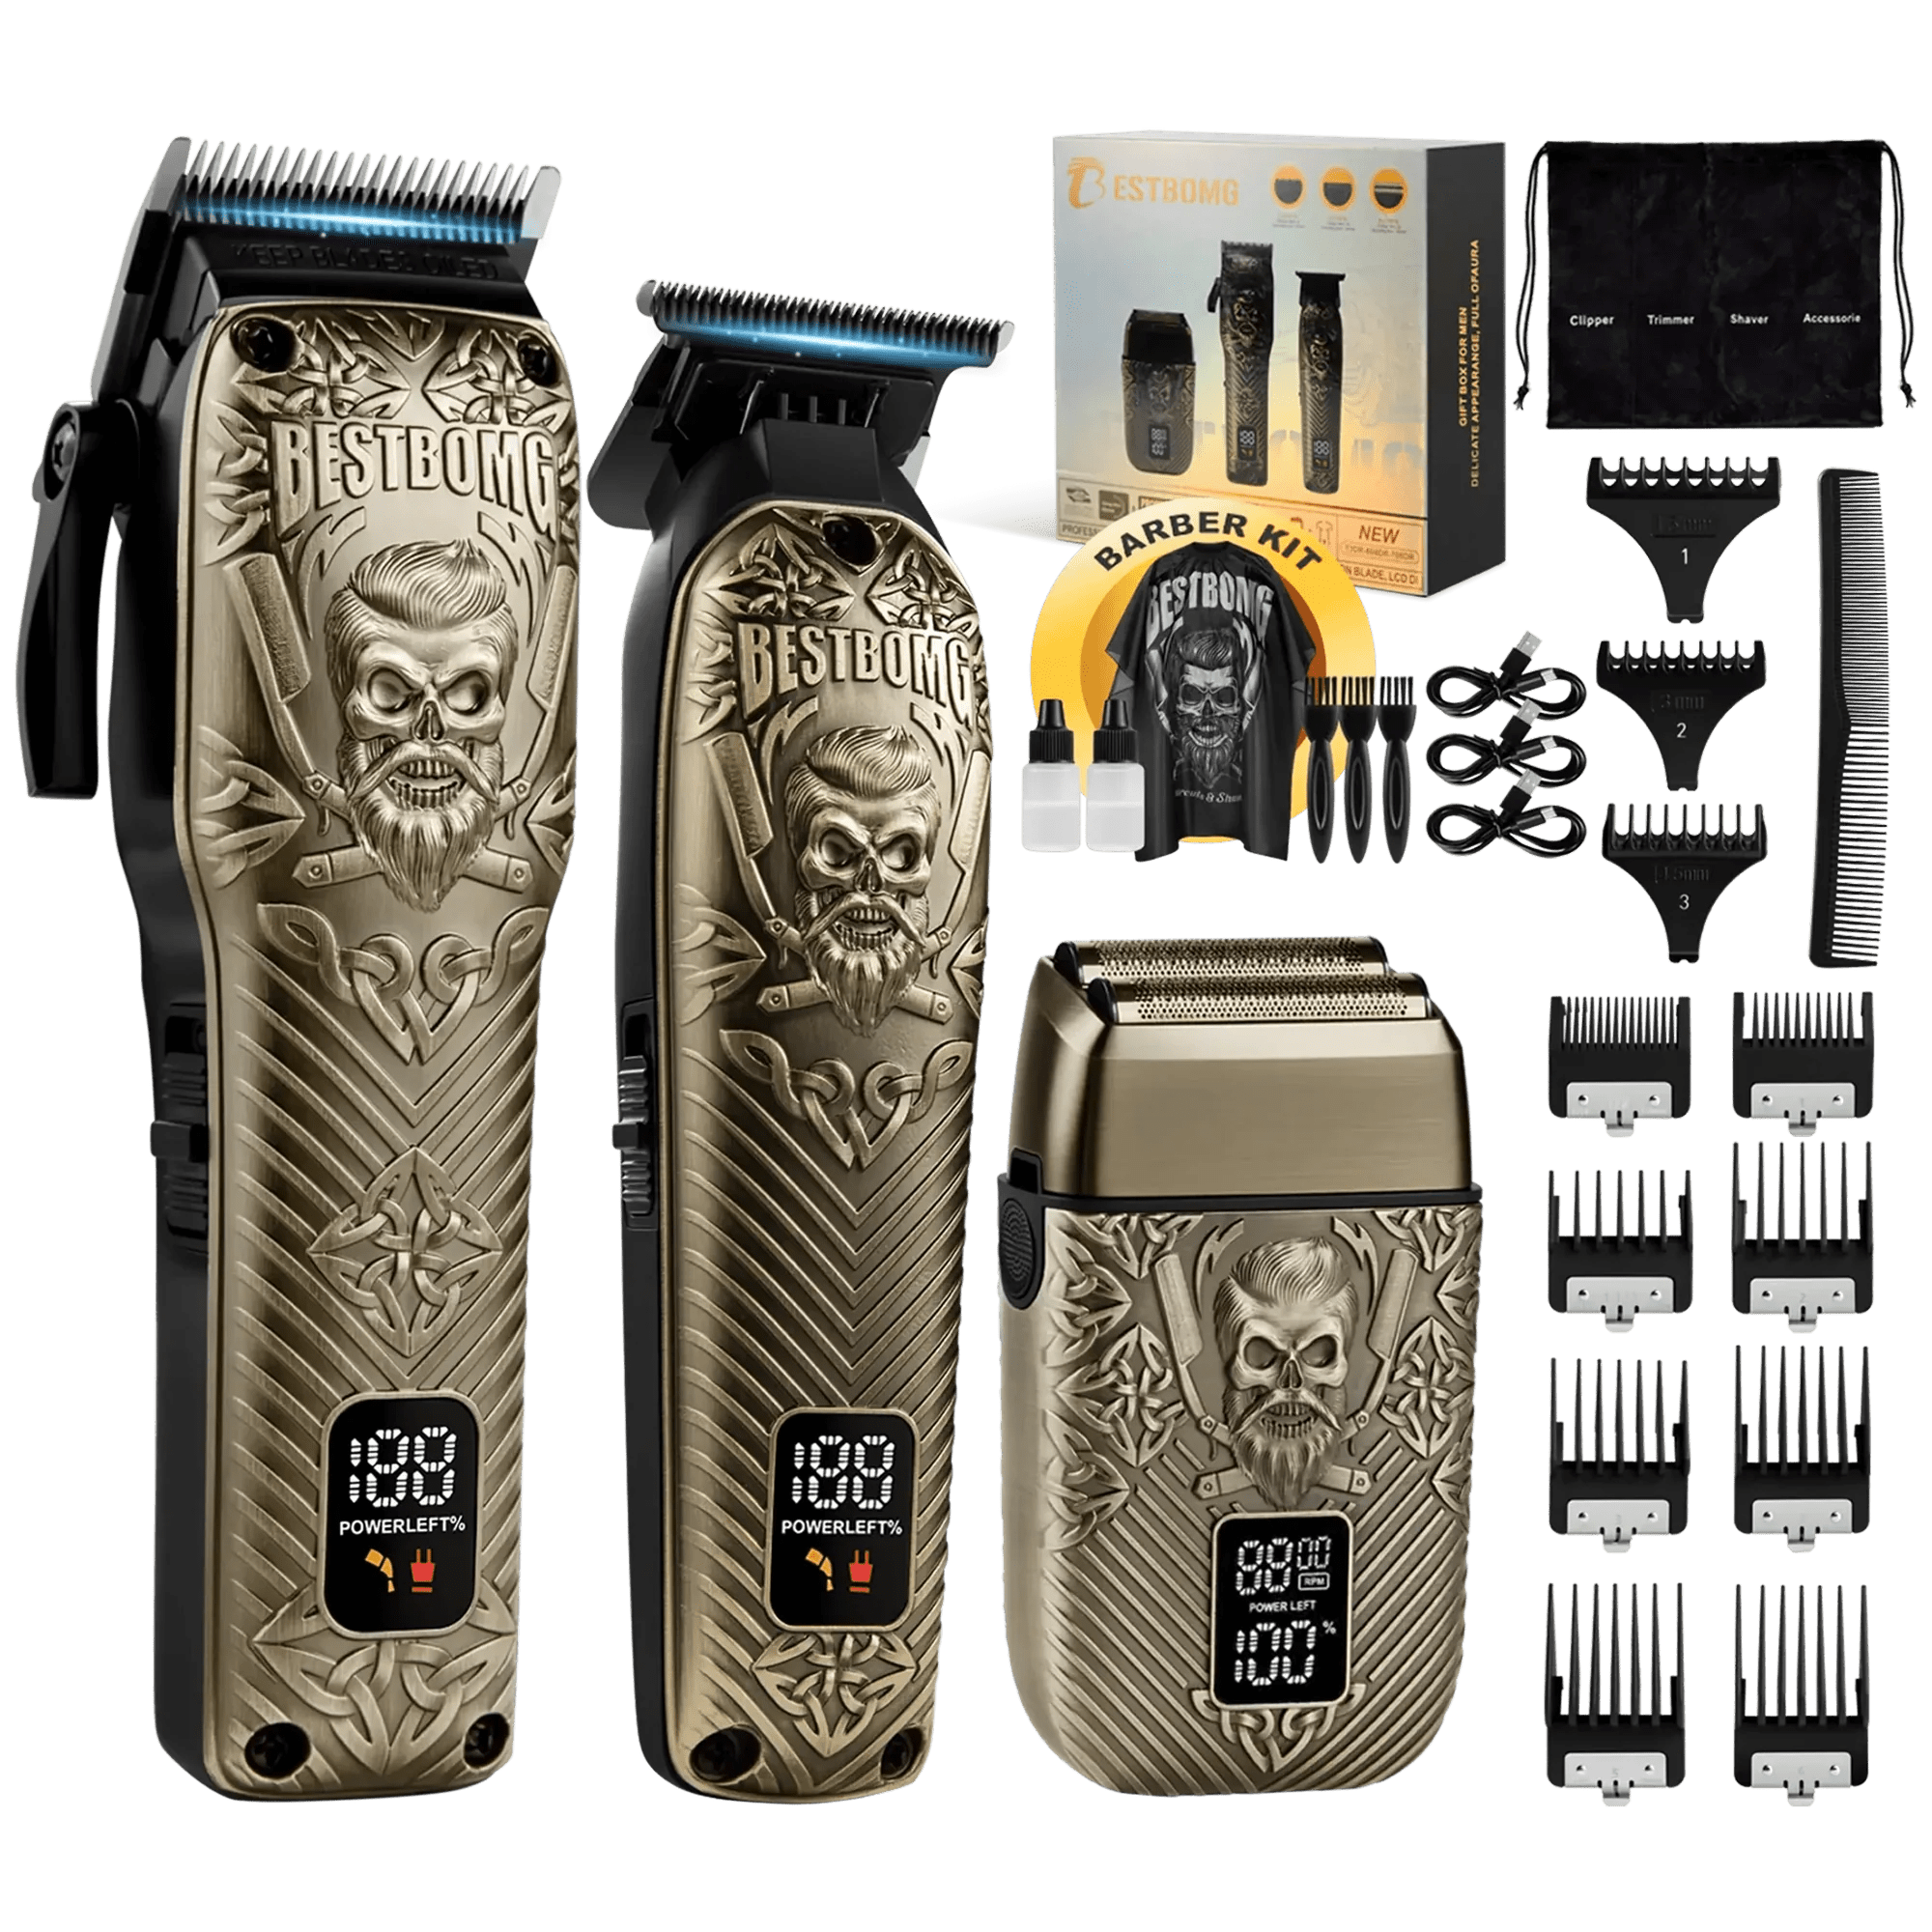
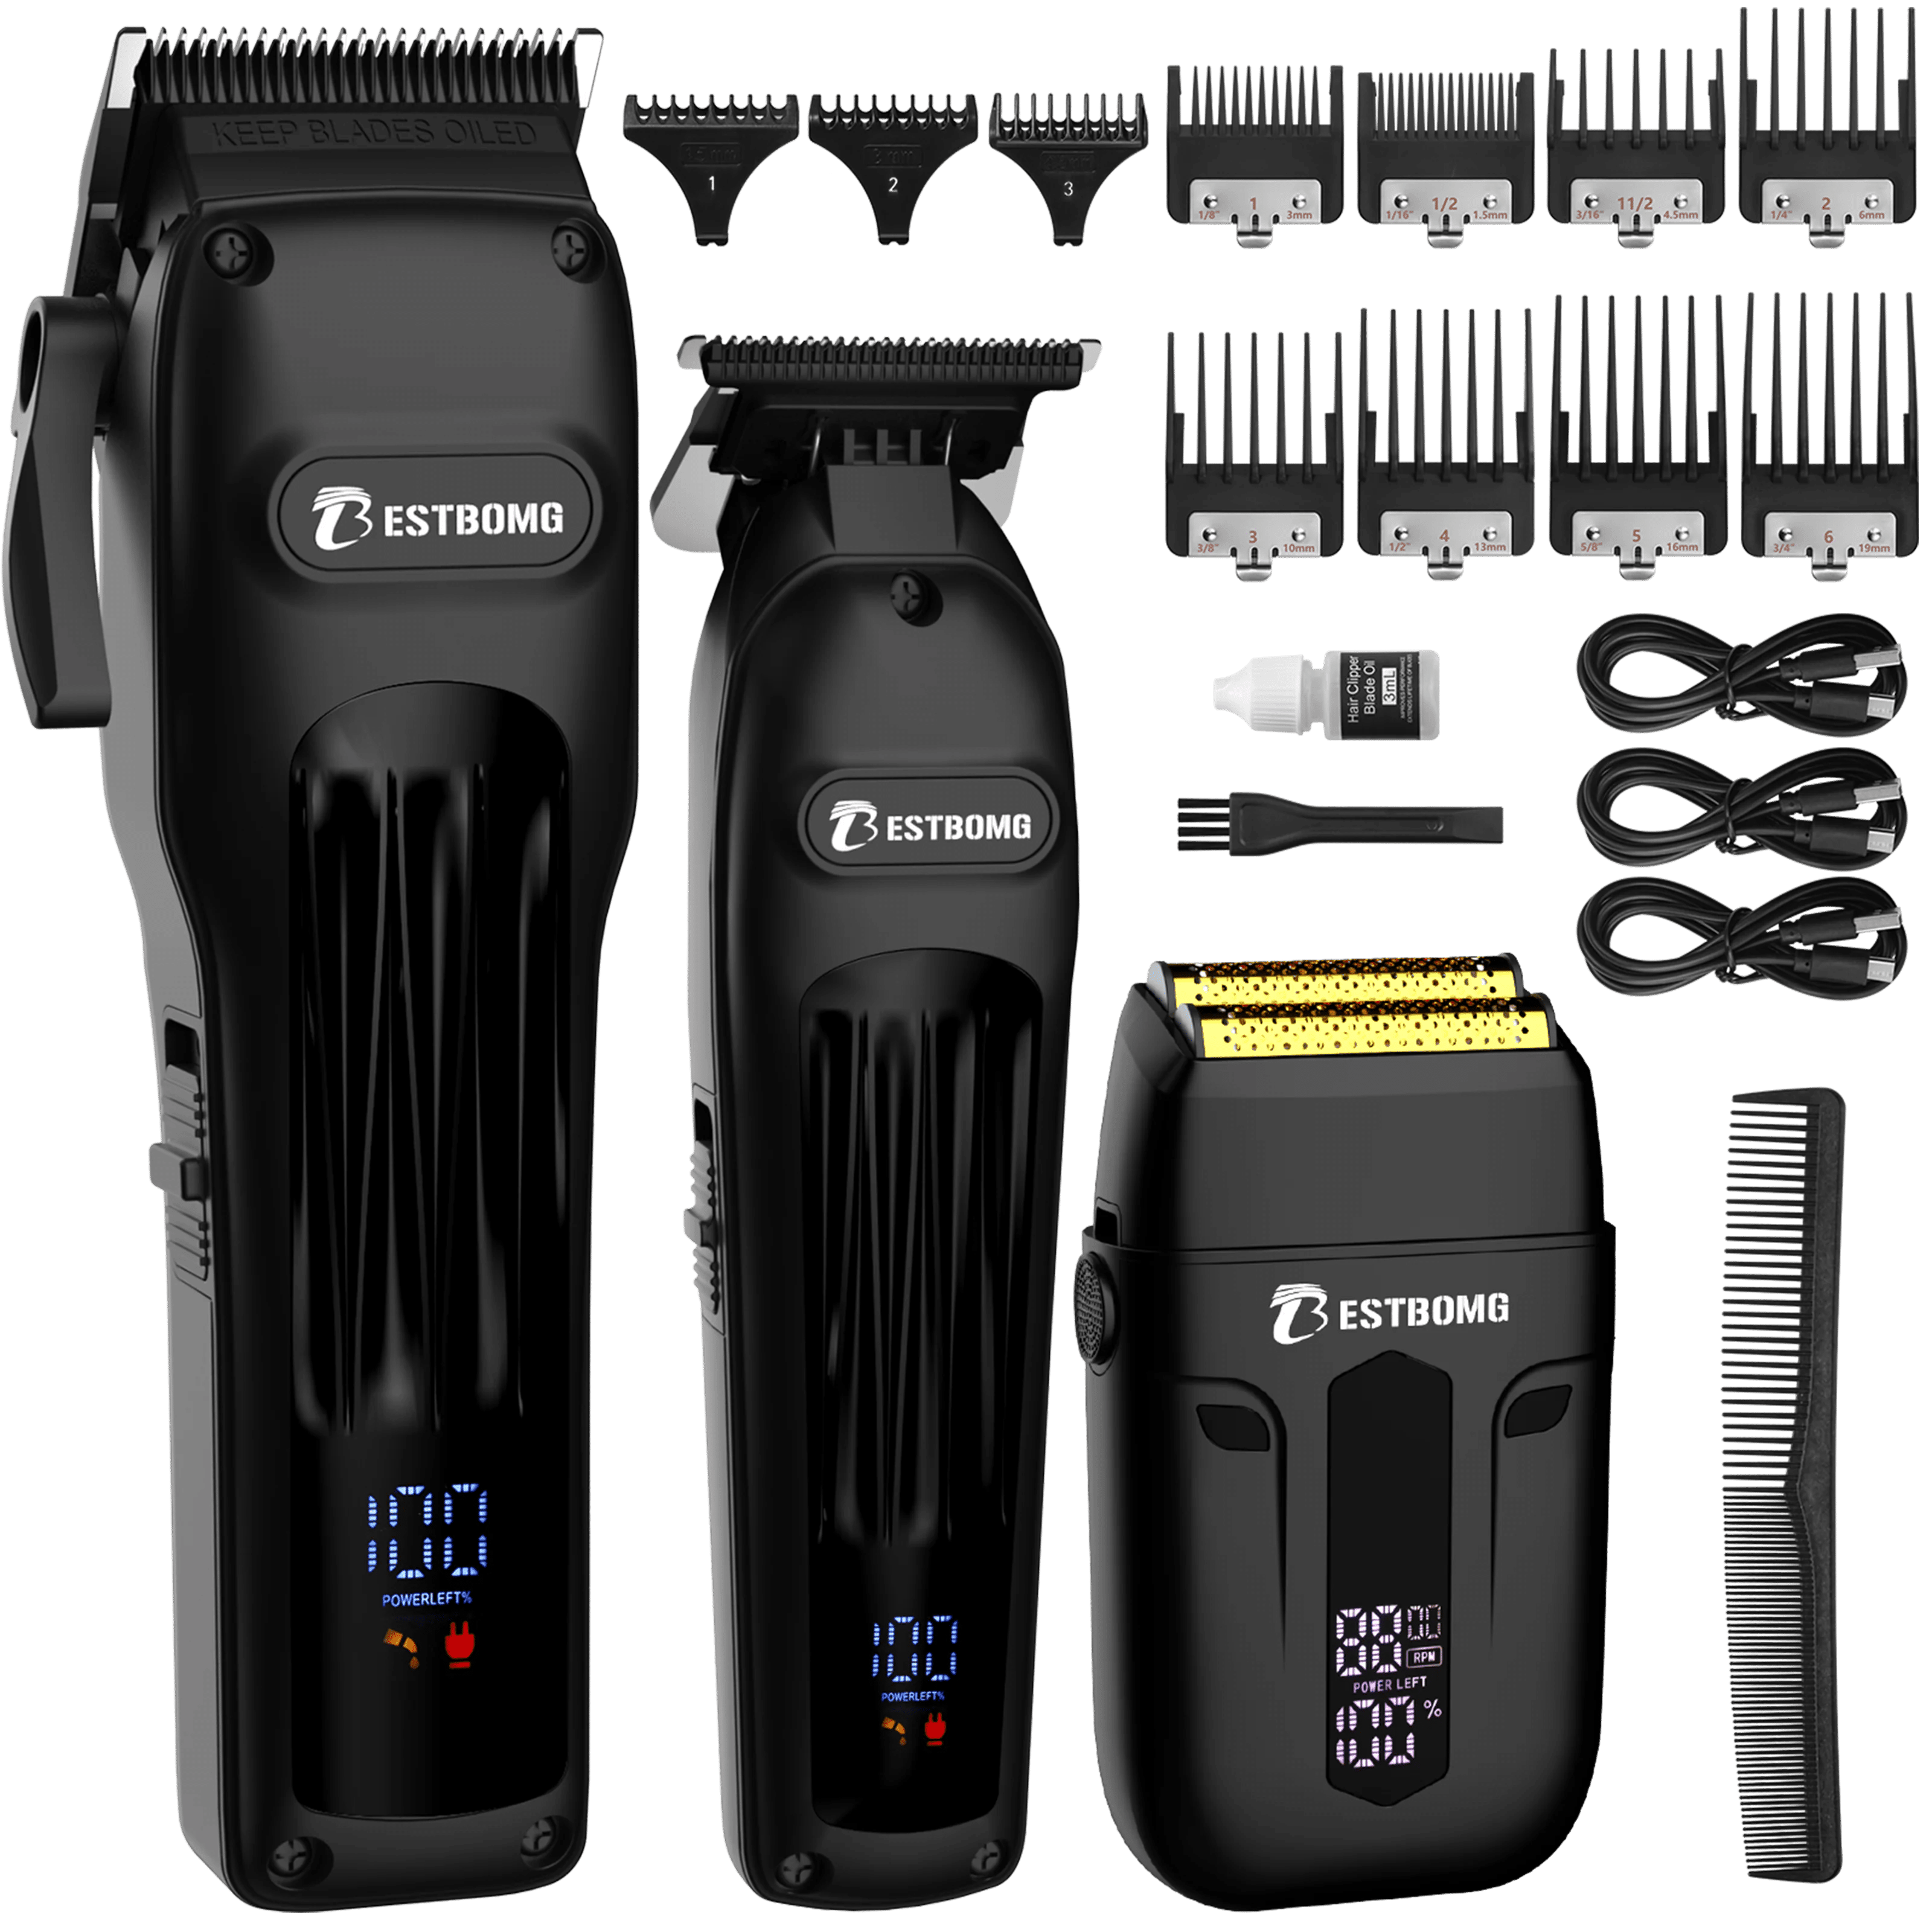
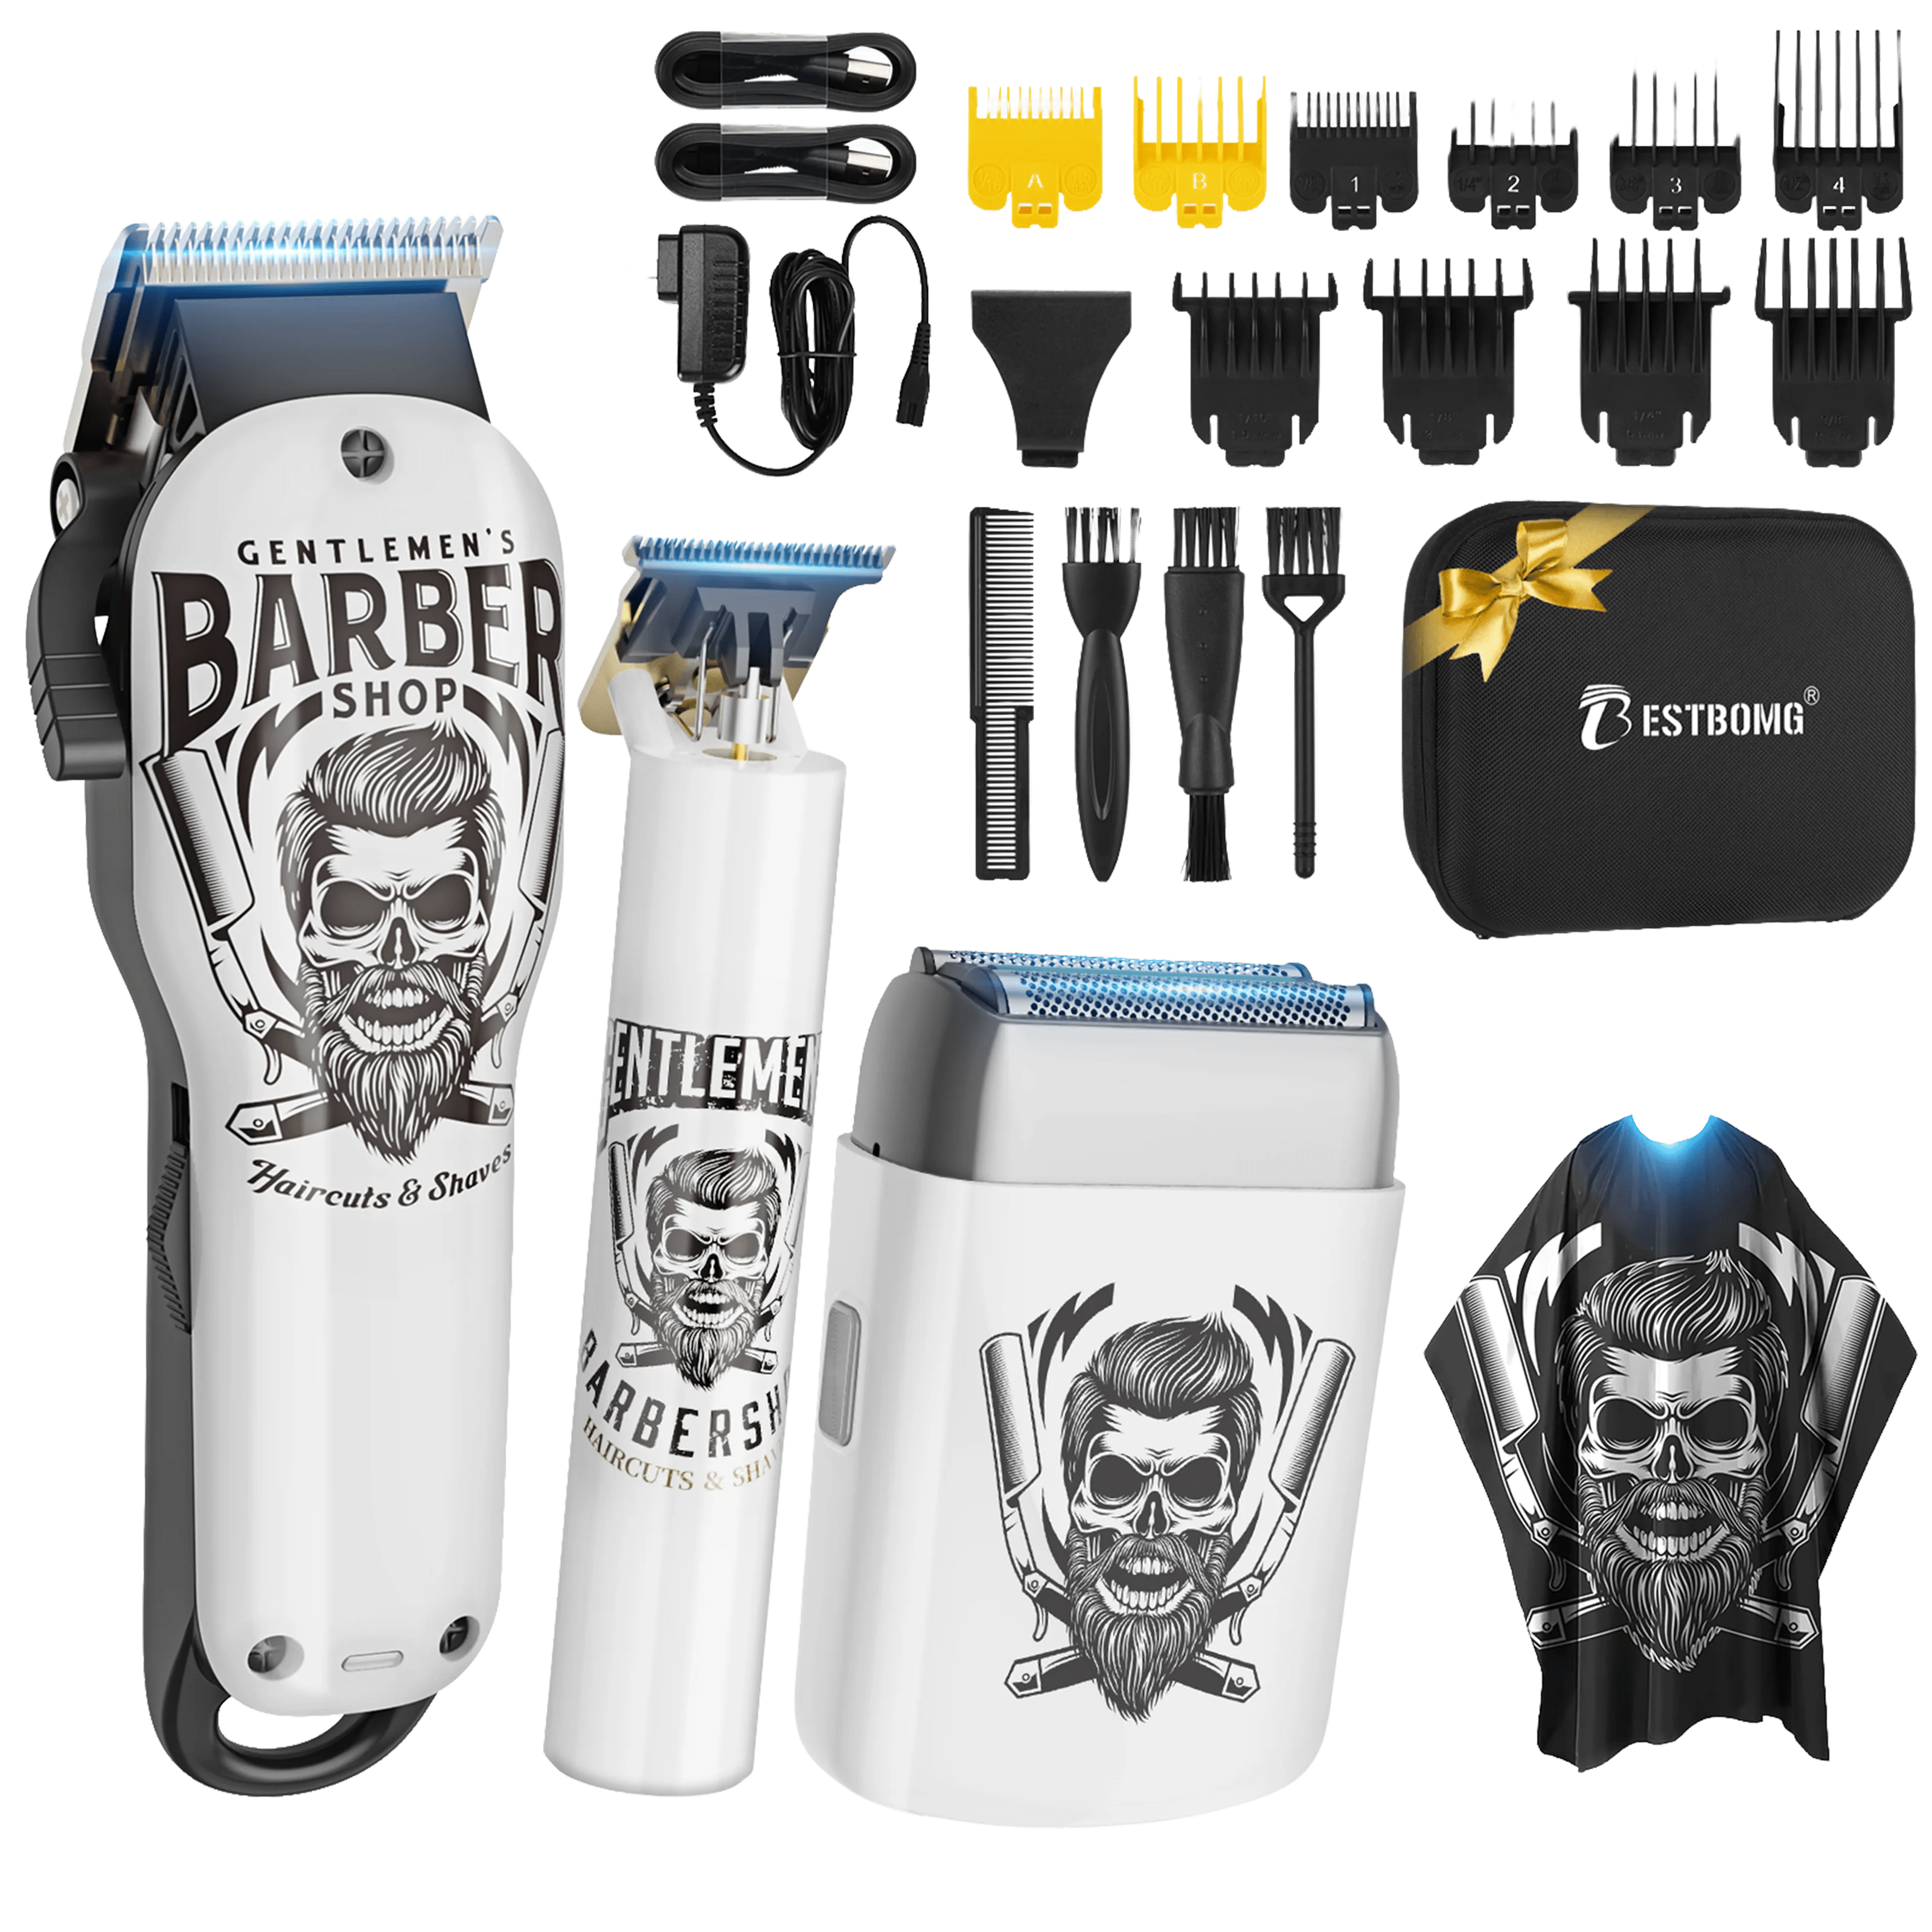
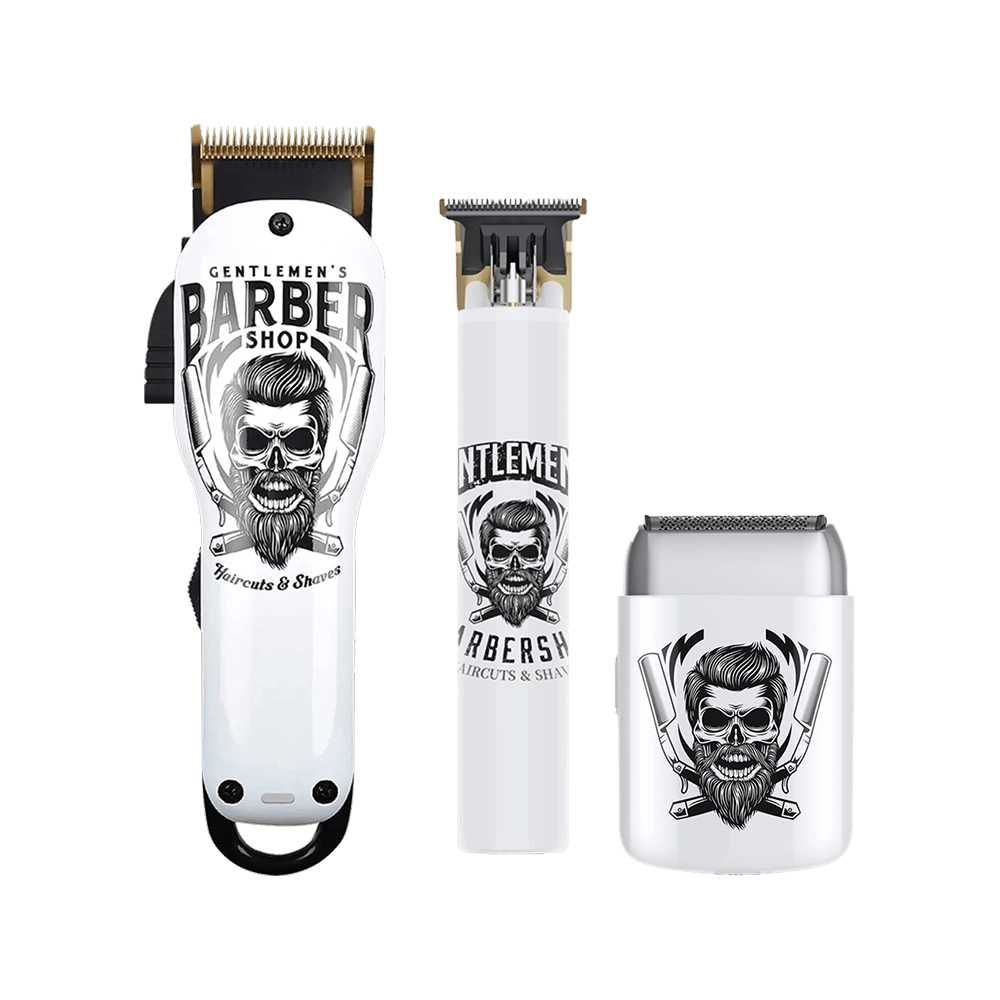
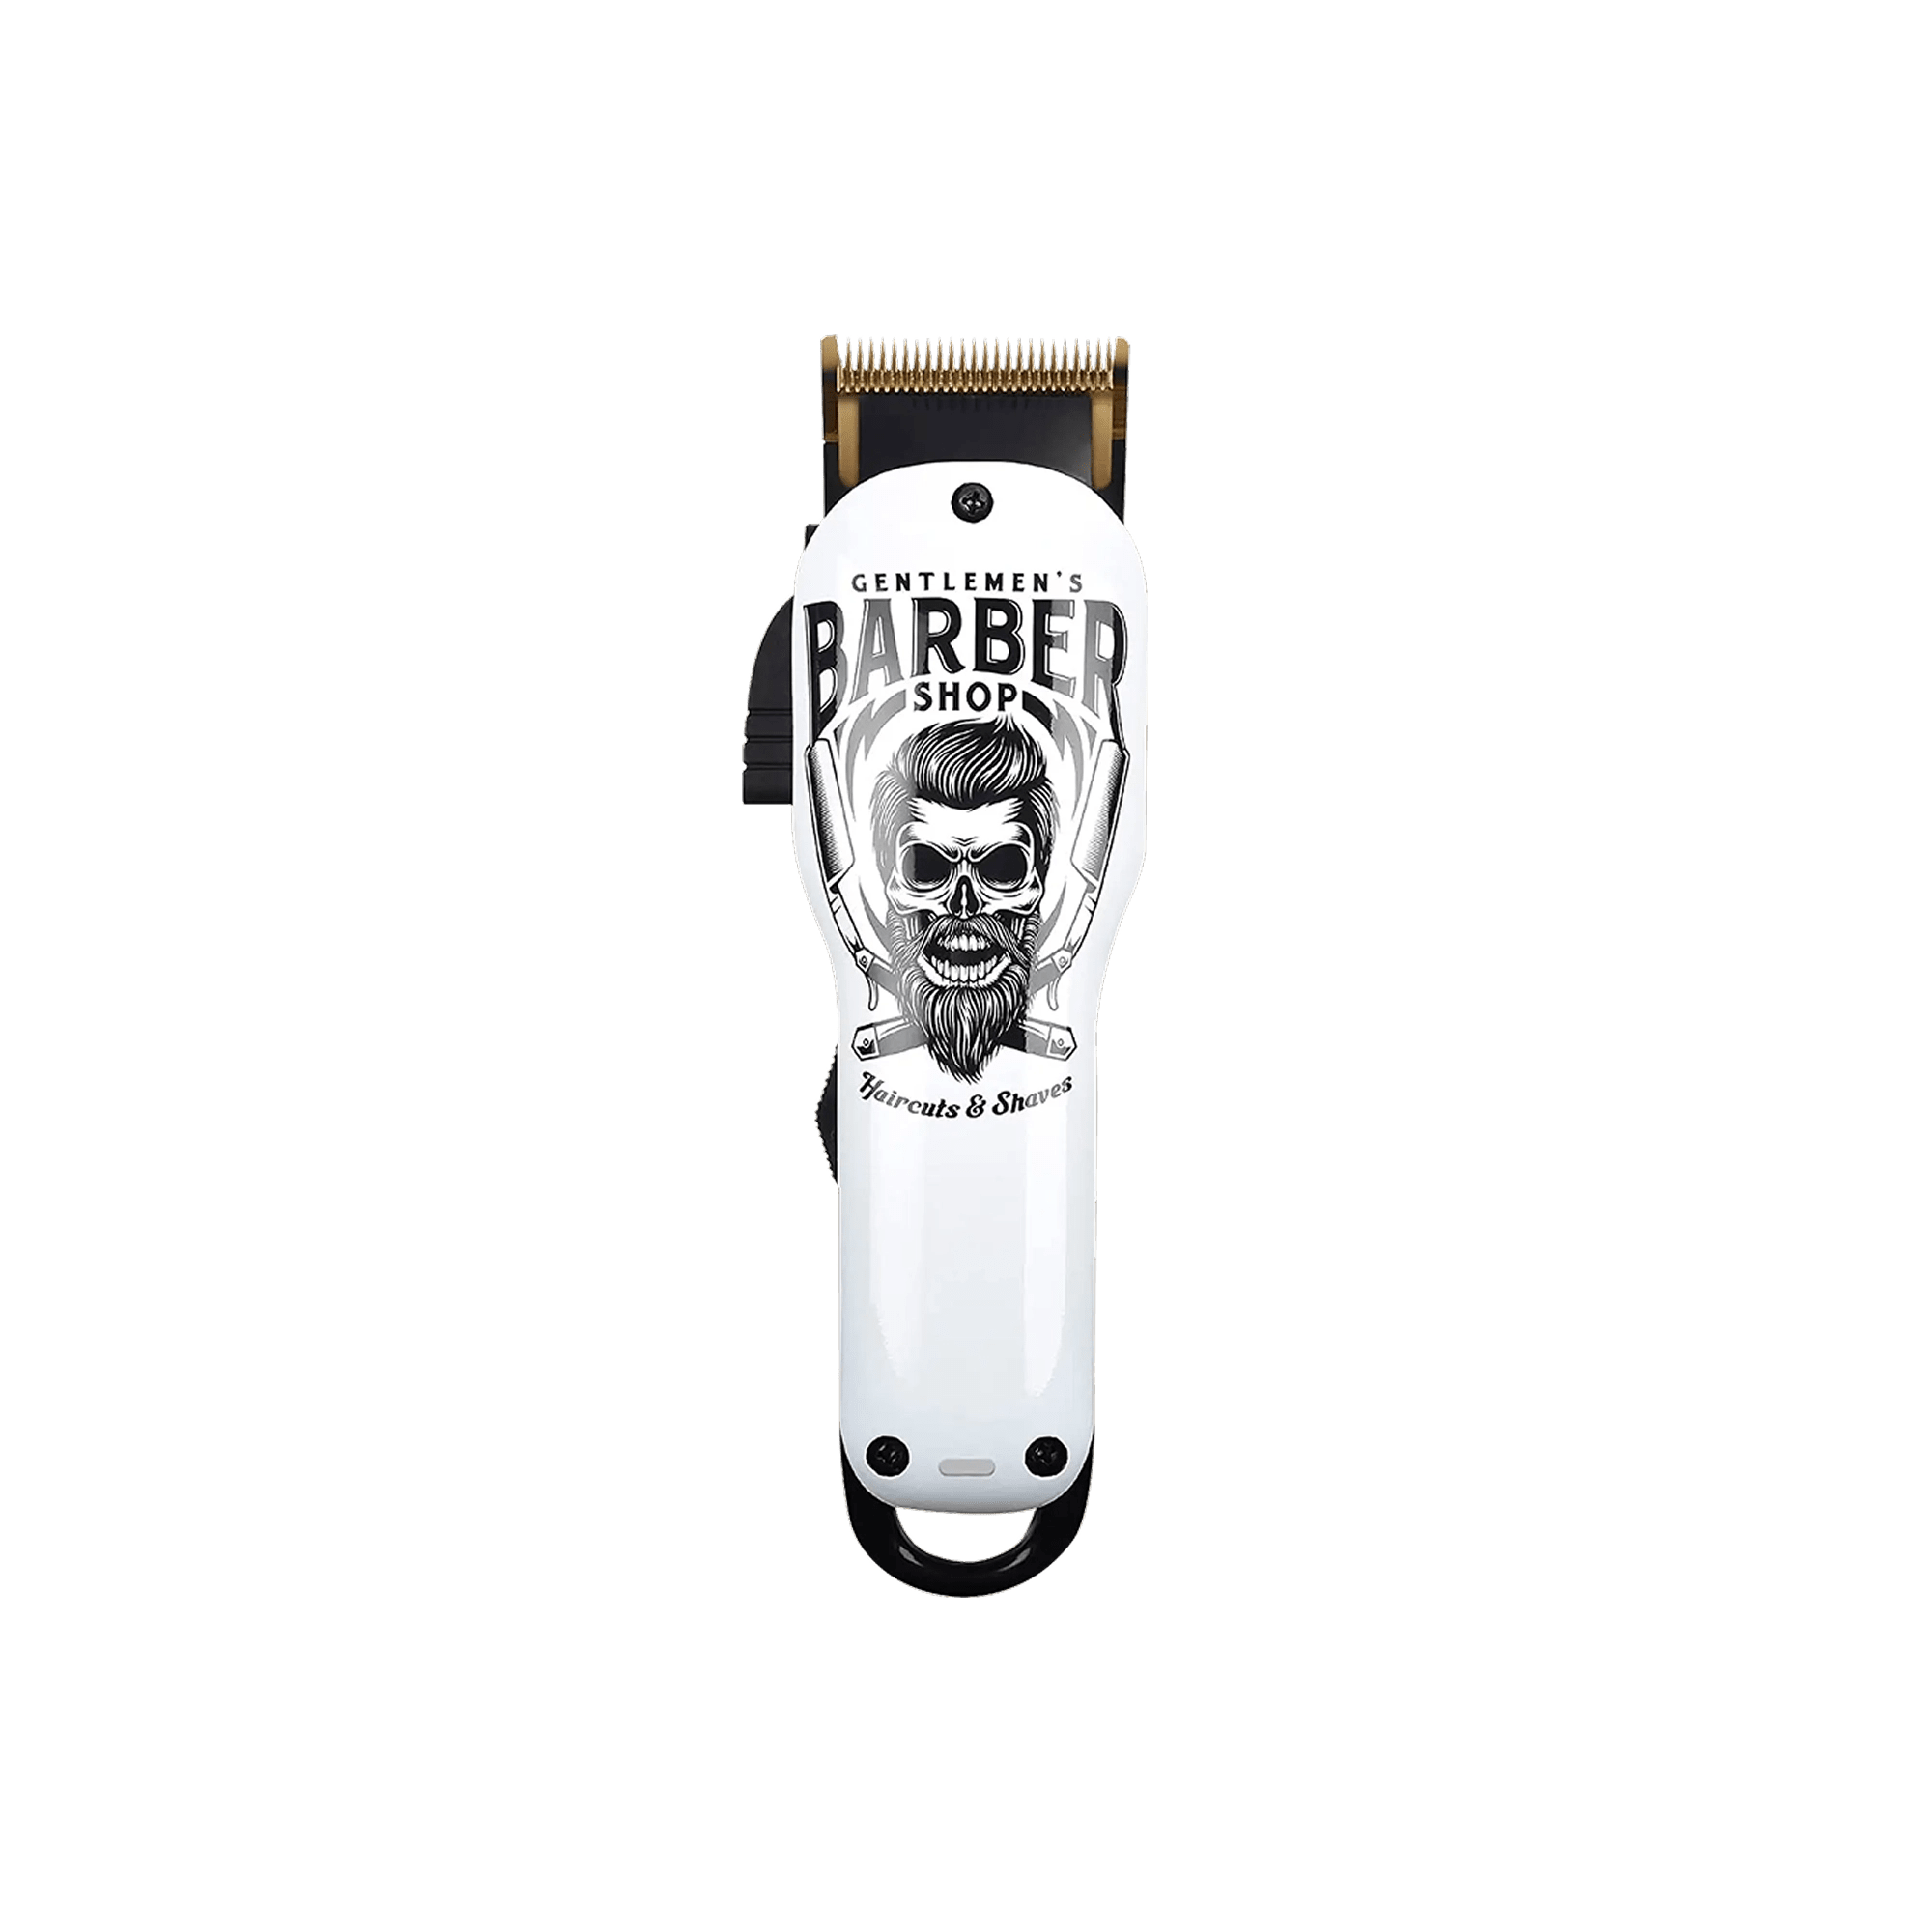
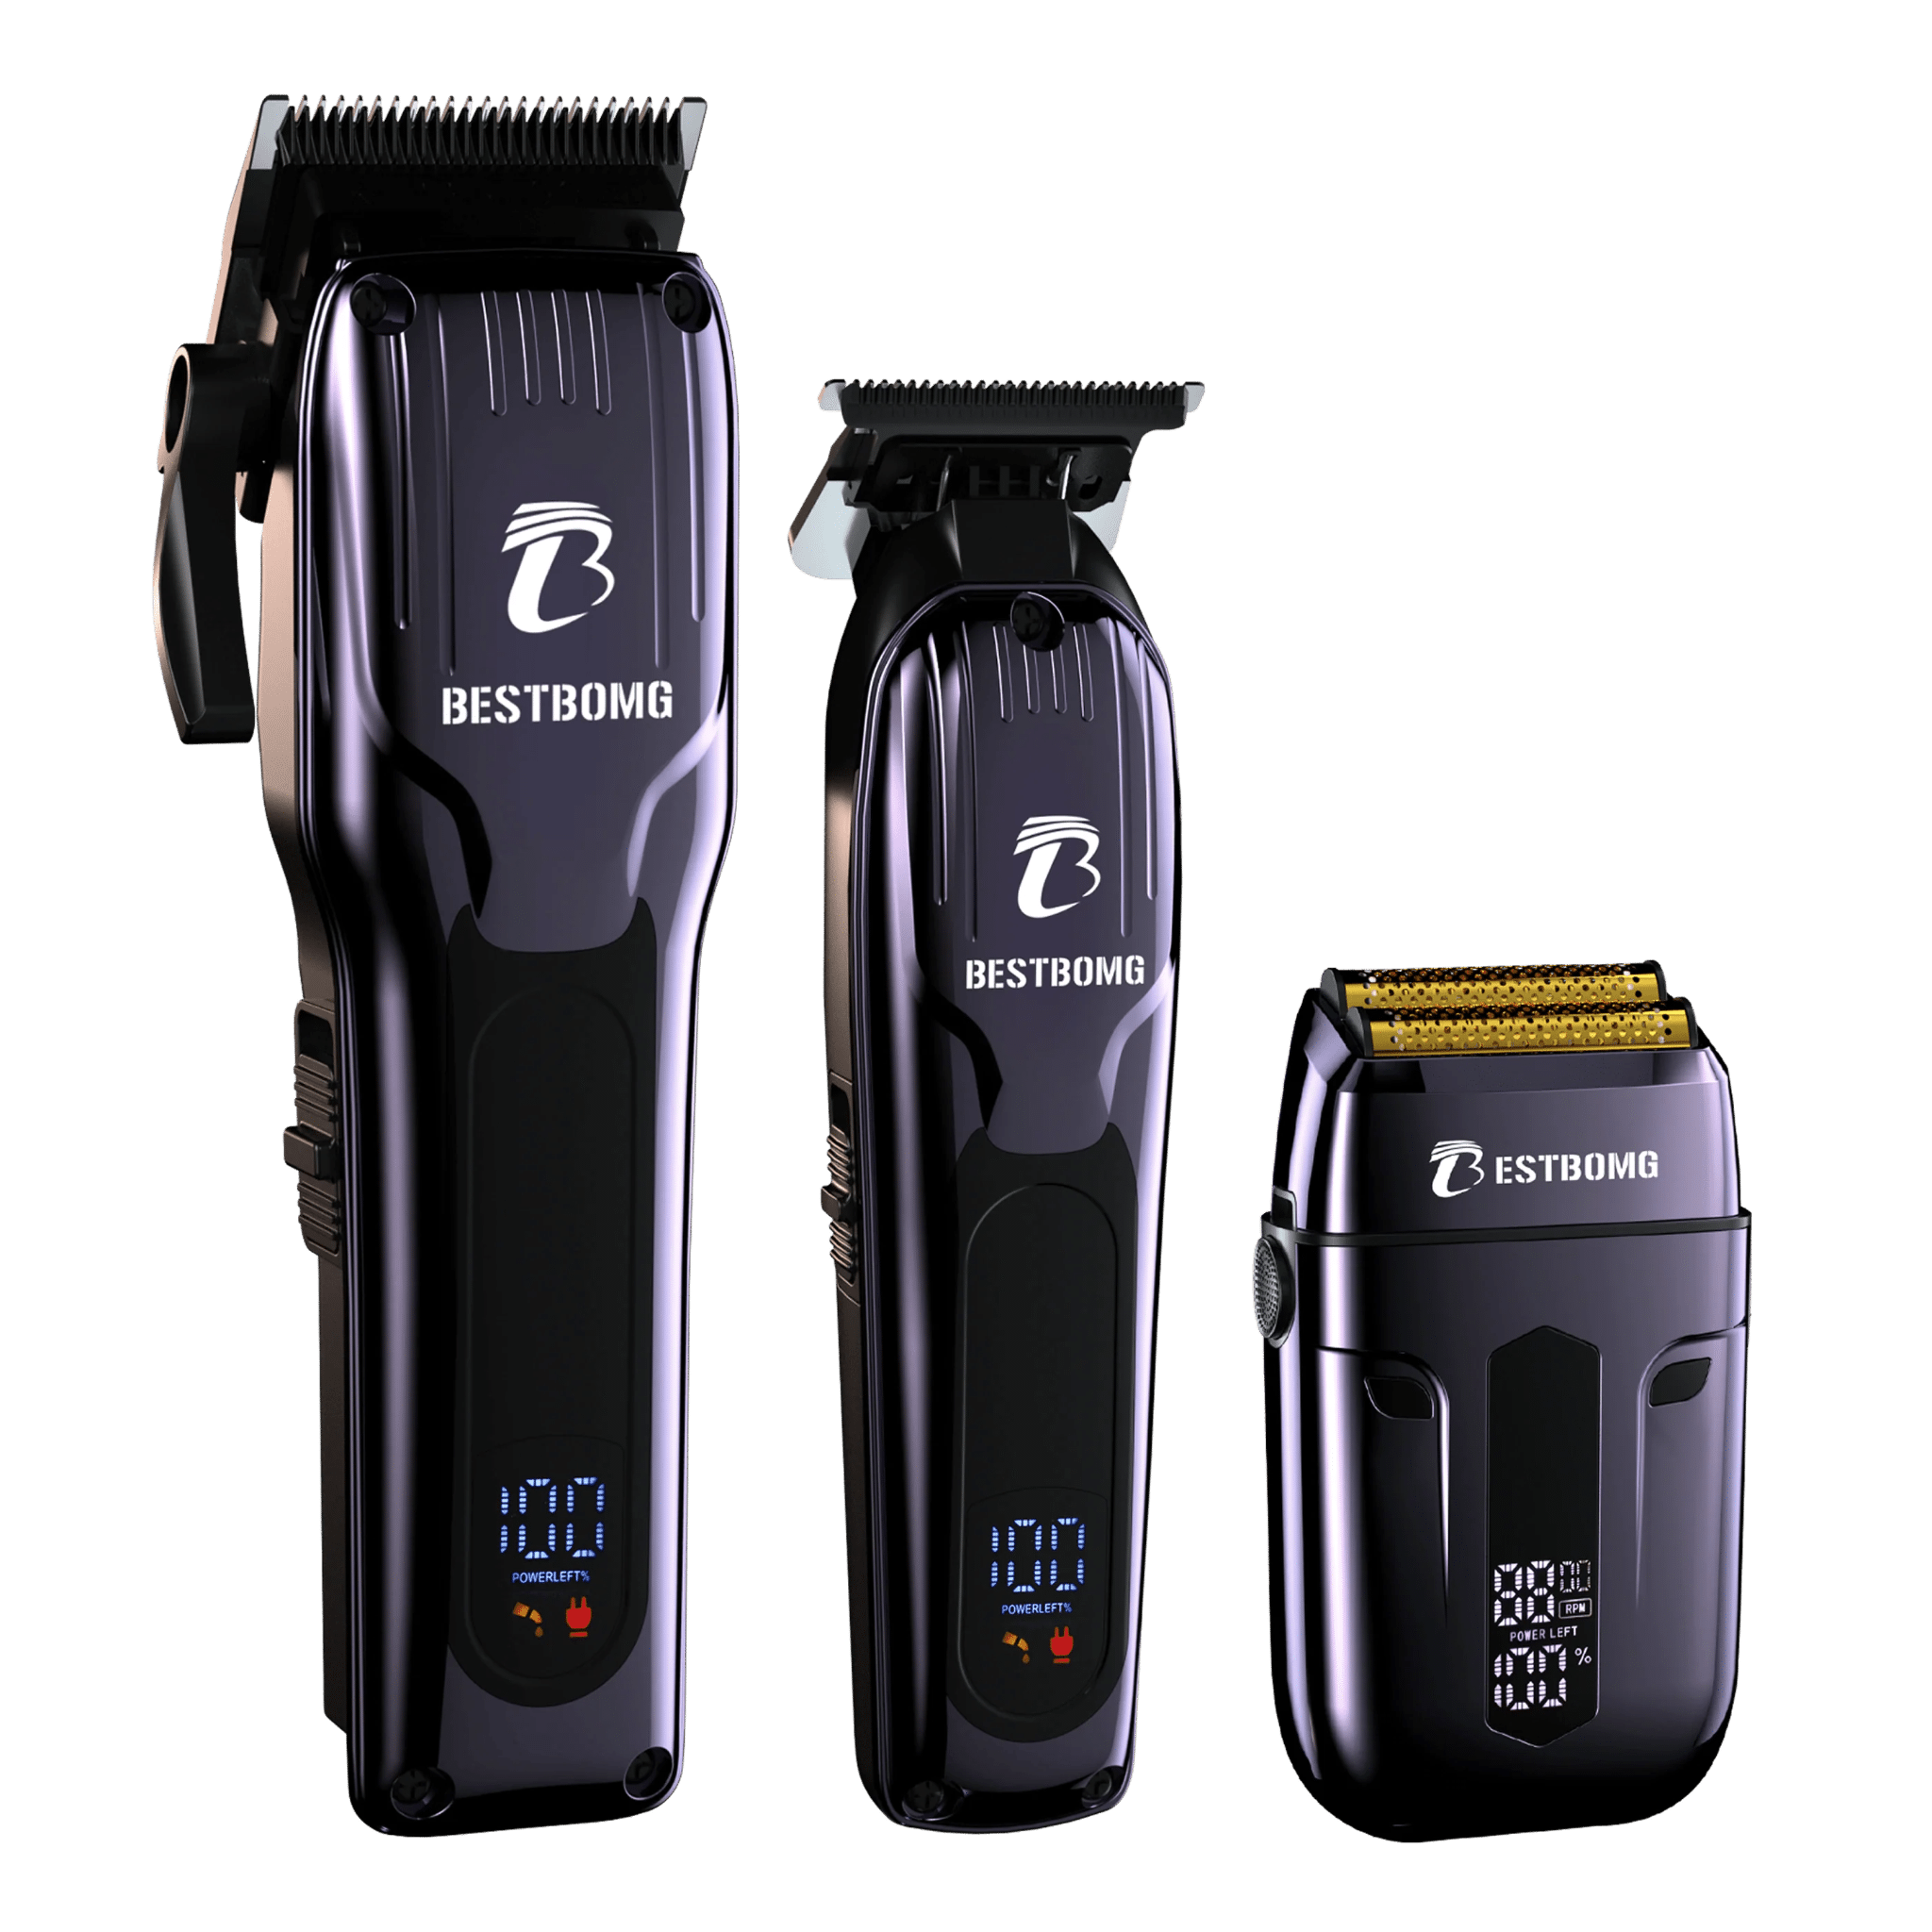
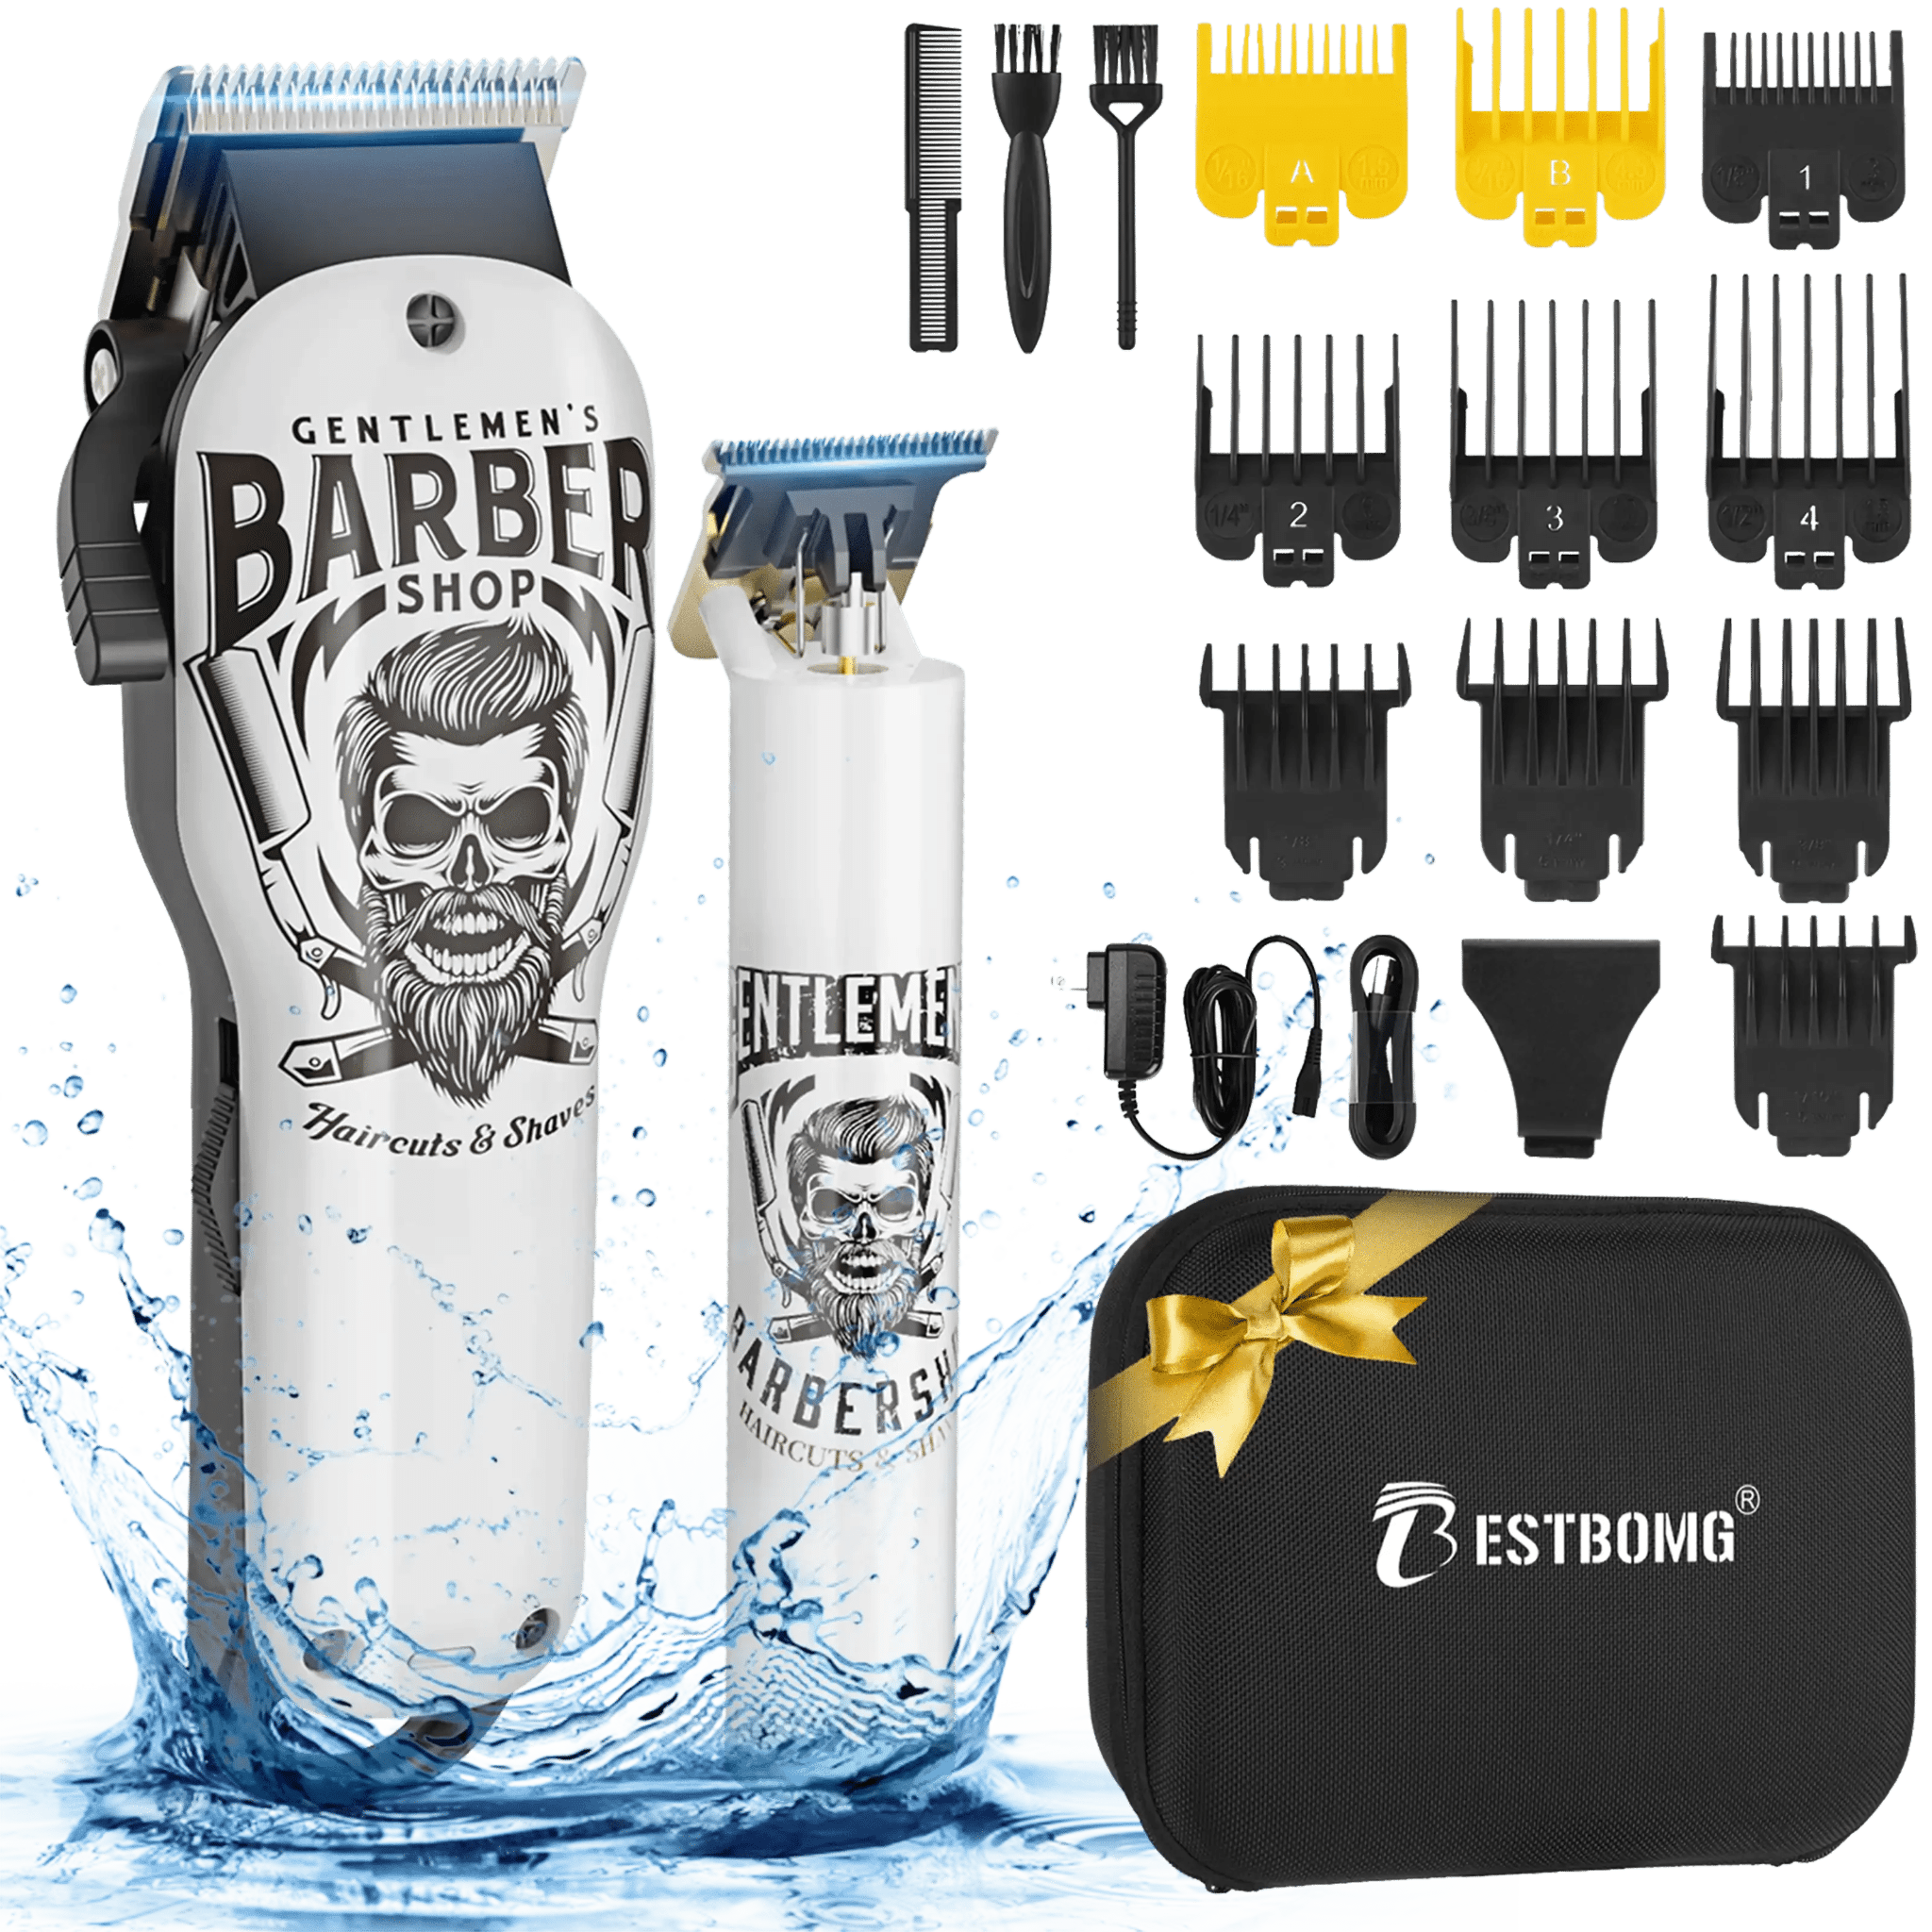
- Hair Clippers: A reliable pair of clippers with multiple guard sizes is essential. Consider options like the BS-808A Hair Clippers Kit for versatility and precision.
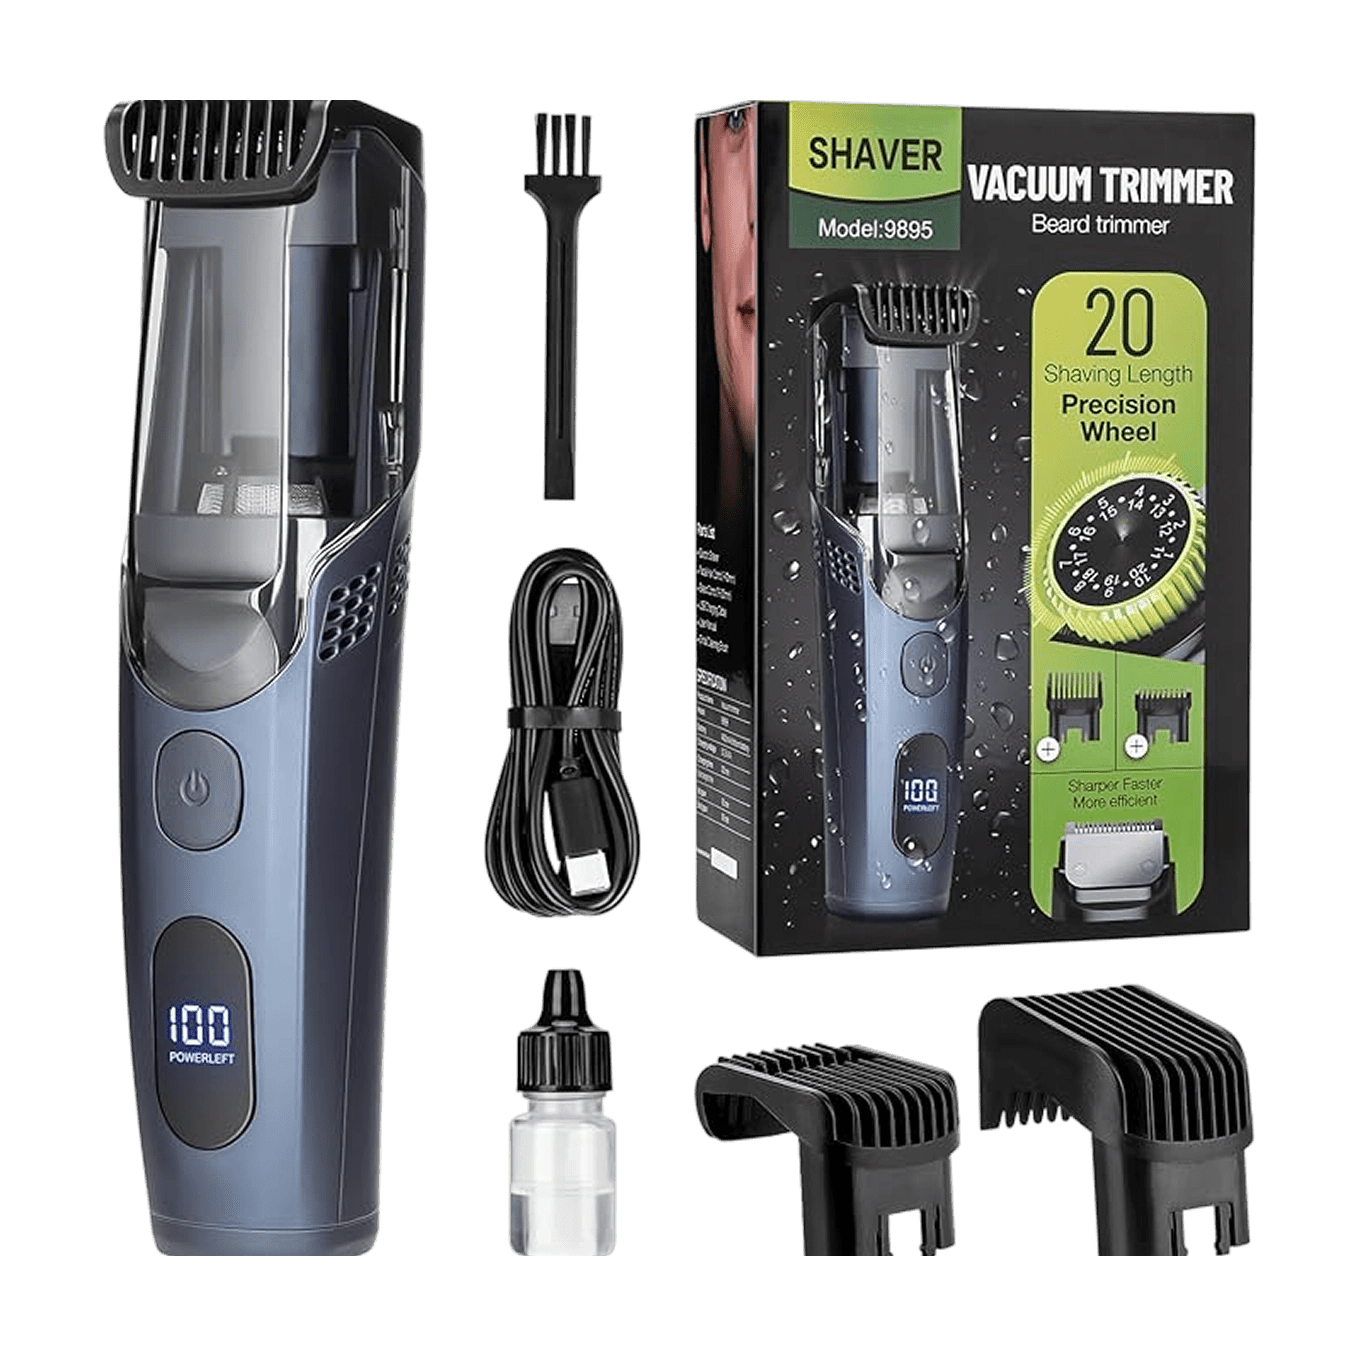
- Beard Trimmers: For detail work around the edges, a T9 Beard Trimmer is ideal.
- Scissors: For trimming longer top hair and blending irregular spots.
- Comb & Brush: To lift hair and guide clippers evenly.
- Mirror: Multiple mirrors help you see all angles, especially for self-fades.
Having quality tools not only makes fading easier but also reduces the risk of mistakes or uneven lines.
External Reference: Cleveland Clinic: Hair Care Basics – tips on proper grooming and tool hygiene.
Step-by-Step Guide: How to Fade Your Own Hair

Fading your own hair can be intimidating, but following a methodical process ensures better results. Here’s a step-by-step guide:
1. Prepare Your Hair
- Wash and towel-dry hair; slightly damp hair is easier to cut.
- Comb out tangles and define your parting if necessary.
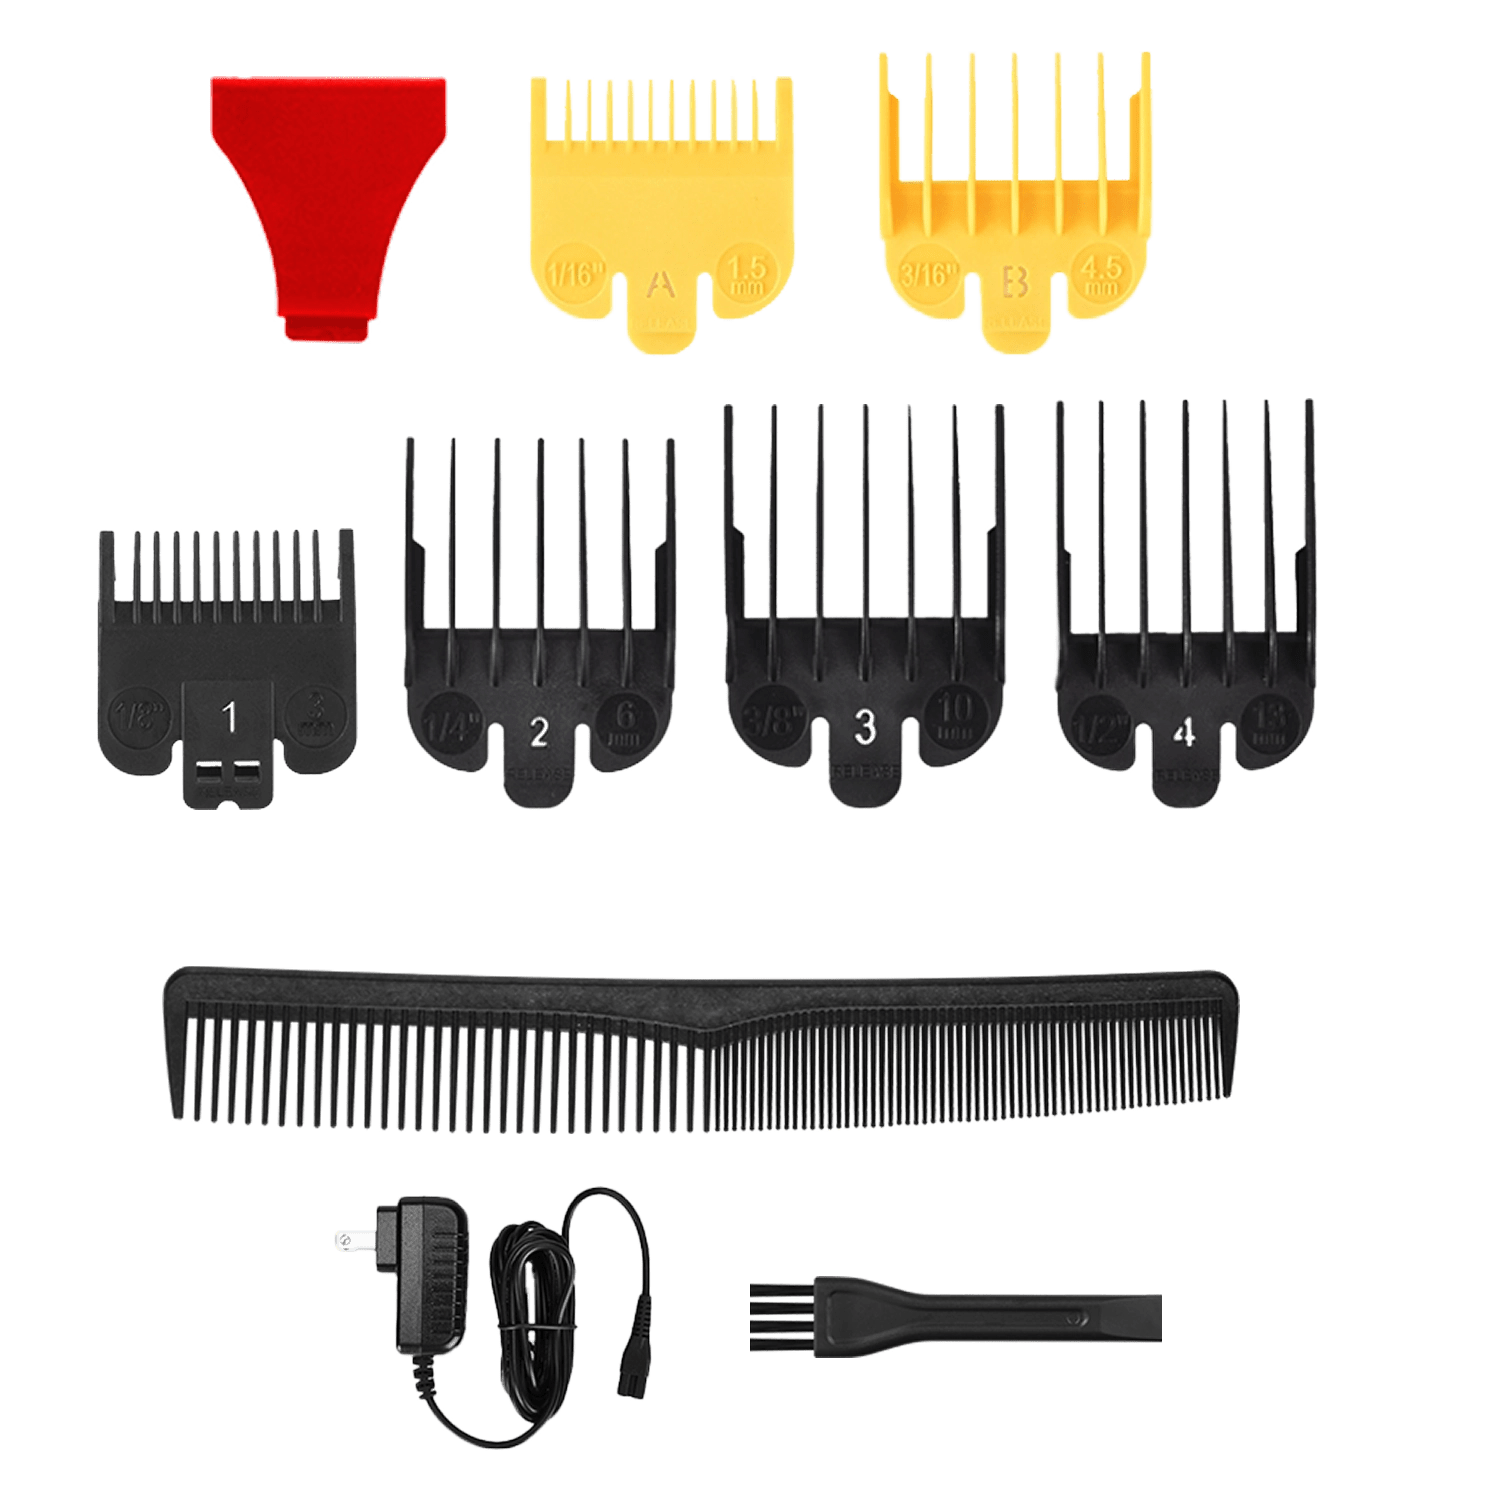
2. Choose Guard Sizes
- Decide on the shortest and longest lengths for your fade.
- Attach the appropriate guard to your clippers: start longer at the top and shorter near the hairline.
3. Start with the Top
- Use scissors or a larger clipper guard to trim the top to the desired length.
- Comb frequently to ensure evenness.
4. Blend the Sides
- Begin with a longer guard at the top of the sides.
- Slowly switch to shorter guards as you move down, creating a gradient effect.
- Keep the clippers moving upwards and outwards to avoid harsh lines.
5. Define the Hairline and Neck
- Remove the guard for a clean finish around the neck and sideburns.
- Use a trimmer for detail work and to sharpen the fade edges.
6. Check Symmetry
- Use mirrors to view all angles.
- Correct any uneven spots by blending with a shorter guard or trimming carefully.
How to Fade Hair Color
Fading hair color can be done gradually or quickly depending on your hair type and dye intensity. Here’s how to fade color naturally:
- Shampoo Frequently: Washing hair more often will strip excess dye. Use a gentle, color-safe shampoo.
- Use Clarifying Shampoo: Effective for removing buildup and speeding up color fade.
- Apply Natural Remedies: Lemon juice or vitamin C treatments can lighten hair subtly.
- Time: Depending on dye and hair type, fading may take 2–8 weeks.
How to Fade Hair with Clippers
Using clippers is the most common way to achieve a clean fade. Here are expert tips:
- Start High: Begin cutting higher than you want, then gradually work down to avoid cutting too short.
- Use the Lever: Adjustable clipper levers help control the fade transition between guard lengths.
- Blend Slowly: Switch guard sizes gradually and blend with upward strokes.
- Detail Work: Use a trimmer or clipper without a guard for precision edges.
Choosing the Right Fade for Your Face Shape
Not every fade suits every face shape. Here are general guidelines:
- Round Face: Opt for high or mid fades to elongate the face.
- Oval Face: Most fades work well; choose based on personal style.
- Square Face: Low to mid fades complement a strong jawline.
- Long Face: Low fades help balance vertical length.
Your fade style should enhance your facial features, not compete with them.
External Reference: GQ: Best Haircuts for Men – styling advice for face shapes.
Common Mistakes When Fading Hair
Even experienced barbers can slip up. Avoid these mistakes:
- Skipping Guards: Jumping from long to short creates harsh lines.
- Moving Too Fast: Rushing leads to uneven blending.
- Ignoring Hair Growth Patterns: Clipping against growth can create bumps.
- Neglecting Maintenance: Regularly oiling clippers ensures smooth operation.
How Long Does It Take to Fade Hair?
The time required depends on skill level and hair type:
- Professional Barbers: 15–30 minutes for a clean fade.
- Beginners at Home: 30–60 minutes to ensure accuracy.
- Fading Hair Color: Can take multiple washes over 2–8 weeks depending on dye.
Patience is key. Rushing can ruin the gradient effect and result in uneven lengths.
Care and Maintenance of Clippers and Trimmers
Proper care prolongs the life of your tools and ensures smooth fading:
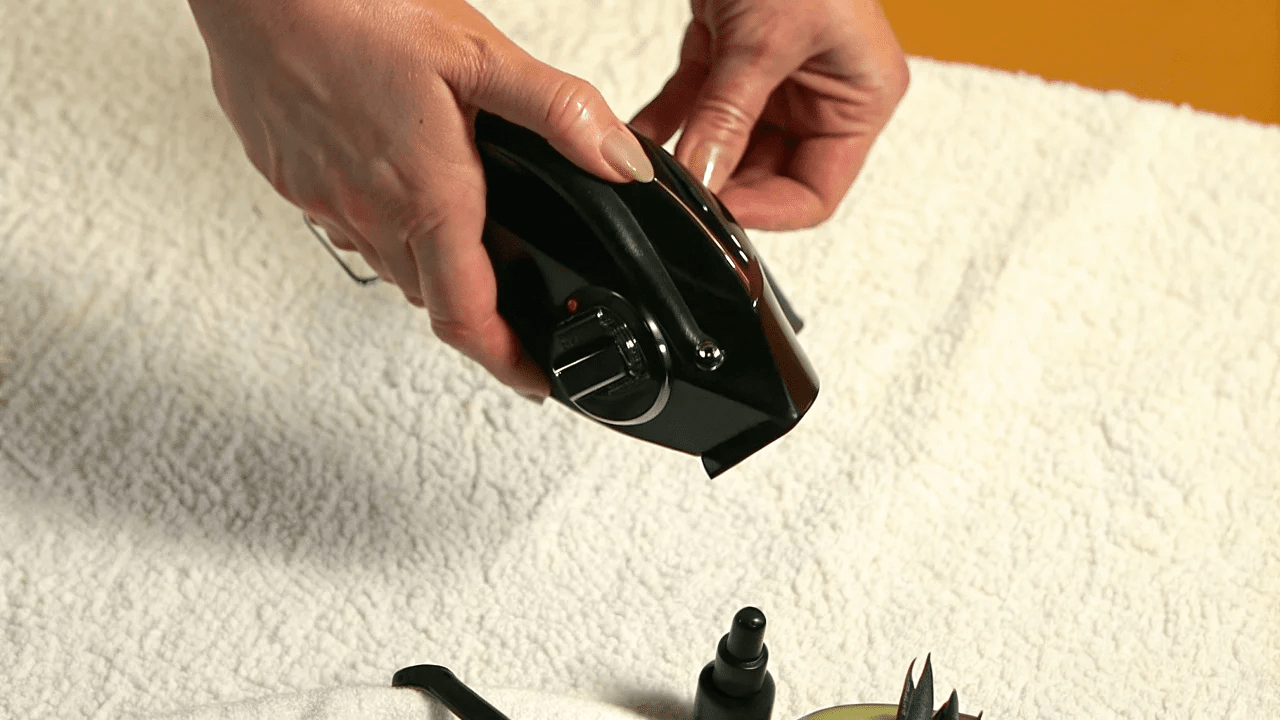
- Clean After Each Use: Remove hair clippings and wipe blades.
- Oil Blades Regularly: Keeps clippers sharp and reduces friction.
- Store Safely: Avoid moisture to prevent rusting.
- Charge Batteries Properly: For cordless clippers like the Y4T9 Hair Clippers Kit, follow manufacturer guidelines.
Decision Guide: Clippers vs. Trimmers vs. Scissors
-
Choosing the right tool affects your fade results:
|
Tool |
Best For |
Notes |
|
Clippers |
Sides and back |
Use guards for different lengths |
|
Trimmers |
Necklines, edges, detailing |
Ideal for sharp lines |
|
Scissors |
Top hair, blending longer hair |
Use for a textured, natural finish |
Combining these tools provides maximum control and versatility.
Frequently Asked Questions
How to fade hair at home for beginners?
Start with longer guard sizes, blend gradually, and use a mirror to check all angles. Patience and small adjustments are key.
How long does it take for hair dye to fade?
Depending on the dye and hair type, fading can take 2–8 weeks. Frequent washes and clarifying shampoos can speed up the process.
Can I fade my own hair with clippers?
Yes, using clippers with multiple guard sizes and following step-by-step blending techniques can achieve a professional-looking fade at home.
What’s the best guard size to start a fade?
Start with a longer guard and progressively switch to shorter sizes. Avoid jumping lengths to ensure a smooth gradient.
How often should I maintain my clippers?
Clean and oil blades after every use. For heavy usage, deep cleaning and blade replacement every 3–6 months is recommended.
How to fade hair color without damaging it?
Use color-safe shampoos, avoid harsh chemicals, and allow natural fading over multiple washes. Lemon juice or vitamin C treatments can help gently lighten hair.
Conclusion
Mastering how to fade hair requires the right tools, patience, and practice. Whether you’re looking to fade your own hair at home, maintain your beard, or gradually fade hair color, the steps outlined here will help you achieve a professional result.
Equip yourself with quality tools like the BS-808A Hair Clippers Kit or T9 Beard Trimmer for precision and convenience. Explore more tools and kits to keep your fade sharp by visiting Hair Cutting Kits.
Looking for something else?

How to Cut Baby Boy Hair with Clippers: Step-by-Step Guide
LEARN MORE
Do Hair Clippers Get Dull? Causes, Signs & Prevention
LEARN MORE
Can an Electric Shaver Cut You? Safety Facts & Prevention
LEARN MORE
How to Shave Balls with Electric Shaver: Safe Guide
LEARN MORELooking for something else?

Does Using Trimmer Increase Hair Growth? Facts & Myths
LEARN MORE
Best Hair Clippers for Men: Top Picks for Home & Pro Use
LEARN MORE
Best Professional Hair Clippers for Barbers: Top Picks
LEARN MOREYou may also like


Further reading
Best Hair Clippers for Perfect Fades at Home
Clipper Lever Open vs Closed: What It Means (with mm)
Why You Need a Cordless Detailer Trimmer (And How to Pick the Right One)