


How to Taper Hair with Clippers: Step-by-Step Guide for Beginners
Learning how to taper hair with clippers takes practice, but anyone can master the basics with the right technique. A taper gradually shortens hair from longer on top to shorter near the neck and ears, creating a clean, professional look. This guide breaks down each step in simple terms so you can confidently cut tapered hairstyles at home or start your barbering journey.
What Is a Taper Haircut?
A taper is a gradual transition from longer hair on top to shorter hair at the bottom. Unlike a fade that blends to skin, a taper keeps visible hair all the way down.
The style works for almost any hair type and face shape. It looks professional, stays neat longer than blunt cuts, and works with business or casual styles.
Tapers require clipper guards to control length at different heights. You'll blend these sections smoothly so no harsh lines show between lengths.
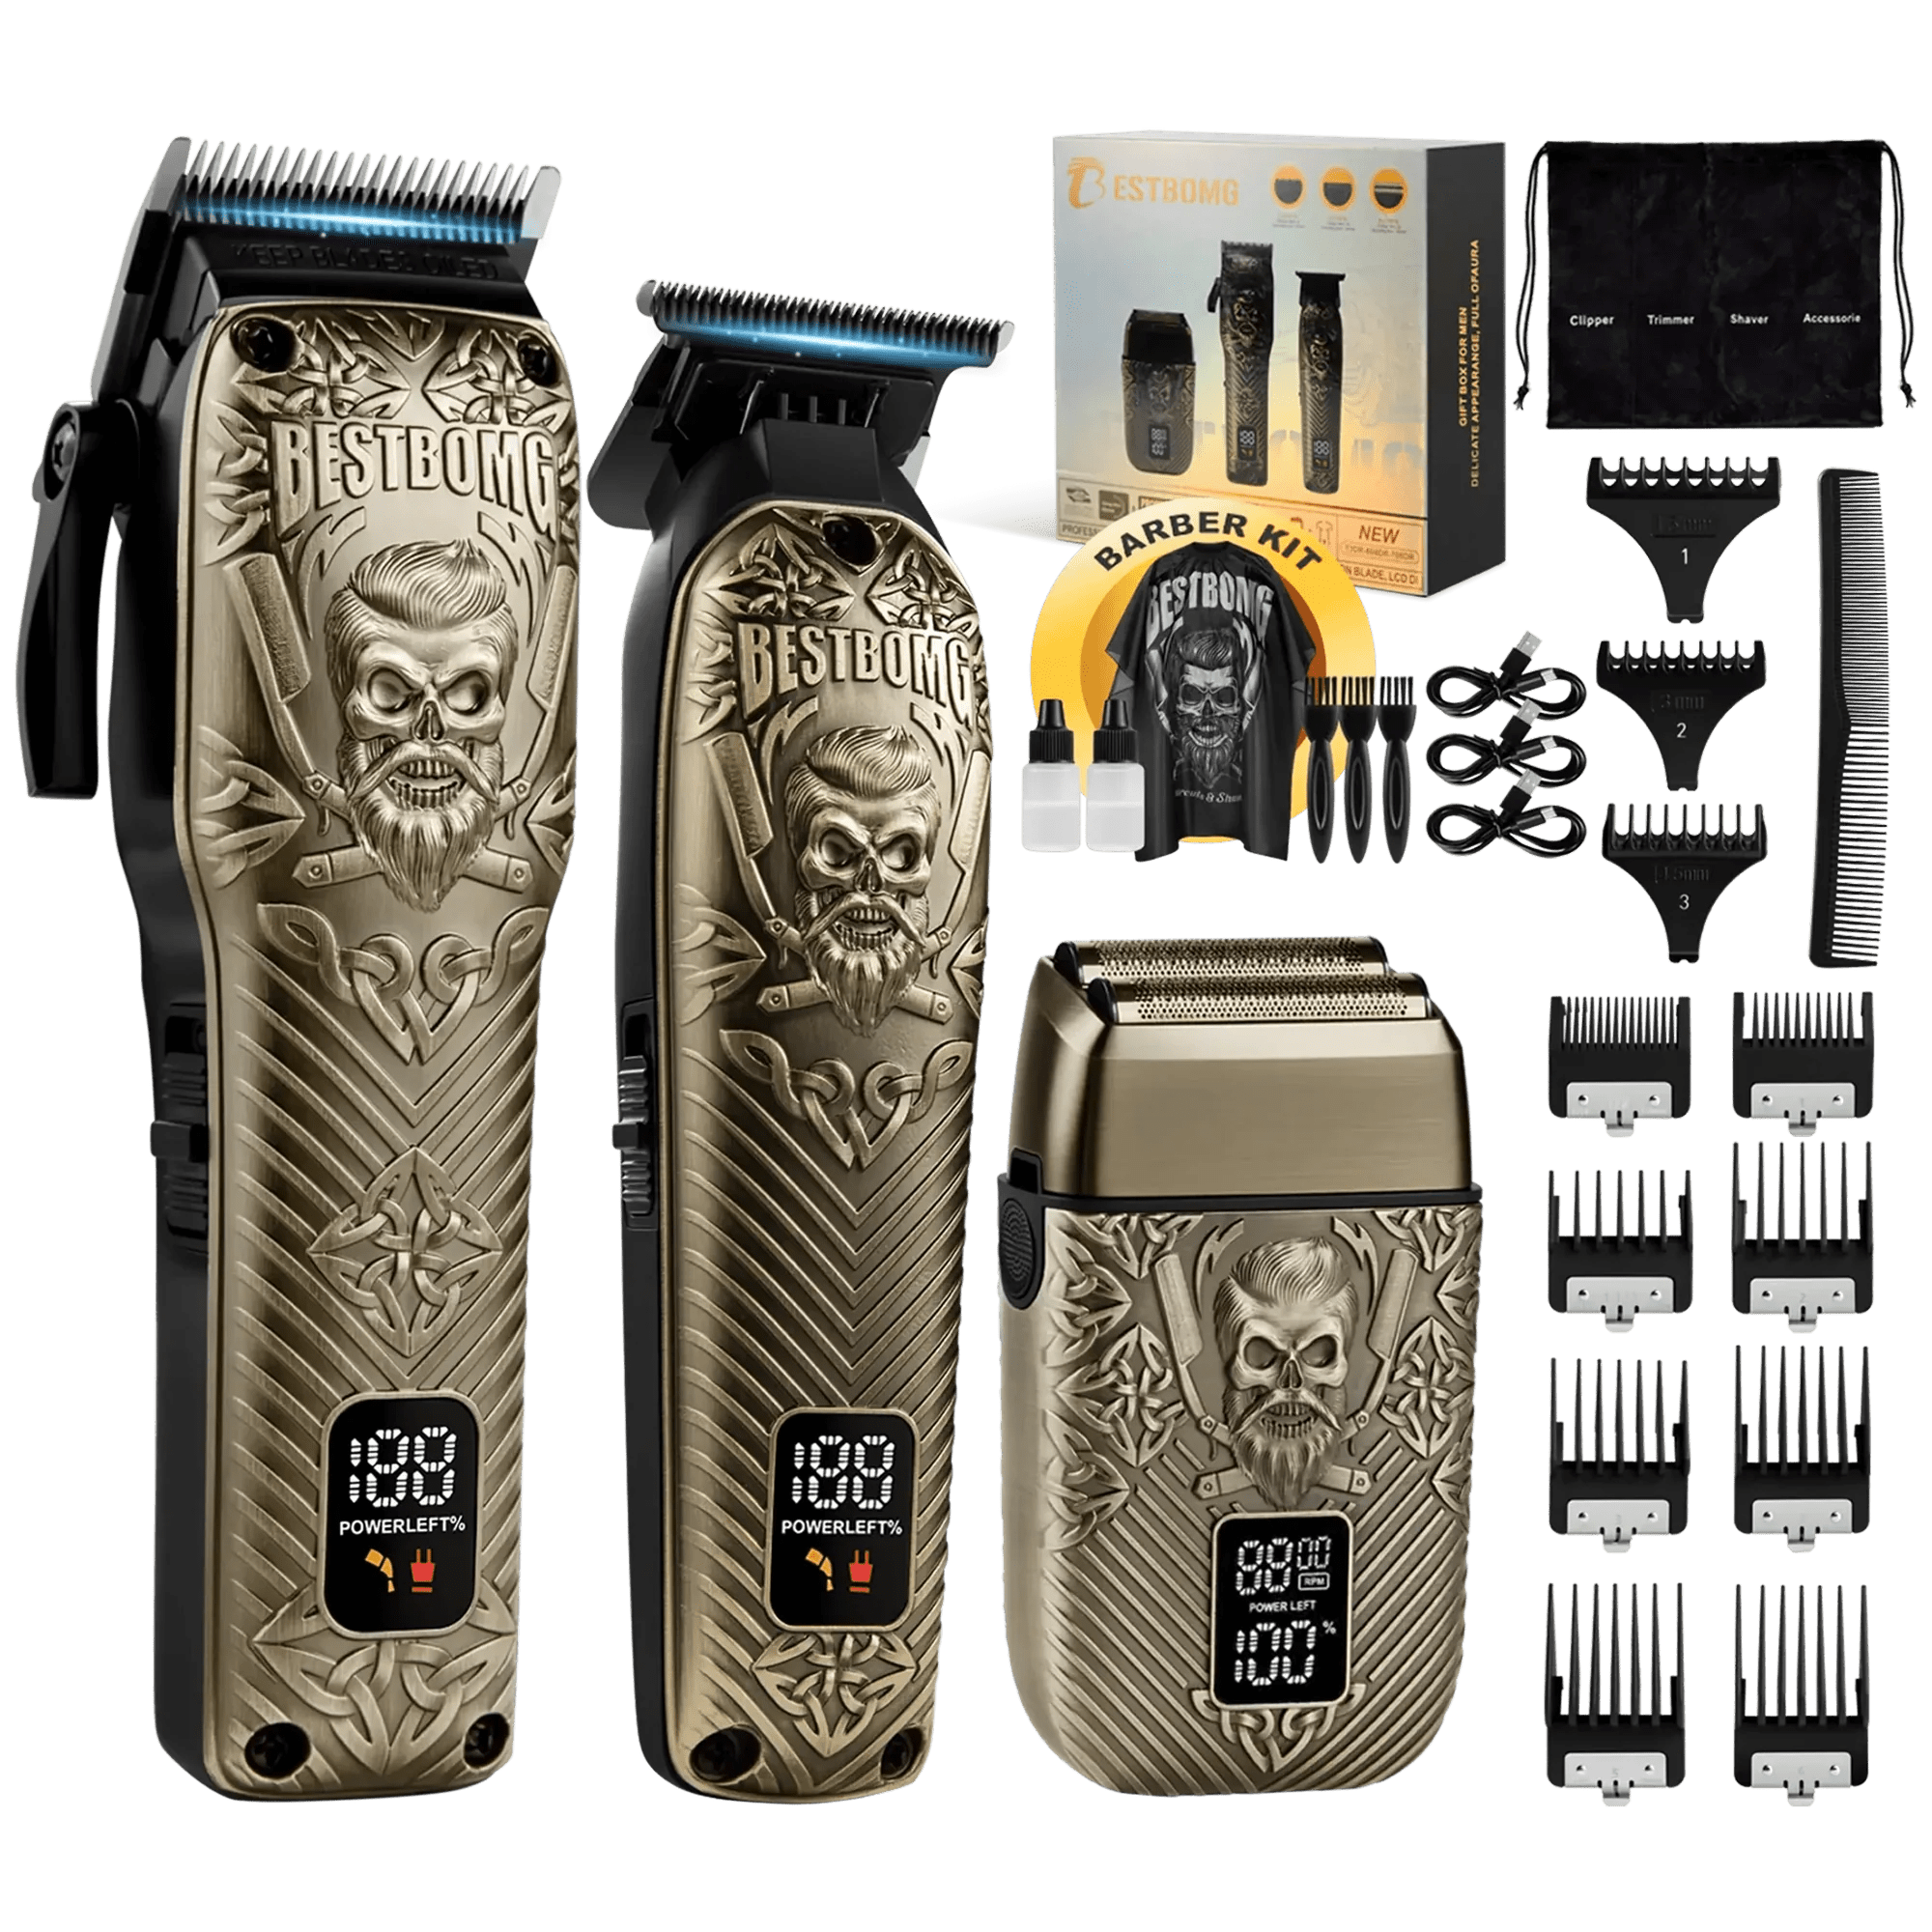
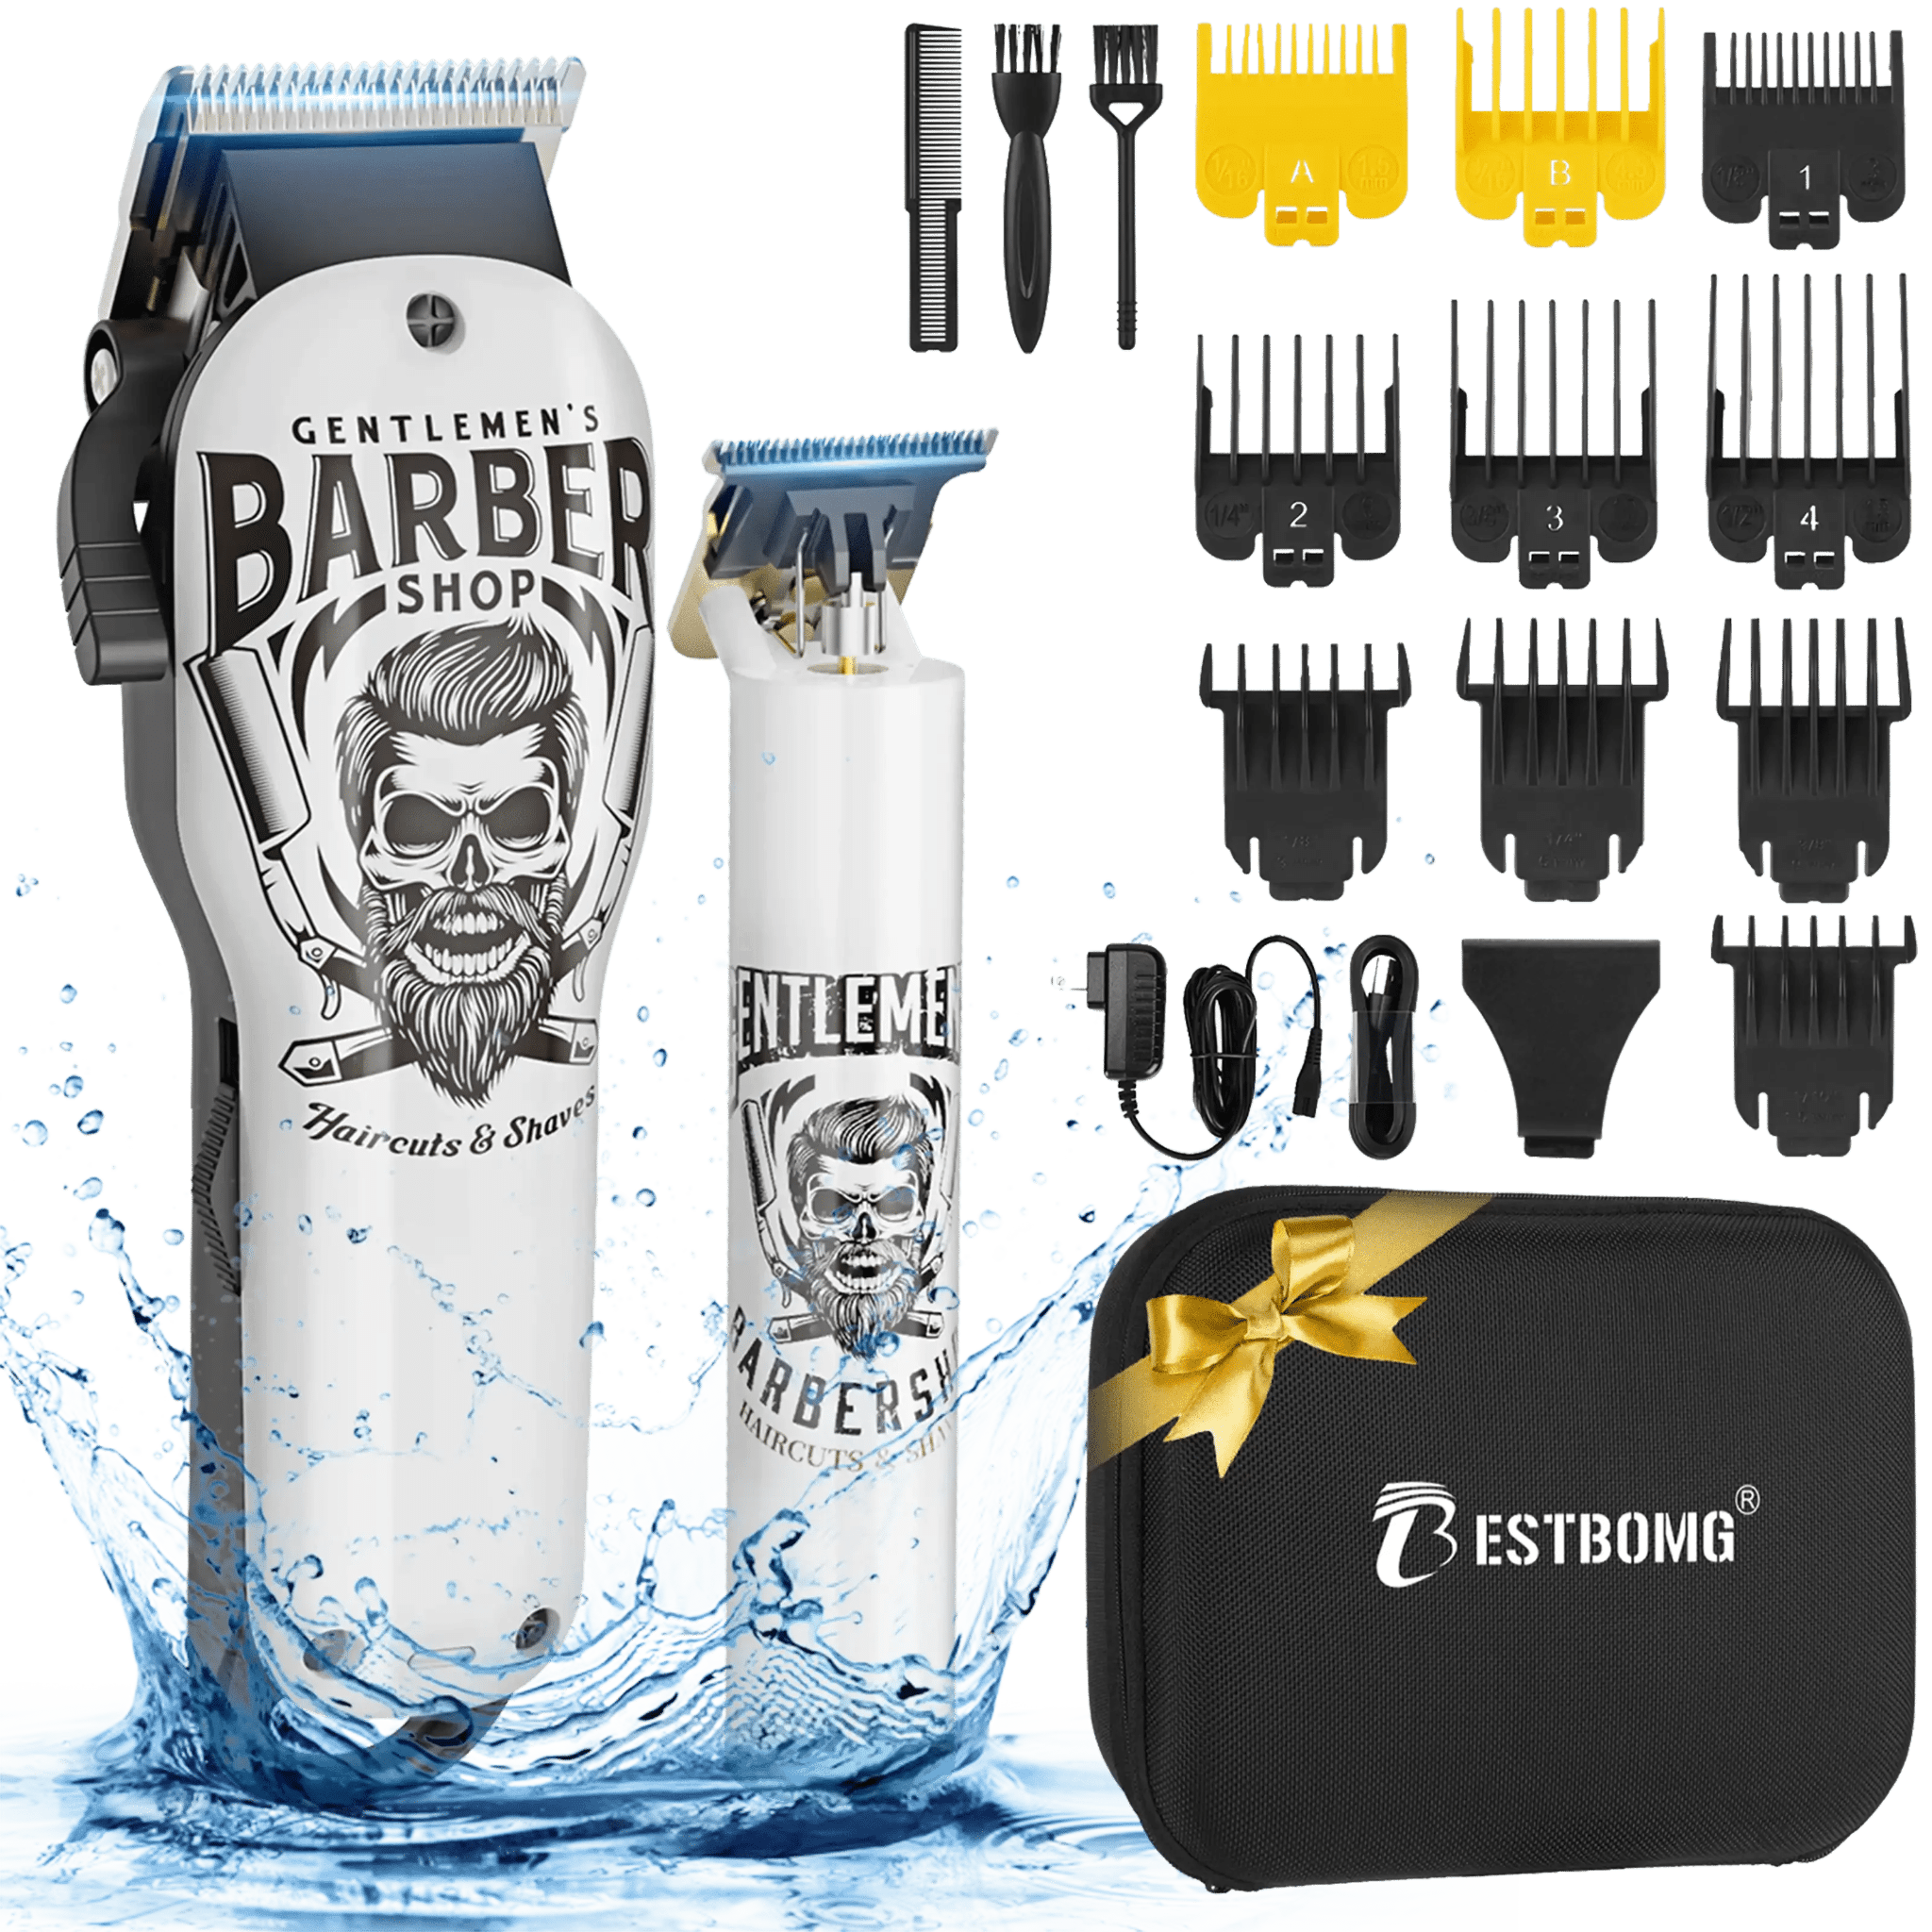
Essential Tools You Need
Before starting, gather these basic barbering tools:
Required Equipment:
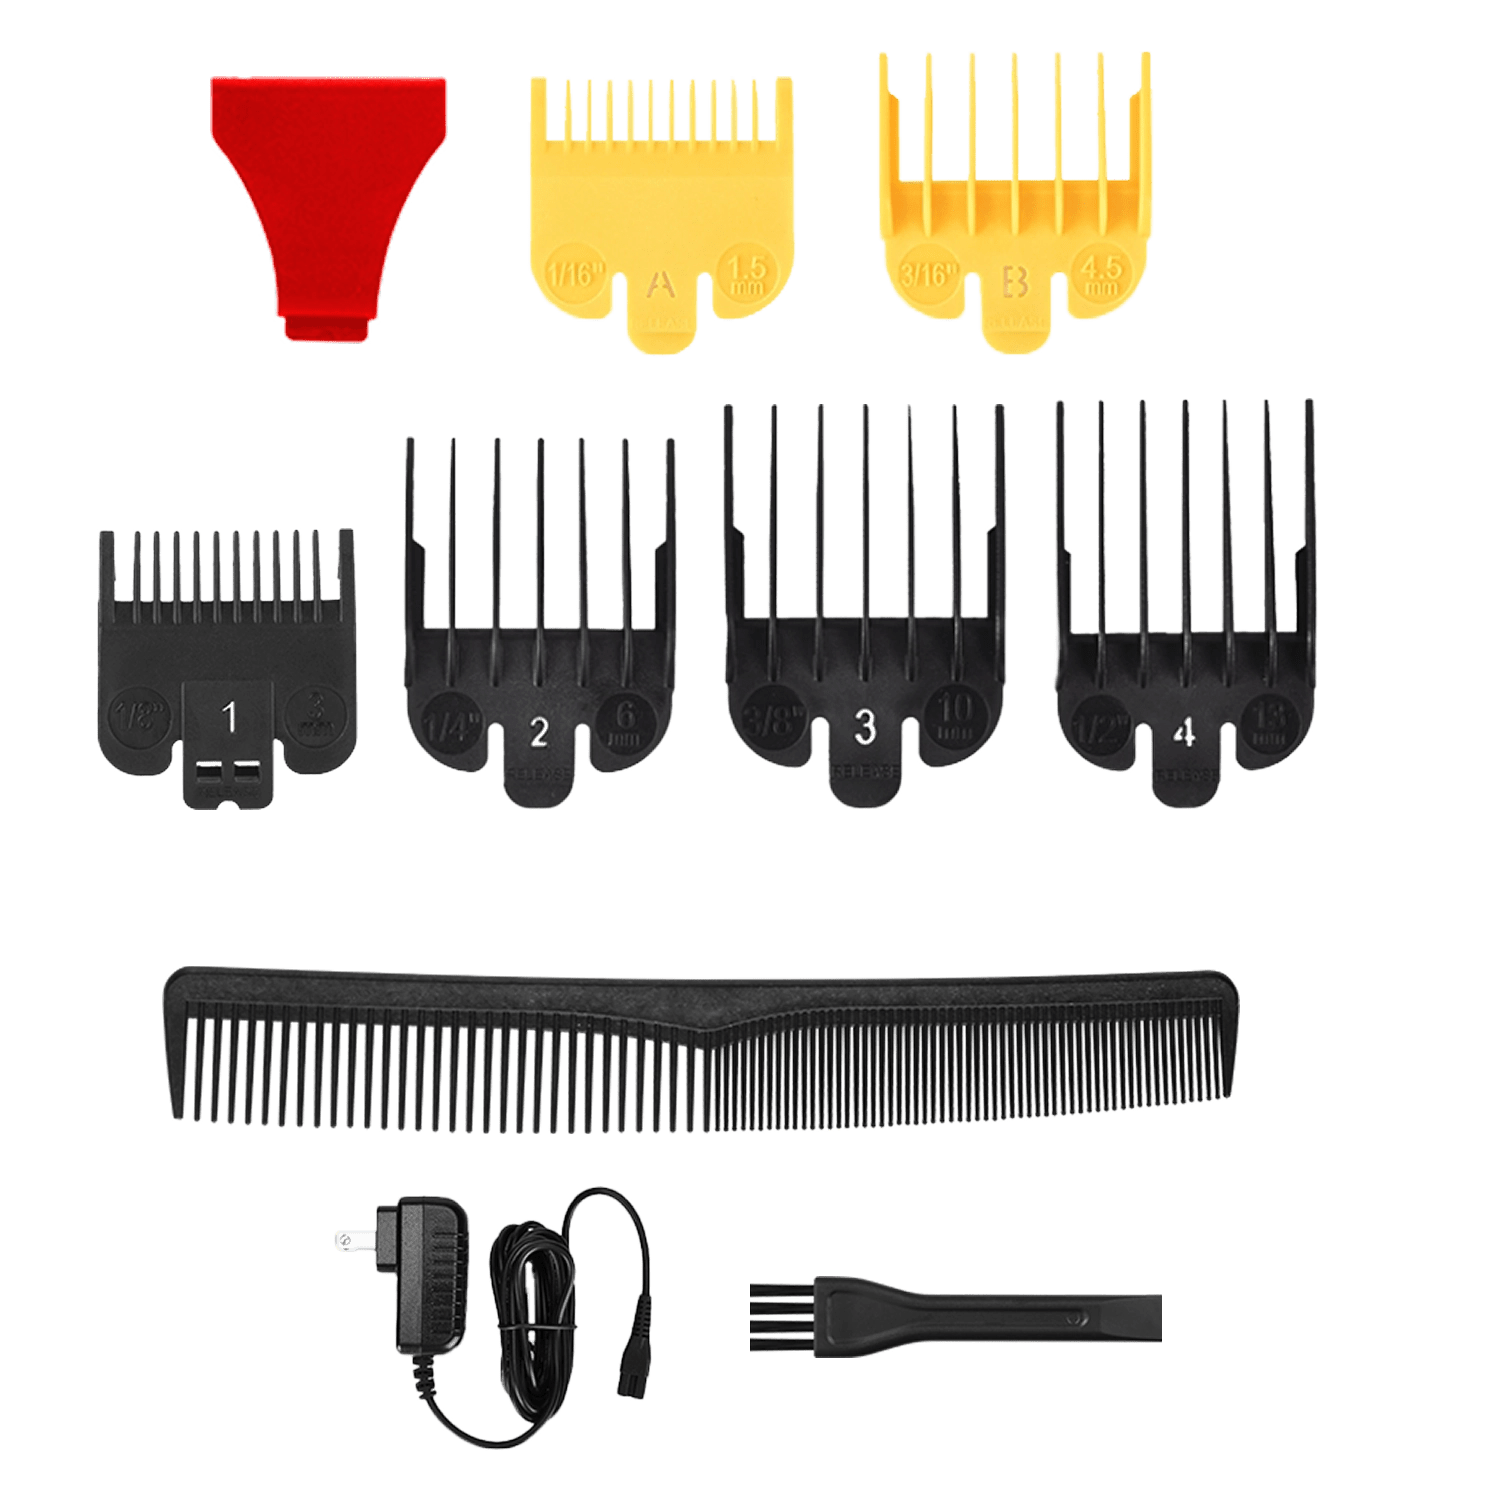
- Hair clippers with adjustable lever
- Guard attachments (½, 1, 1½, 2, 3)
- Hair trimmer for detail work
- Electric or manual shaver (optional)
- Barber comb
- Handheld mirror
- Cape or towel to catch hair
- Spray bottle with water
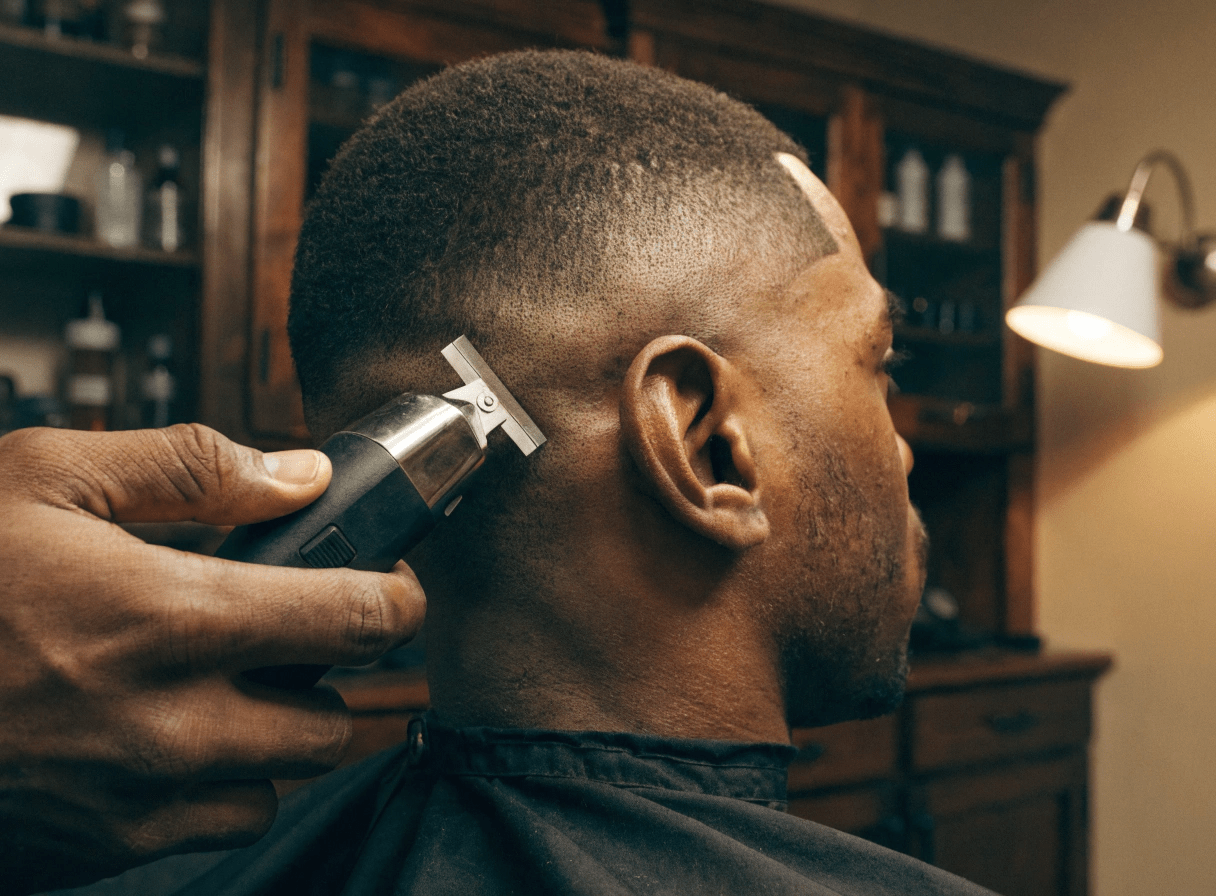
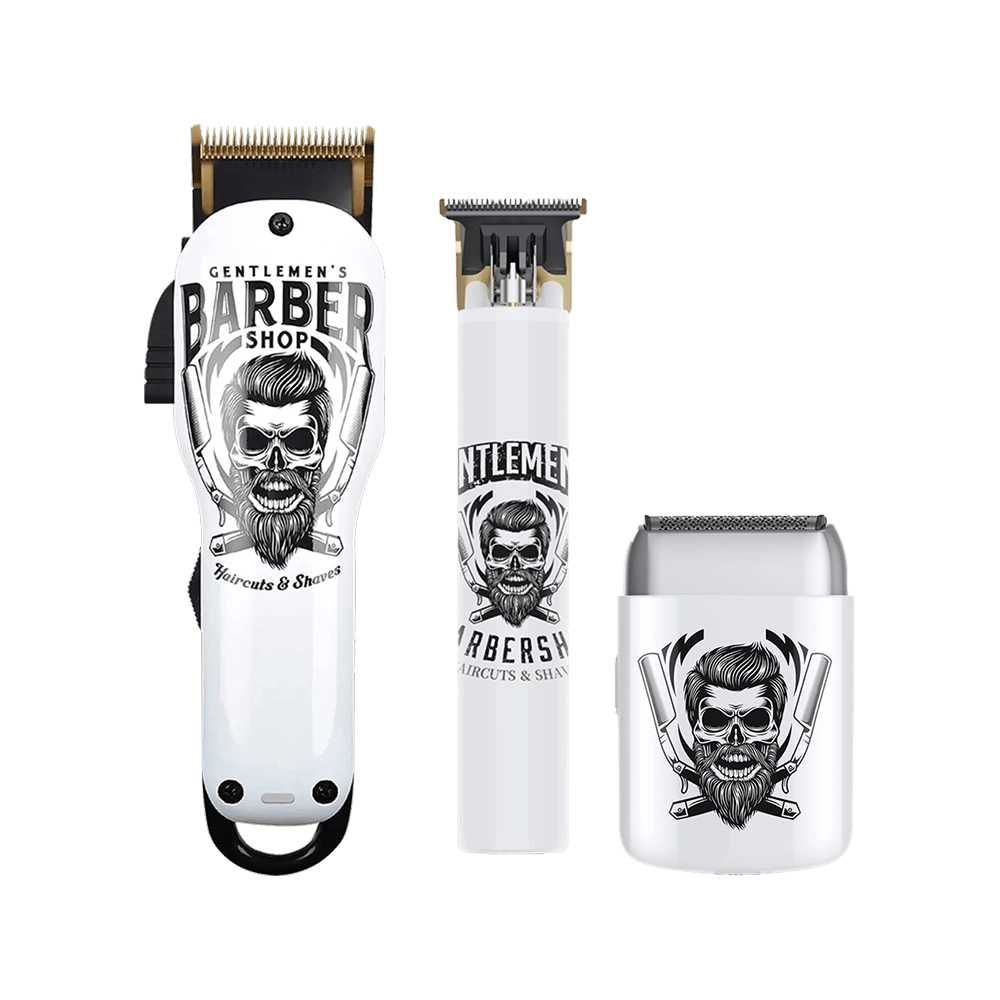
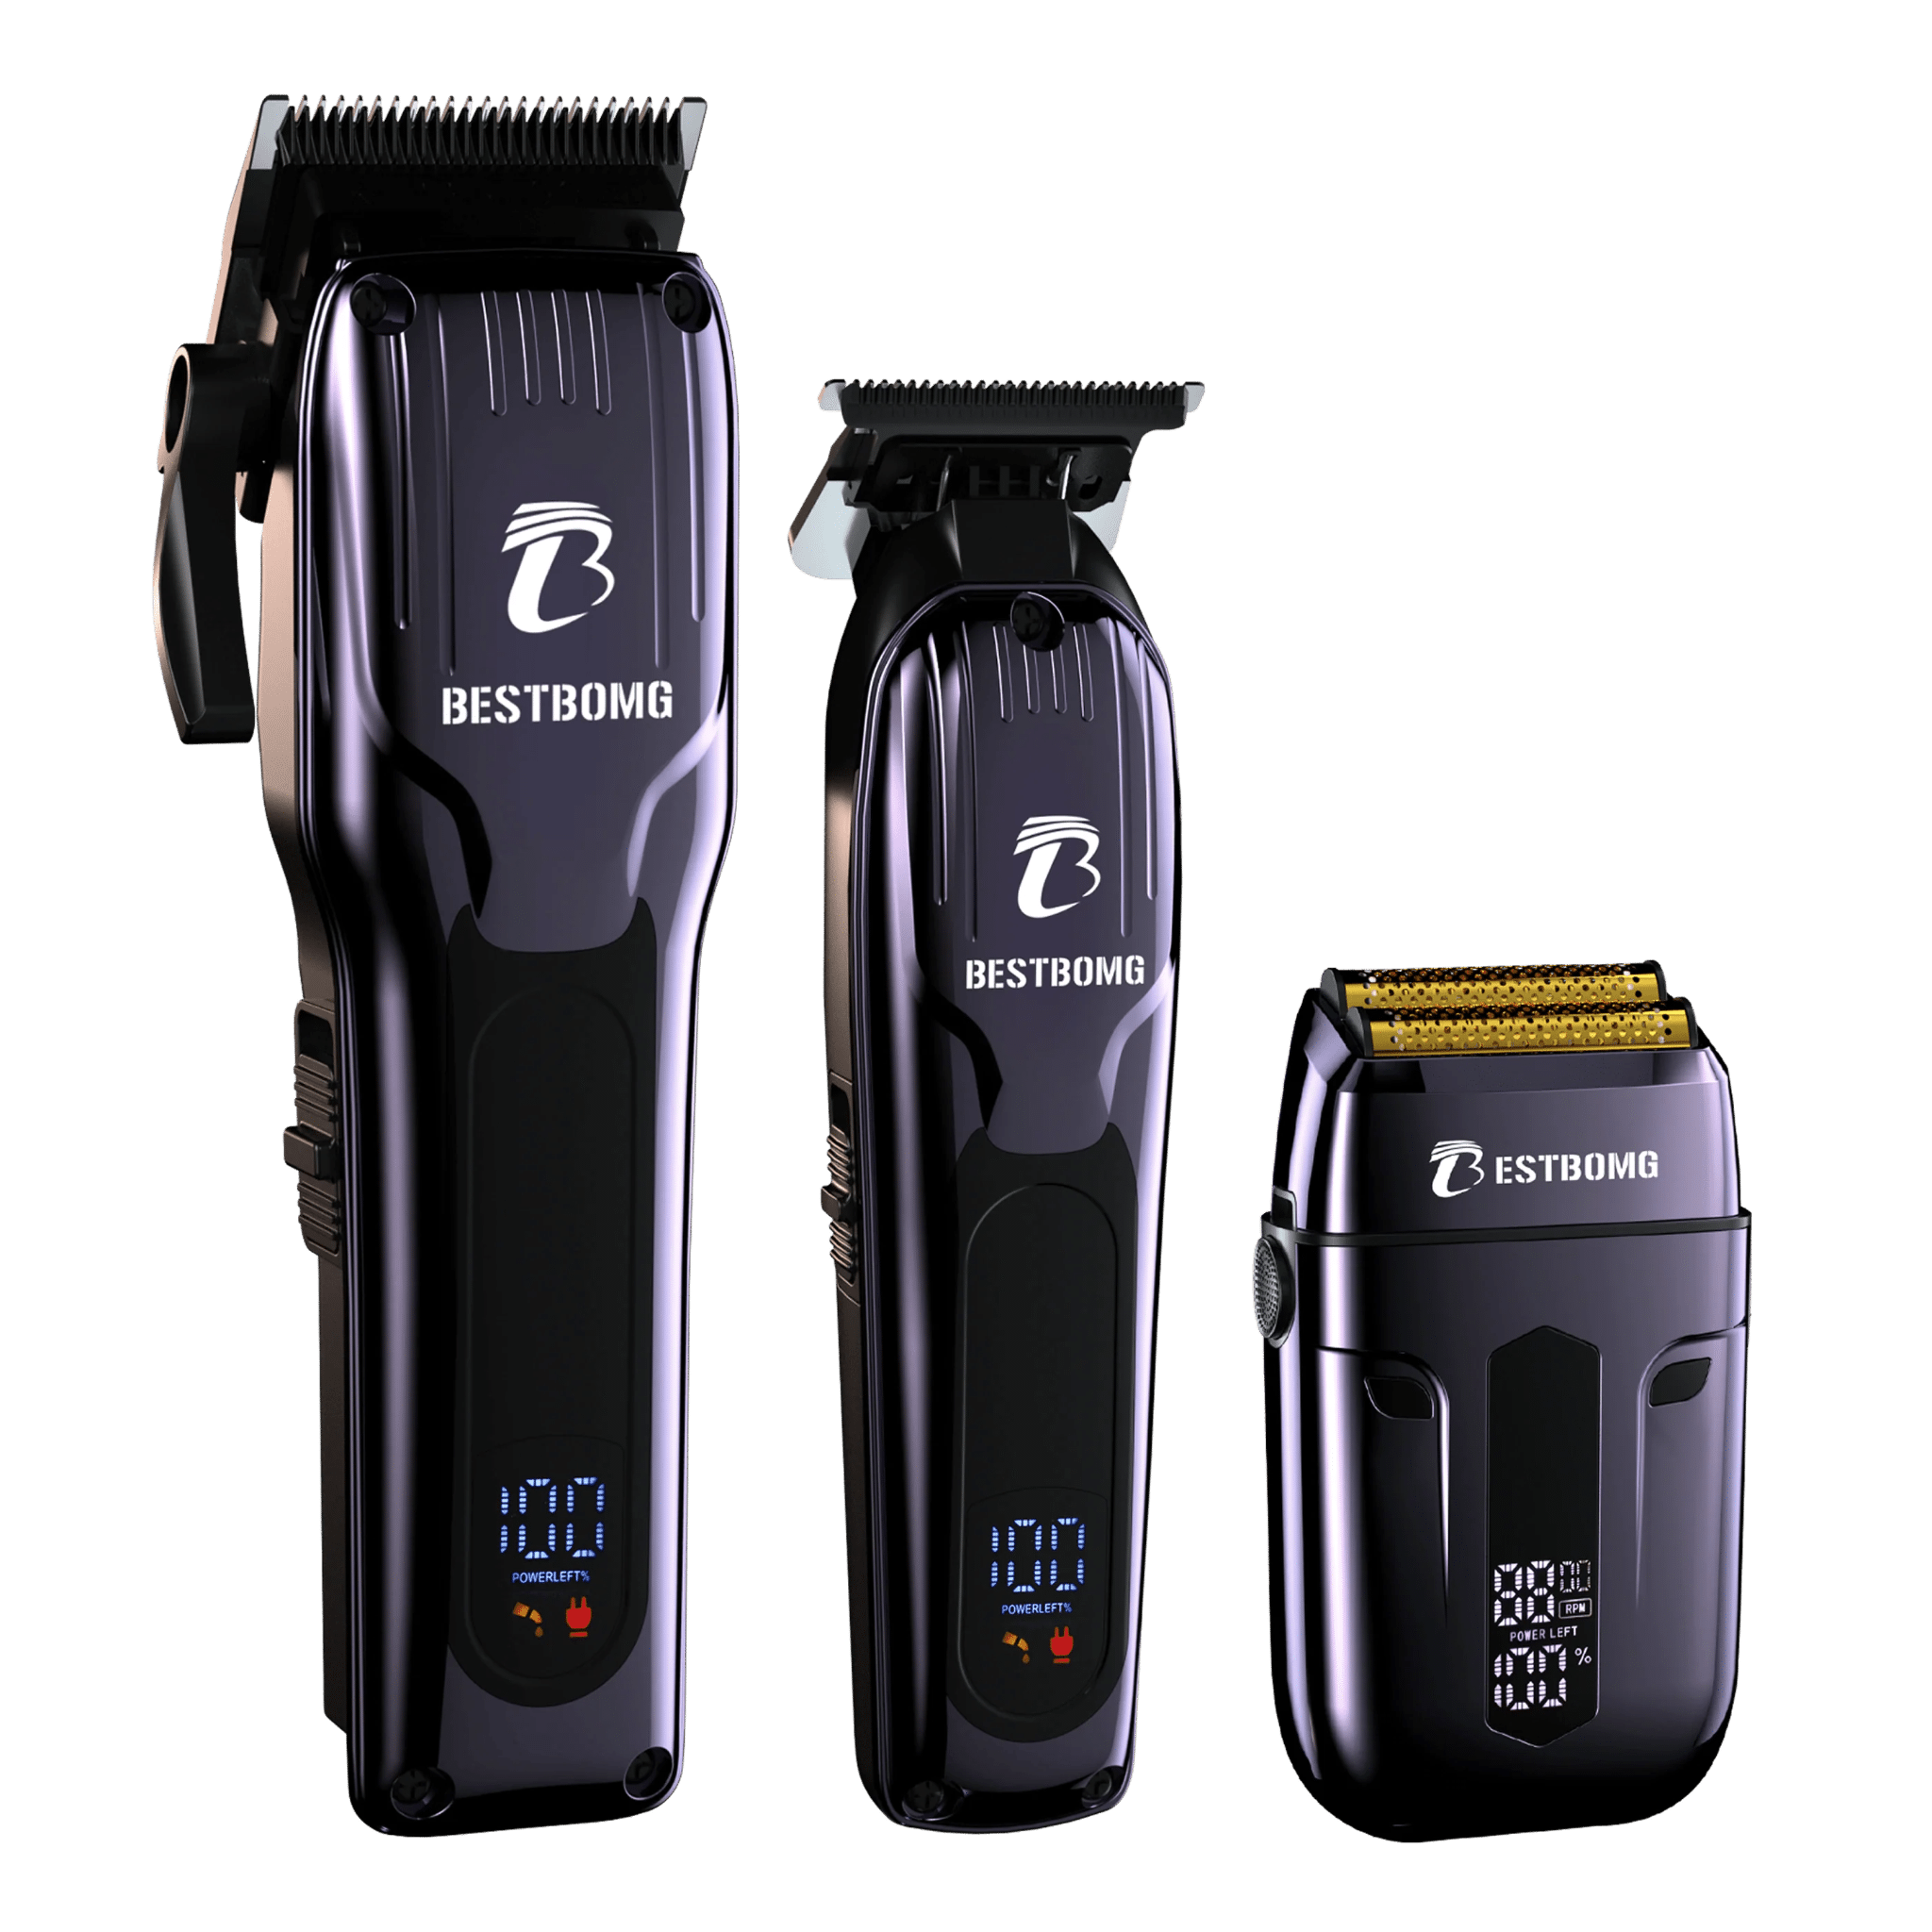
Quality hair clippers make the biggest difference. Cheap clippers pull hair and create uneven results. Invest in professional-grade tools that last years.
According to proper clipper maintenance, well-maintained equipment cuts smoother and prevents skin irritation.

Understanding Clipper Guard Numbers
Guard numbers indicate how much hair they leave:
- No guard (0): Nearly bald, about 0.5mm
- #½: Very short, 1.5mm
- #1: Short buzz, 3mm
- #1½: Tight trim, 4.5mm
- #2: Short crew cut, 6mm
- #3: Medium length, 9mm
- #4-8: Longer lengths, 12-25mm
The taper technique uses multiple guards, starting longer and working down. This creates the gradual blend that defines the style.
How Clipper Levers Work
Most clippers have a small lever on the side. This adjusts cutting length between guard sizes:
Lever closed (down): Cuts shortest Lever open (up): Cuts longest
The lever gives you about half a guard size difference. For example, a #1 guard with lever open cuts like a #1½. With lever closed, it cuts shorter than standard #1.
This adjustment helps create smooth blending between sections without constantly switching guards.
Step-by-Step Taper Haircut
Follow these steps for a clean taper:
Step 1: Debulk with Guard #3 (Lever Closed)
Start by removing excess length. Attach the #3 guard with lever closed.
Cut all around the head in upward strokes from neck to crown. This creates a basic shape and removes bulk, making the taper easier to blend later.
Step 2: Create Baseline with Trimmer
Switch to your trimmer (no guard). Make a straight horizontal guideline about 1-2 inches above the natural hairline at the back of the neck.
This baseline shows where the shortest section ends. Keep it level by checking both sides frequently.
Step 3: Optional Shaver for Longer-Lasting Cut
Lightly run an electric shaver below your trimmer guideline. This creates an ultra-short base that keeps the haircut looking fresh longer.
Skip this step if you want a softer, less defined baseline.
Step 4: Blend with No Guard (Lever Open/Closed)
Remove all guards from your clipper. Open the lever fully (up position).
Create another guideline just above your trimmer baseline. Use the corner of the clipper blade, not the full width—this prevents taking too much hair.
Close the lever halfway and go over the same area with corners to soften the line.
Step 5: Add #1 Guard at ¾ Lever
Attach the #1 guard. Set the lever at ¾ position (three-quarters closed).
Blend upward from your previous guideline, creating another subtle line about an inch higher. This builds the gradual transition.
Step 6: Blend with #1½ (Lever Open)
Attach the #1½ guard with lever fully open.
Hit the area between your #1 and no-guard sections using blade corners. Make light, flicking motions outward as you go up. This softens harsh lines and creates smooth blending.
Step 7: Middle Section with #½ Guard
Attach the #½ guard. Work the area between your #1½ and #1 sections.
Alternate between lever open and closed to find the perfect blend. Use corners, not the full blade, to avoid creating bald spots.
Take your time here—this middle section is where most mistakes happen.
Step 8: Line Up the Sides
Switch back to your trimmer. Clean up the sideburns and around the ears.
Check both sides in the mirror to ensure they're even. Small adjustments make a big difference in the final look.
Step 9: Detail Work
Go over the entire cut looking for "dark spots"—areas where hair looks thicker or lines are visible.
Blend these spots using the appropriate guard and lever position. Detailing separates amateur cuts from professional results.
Quality home hair cutting kits include multiple guards and combs that make detailing easier.
Step 10: Repeat on Opposite Side
Everything you did on one side, repeat on the other. Use the first side as your guide to keep both sides symmetrical.
Step 11: Trim the Top (Optional)
If cutting the top, section the hair. Lightly mist with water so hair is easier to grip.
Hold hair between your fingers and cut with scissors. Never cut past your knuckles—this prevents accidental cuts to your fingers.
For a simple taper, you can leave the top longer and just blend the sides and back.
Step 12: Final Hairline Cleanup
Use your trimmer to shape the hairline along the forehead (if needed).
Start in the middle, then work outward toward each temple. Create a natural-looking line—don't go too high or it looks artificial.
Take your time on this step. Rushing creates uneven, unnatural-looking hairlines.
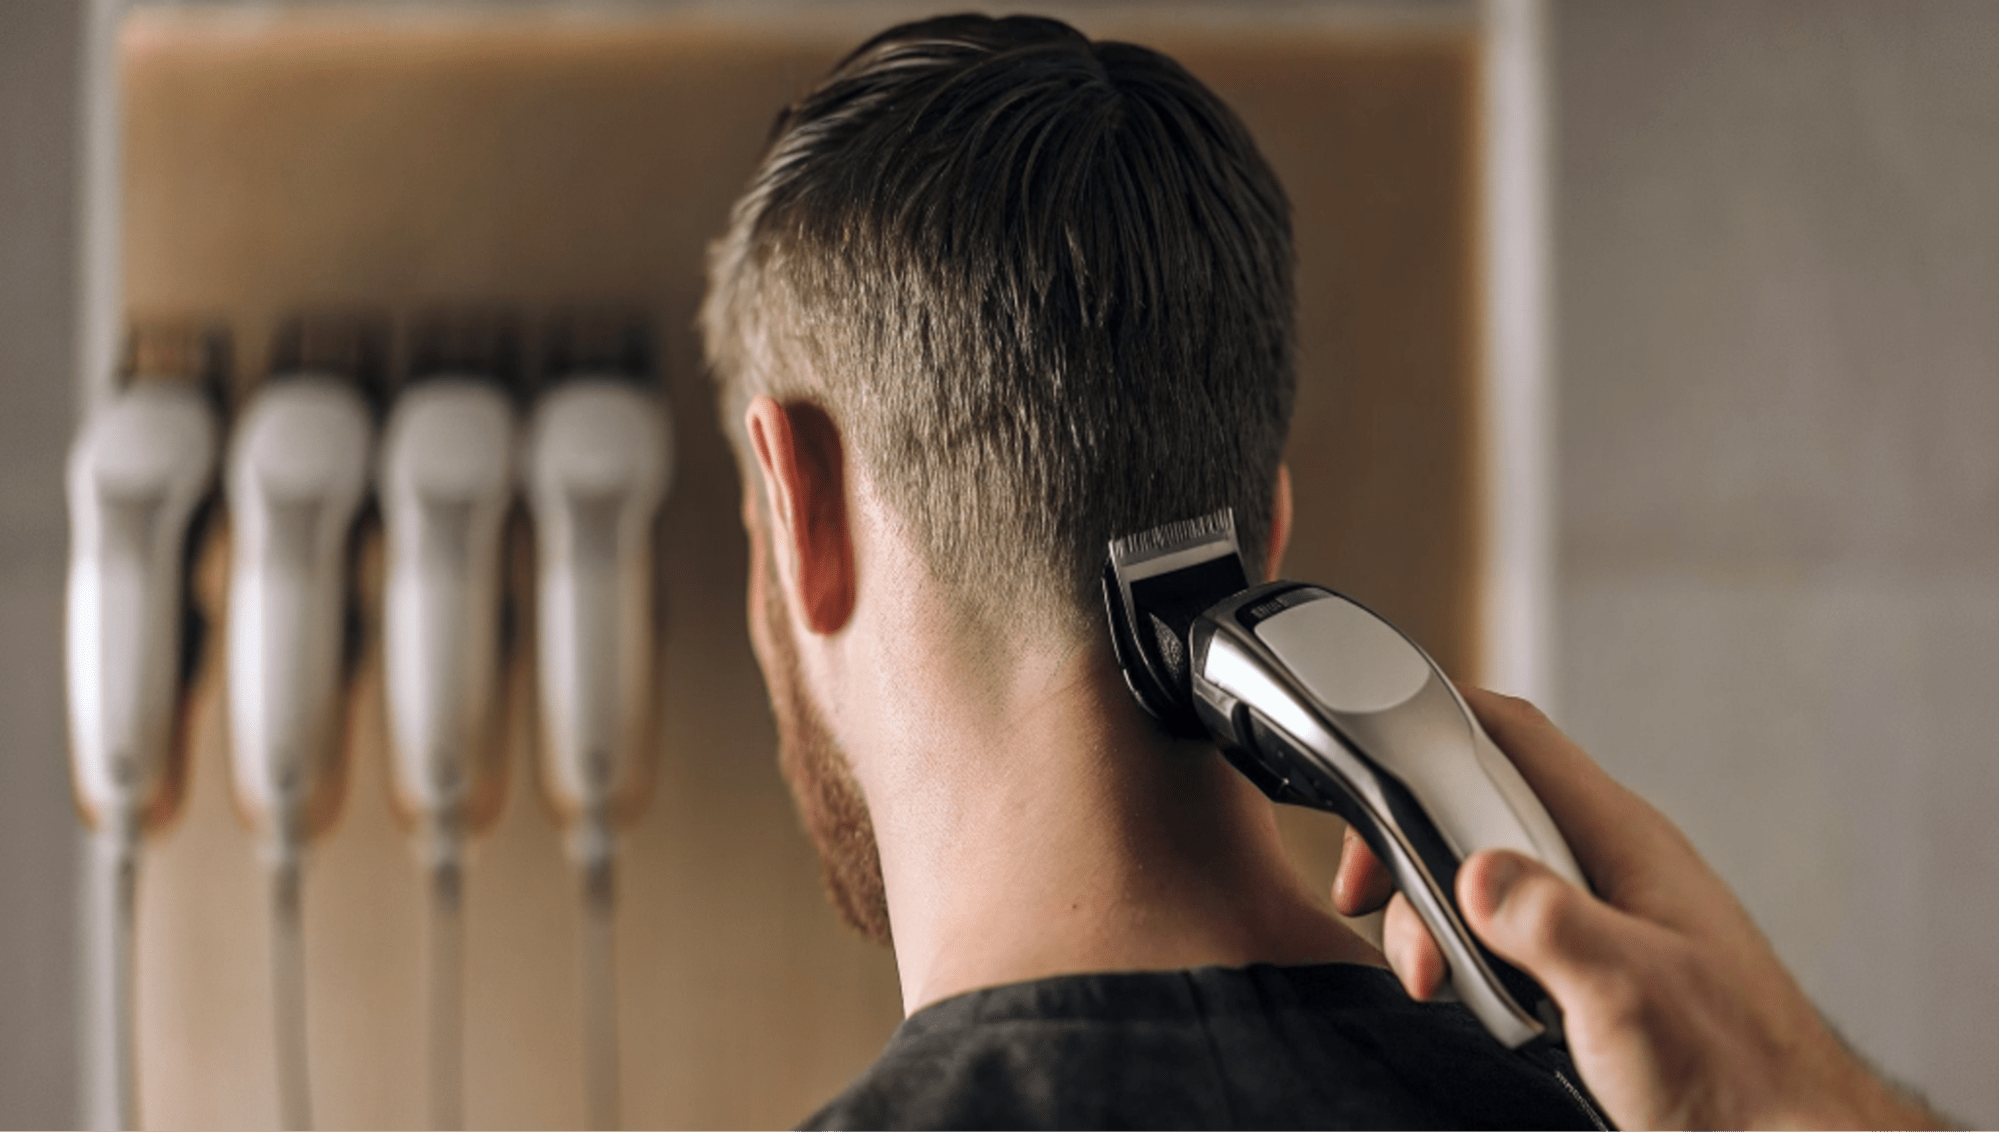
Video Tutorial
Video: Taper Fade Tutorial
Watch this quick visual demonstration to see clipper technique and hand positioning in action.
Common Taper Mistakes to Avoid
Starting Too Short
Beginning with a guard that's too short leaves no room for error. Always start longer than you think you need.
Using Full Blade Instead of Corners
The full blade width removes too much hair at once. Use blade corners for controlled blending.
Skipping Guards
Jumping from #3 to #1 creates harsh lines that are hard to blend. Work through guards in order: #3, #2, #1½, #1, etc.
Not Checking Symmetry
Constantly compare both sides. What looks even from one angle may be uneven from another.
Rushing the Process
Your first few tapers will take 30-45 minutes. That's normal. Speed comes with practice—focus on technique first.
According to professional barbering standards, taking time ensures clean, safe results.

Taper vs Fade: What's the Difference?
Many people confuse tapers and fades. Here's how they differ:
Taper:
- Gradual length change
- Keeps visible hair all the way down
- More conservative, professional look
- Easier for beginners
- Works in most workplace dress codes
Fade:
- Blends to skin (bald)
- More dramatic contrast
- Requires advanced blending skills
- Trendy, modern style
- Takes longer to master
Both use similar techniques, but fades require more precision and practice. Start with tapers before attempting fades.
Maintenance Between Cuts
Keep your taper looking sharp:
Weekly Touchups:
- Clean up neck and sideburn lines with trimmer
- Remove stray hairs around ears
- Takes 5 minutes, extends time between full cuts
Full Taper Refresh:
- Repeat complete process every 2-3 weeks
- Hair grows about ½ inch per month
- Shorter tapers need more frequent maintenance
Tool Care:
- Brush hair from clipper blades after every use
- Oil blades weekly
- Store in dry location
Quality tools from Bestbomg last years when maintained properly.

Tips for Better Results
Practice on Willing Friends
Your first cuts won't be perfect. Practice on friends or family who know you're learning. Offer free cuts in exchange for patience.
Use Natural Light
Bright, natural light shows problem areas artificial light hides. Cut near a window when possible.
Take Before and After Photos
Document your progress. Photos show improvement over time and help you identify weak areas.
Watch Professional Barbers
YouTube has thousands of taper tutorials. Watch professionals to learn hand positioning, clipper angles, and blending techniques.
Invest in Quality Clippers
Cheap clippers pull hair, overheat quickly, and create uneven results. Professional clippers cut smoother and last years longer.
When to See a Professional
Some situations call for a professional barber:
- First time trying a taper (let them show you the style)
- Important events where you need perfect results
- Correcting a mistake from a home cut
- Complex styles combining taper with designs or patterns
Professional barbers make the cut look easy, but they've done thousands of haircuts. Don't get discouraged if your first attempts aren't perfect.
Frequently Asked Questions
How to blend hair with clippers for beginners?
Use clipper guards in order from longest to shortest, making small adjustments with the lever between guards. Use blade corners, not the full width, to blend sections together. Make light, flicking motions outward as you move up the head. Check constantly for dark spots (unblended areas) and go over them with the appropriate guard.
What is the right taper for hair clippers?
The right taper depends on personal preference and hair type. Standard tapers use guards #3 on top blending down to #1 or #½ at the bottom. Conservative tapers keep more length (#4 to #2), while tight tapers go shorter (#2 to #½). Start conservative—you can always cut more.
Can you trim your hair with clippers?
Yes. Clippers work for full haircuts, not just trimming. With proper guards and technique, you can cut complete hairstyles including tapers, fades, buzz cuts, and crew cuts. Add scissors for trimming the top to create more complex styles.
What is the taper control on hair clippers?
The taper control is the small lever on the side of most clippers. It adjusts blade position to cut longer (lever up/open) or shorter (lever down/closed). This gives you in-between lengths without changing guards, essential for smooth blending. Moving the lever changes cut length by about half a guard size.
How to taper with clippers for beginners?
Start with a longer guard (#3), cut all around, then switch to progressively shorter guards as you move down toward the neck. Use the clipper lever to create smooth transitions between guard lengths. Always use blade corners for blending, not the full blade width. Take your time and check symmetry frequently.
Which blade is better, taper or fade?
Neither is better—they're different styles. Tapers are easier for beginners, more conservative, and keep visible hair throughout. Fades blend to skin, look more dramatic, and require advanced skills. Start learning tapers first, then progress to fades once you master blending techniques.
Master the Taper with Practice
Tapering hair with clippers takes patience and practice. Your first few cuts won't be perfect, and that's completely normal. Every professional barber started exactly where you are now.
Start with the basic technique outlined here, practice on willing friends, and watch your skills improve with each cut. Quality equipment makes learning easier and produces better results.
Ready to start? Browse professional beard trimmers and clipper sets designed for home use and professional results.
Looking for something else?

How to Cut Baby Boy Hair with Clippers: Step-by-Step Guide
LEARN MORE
Do Hair Clippers Get Dull? Causes, Signs & Prevention
LEARN MORE
Can an Electric Shaver Cut You? Safety Facts & Prevention
LEARN MORE
How to Shave Balls with Electric Shaver: Safe Guide
LEARN MORELooking for something else?

Does Using Trimmer Increase Hair Growth? Facts & Myths
LEARN MORE
Best Hair Clippers for Men: Top Picks for Home & Pro Use
LEARN MORE
Best Professional Hair Clippers for Barbers: Top Picks
LEARN MOREYou may also like


Further reading
Best Hair Clippers for Perfect Fades at Home
Clipper Lever Open vs Closed: What It Means (with mm)
Why You Need a Cordless Detailer Trimmer (And How to Pick the Right One)