


Learning how to use hair clippers with guard attachments saves you time and money on barber visits. Guards control hair length and help you achieve professional-looking cuts at home. This guide covers everything from understanding guard numbers to executing clean fades in your own bathroom.
Understanding Hair Clipper Guard Numbers
Hair clipper guards use a simple numbering system. Smaller numbers = shorter hair. Larger numbers = more length left behind.
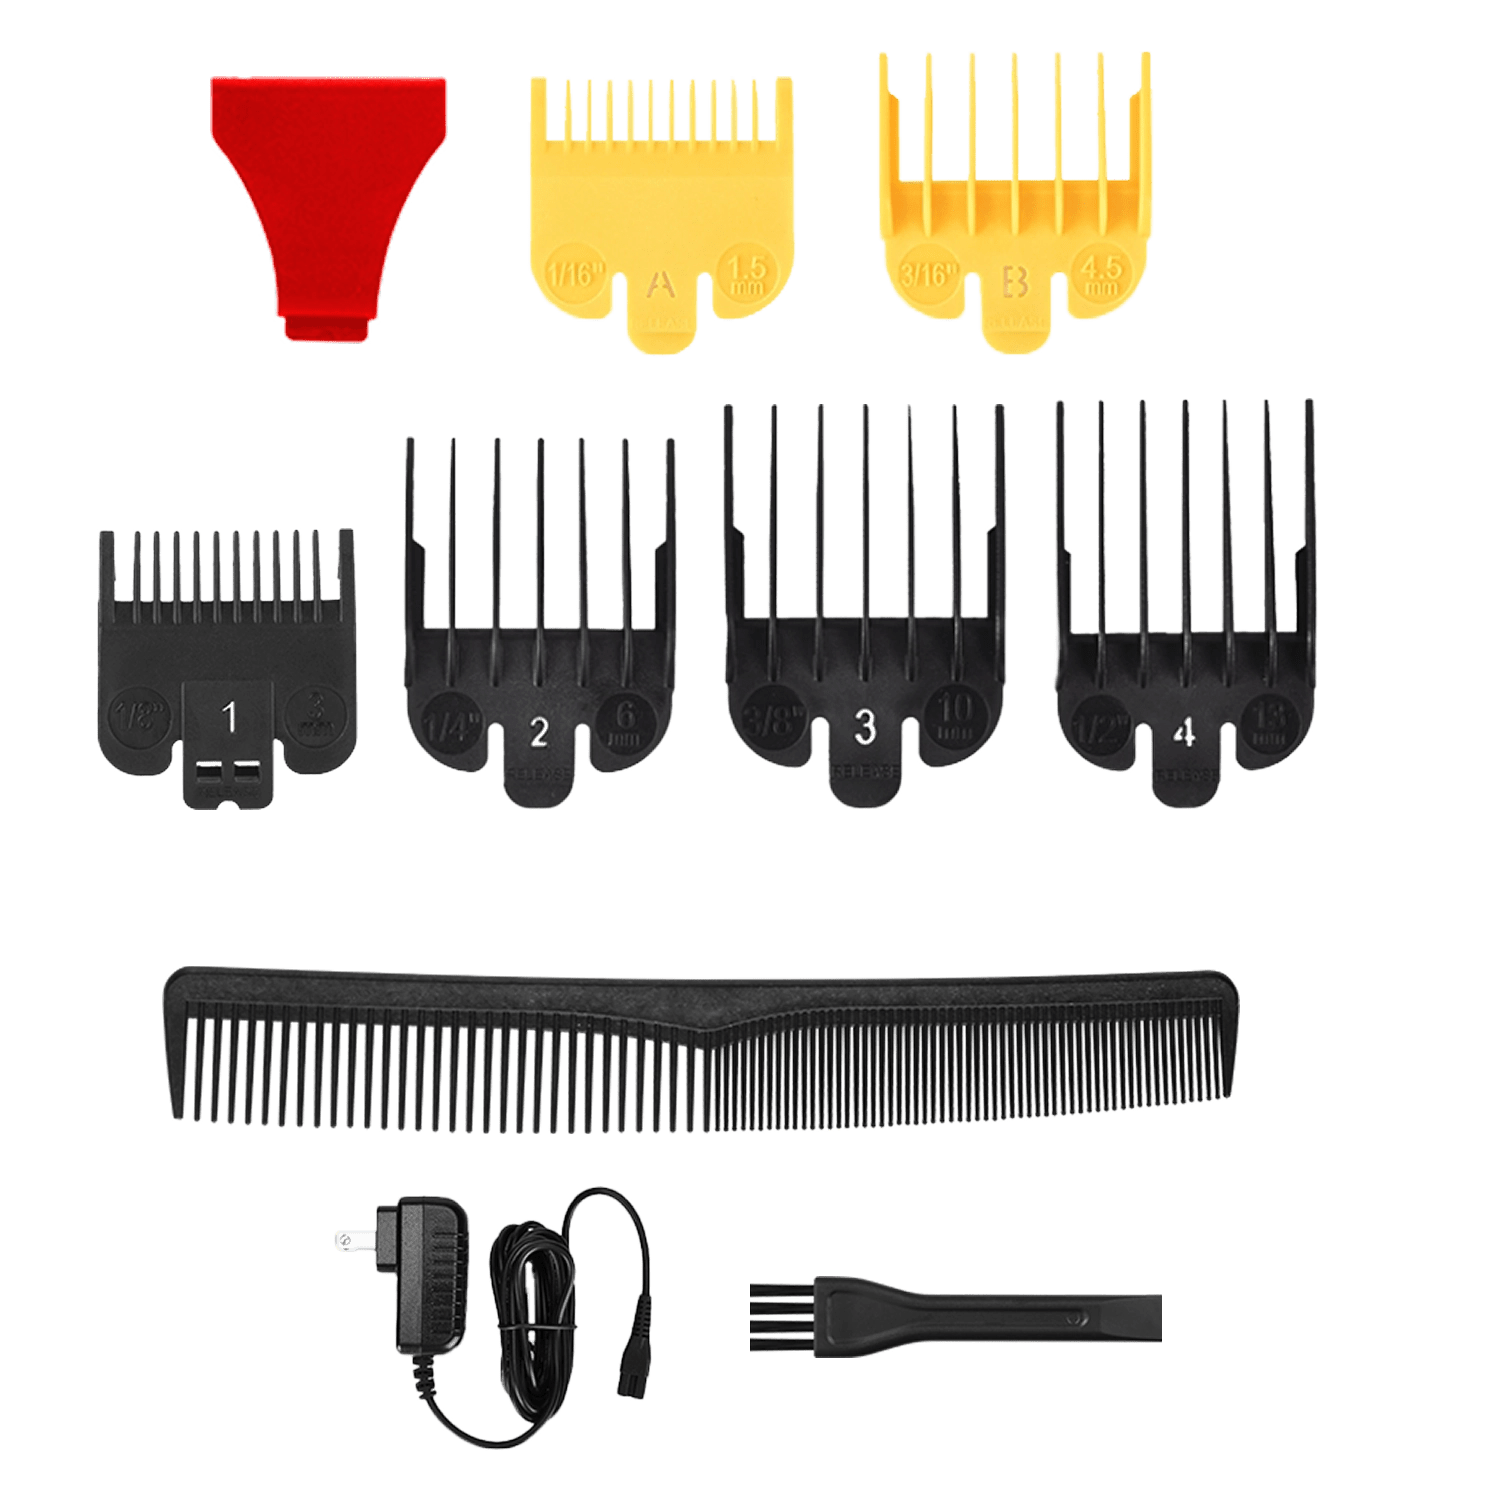
Most clipper sets include guards #1 through #8:
- #1 guard: 1/8 inch (3.2mm) – Very close to scalp
- #2 guard: 1/4 inch (6.4mm) – Classic buzz cut
- #3 guard: 3/8 inch (9.5mm) – Longer buzz, fade-friendly
- #4 guard: 1/2 inch (13mm) – Crew cut length
- #5 guard: 5/8 inch (16mm) – Textured styling possible
- #6 guard: 3/4 inch (19mm) – Good styling length
- #7 guard: 7/8 inch (22mm) – Versatile medium
- #8 guard: 1 inch (25mm) – Longest standard size
The "0" setting means no guard. It cuts as close as possible to skin. According to what a hair clipper is, these adjustable systems have been perfected over decades for consistent home cutting.
Step-by-Step: Using Guards Correctly
Proper technique makes all the difference. Follow these steps for even results.
Before you start:
- Wash and completely dry your hair (wet hair cuts unevenly)
- Set up near a mirror in a well-lit space
- Have multiple guards ready if you're doing a fade
Basic cutting technique:
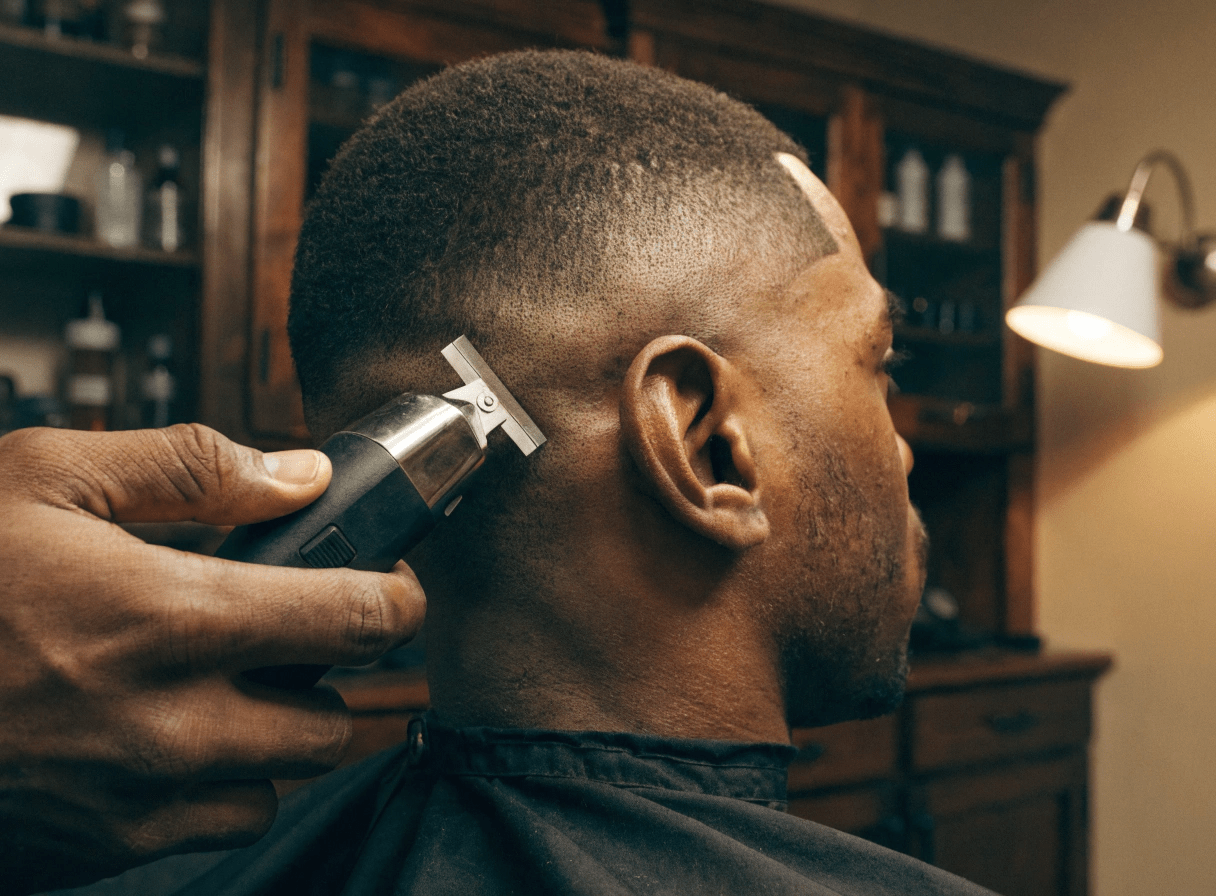
- Attach the longest guard you'll need first
- Hold clippers upside-down with guard flat against scalp
- Move upward against hair growth direction
- Use steady, overlapping strokes
- Scoop the blade outward at the end (don't pull straight away)
Why move against the grain? Going opposite to hair growth lets the blades catch every strand for uniform cutting.
Popular Hairstyles and Guard Sizes
Choose a hairstyle before you start cutting and look at it for reference so you can see what the finished style should look like.
Burr cut (Guard #1 or #2):
A typical military-type cut where you buzz your hair to one short length. Use guard 1 or 2 across your entire head. Start at the back, work your way to cutting the sides, and then finally buzz the length off the top.
High and tight (Guards #2 and #1):
Start by buzzing your whole head with the #2 blade guard. Then come back and shave the sides and back of your head with the #1 guard. Create an even line around your crown from one side to the other so you clip off all the longer hair.
Crew cut (Guards #2-#4):
Start by cutting the sides and back with a #2 or #4 blade guard depending on the length you prefer. Transition up to the crown of your head by using increasingly larger guard sizes, leaving the top for last.
Basic tapered cut (Guards #3-#4):
Begin by buzzing the whole head with the longest blade guard that you want. Once the hair is buzzed down, attach a shorter blade guard like a #2 or #3. Move your clippers up the sides of your head to make a clean line around the top of your skull to leave some longer hair on top.
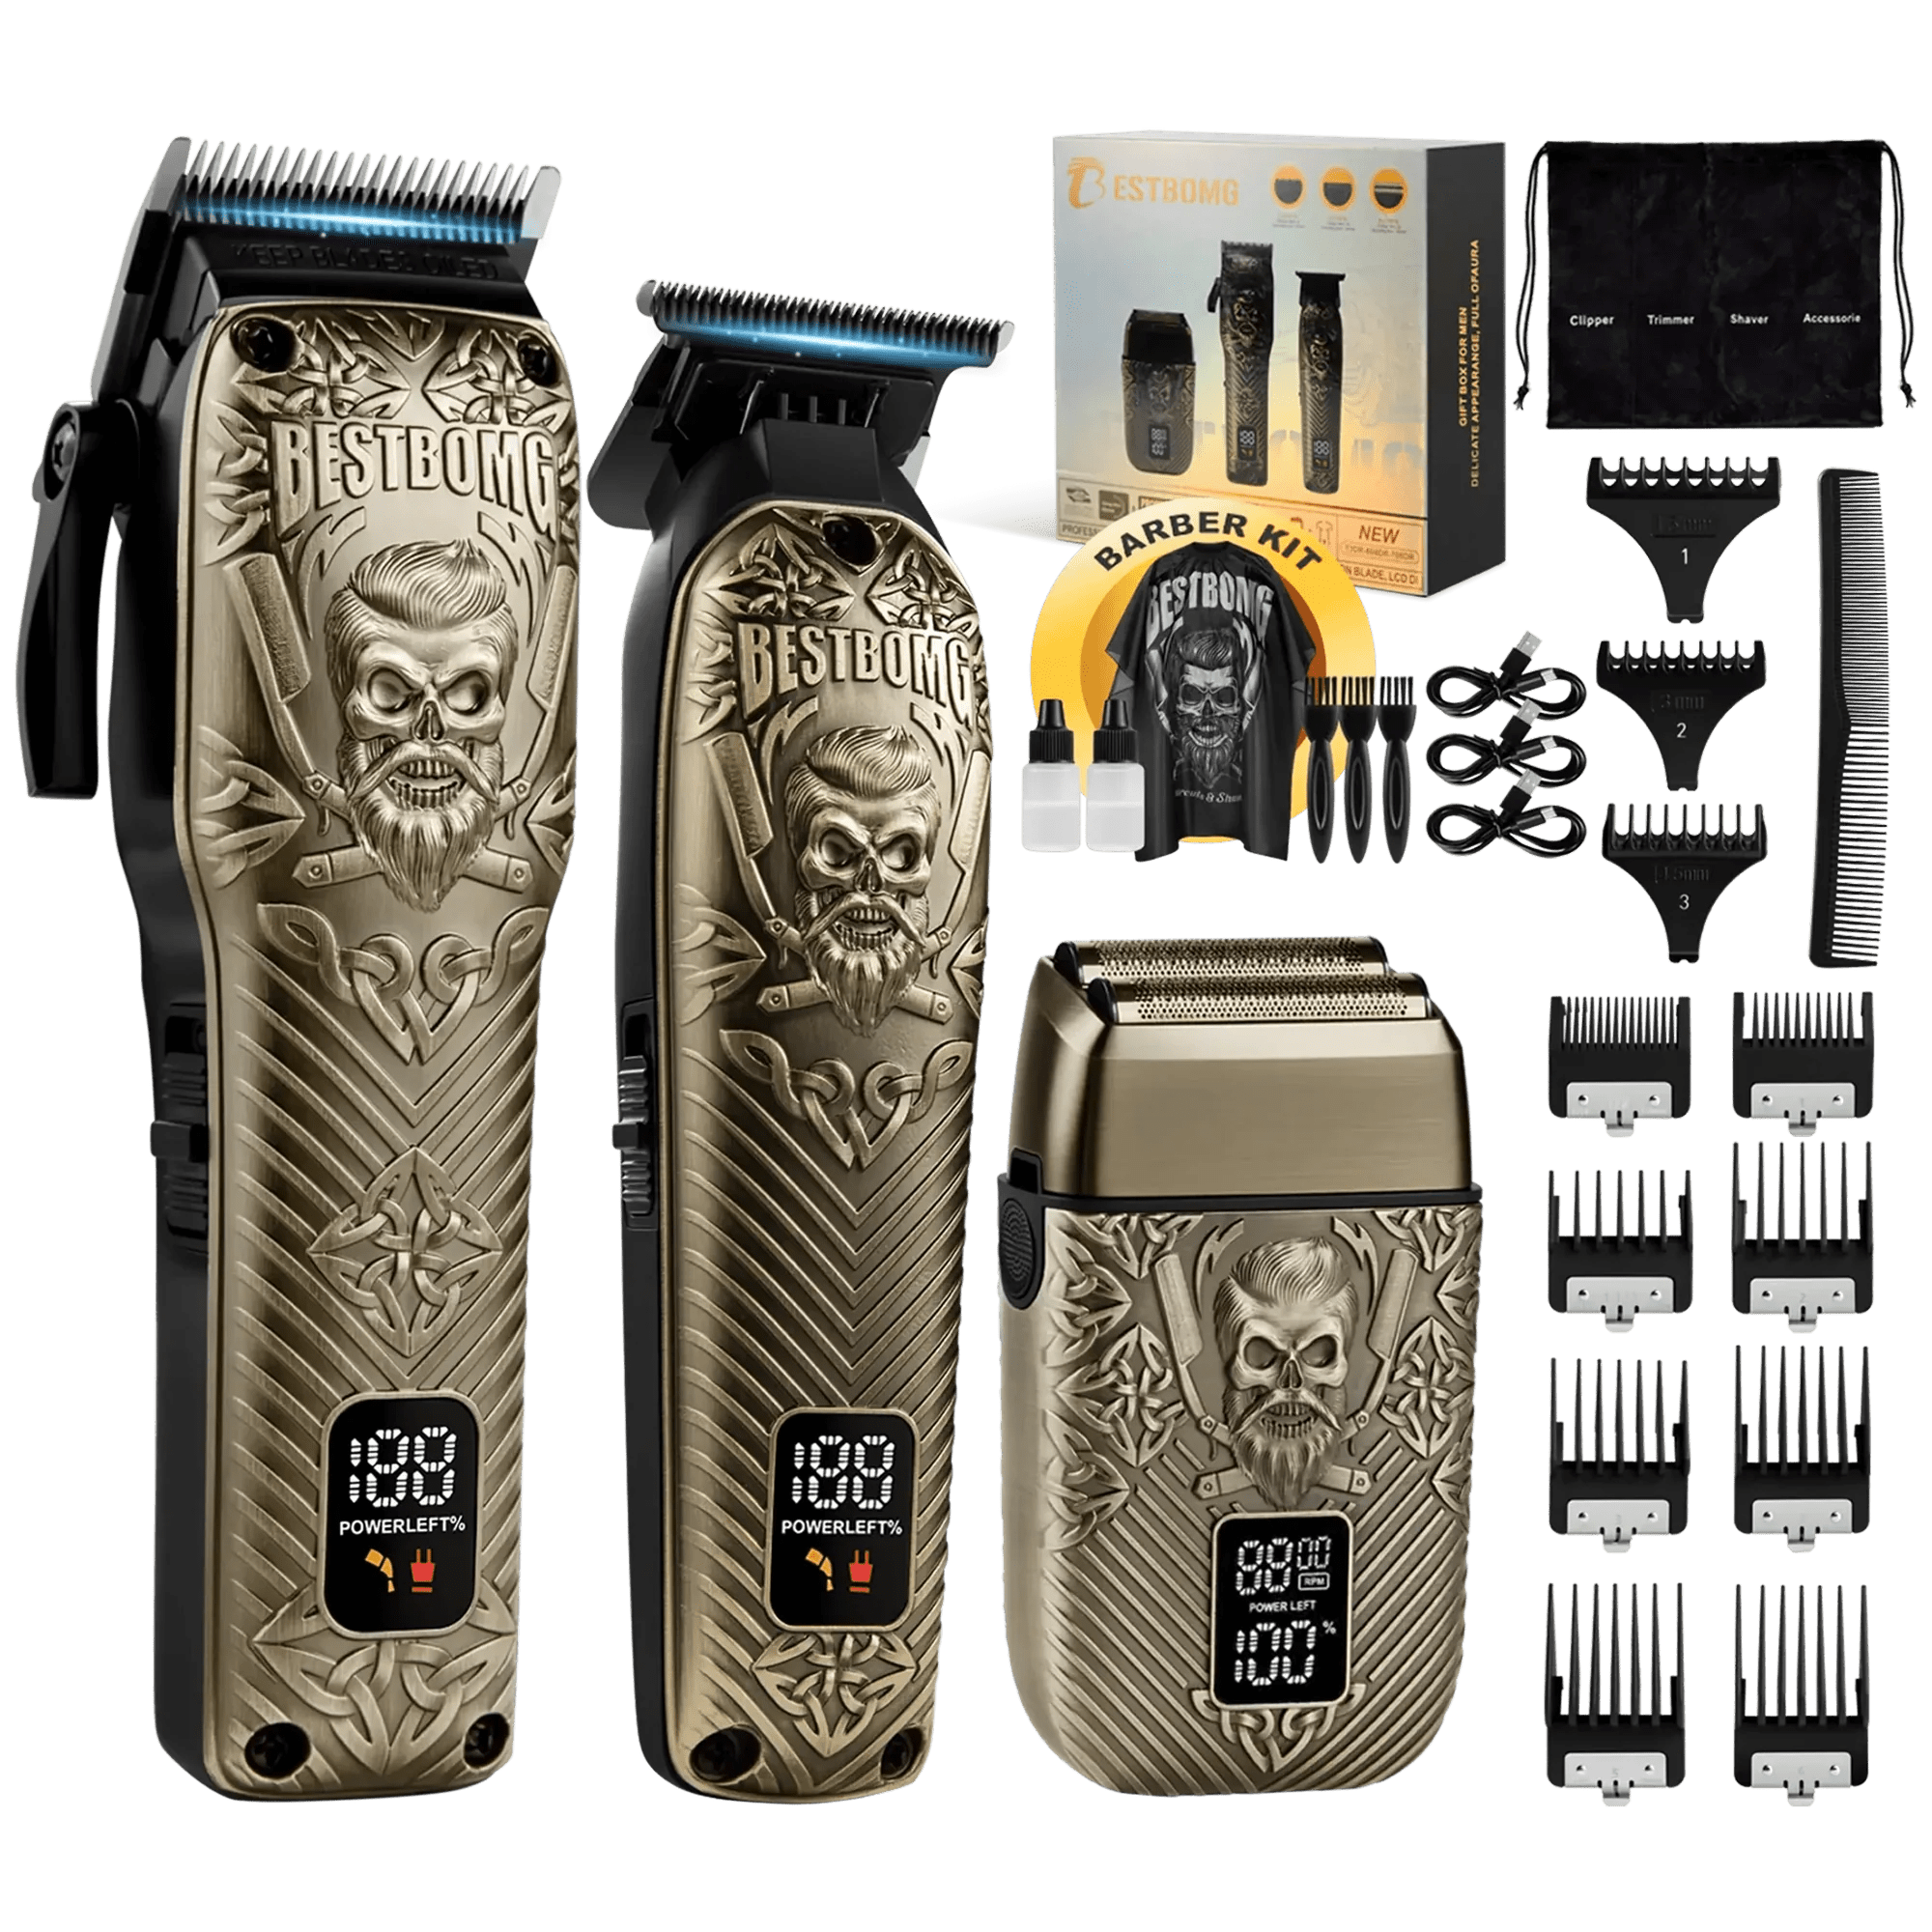
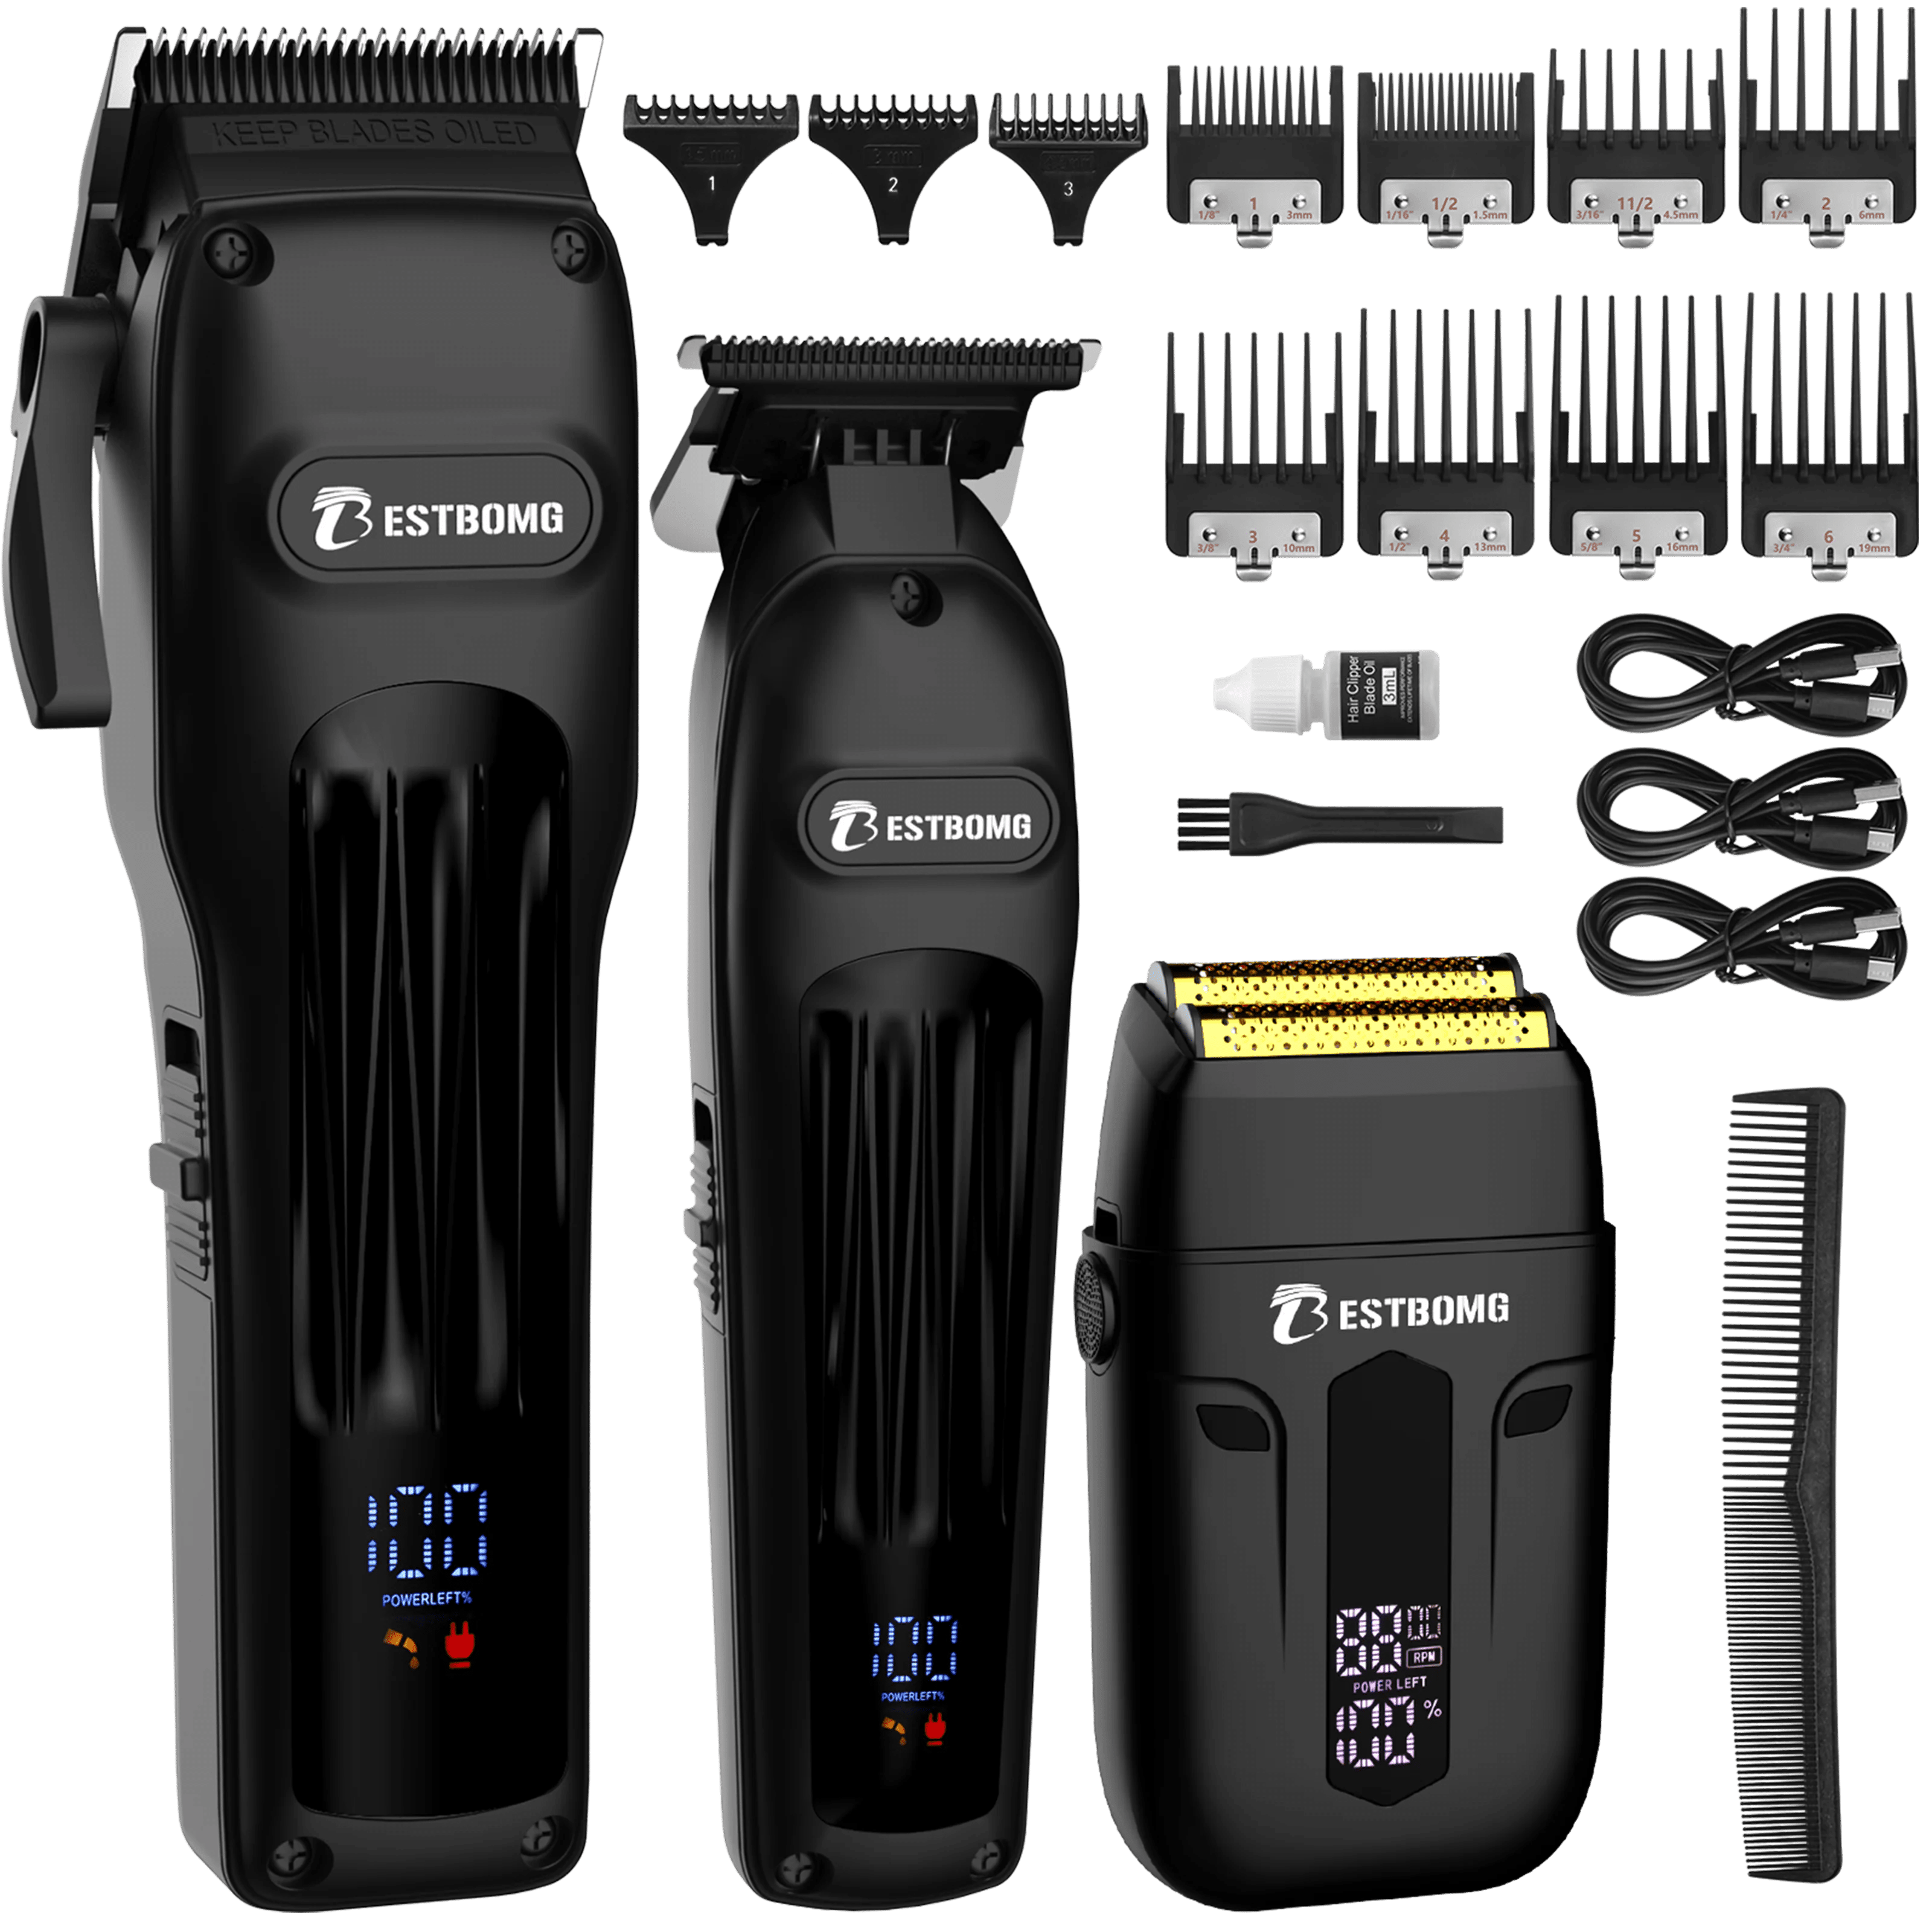
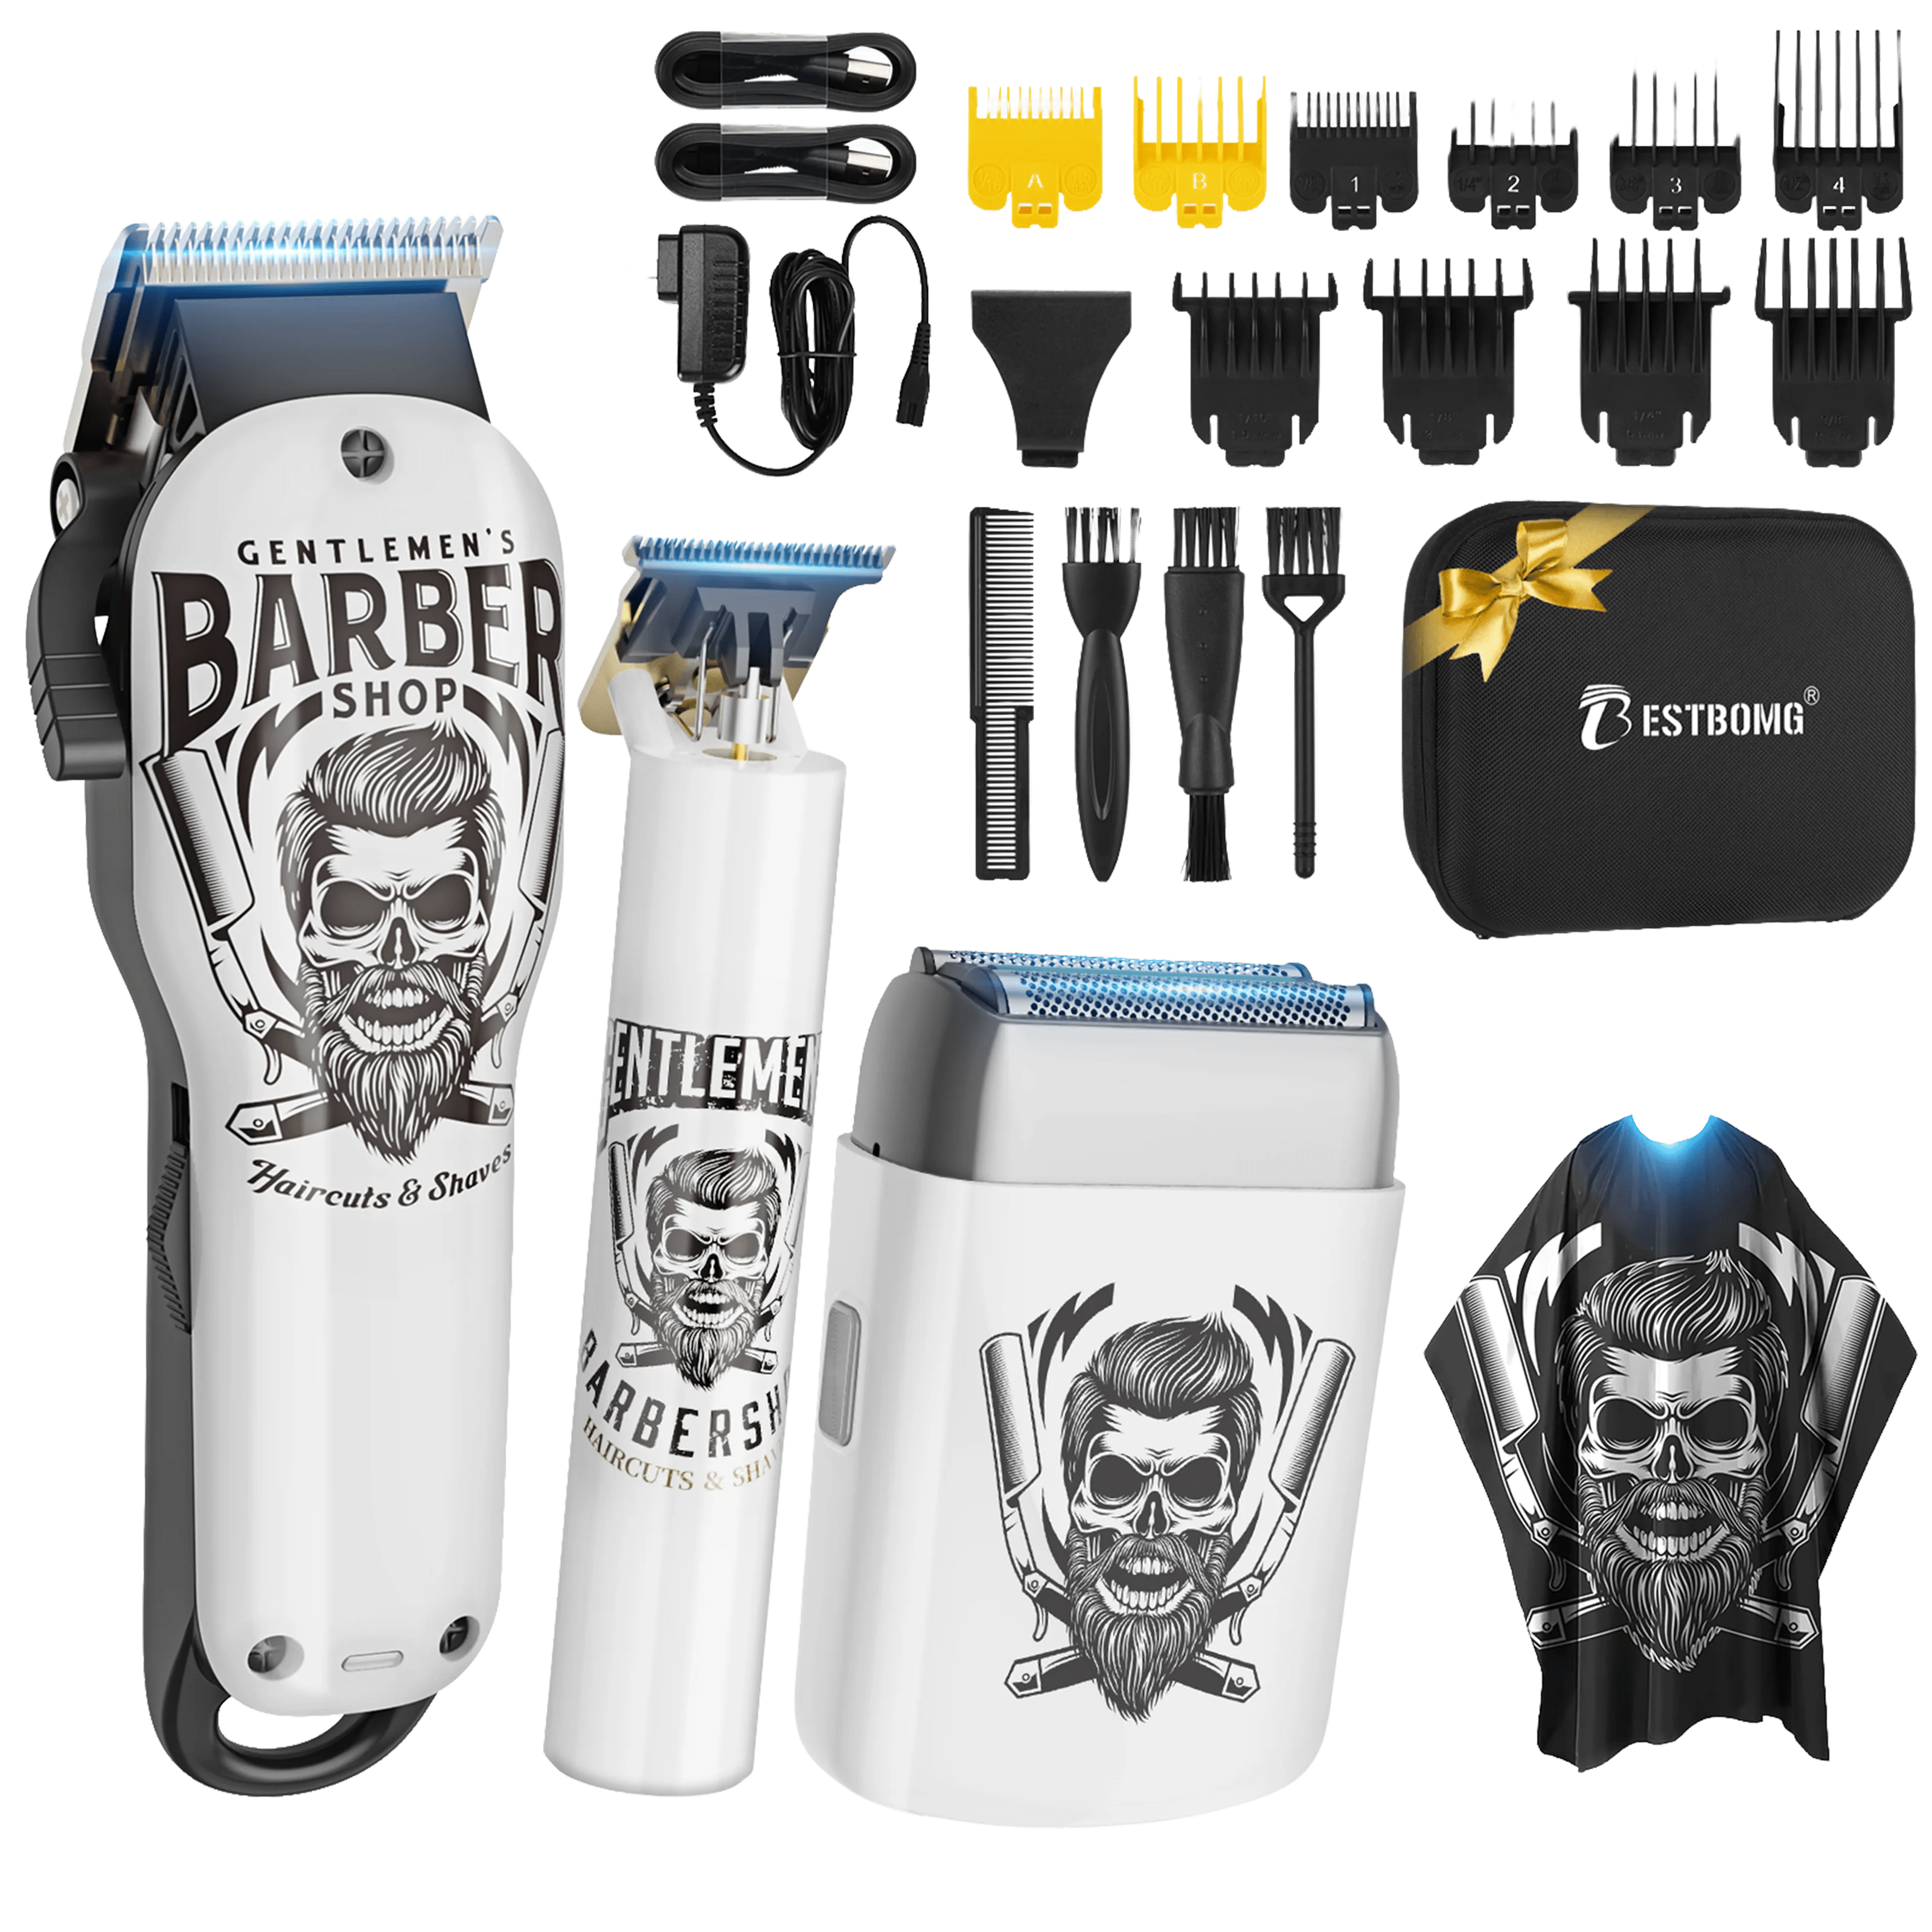
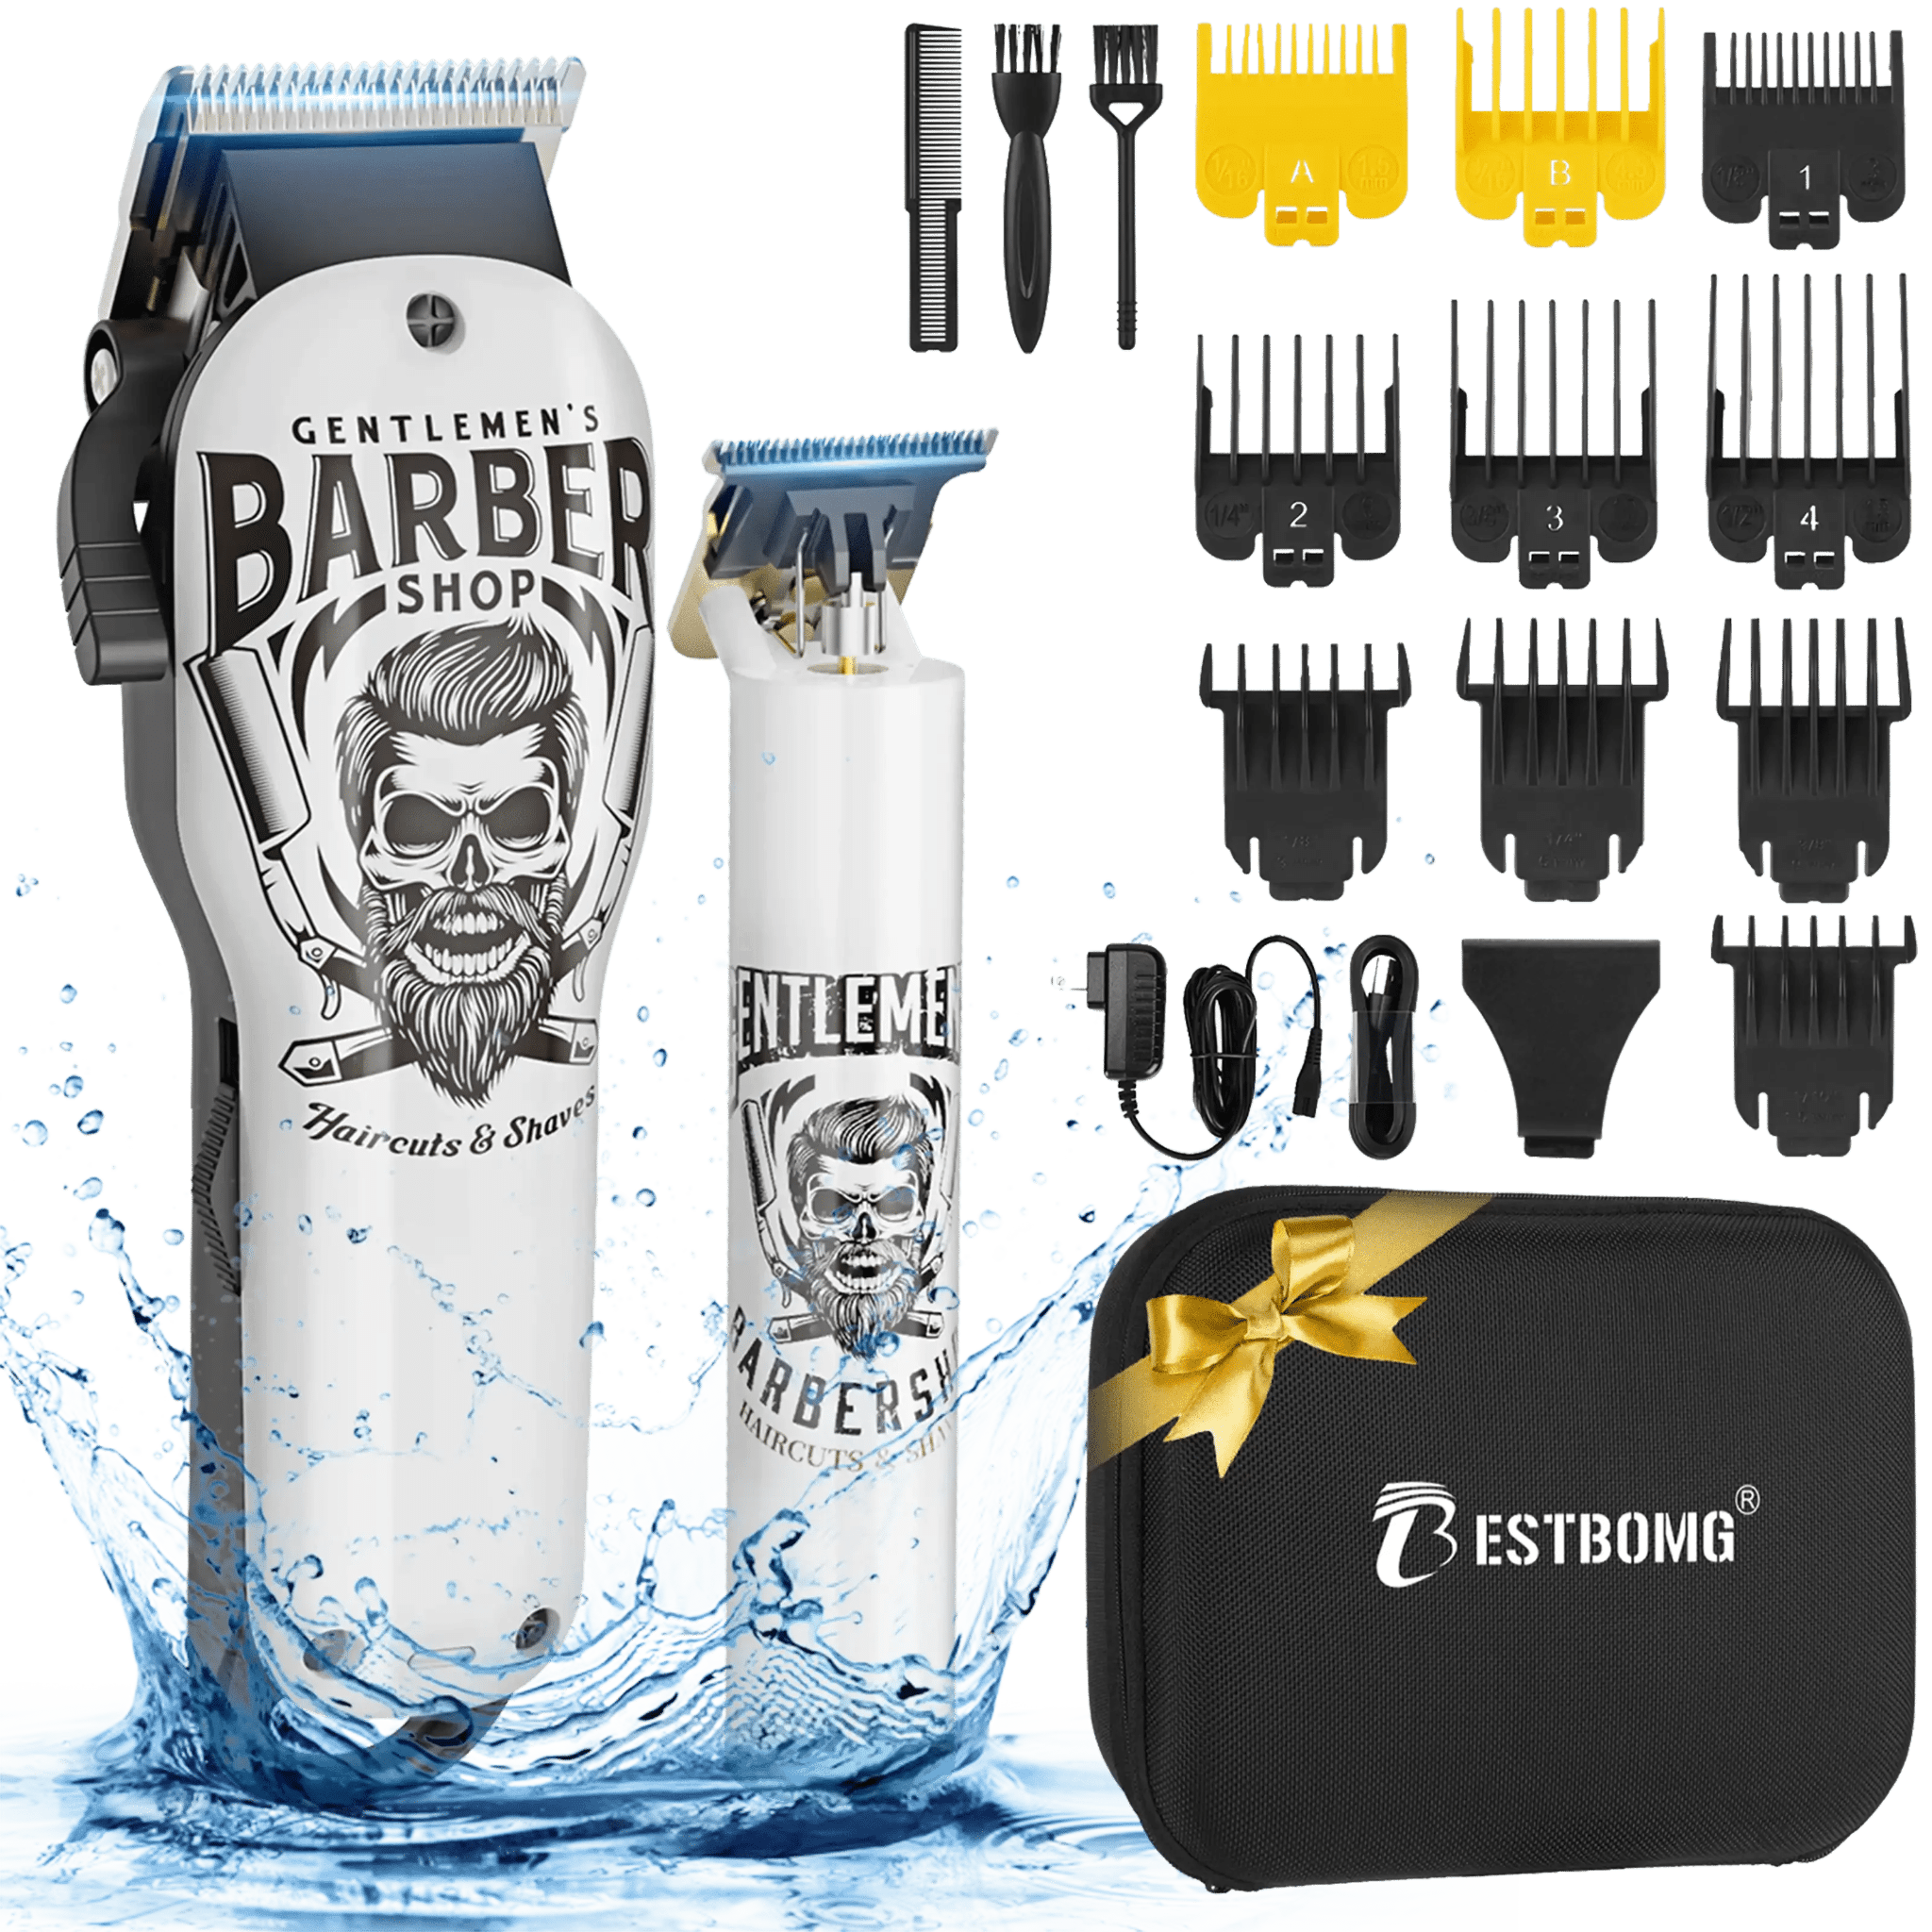
Complete hair cutting kits include multiple guards for these versatile styles.
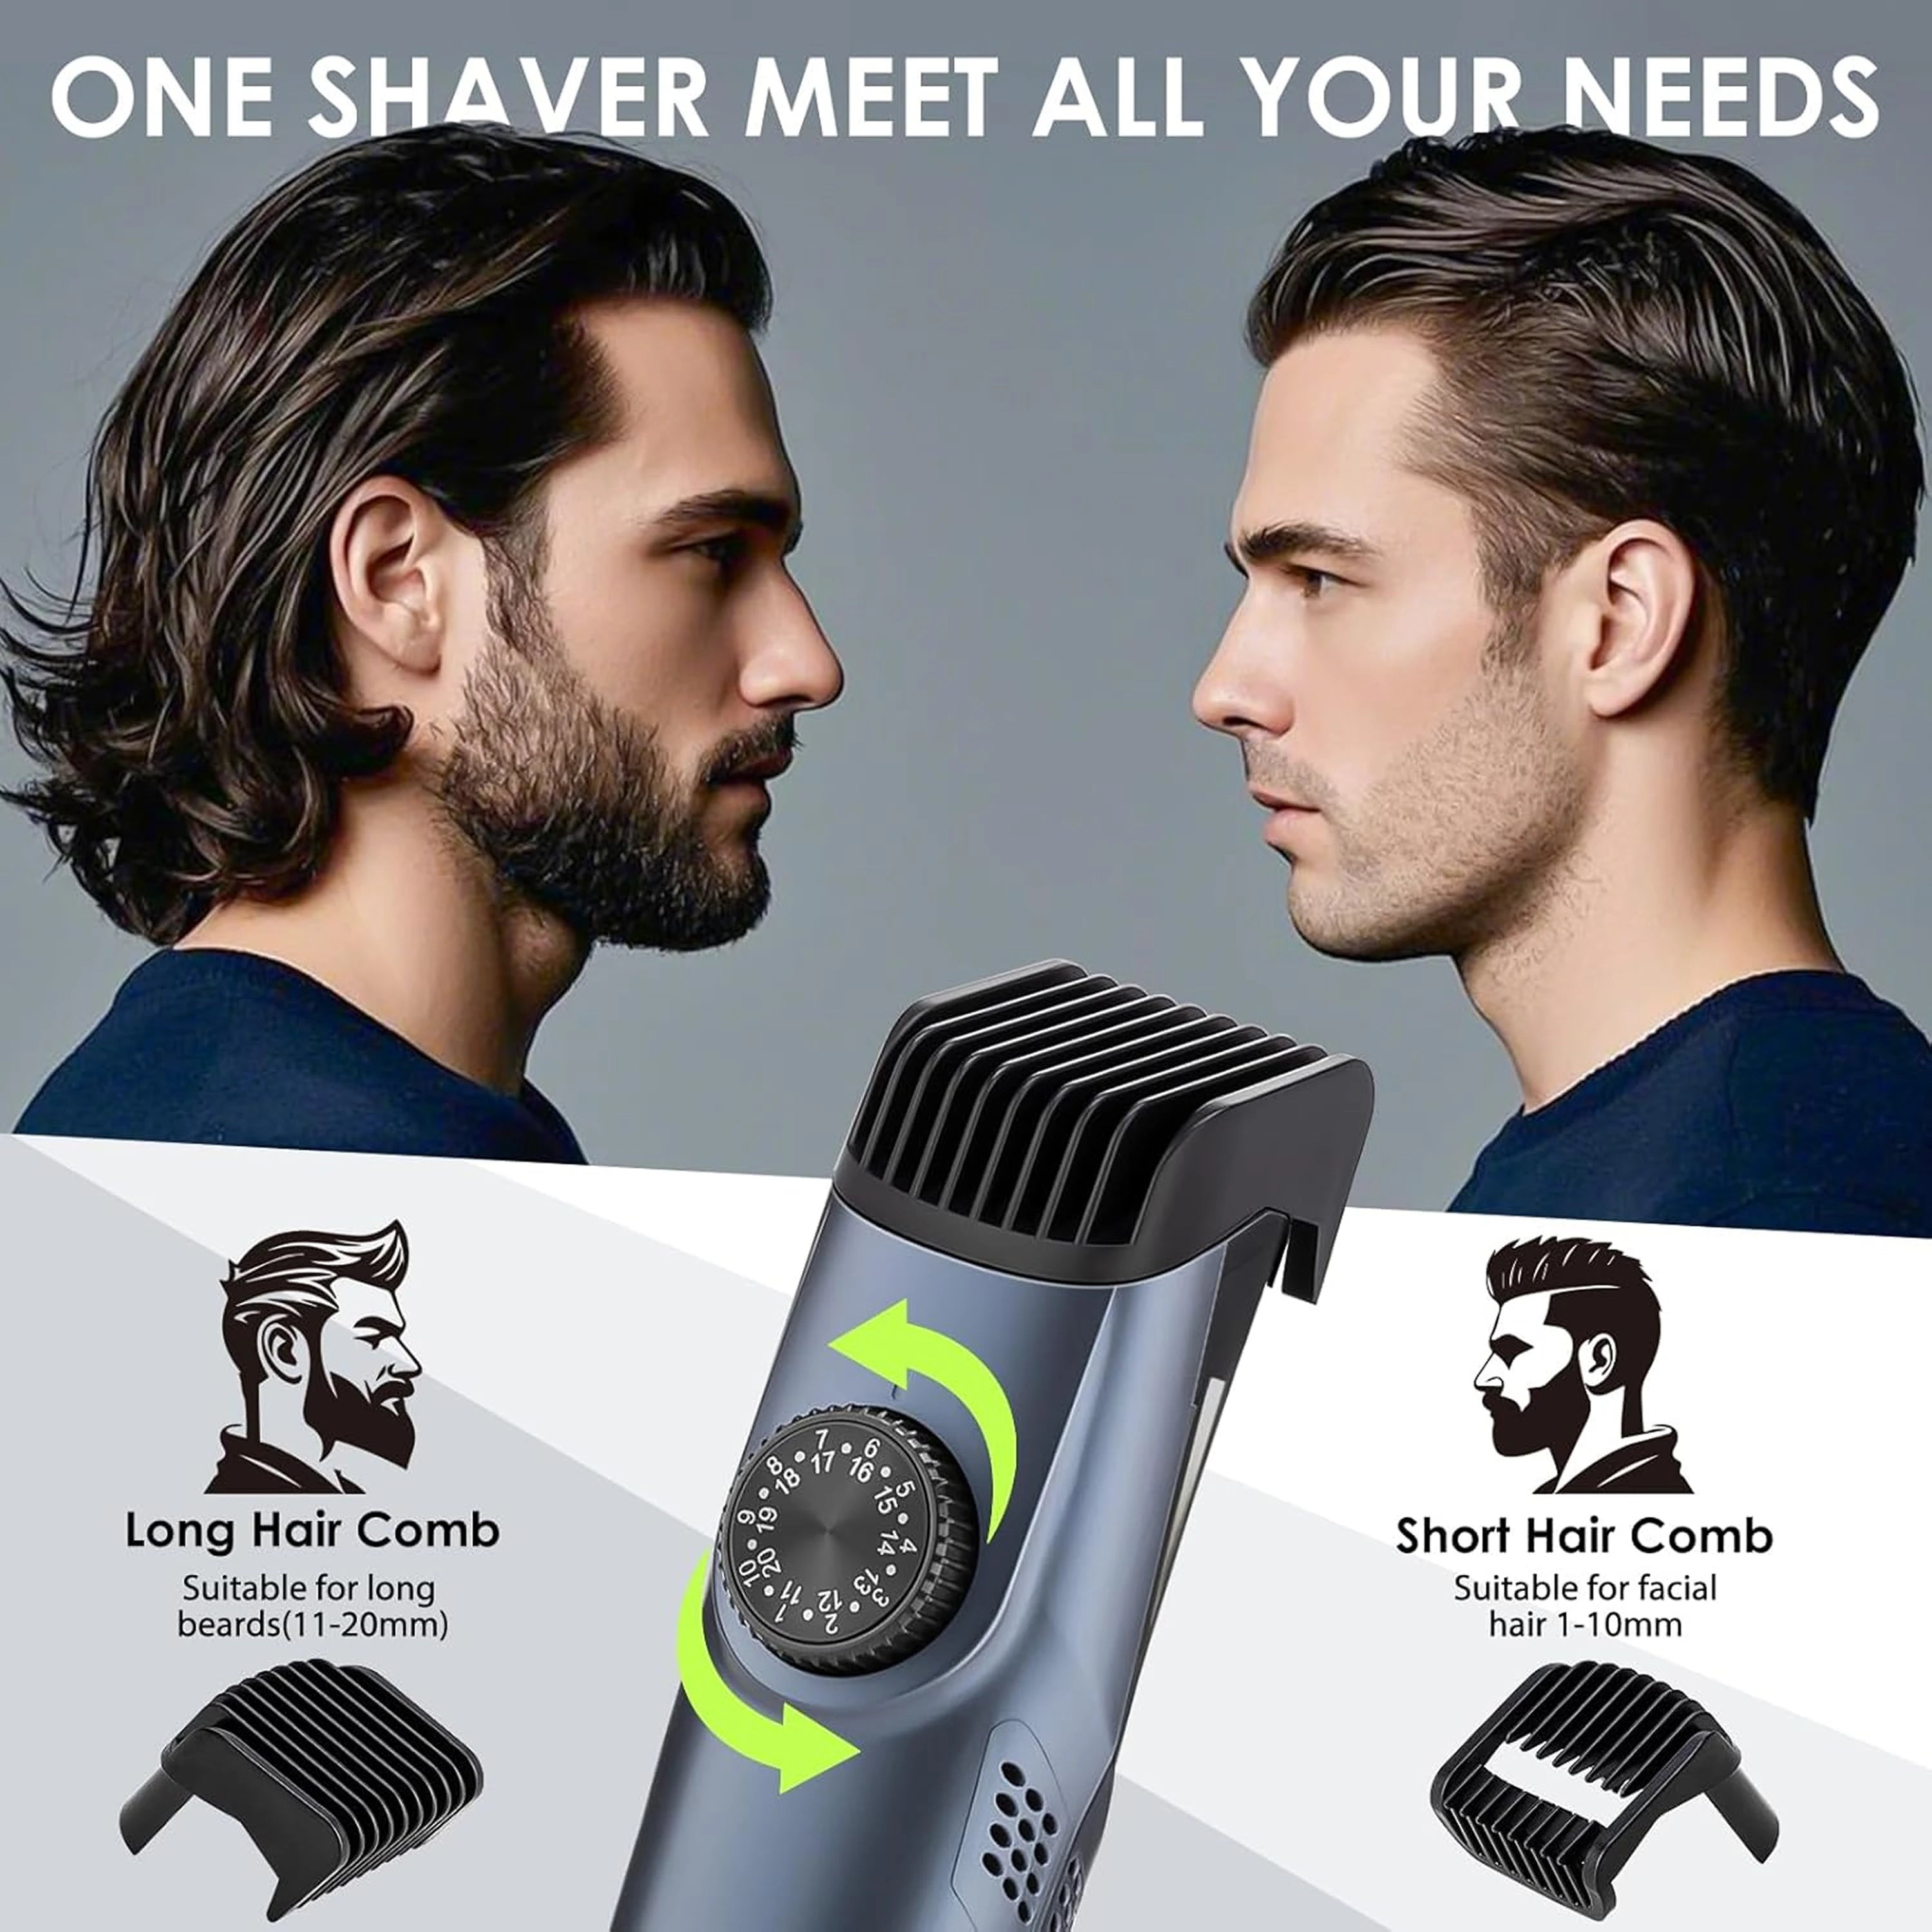
What is a Taper Lever and How Does It Work?
The taper lever is a small switch on your clipper's side. It fine-tunes the blade position between guard sizes.
How it works:
- Lever up (closed): Cuts slightly shorter
- Lever down (open): Cuts slightly longer
- Adjustment range: About half a guard size
When to use it:
- Smoothing out fade transition lines
- Creating ultra-gradual blends
- Making micro-adjustments without changing guards
Advanced technique: Start with lever open, make an upward stroke, then gradually close the lever as you reach the transition. This creates professional-level seamless fades.
Clipper Guards vs Trimmer Guards vs No Guard
Understanding which tool to use saves frustration and improves results.
 Hair clippers with guards:
- Best for main haircuts and uniform lengths
- Cut large areas quickly and evenly
- Essential for buzz cuts, crew cuts, fades
Beard trimmers:
- Shorter guards for facial hair and detail work
- Better control for edging and shaping
- Ideal for sideburns and neckline cleanup
No guard (0 setting):
- Cuts closest to skin without shaving
- Used for sharp edges and skin fades
- Requires steady hand and practice
Many complete hair cutting kits include both clipper guards and trimmer attachments for versatile grooming.
Common Guard Mistakes to Avoid
New users make predictable errors. Here's how to avoid them.
Don't skip around randomly. Work systematically: back → sides → top. This prevents missed spots.
Don't press too hard. Let the guard glide with light pressure. Pushing harder doesn't cut better—it causes uneven contact.
Don't rush through it. Take your time, especially around ears and neckline where hair grows in different directions.
Don't ignore hair buildup. Stop every few minutes to brush accumulated hair from guard teeth. Clogged guards pull instead of cutting cleanly.
Don't go too short immediately. Always start with a longer guard. You can cut more; you can't put hair back.
Quick Maintenance: Keeping Guards Sharp
Clean guards cut better and last longer. Simple maintenance takes 5 minutes.
After every use:
- Brush loose hair off guards and blades
- Remove guards and wash in warm soapy water
- Scrub gently with soft brush or cloth
- Air dry completely before storing
For the clipper blades:
- Turn on motor and apply 2-3 drops of clipper oil
- Let run 20-30 seconds to distribute
- Wipe away excess oil
- Store in dry place
Regular oiling prevents rust and keeps blades sharp. Dull blades can cause skin irritation, according to experts who explain how to reduce razor bumps.
Popular Hairstyles Using Different Guard Sizes

Knowing which guards create which styles helps you plan your cut.
Buzz cut – Same guard all over:

- Use #2 or #3 for classic military look
- Simple, even, beginner-friendly
Crew cut – Short sides, longer top:

- #2 or #3 on sides and back
- #4 or #5 on top
- Blend transition with #3 or #4
High and tight – Very short sides:
- #2 all over first
- Come back with #1 or 0 on sides/back only
- Sharp horizontal line at crown
Textured cut – Graduated lengths:
- #3 on lower sides
- #5 on upper sides
- #7 or #8 on top for styling
Professional beard trimmers help finish edges and detail work after the main cut.
Frequently Asked Questions
Do you guard up or down on clippers?
The guard goes down—flat against your scalp with teeth touching your head. The clipper body points upward as you move it against hair growth. Angling the guard away from your scalp causes uneven cutting and choppy results.
Which blade is shorter, 3 or 4?
Guard #3 cuts shorter than #4. Smaller numbers always mean shorter lengths. A #3 leaves 3/8 inch while #4 leaves 1/2 inch. If you're unsure which length you want, start with the higher number and work down.
How do you use clipper guards for beginners?
Start by washing and drying your hair completely. Attach your longest needed guard first. Move clippers against hair growth direction, keeping the guard flat on your scalp. Work one section at a time systematically. Use the scooping motion—gradually angle the blade outward at the end of each stroke instead of pulling straight away.
Does the higher guard number mean less hair it cuts?
Higher numbers cut off less hair, leaving more length remaining. Think of the guard number as how much hair you'll have left, not how much gets removed. A #8 leaves 1 inch; a #1 leaves only 1/8 inch.
What is a taper lever and how does it work?
The taper lever adjusts blade position for cuts between guard sizes. Lever up (closed) cuts shorter; lever down (open) cuts longer. The difference is subtle—about half a guard size. Use it to create seamless fades and blend transition lines without switching guards.
Should you go against hair growth when using clipper guards?
Yes, always move against the direction hair naturally grows. On sides and back, this means moving upward from neck toward crown. Going against the grain lets clipper teeth catch all hairs evenly and cut them uniformly to the guard length.
Ready to master at-home haircuts? Start with quality tools from our collection of professional hair clippers designed for beginners and experienced cutters alike.
Looking for something else?

How to Cut Baby Boy Hair with Clippers: Step-by-Step Guide
LEARN MORE
Do Hair Clippers Get Dull? Causes, Signs & Prevention
LEARN MORE
Can an Electric Shaver Cut You? Safety Facts & Prevention
LEARN MORE
How to Shave Balls with Electric Shaver: Safe Guide
LEARN MORELooking for something else?

Does Using Trimmer Increase Hair Growth? Facts & Myths
LEARN MORE
Best Hair Clippers for Men: Top Picks for Home & Pro Use
LEARN MORE
Best Professional Hair Clippers for Barbers: Top Picks
LEARN MOREYou may also like


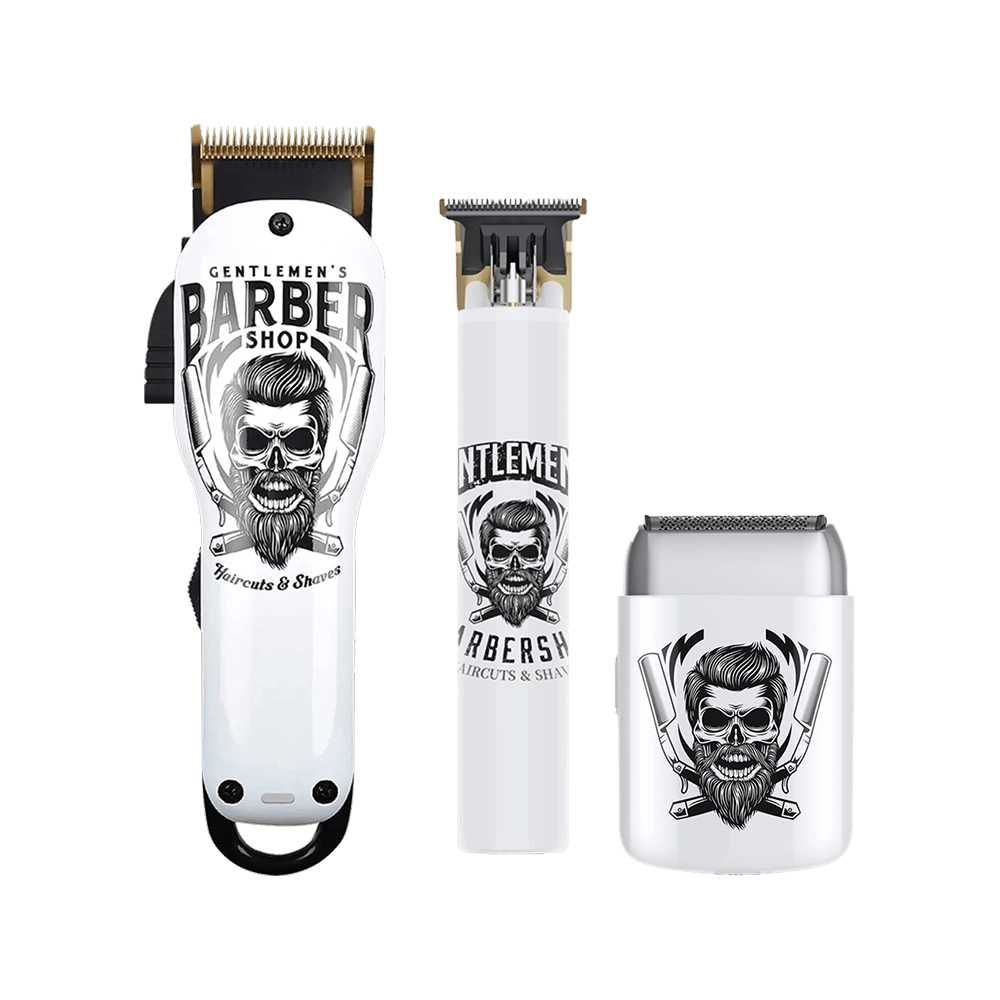
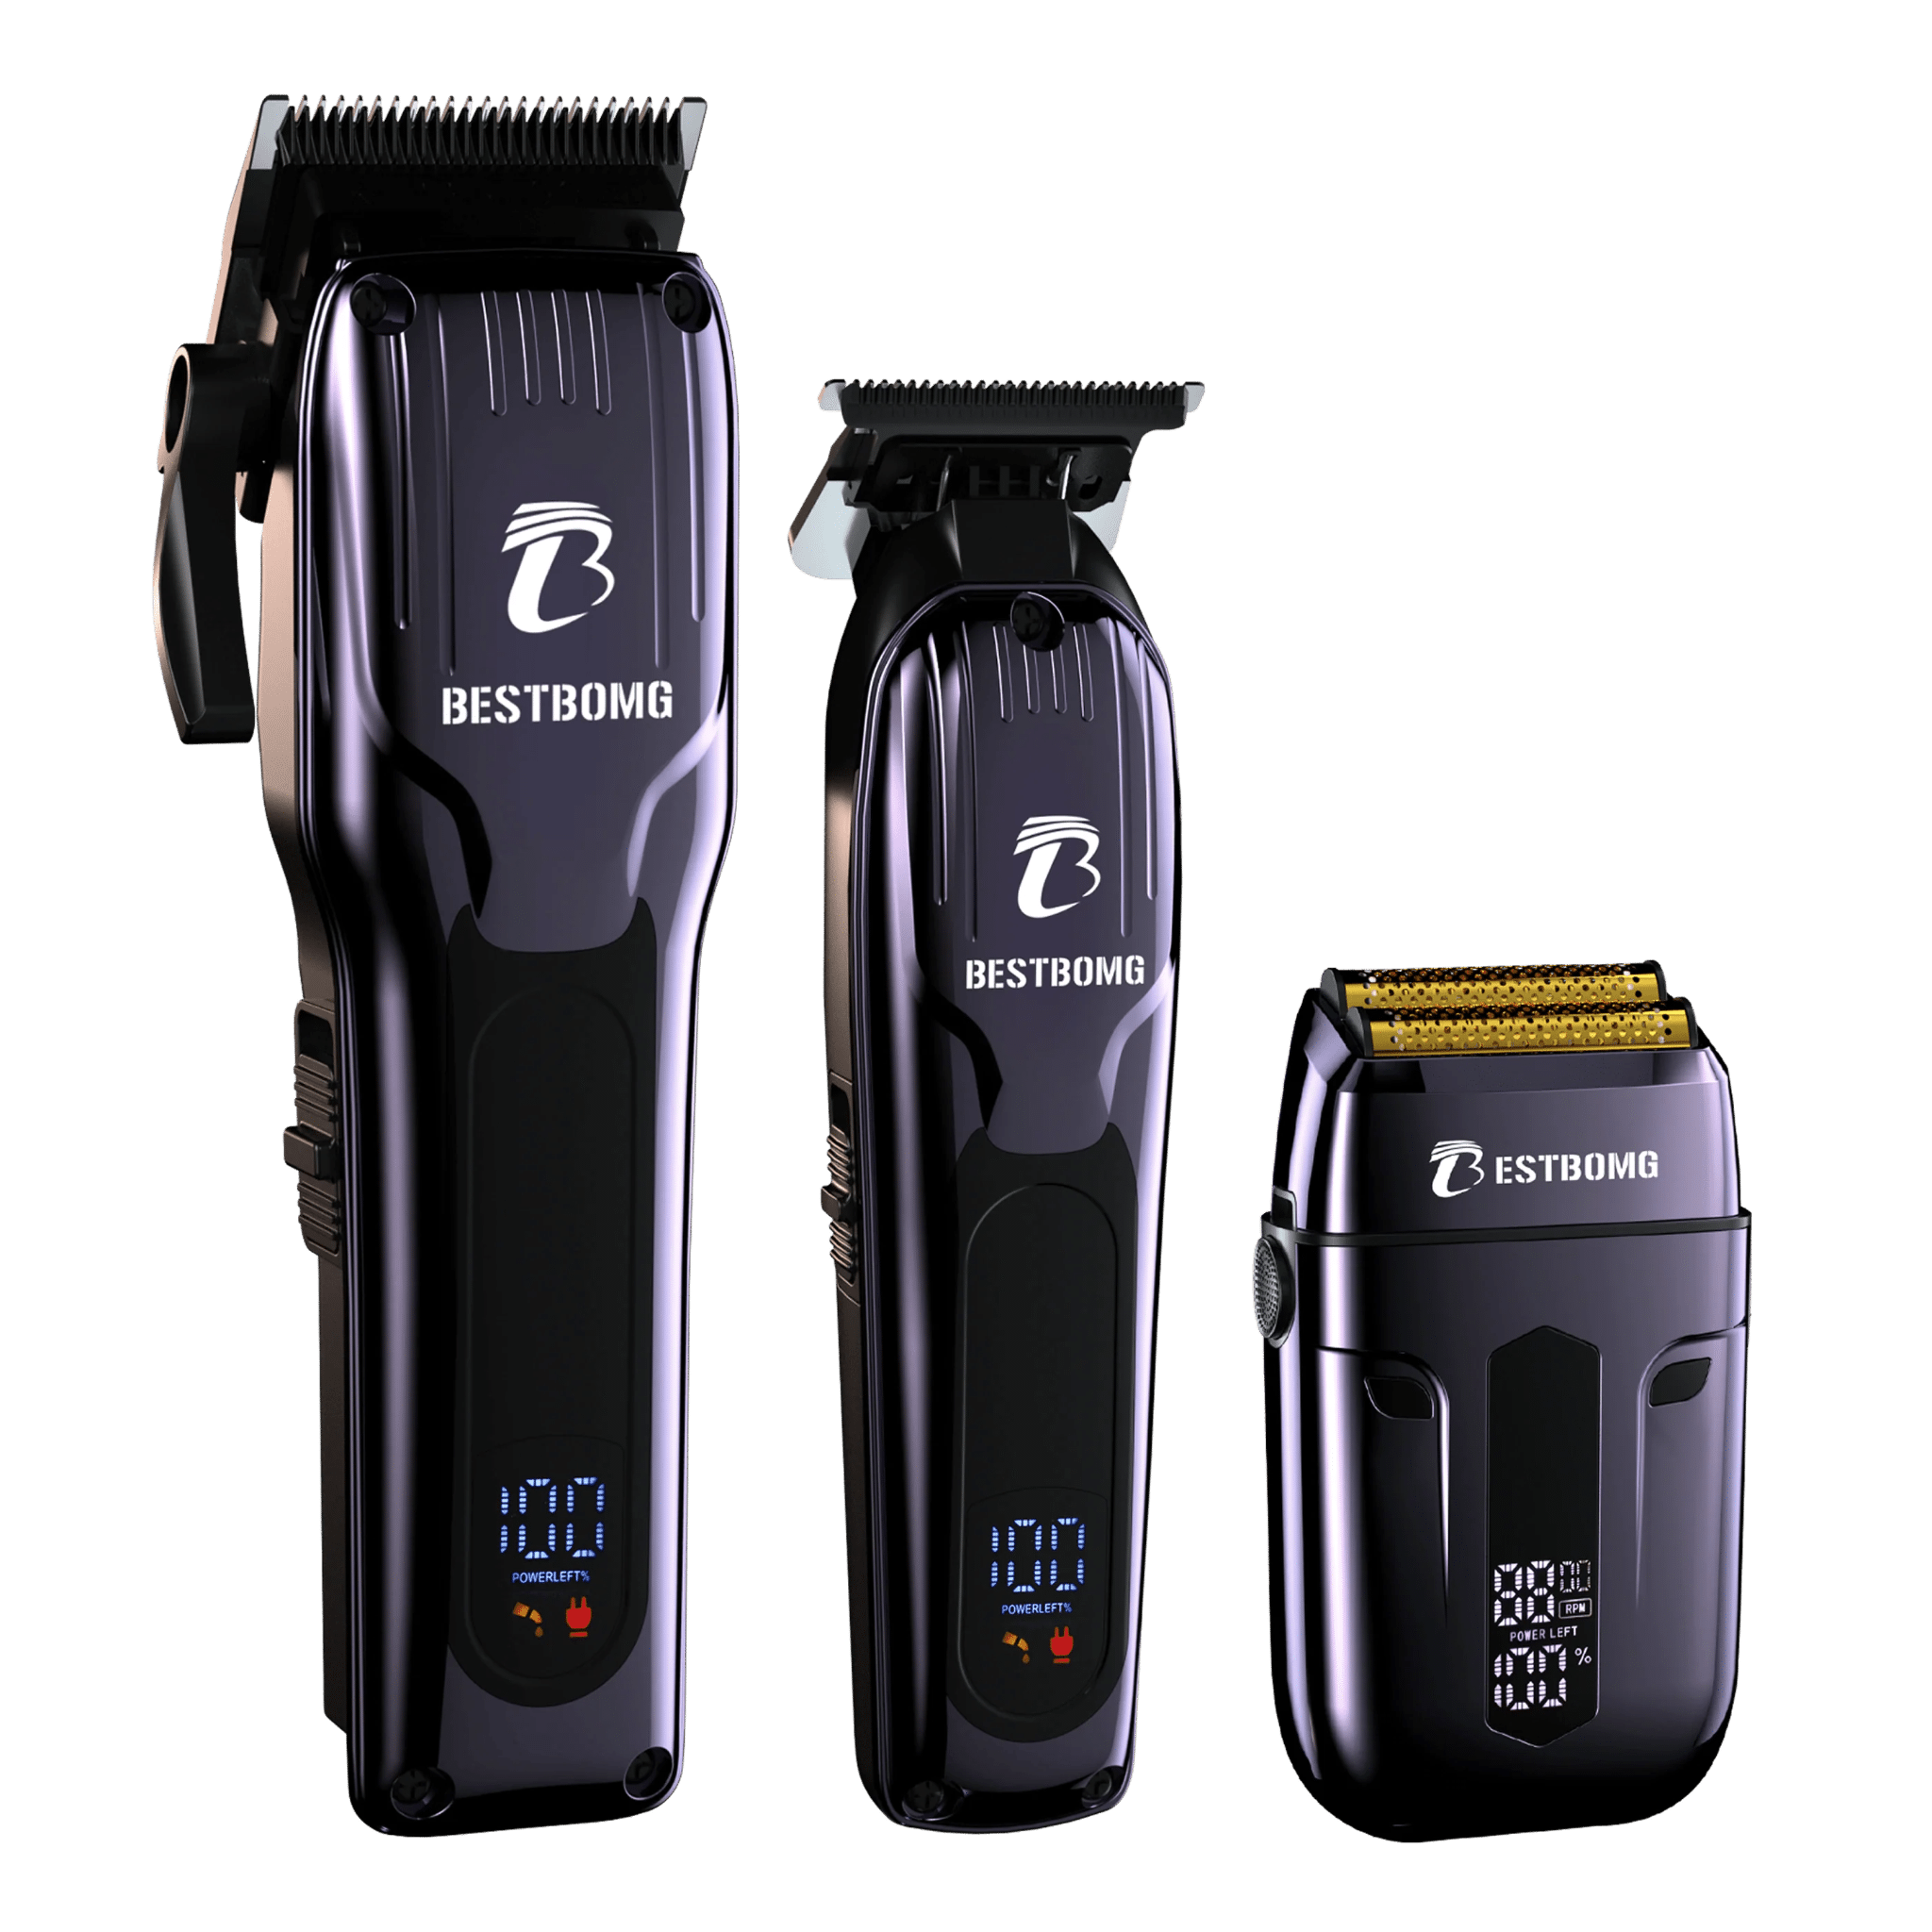
Electric Shaver Y4


Y4T9 Easy Start Kits
Further reading
Best Hair Clippers for Perfect Fades at Home
Clipper Lever Open vs Closed: What It Means (with mm)
Why You Need a Cordless Detailer Trimmer (And How to Pick the Right One)