


How to Use a Dog Clipper for the First Time: A Beginner's Guide
Using a dog clipper for the first time can feel intimidating, but with the right preparation and technique, you can give your pet a safe, comfortable trim at home. This guide walks you through every stepfrom prepping your dog and setting up your tools to mastering stroke technique and avoiding common mistakes. Whether you're trimming for hygiene or attempting a full groom, these tips will help you build confidence and deliver clean results.
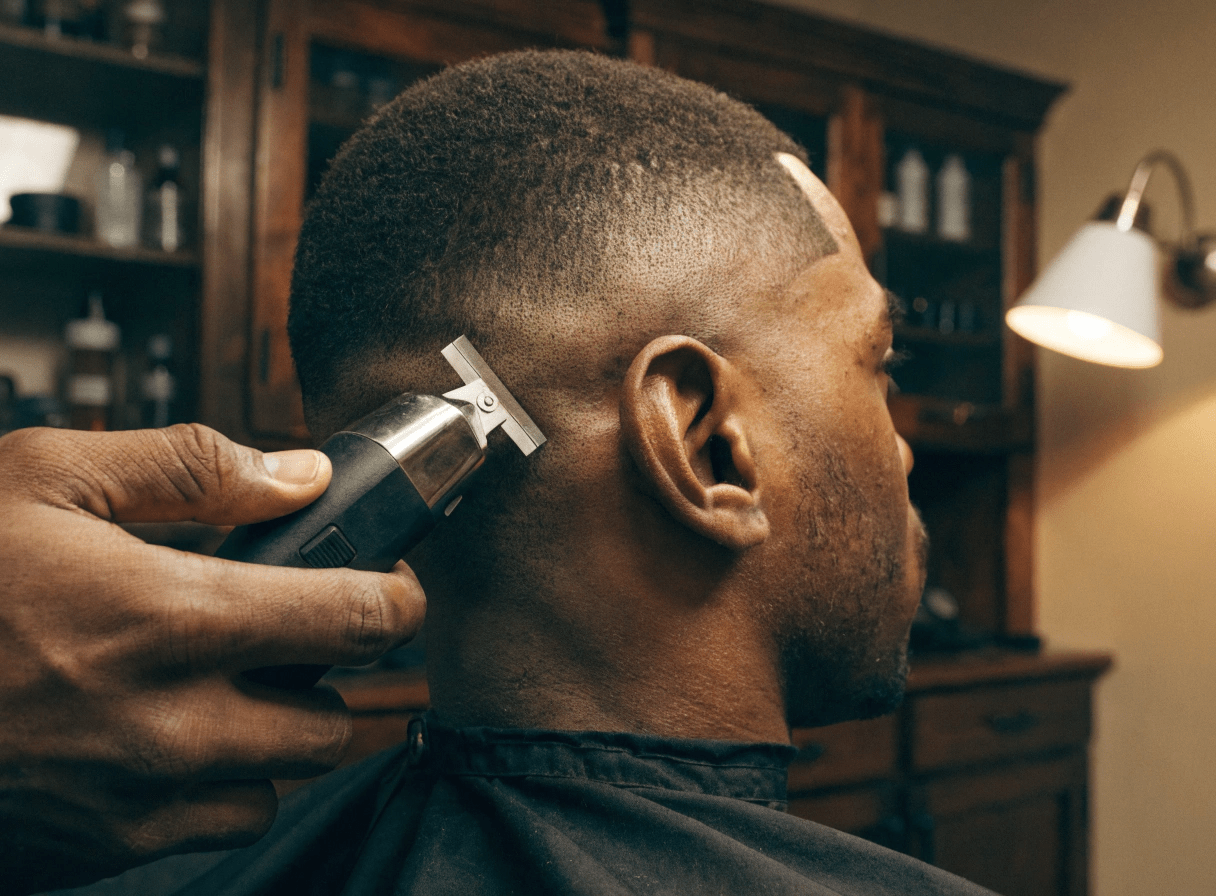
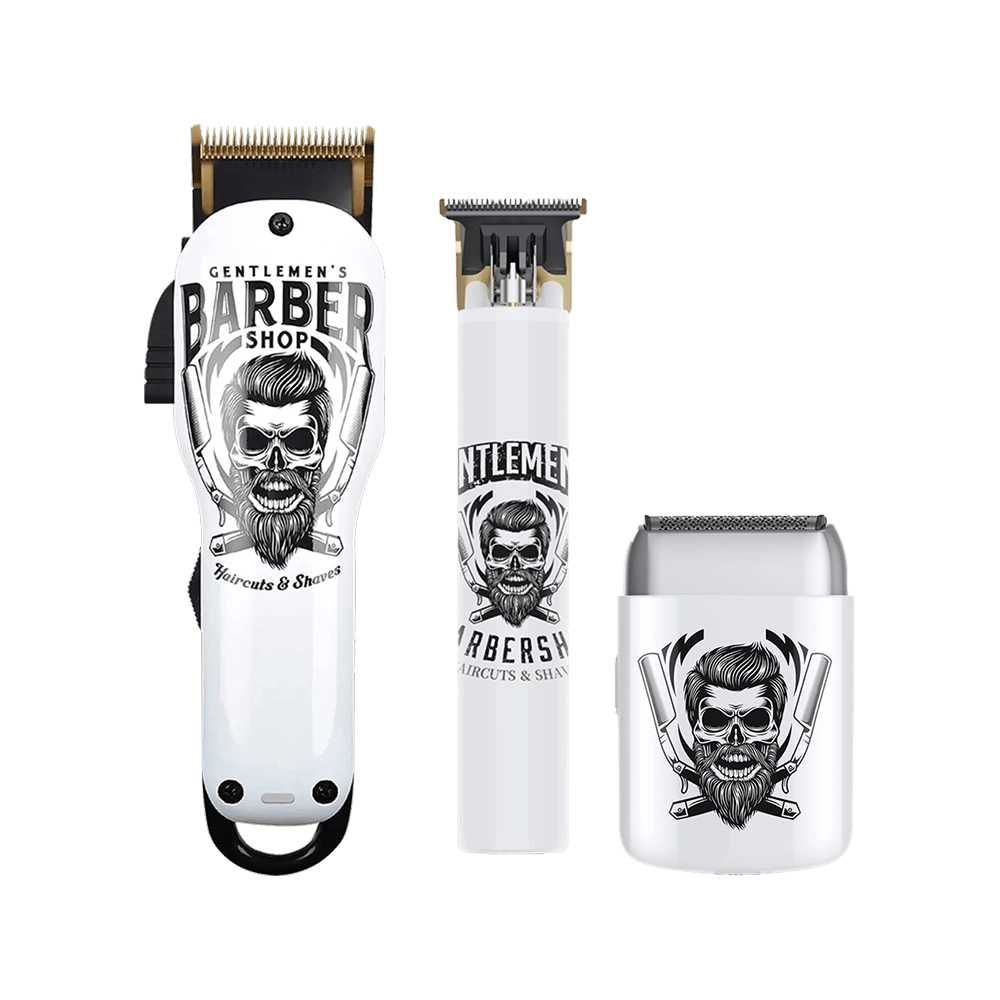
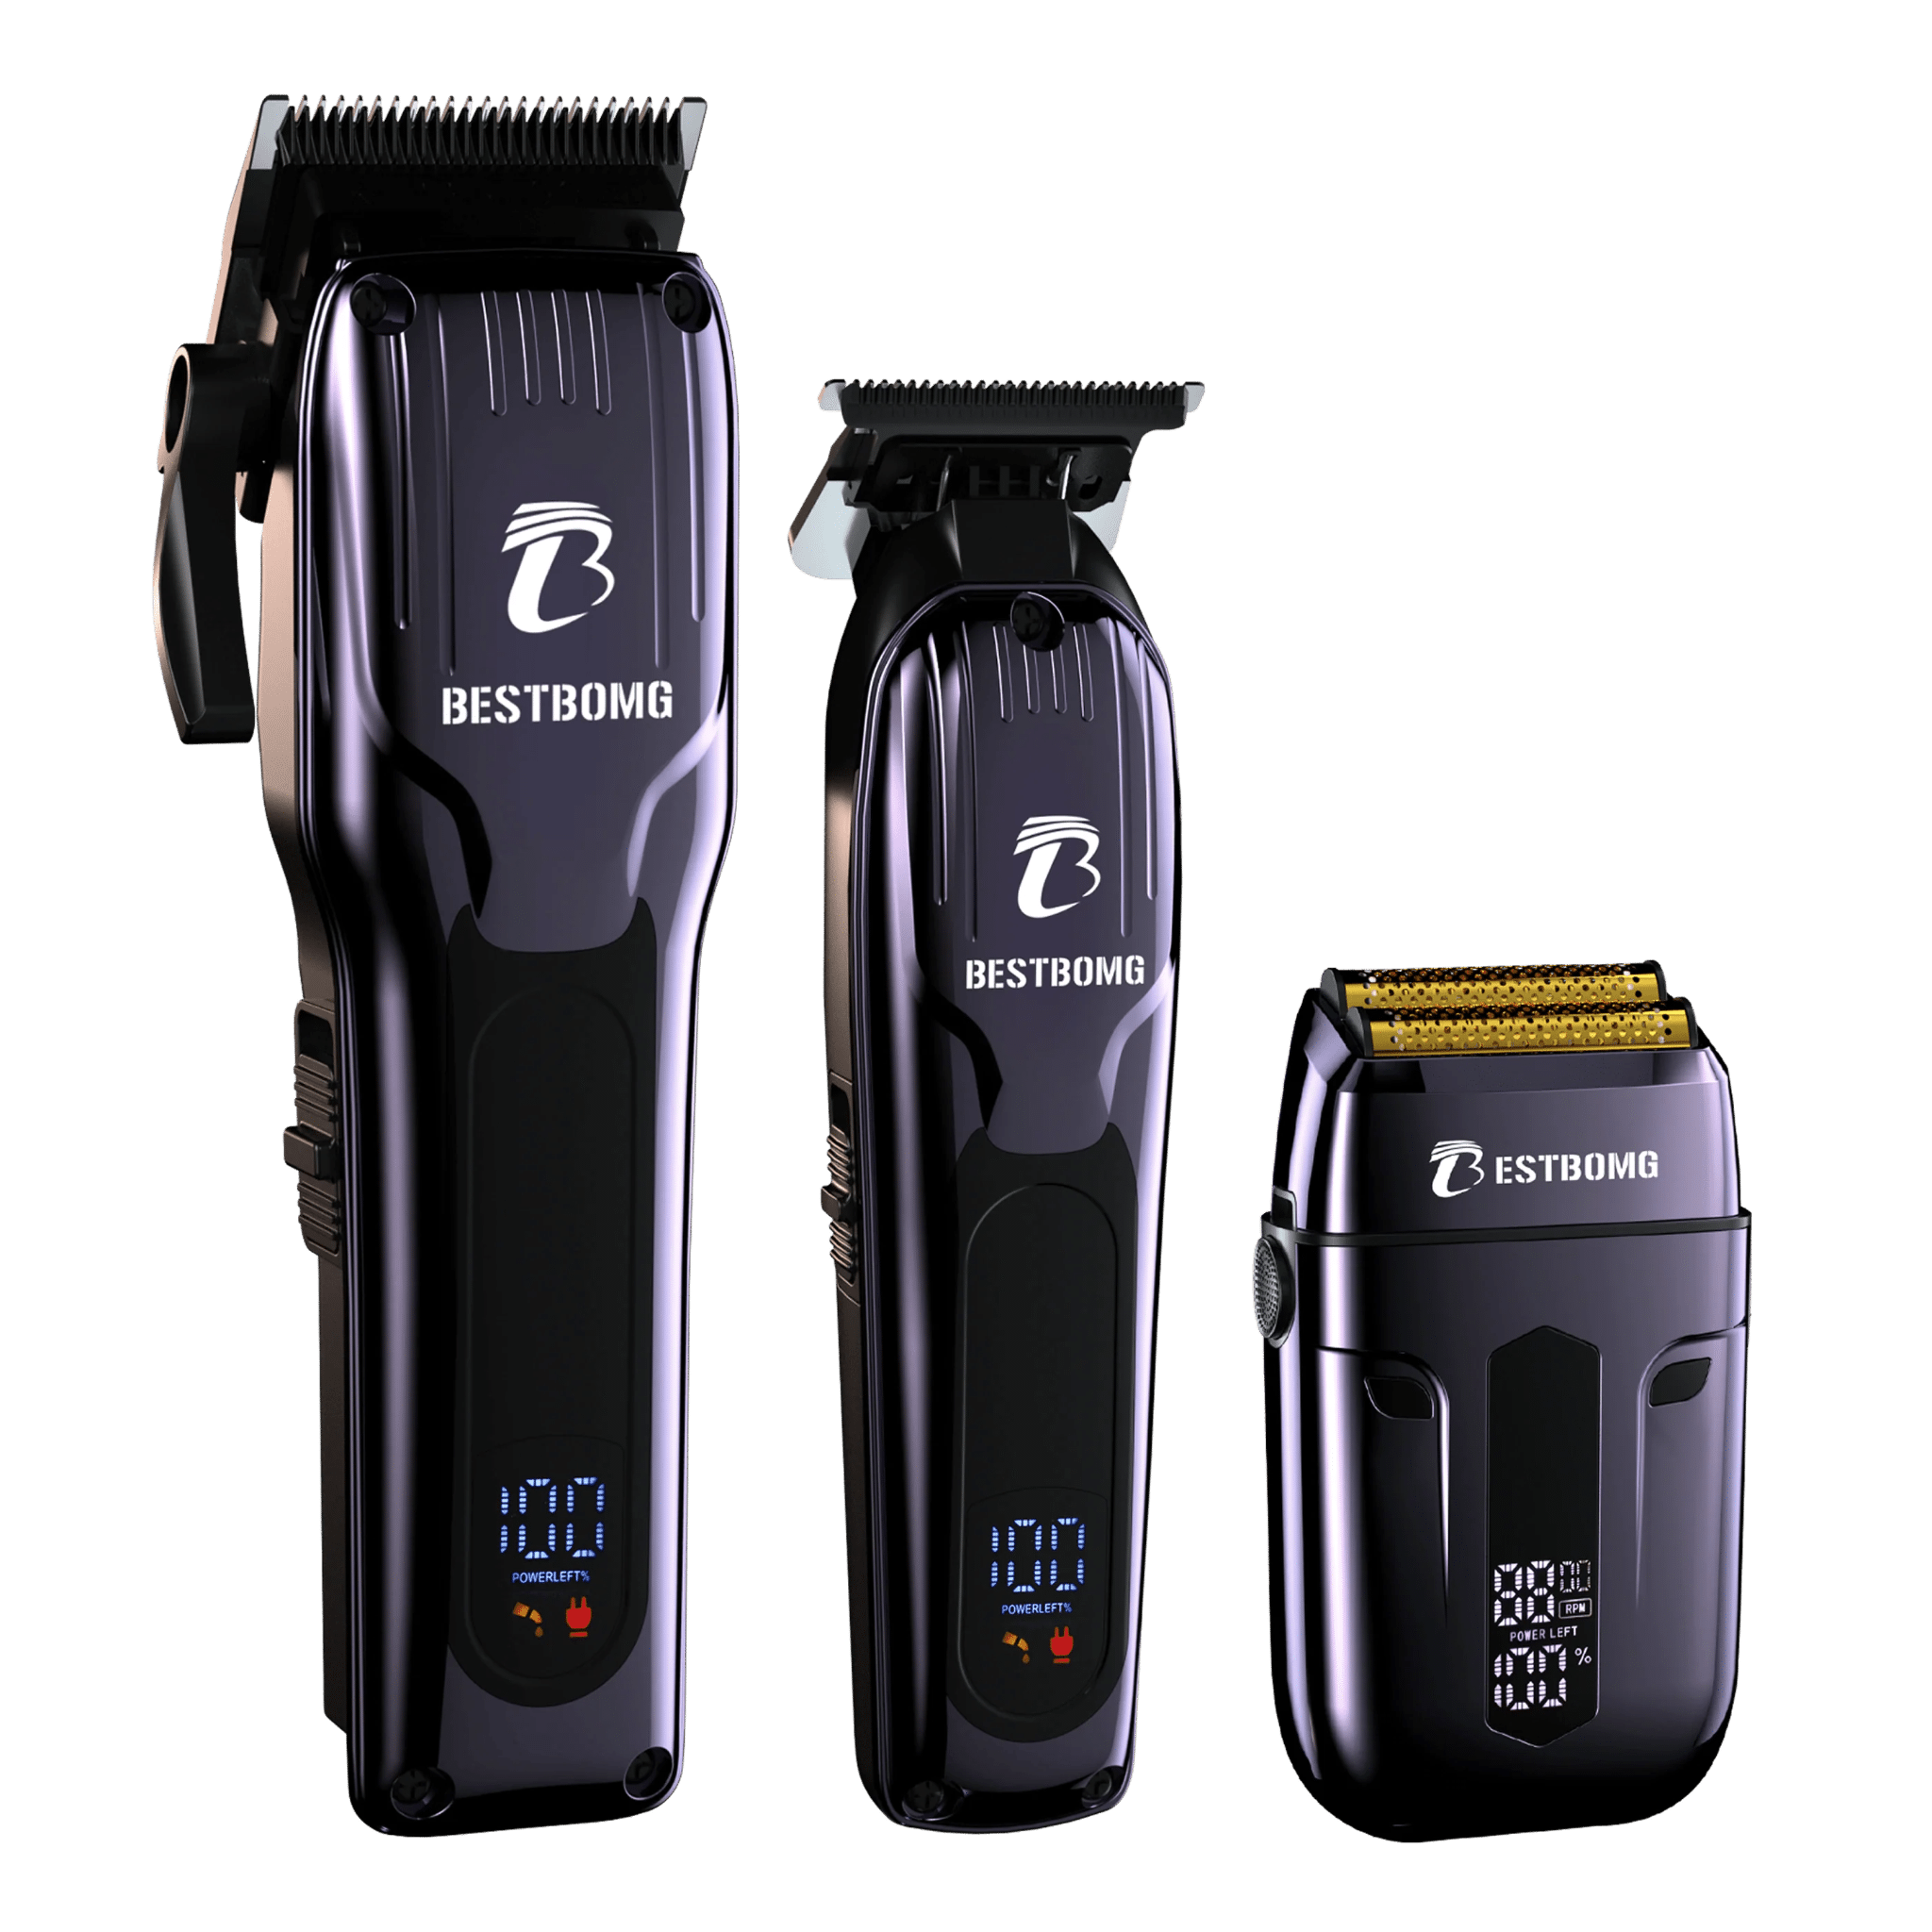
Before you start, having the right equipment matters. While pet-specific clippers exist, many groomers successfully use quality hair clippers designed for human use, especially for larger dogs with thicker coats.
Why Groom Your Dog at Home?

Cost Savings
Professional grooming sessions can add up quickly, especially for breeds that require frequent trims. Learning to clip at home reduces recurring expenses while giving you full control over your dog's comfort and style.
Bonding Time
Grooming strengthens your relationship with your pet. Dogs often feel more relaxed with their owner than in an unfamiliar salon, and regular handling helps them become accustomed to touch and restraint.
Convenience
Schedule grooming around your dog's temperament and your availability. No appointments, no travel, and no waiting periods between sessions.
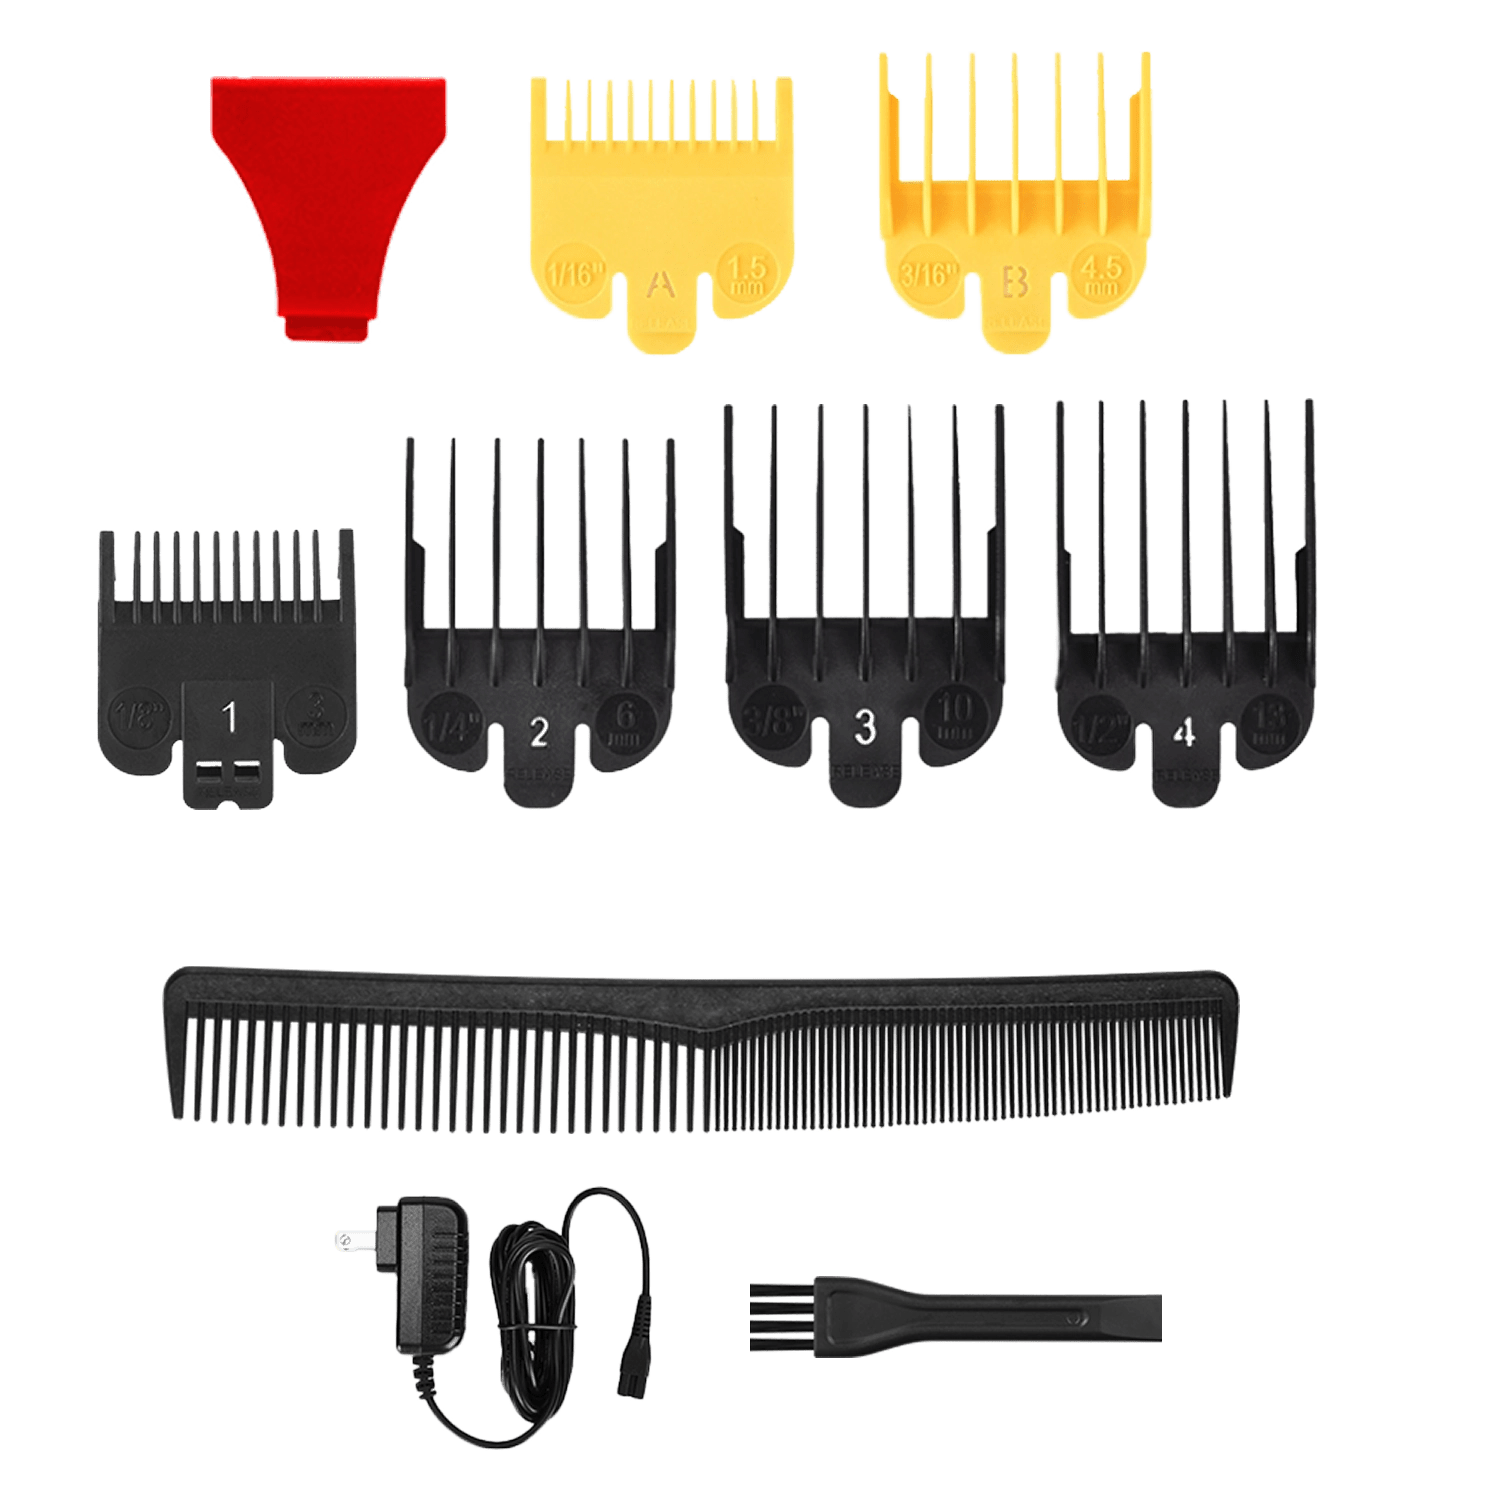
What You'll Need
|
Item |
Purpose |
|
Dog clipper or adjustable human clipper |
Main trimming tool; quieter models reduce anxiety |
|
Clipper oil |
Lubricates blades, prevents overheating |
|
Guard combs (multiple sizes) |
Controls cutting length and protects skin |
|
Slicker brush |
Removes tangles and lifts hair before clipping |
|
Spray bottle with water |
Lightly dampens coat for easier brushing |
|
Towels |
Dries dog after bath, protects surfaces |
|
Treats |
Positive reinforcement during and after grooming |
|
Cool blade (spare) |
Swap in when primary blade gets hot |
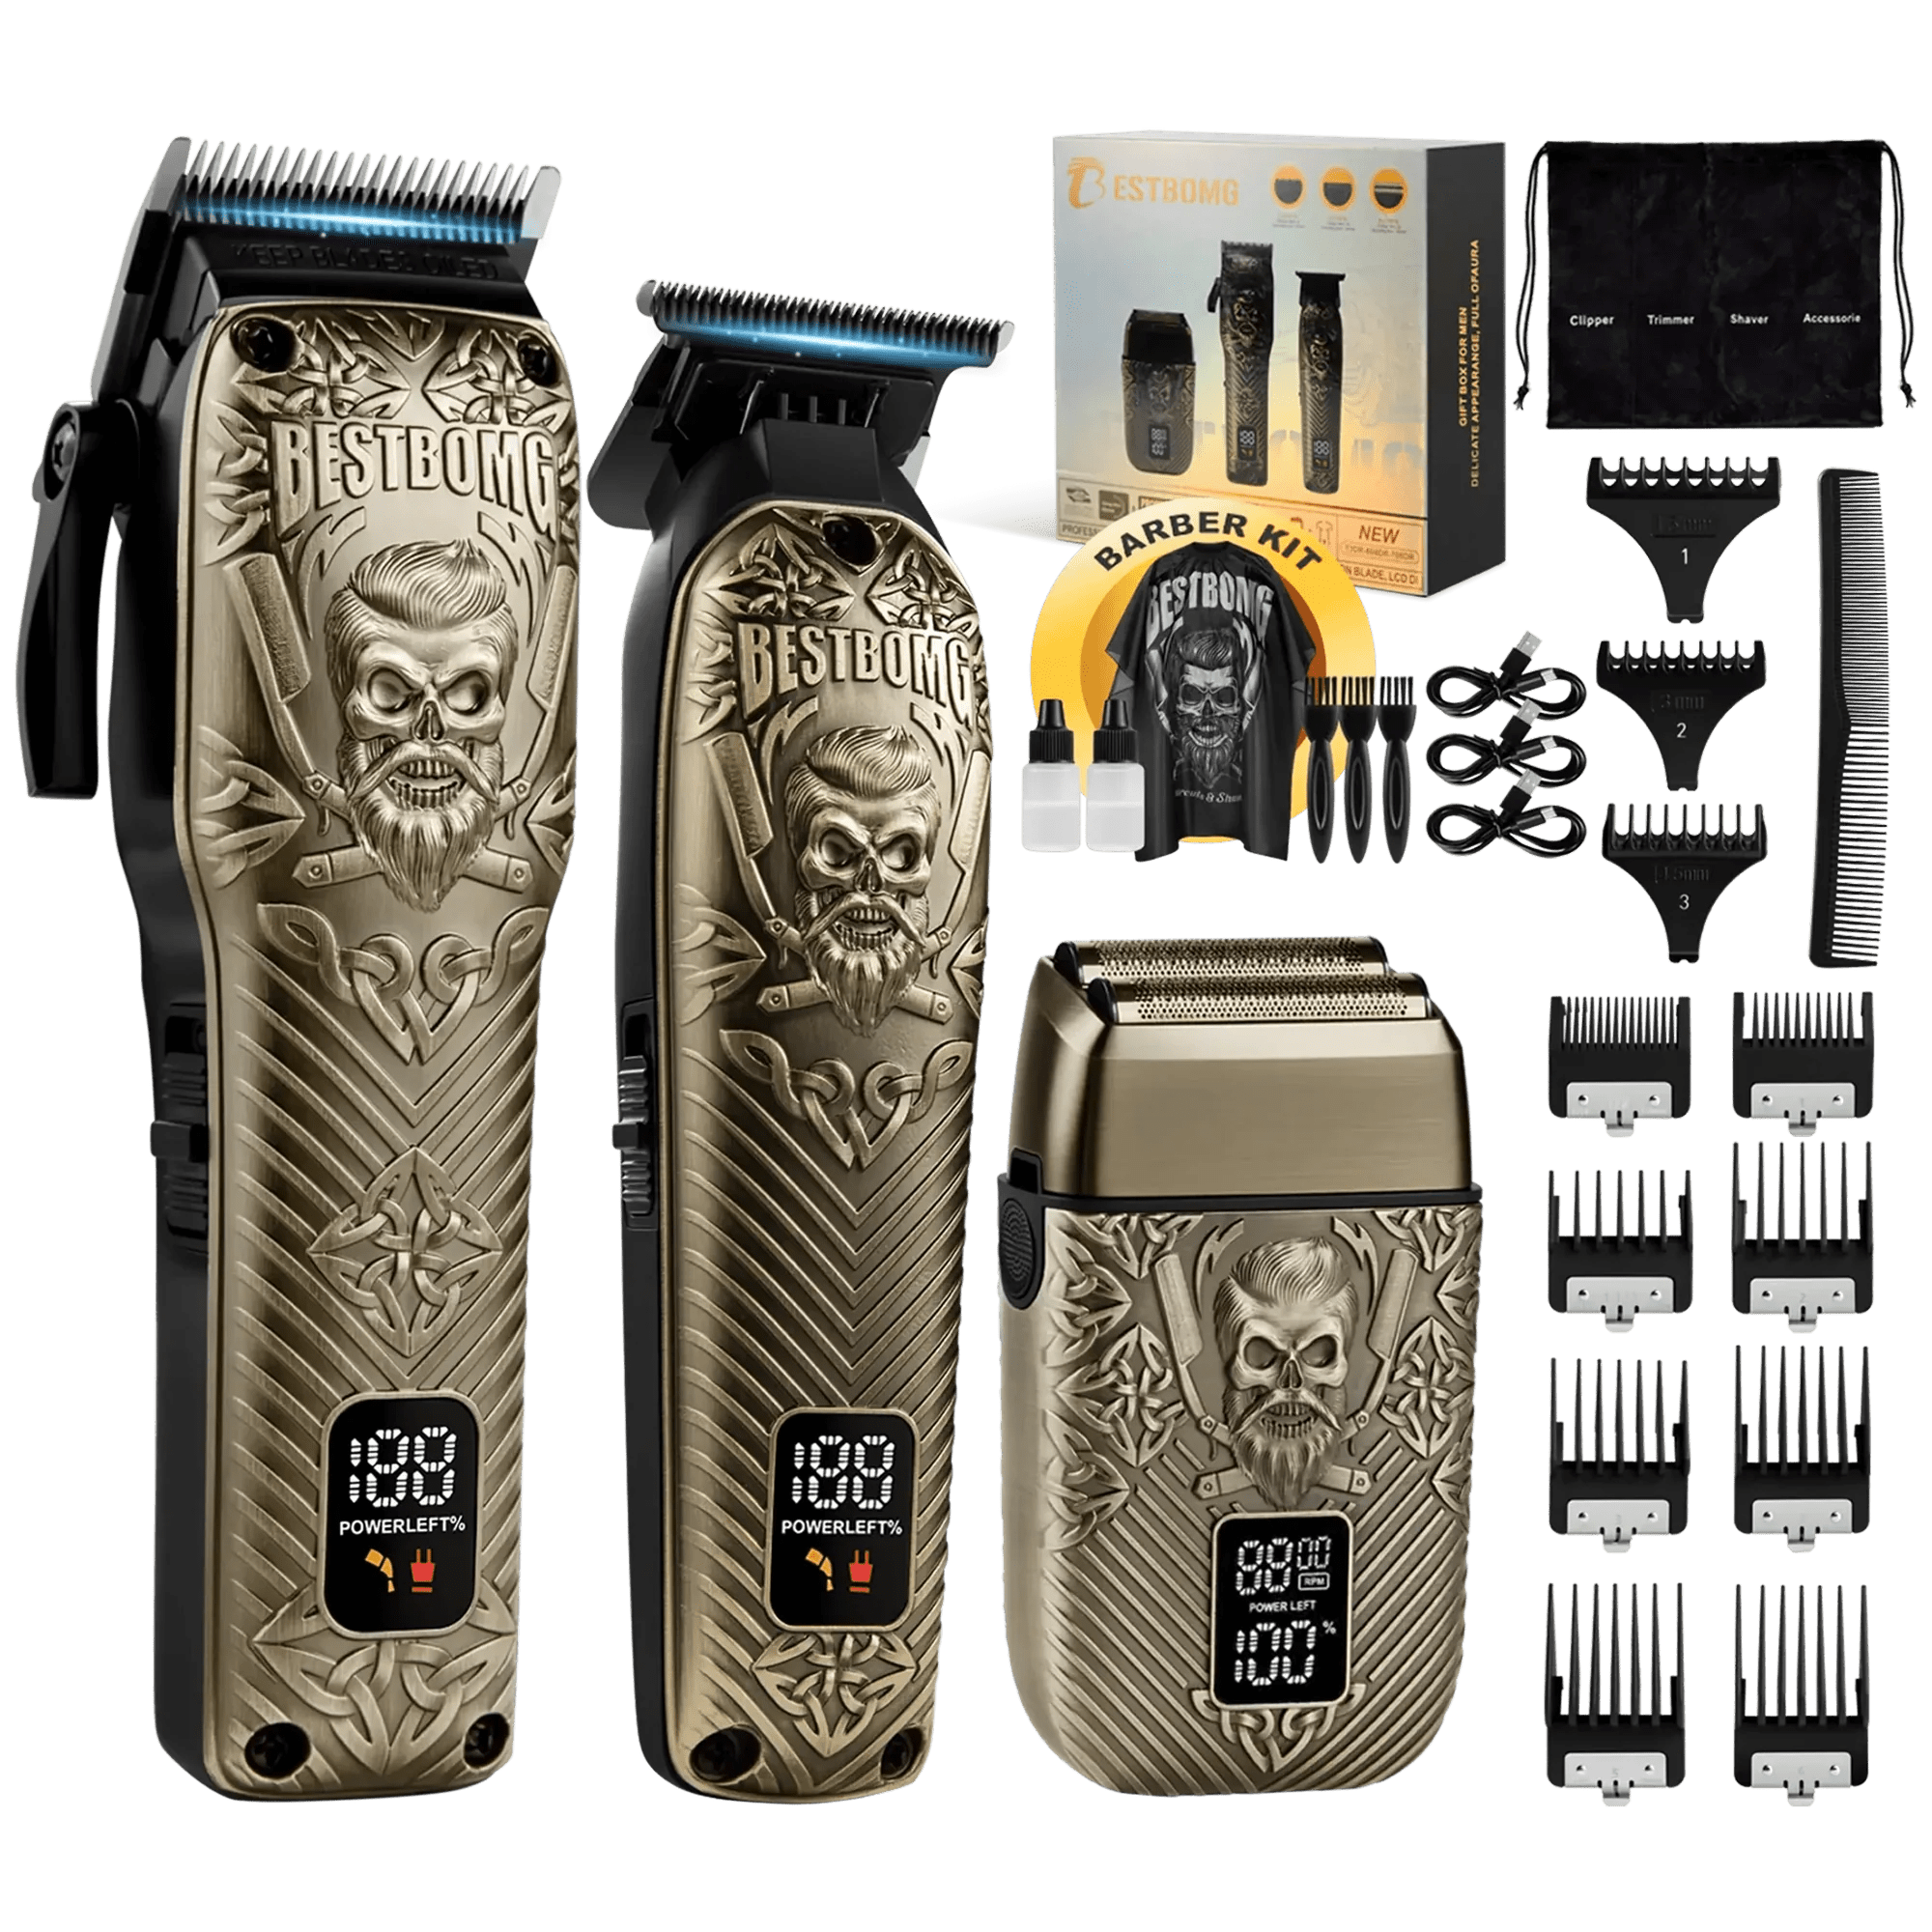
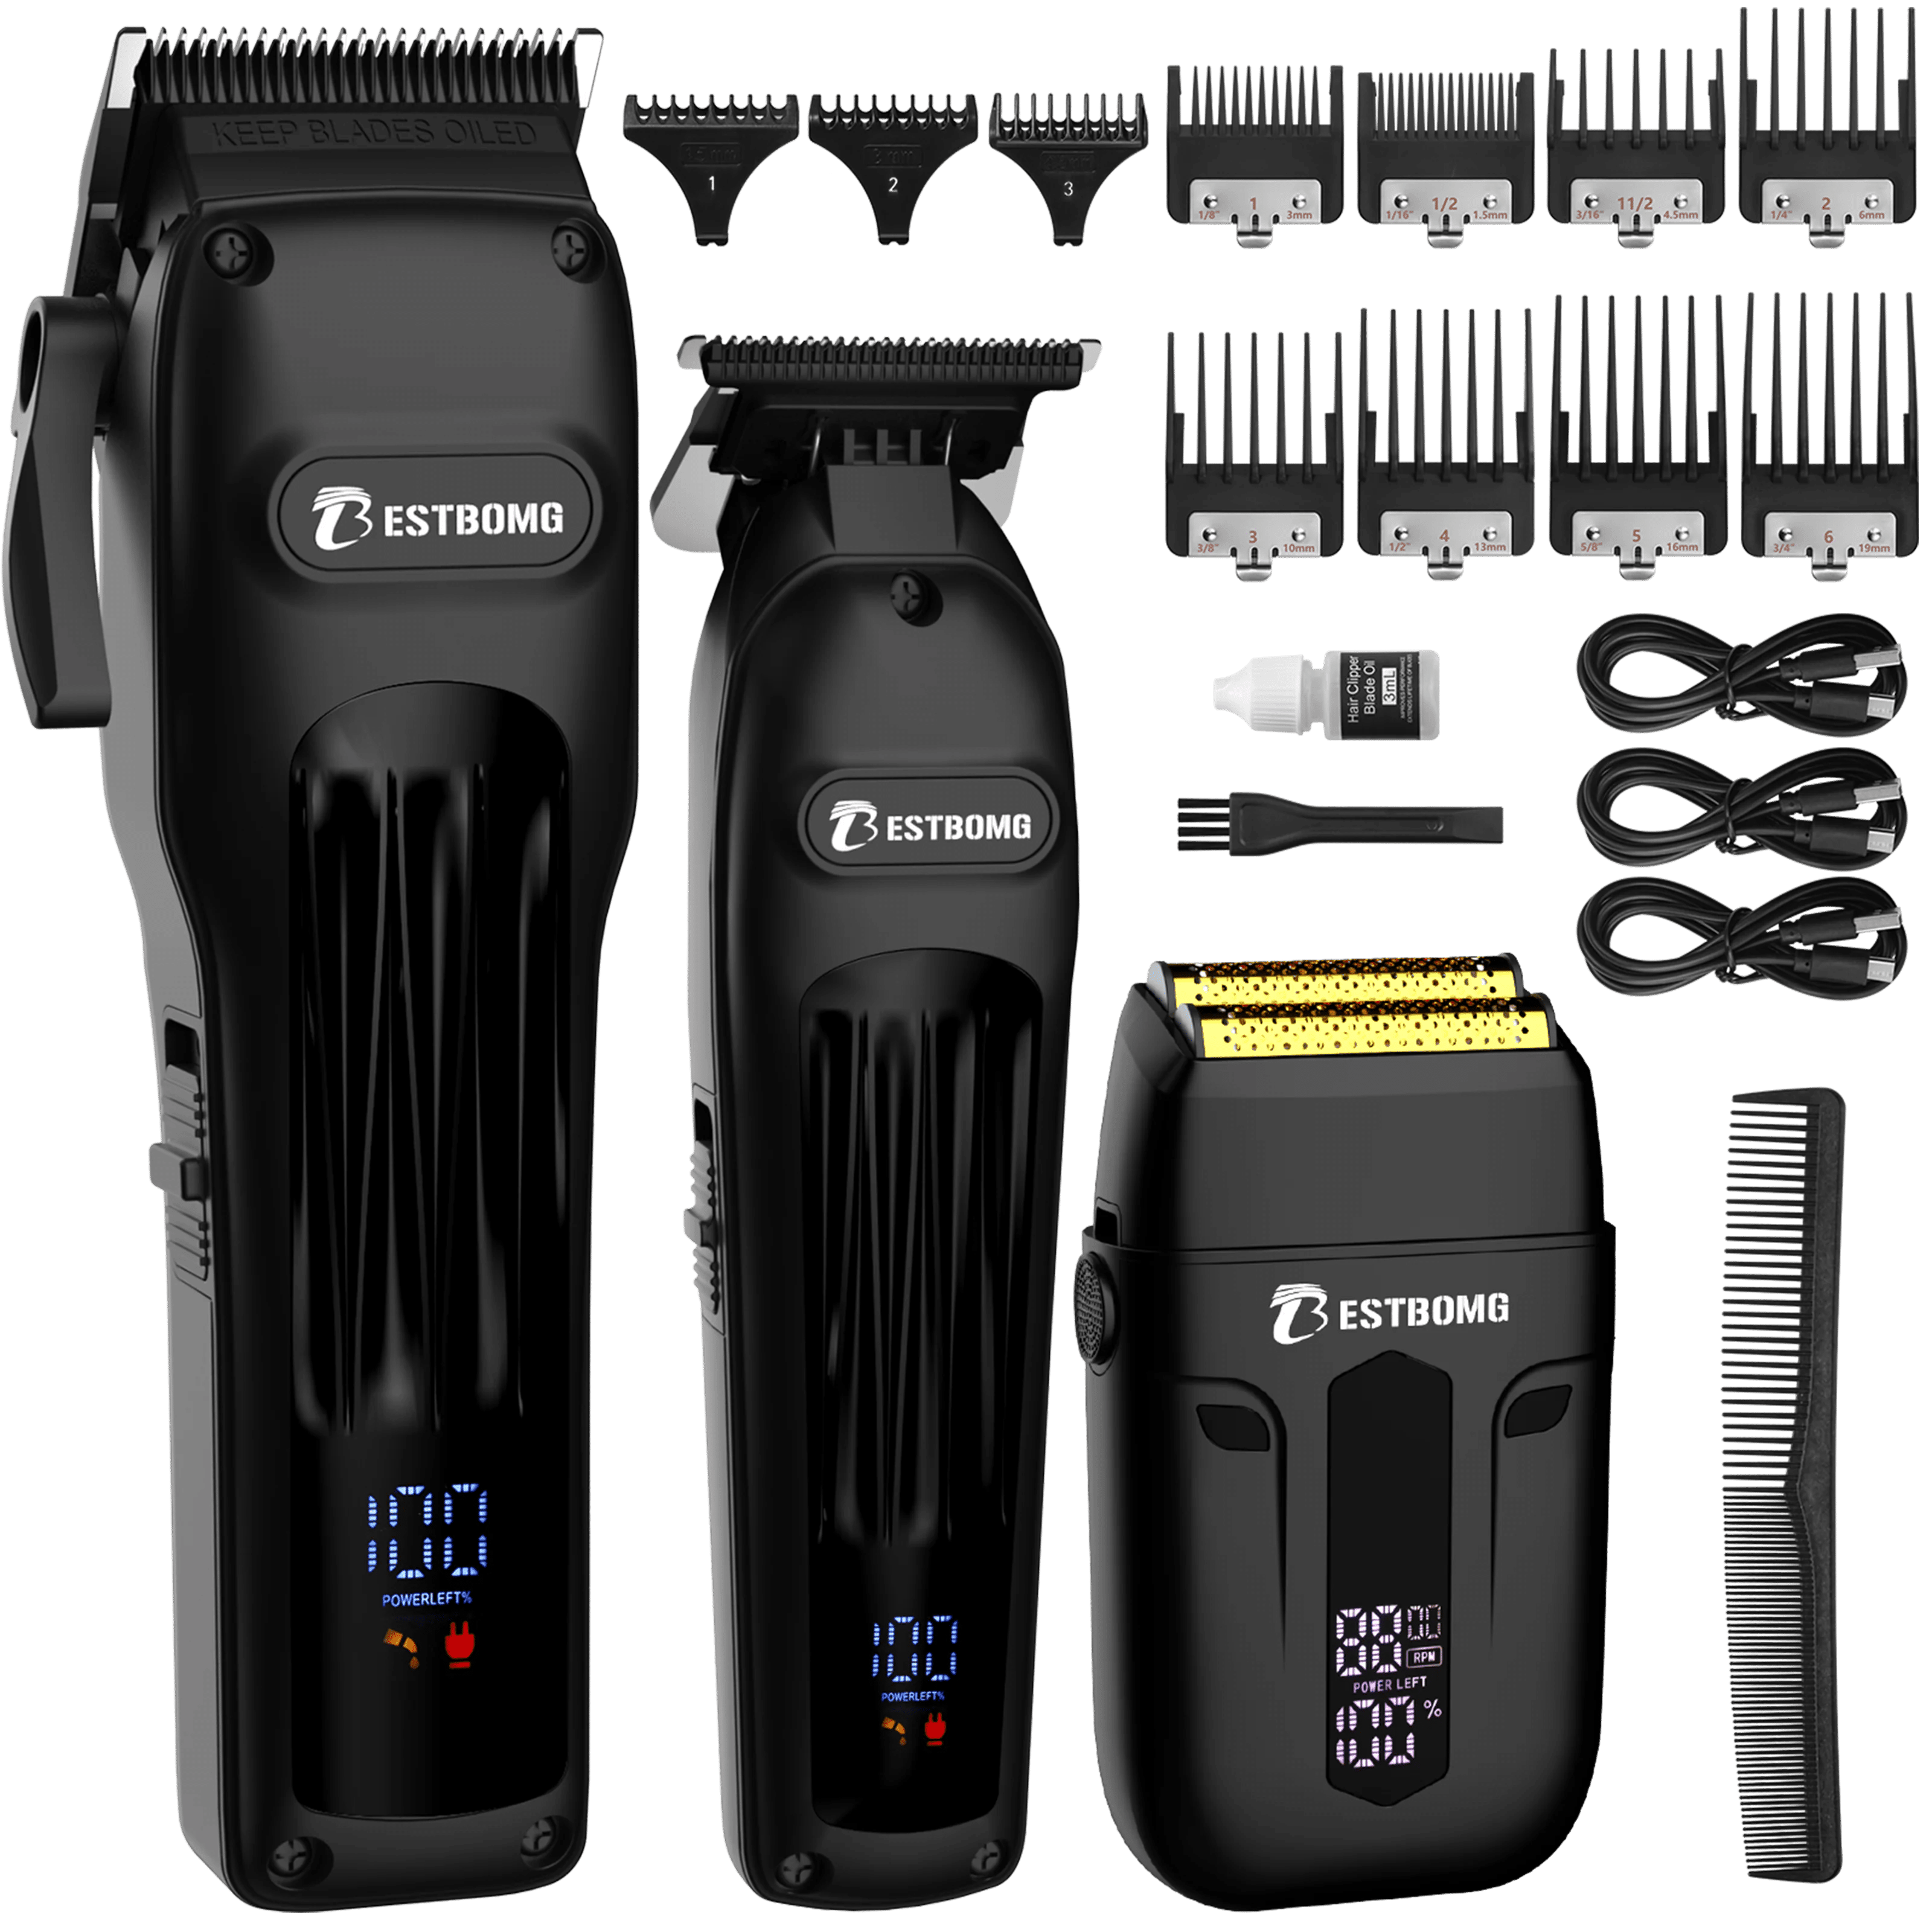
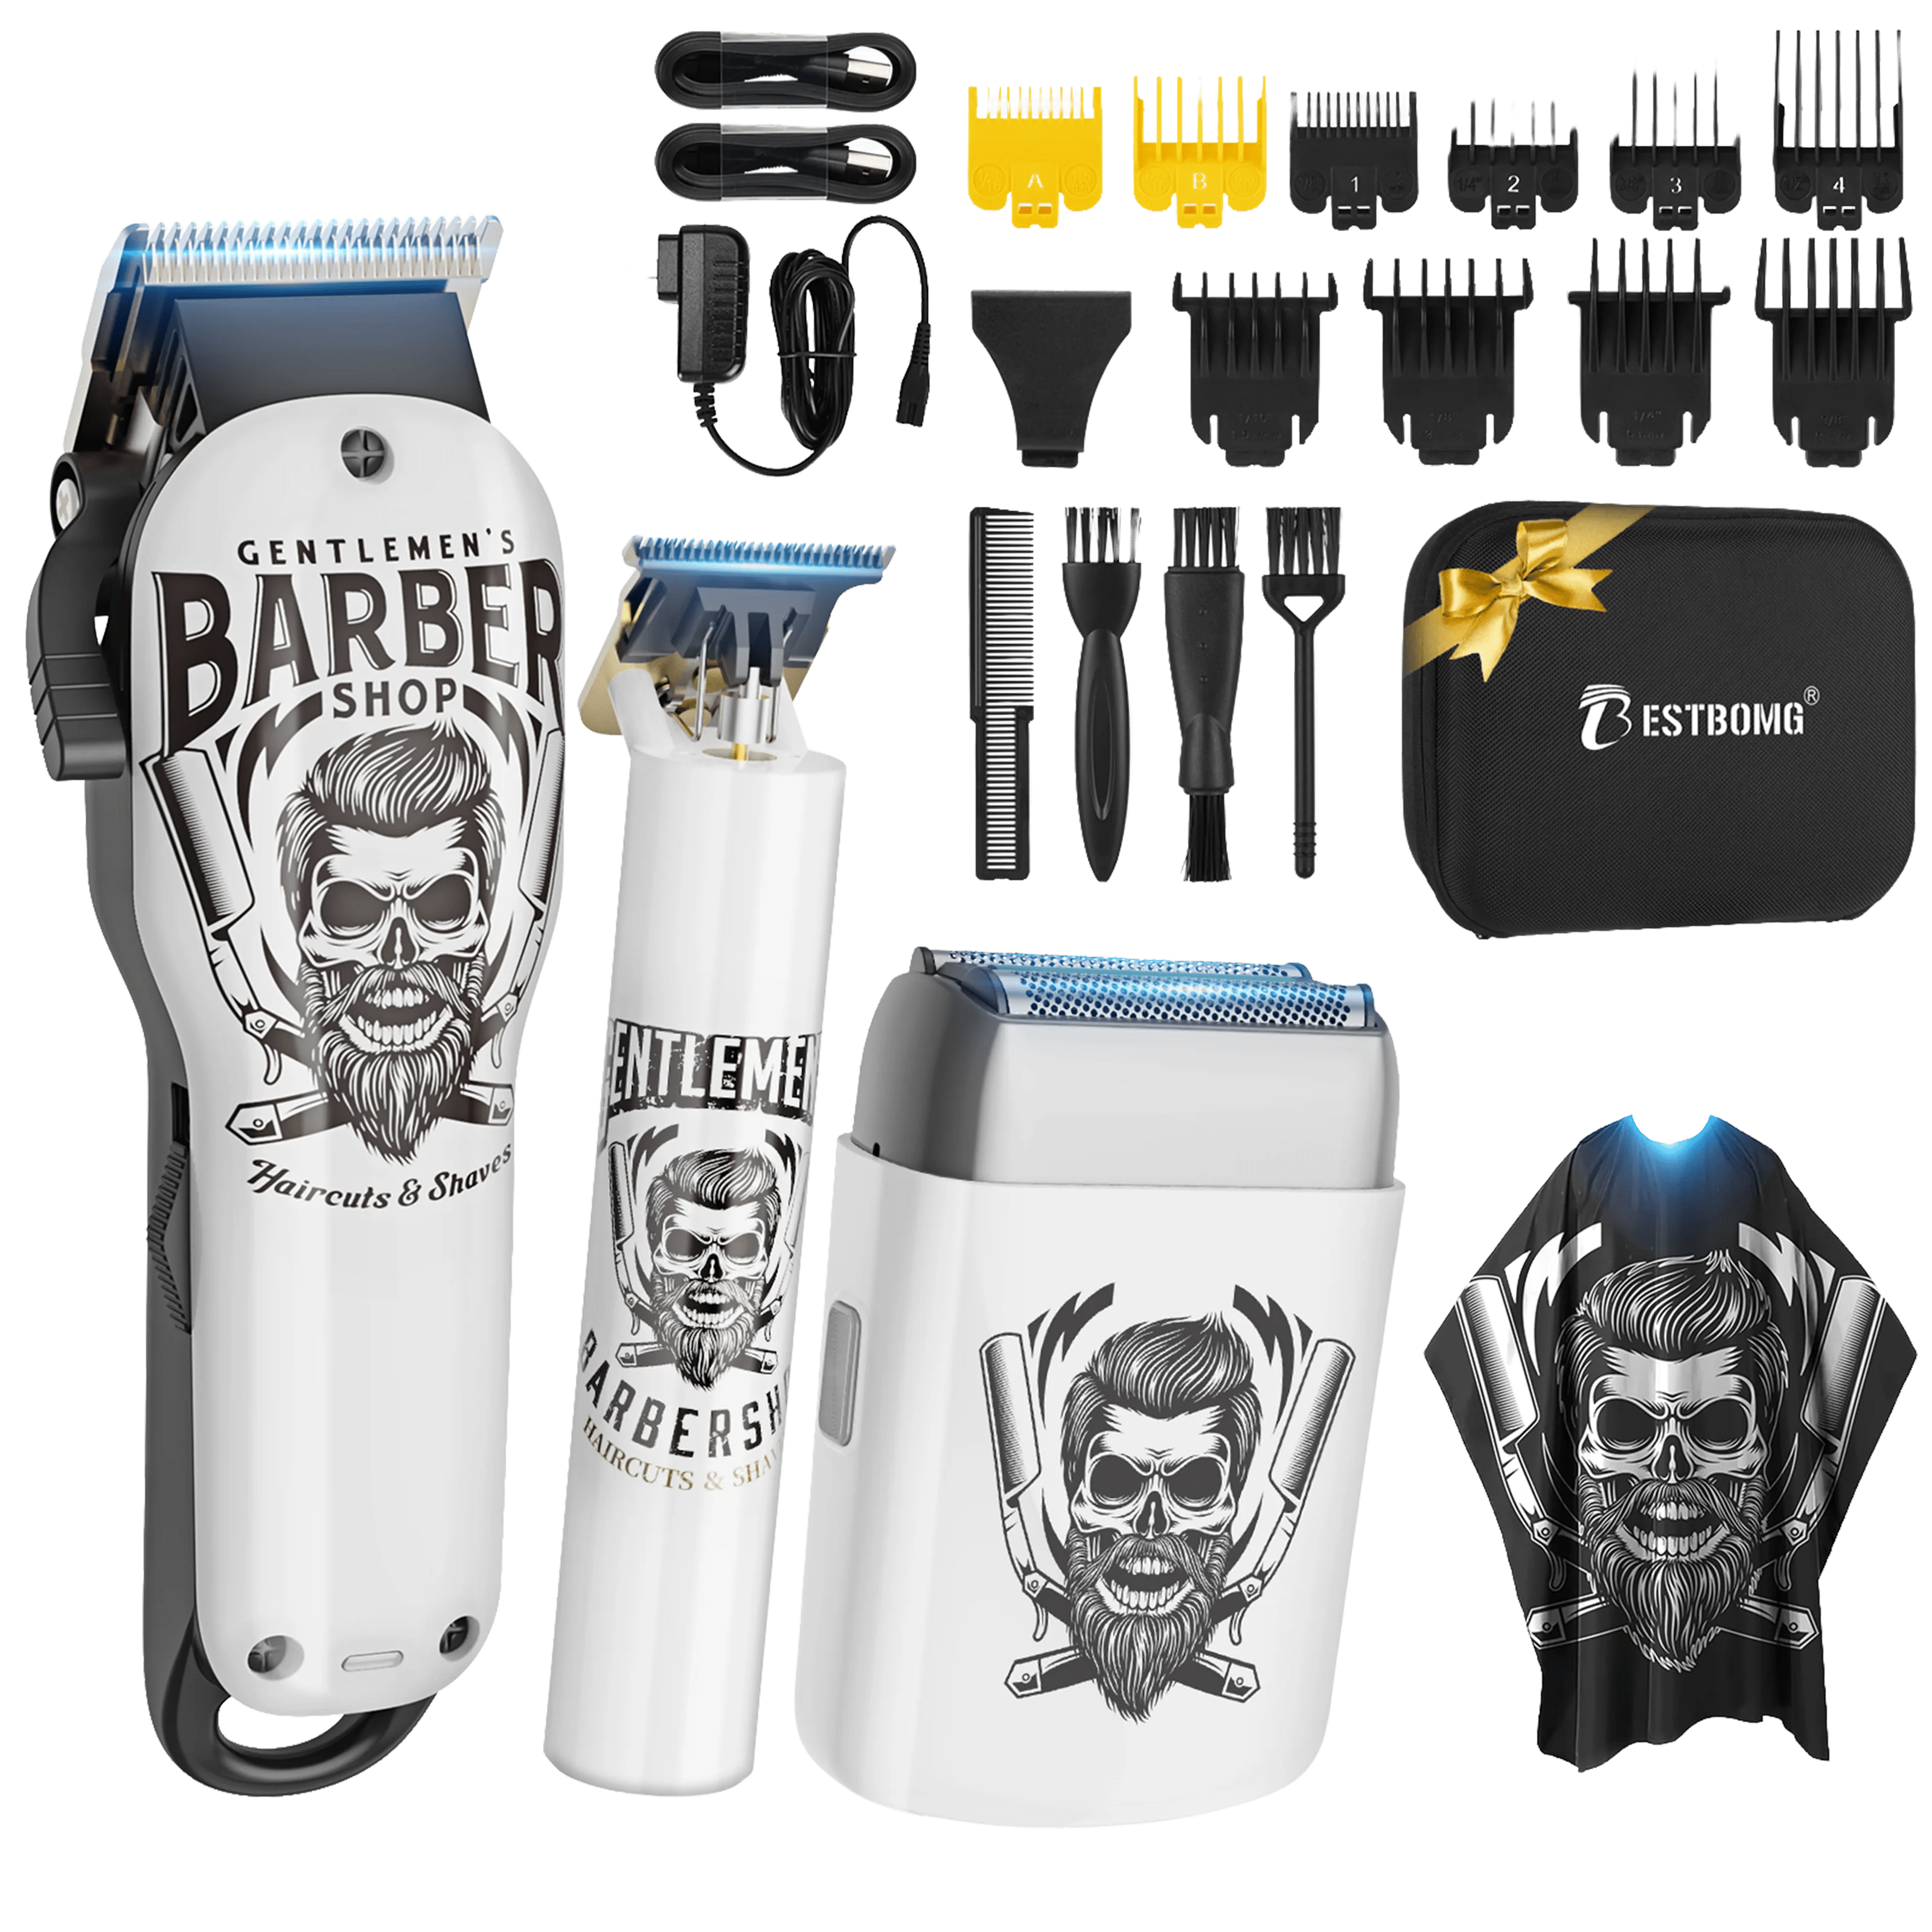
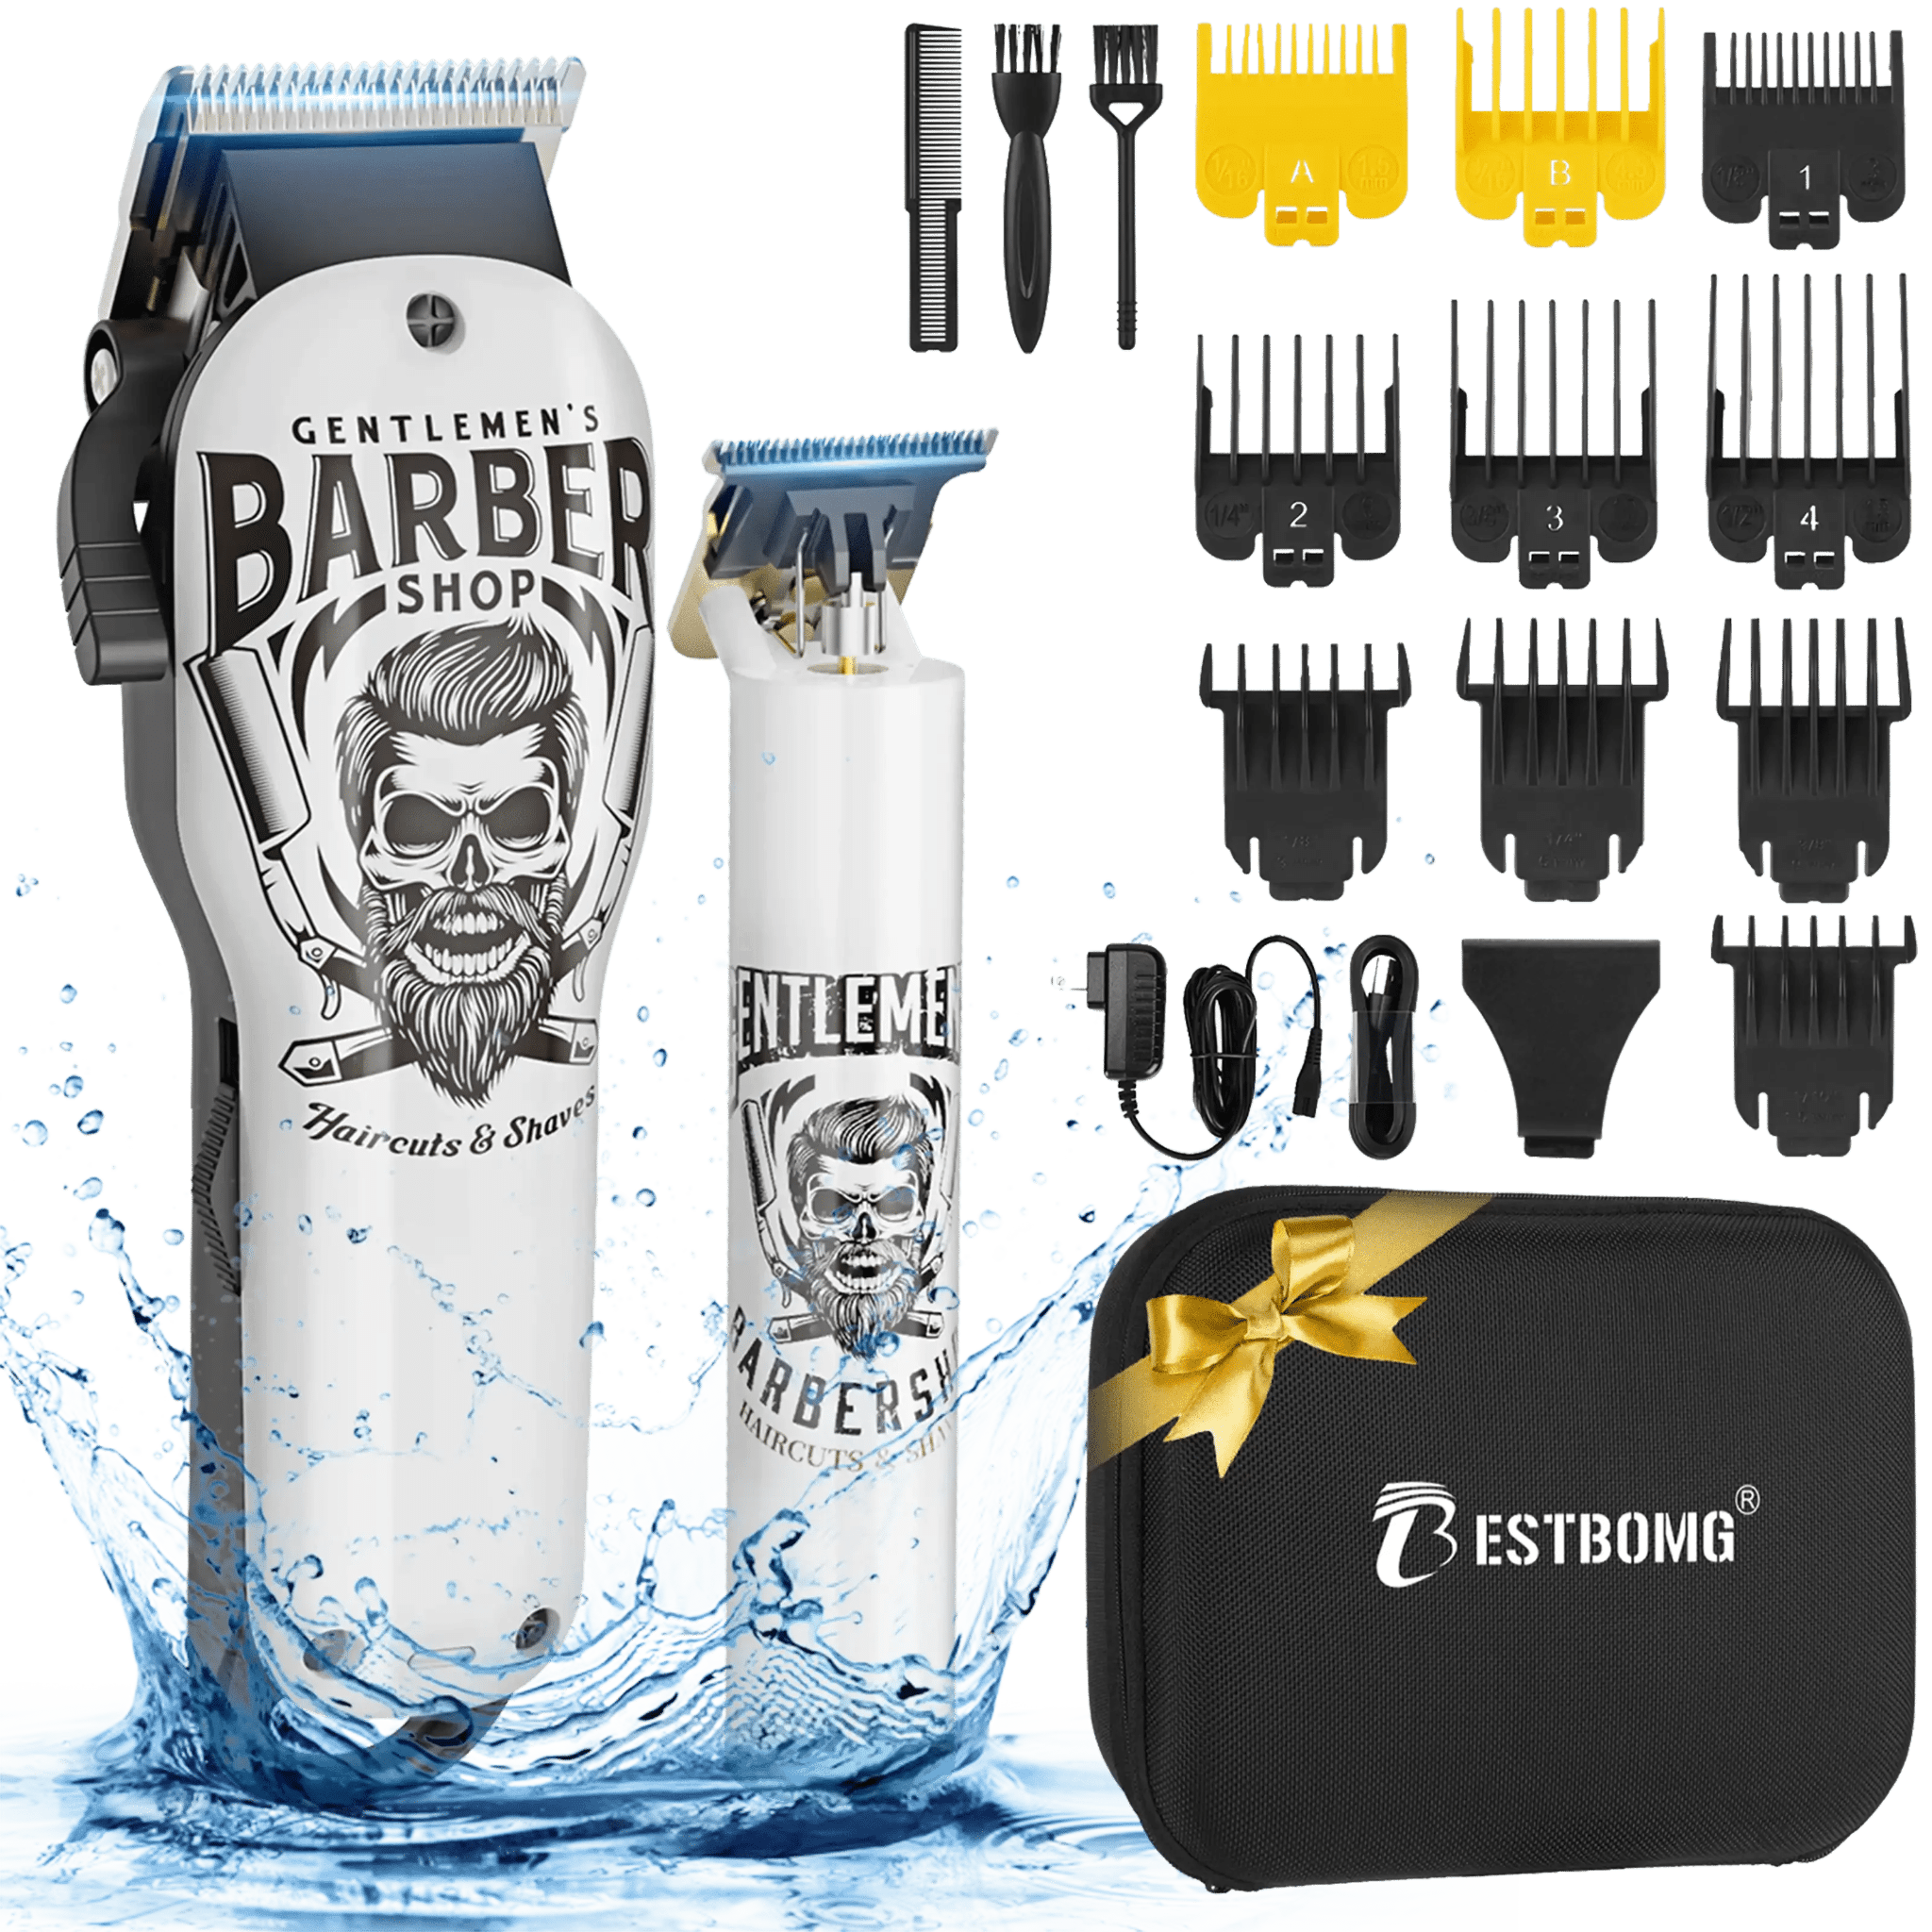
For a complete setup, consider starter home haircut kits that include multiple guards, oil, and a storage caseuseful if you plan to groom multiple pets or humans in your household.
Pre-Clipping Preparation

Step 1: Bathe and Dry Thoroughly
Dirt, oils, and debris dull blades quickly and cause uneven cuts. Wash your dog with a gentle shampoo, rinse completely, and towel-dry. Use a blow dryer on a cool or low setting to finishdamp hair clumps and clogs clippers.
Step 2: Brush Out All Tangles
Run a slicker brush through the entire coat, working in sections. Pay extra attention to areas behind the ears, under the legs, and around the tail where mats form. If you encounter a stubborn knot, hold the base of the hair near the skin and gently work the brush through to avoid pulling.
Step 3: Desensitize Your Dog to the Clipper
Turn the clipper on and let your dog hear the sound from a few feet away. Reward calm behavior with treats. Gradually move the clipper closer (still off the body) so they feel the vibration. This process can take 5–10 minutes for anxious dogs but reduces stress during the actual trim.
How to Use Dog Clippers: Step-by-Step Technique

Step 1: Oil the Blades
Apply 2–3 drops of clipper oil along the blade teeth before starting. Turn the clipper on briefly to distribute the oil. Re-oil every 5–10 minutes during longer sessions to maintain smooth operation and prevent overheating. For maintenance details, see this hair clipper overview on Wikipedia.
Step 2: Choose the Right Guard Comb
Start with a longer guard (e.g., #4 or #5) to avoid cutting too short. You can always go shorter on a second pass, but you can't add length back. Guards snap onto the blade and create a buffer between the cutting edge and the skin.
|
Guard Number |
Length Left on Coat |
|
#10 |
1/16 inch (very short, for sanitary areas) |
|
#7 |
1/8 inch |
|
#5 |
1/4 inch |
|
#4 |
3/8 inch |
|
#3 |
1/2 inch |
Step 3: Hold the Clipper Correctly
Grip the clipper like a pencil or forkthumb on one side, fingers supporting the bottom. Keep your wrist relaxed. Tension in your hand transfers to the dog and makes smooth strokes harder.
Step 4: Keep the Blade Flat Against the Skin
Tilt the blade and you risk nicking or cutting the skin. The entire cutting surface should glide along the body. If you're working over a bony area (shoulder blade, hip), hold the skin taut with your free hand to create a smooth surface.
Step 5: Clip in the Direction of Hair Growth
Move the clipper with the grain, not against it, for an even finish. Going against the grain leaves harsh lines and increases the chance of irritation. Use long, smooth strokesshort, choppy movements create ridges.
Step 6: Work Methodically
Start at the back of the neck and move down the body in sections:
- Neck and shoulders
- Back and sides
- Chest and belly (use caution around nipples and genitals)
- Legs (hold each leg steady, clip downward)
- Face and ears (switch to a shorter guard or precision trimmer; lay ears flat and clip from center outward)
Step 7: Check Blade Temperature Every Few Minutes
Touch the back of the blade to your wrist or the back of your hand. If it feels uncomfortably warm, turn off the clipper and swap in a cool blade, or pause for 5 minutes. Overheated blades can burn your dog's skin.
Step 8: Use a Slicker Brush to Back-Brush Lines
If you notice uneven streaks after clipping, brush the area against the grain (back-brushing) to lift the hair, then re-clip lightly. This technique blends rough patches.
Common Mistakes and How to Avoid Them
Clipping Too Fast
Rushing causes skipped patches and uneven length. Slow, deliberate strokes produce cleaner results.
Skipping the Bath
Dirty coats gum up blades and create friction. Always start with a clean, dry dog.
Ignoring Blade Heat
A hot blade feels like a mild burn to your dog and can cause redness or discomfort. Check temperature frequently and switch blades or pause as needed.
Cutting Against the Grain on the First Pass
This leaves harsh clipper marks and increases the risk of razor burn. Save against-the-grain work for touch-ups only, and use a longer guard.
Not Holding Skin Taut in Loose Areas
The neck, armpits, and belly have loose, wrinkled skin that can fold under the blade. Use your free hand to stretch the skin gently, creating a flat clipping surface.
Special Considerations for First-Timers
Nervous Dogs
If your dog pulls away or trembles, stop immediately. Offer treats, pet them calmly, and resume only when they relax. Break the session into multiple short intervals (10–15 minutes each) rather than forcing a full groom in one sitting.
Sensitive Areas
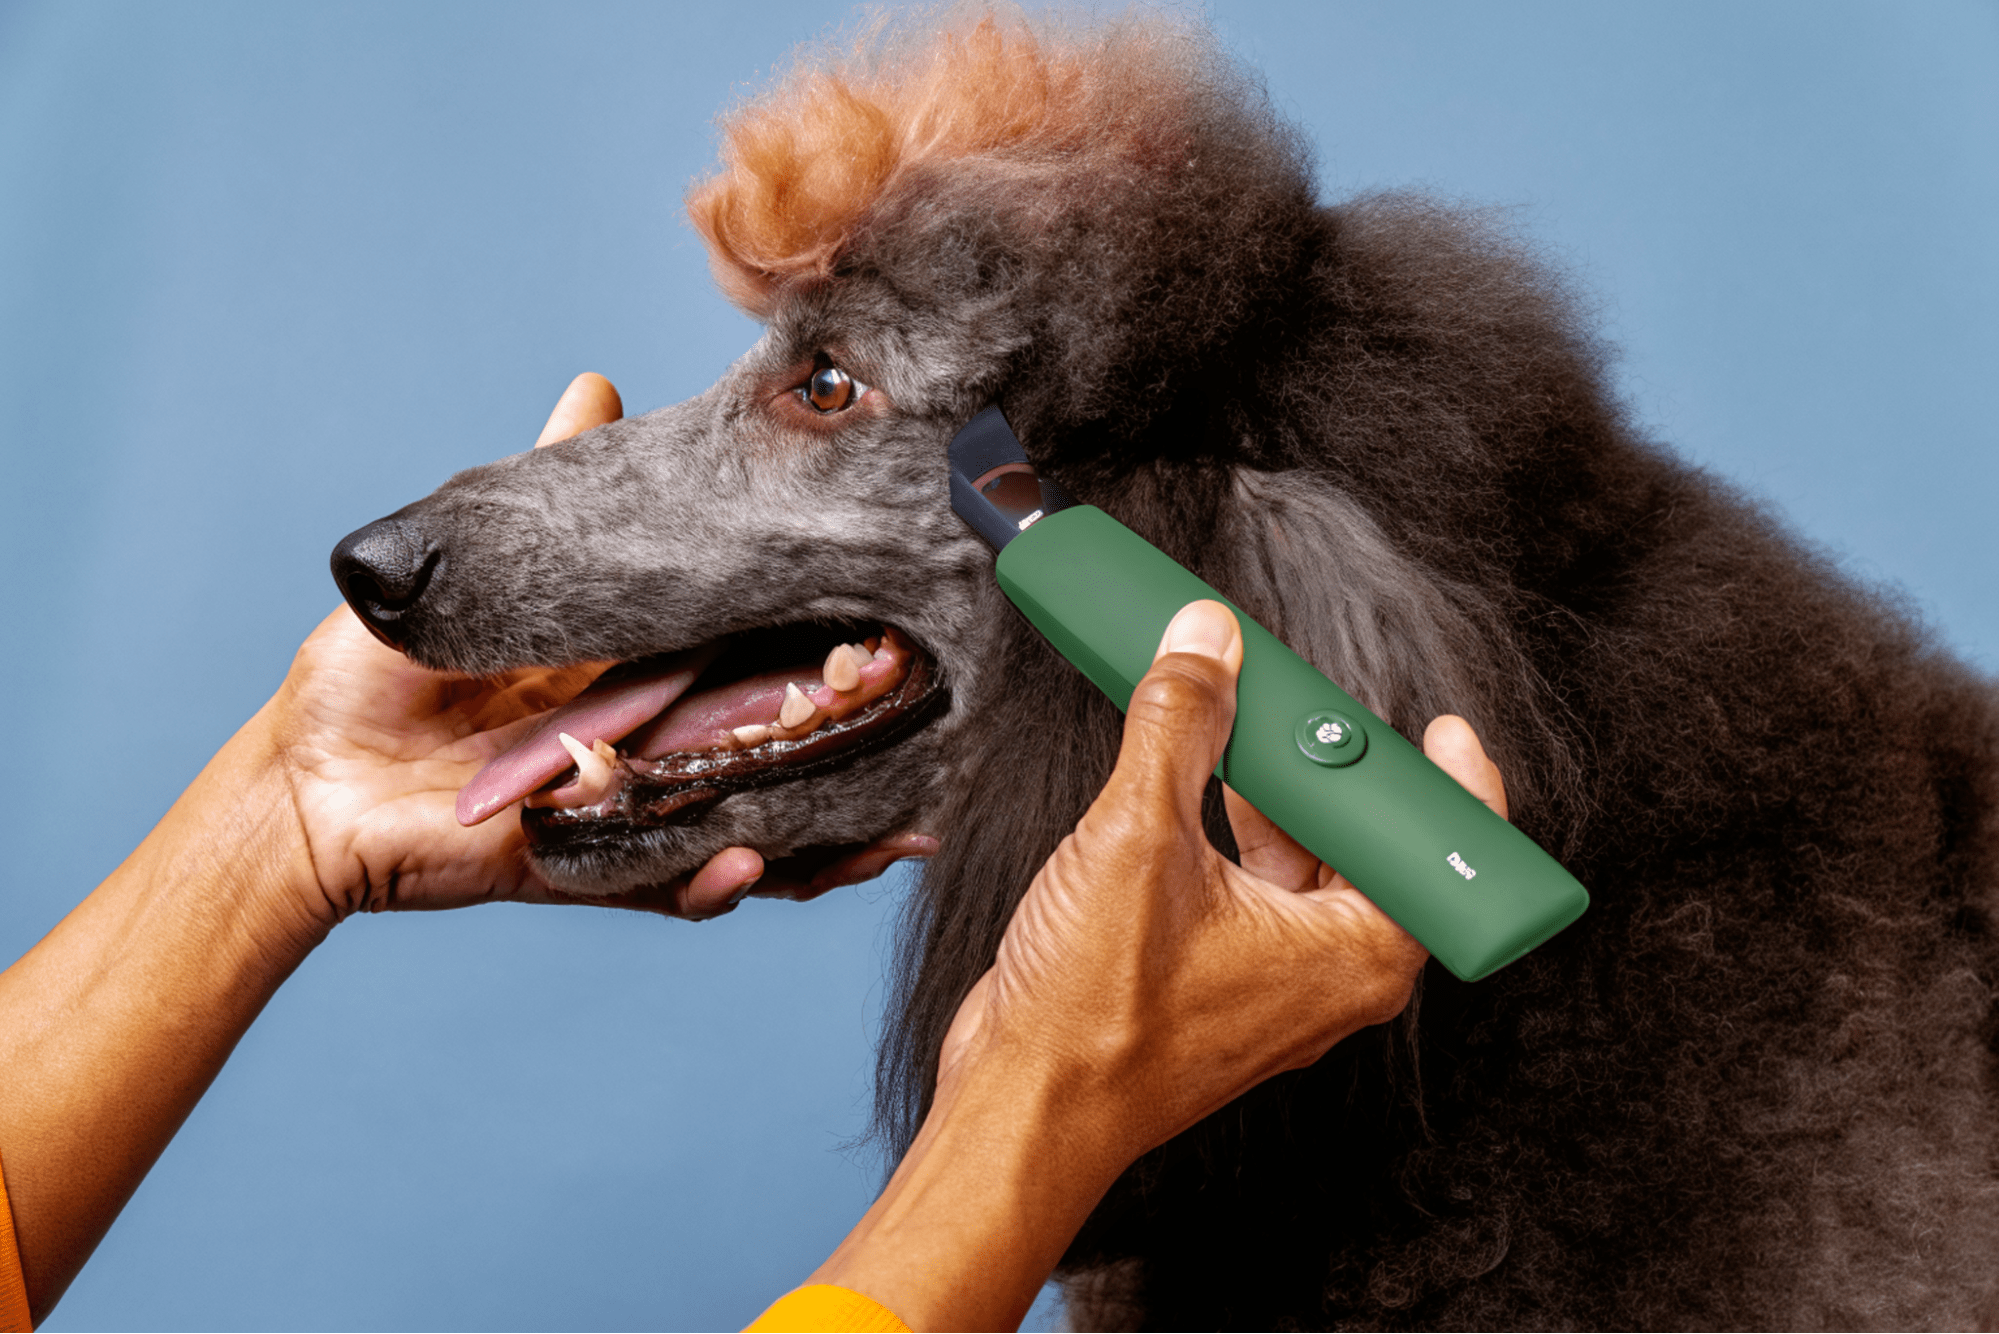
Ears: Lay the ear flat against the head. Clip from the base of the ear outward, using a #10 blade for a close finish or a longer guard for a fluffier look.
Paws: Trim the hair between the paw pads carefully. Hold the paw steady, spread the toes gently, and use a precision trimmer or small guard.
Sanitary Zones: Use a #10 blade around the anus and genitals. Go slowly, keep the blade flat, and consider having a helper hold the tail or steady the dog.
Thick or Matted Coats
If the coat is heavily matted, don't force the clipper throughit will snag and hurt the dog. Use a shorter blade (#10 or #7) to cut beneath the mat, or carefully cut the mat out with scissors before clipping.
Clipper Maintenance for Longevity
After Every Use
- Remove loose hair from the blade with a brush.
- Rinse the blade (if waterproof) or wipe with a damp cloth.
- Apply 2–3 drops of oil and run the clipper briefly to coat the teeth.
- Store in a dry, dust-free case.
Every Few Months
- Disassemble the blade (if removable) and clean thoroughly.
- Check for dull or damaged teeth. Replace or sharpen blades as needed.
- Inspect the motor housing for hair buildup and clear vents.
Regular maintenance extends the life of your clipper and ensures smooth, safe cuts every time.
When to Call a Professional
Signs You Should Seek Help
- Severe matting: Mats close to the skin require professional tools and expertise to remove safely.
- Aggressive behavior: If your dog snaps, bites, or becomes uncontrollably stressed, a professional groomer or veterinary technician can sedate or restrain them safely.
- Complex breed cuts: Poodles, Schnauzers, and other breeds with specific show cuts benefit from professional styling.
- Skin issues: If you notice rashes, sores, or unusual lumps, stop clipping and consult a vet before proceeding.
Frequently Asked Questions
Can I use human hair clippers on my dog?
Yes, especially for larger dogs with coarse coats. Human clippers often have adjustable guards and powerful motors suitable for thick fur. However, ensure the clipper runs quietly to avoid startling your pet, and oil the blades regularly since dog hair can be denser than human hair.
How long does a first-time grooming session take?
Plan for 30–60 minutes for a simple body trim. This includes setup, desensitization, clipping, and breaks. Complex cuts or nervous dogs may take longer. Never rushyour dog's comfort and safety come first.
Do I clip a dog's coat wet or dry?
Always dry. Wet hair clumps, clogs blades, and creates uneven cuts. It also increases the risk of blade rust. Fully dry your dog after bathing before you begin clipping.
What guard size should I use for a beginner?
Start with a #4 or #5 guard (3/8 to 1/4 inch length). These leave enough hair to look natural while minimizing the chance of cutting too close. You can always switch to a shorter guard on the second pass if needed.
How do I know if the blade is too hot?
Touch the back of the blade to the inside of your wrist. If it feels uncomfortably warm or hot, turn off the clipper immediately. Swap in a cool blade or pause for 5–10 minutes. Overheated blades can burn your dog's skin.
Should I tip the clipper at an angle?
No. Keep the blade flat against the skin at all times. Angling the blade increases the risk of nicking or cutting the skin, especially over bony areas like the hips and spine.
Conclusion
Using a dog clipper for the first time requires patience, preparation, and a steady hand but the results are worth it. By bathing, brushing, and desensitizing your dog beforehand, then following methodical clipping techniques, you'll achieve a safe, comfortable trim that builds trust and saves money over time. Remember to oil your blades, monitor temperature, and take breaks as needed.
Ready to upgrade your grooming toolkit? Explore hair cutting kits that include multiple guards, maintenance oil, and storage solutions for both pet and human grooming needs.
Looking for something else?

How to Cut Baby Boy Hair with Clippers: Step-by-Step Guide
LEARN MORE
Do Hair Clippers Get Dull? Causes, Signs & Prevention
LEARN MORE
Can an Electric Shaver Cut You? Safety Facts & Prevention
LEARN MORE
How to Shave Balls with Electric Shaver: Safe Guide
LEARN MORELooking for something else?

Does Using Trimmer Increase Hair Growth? Facts & Myths
LEARN MORE
Best Hair Clippers for Men: Top Picks for Home & Pro Use
LEARN MORE
Best Professional Hair Clippers for Barbers: Top Picks
LEARN MOREYou may also like

Beard Trimmer-T9


Electric Shaver Y4

Further reading
Best Hair Clippers for Perfect Fades at Home
Clipper Lever Open vs Closed: What It Means (with mm)
Why You Need a Cordless Detailer Trimmer (And How to Pick the Right One)