


How to Touch Up Your Neckline: Complete DIY Guide
A clean neckline defines your entire haircut and makes the difference between looking polished or unkempt. Whether you're maintaining a fresh fade, shaping your beard neckline, or cleaning up between barber visits, learning how to touch up your neckline at home keeps you looking sharp.
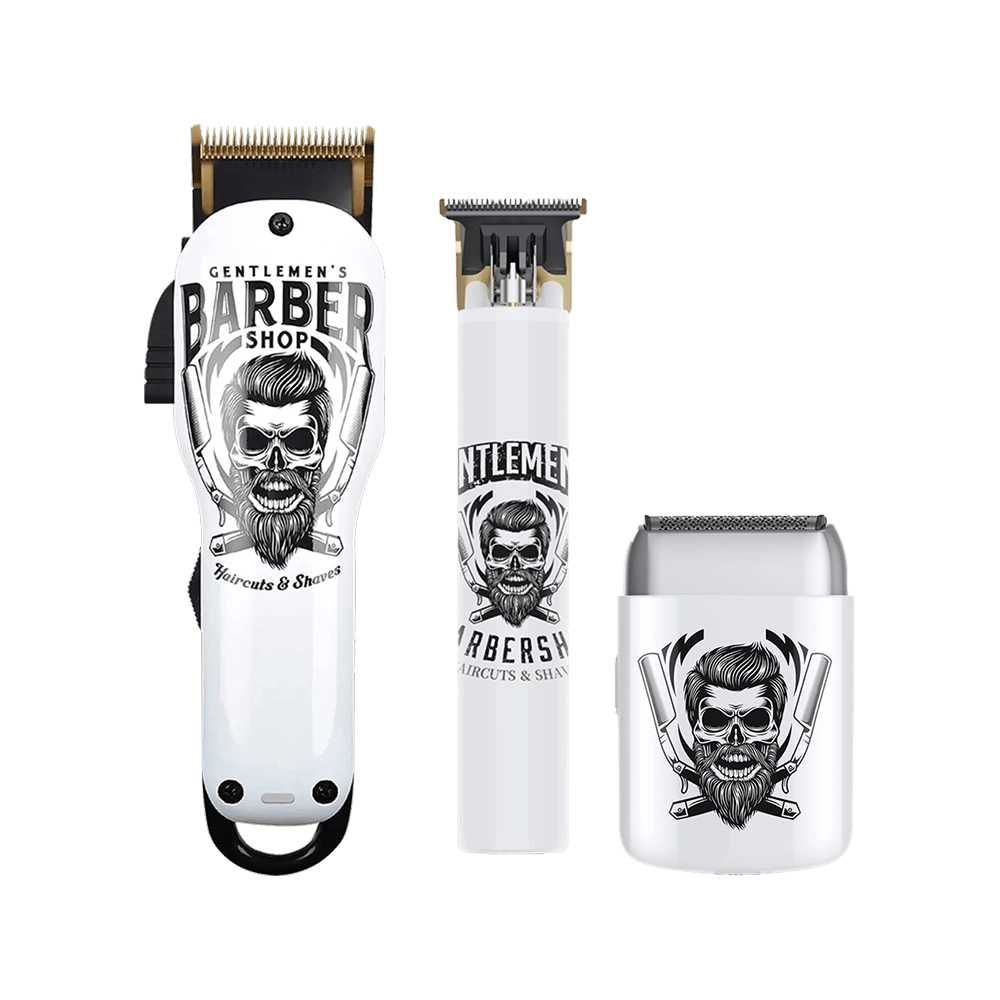
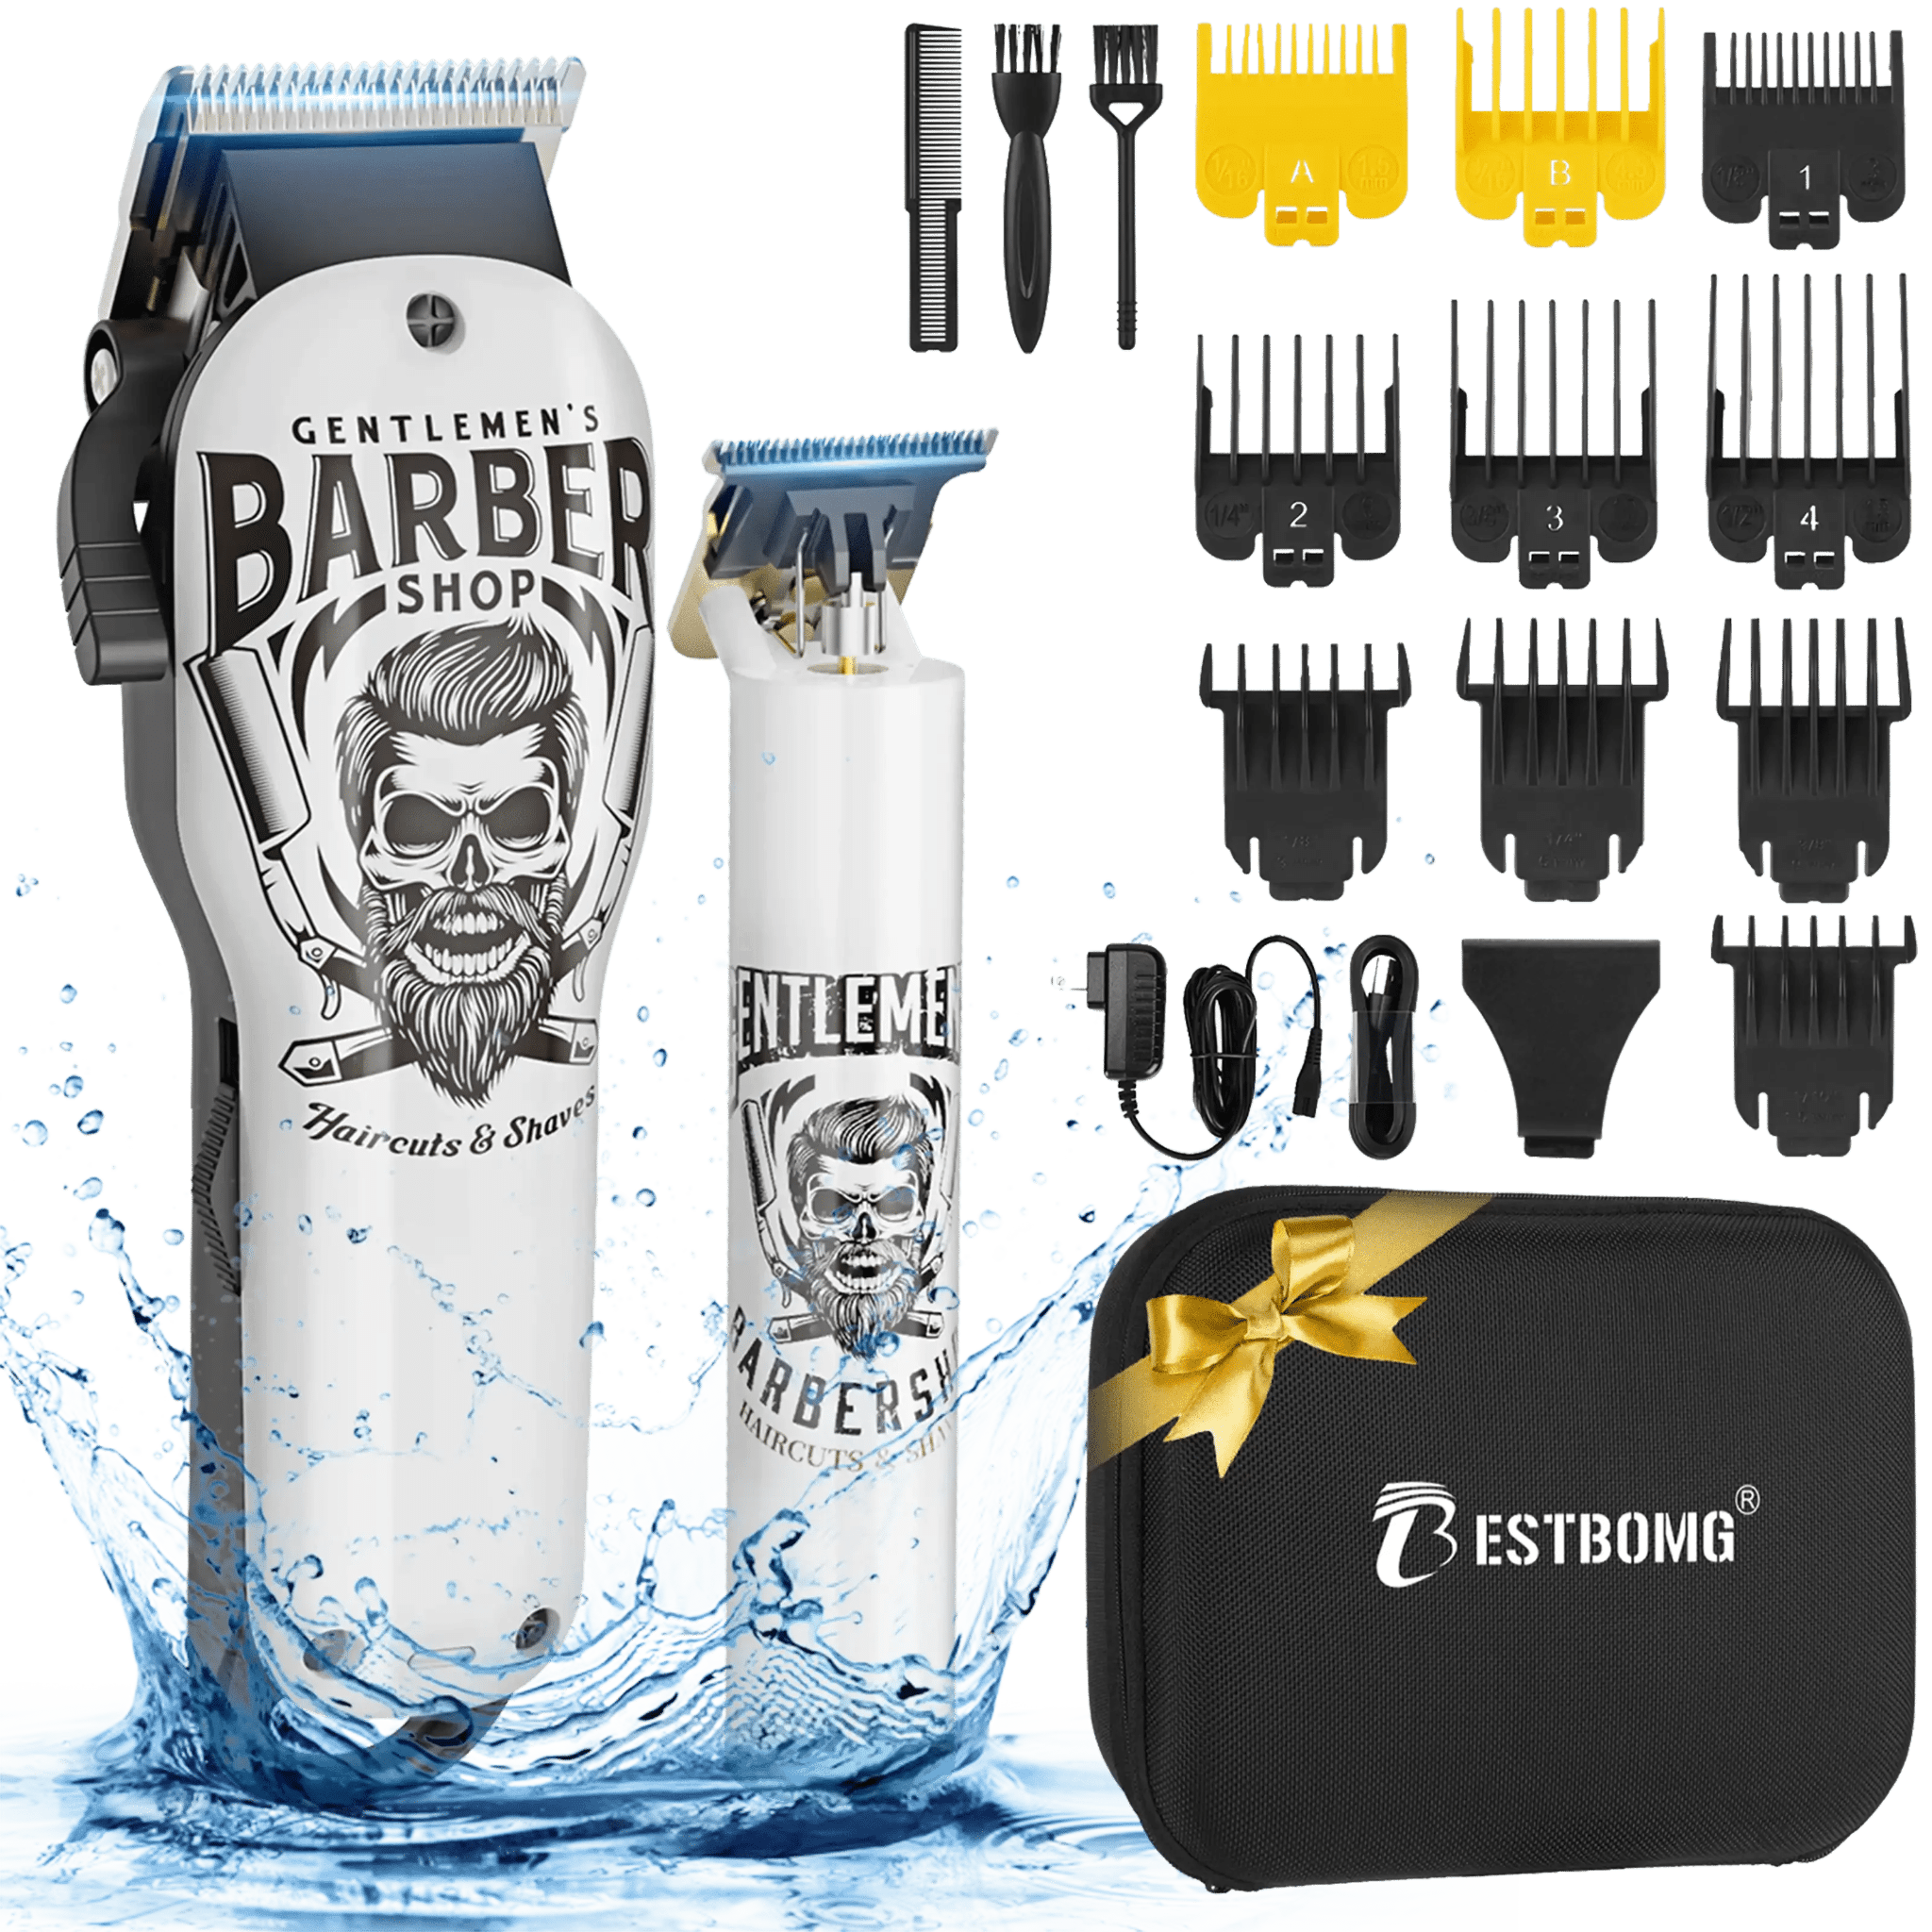
This guide covers exactly where your neckline should be, the best tools for the job, and step-by-step techniques for both hair and beard necklines. With a reliable precision beard trimmer for sharp lines, you can achieve professional results without leaving home.
Understanding Neckline Placement

Where Should Your Neckline Be?
The proper neckline placement depends on whether you're trimming hair or shaping a beard:
Hair Neckline
- Follows the natural curve of your hairline at the back of your neck
- Creates a gentle U-shape or rounded bottom
- Should look natural and blend with your head shape
- Typically starts where hair naturally thins at the nape
Beard Neckline
- Sits 1–2 finger-widths above your Adam's apple
- Forms a curved line from ear to ear under your jaw
- Should follow the natural jawbone contour
- Anything below this line gets shaved or trimmed to skin
The Two-Finger Rule
Place two fingers horizontally above your Adam's apple. This marks the lowest point of your beard neckline. The line curves upward from this center point toward each ear, following the underside of your jawbone.
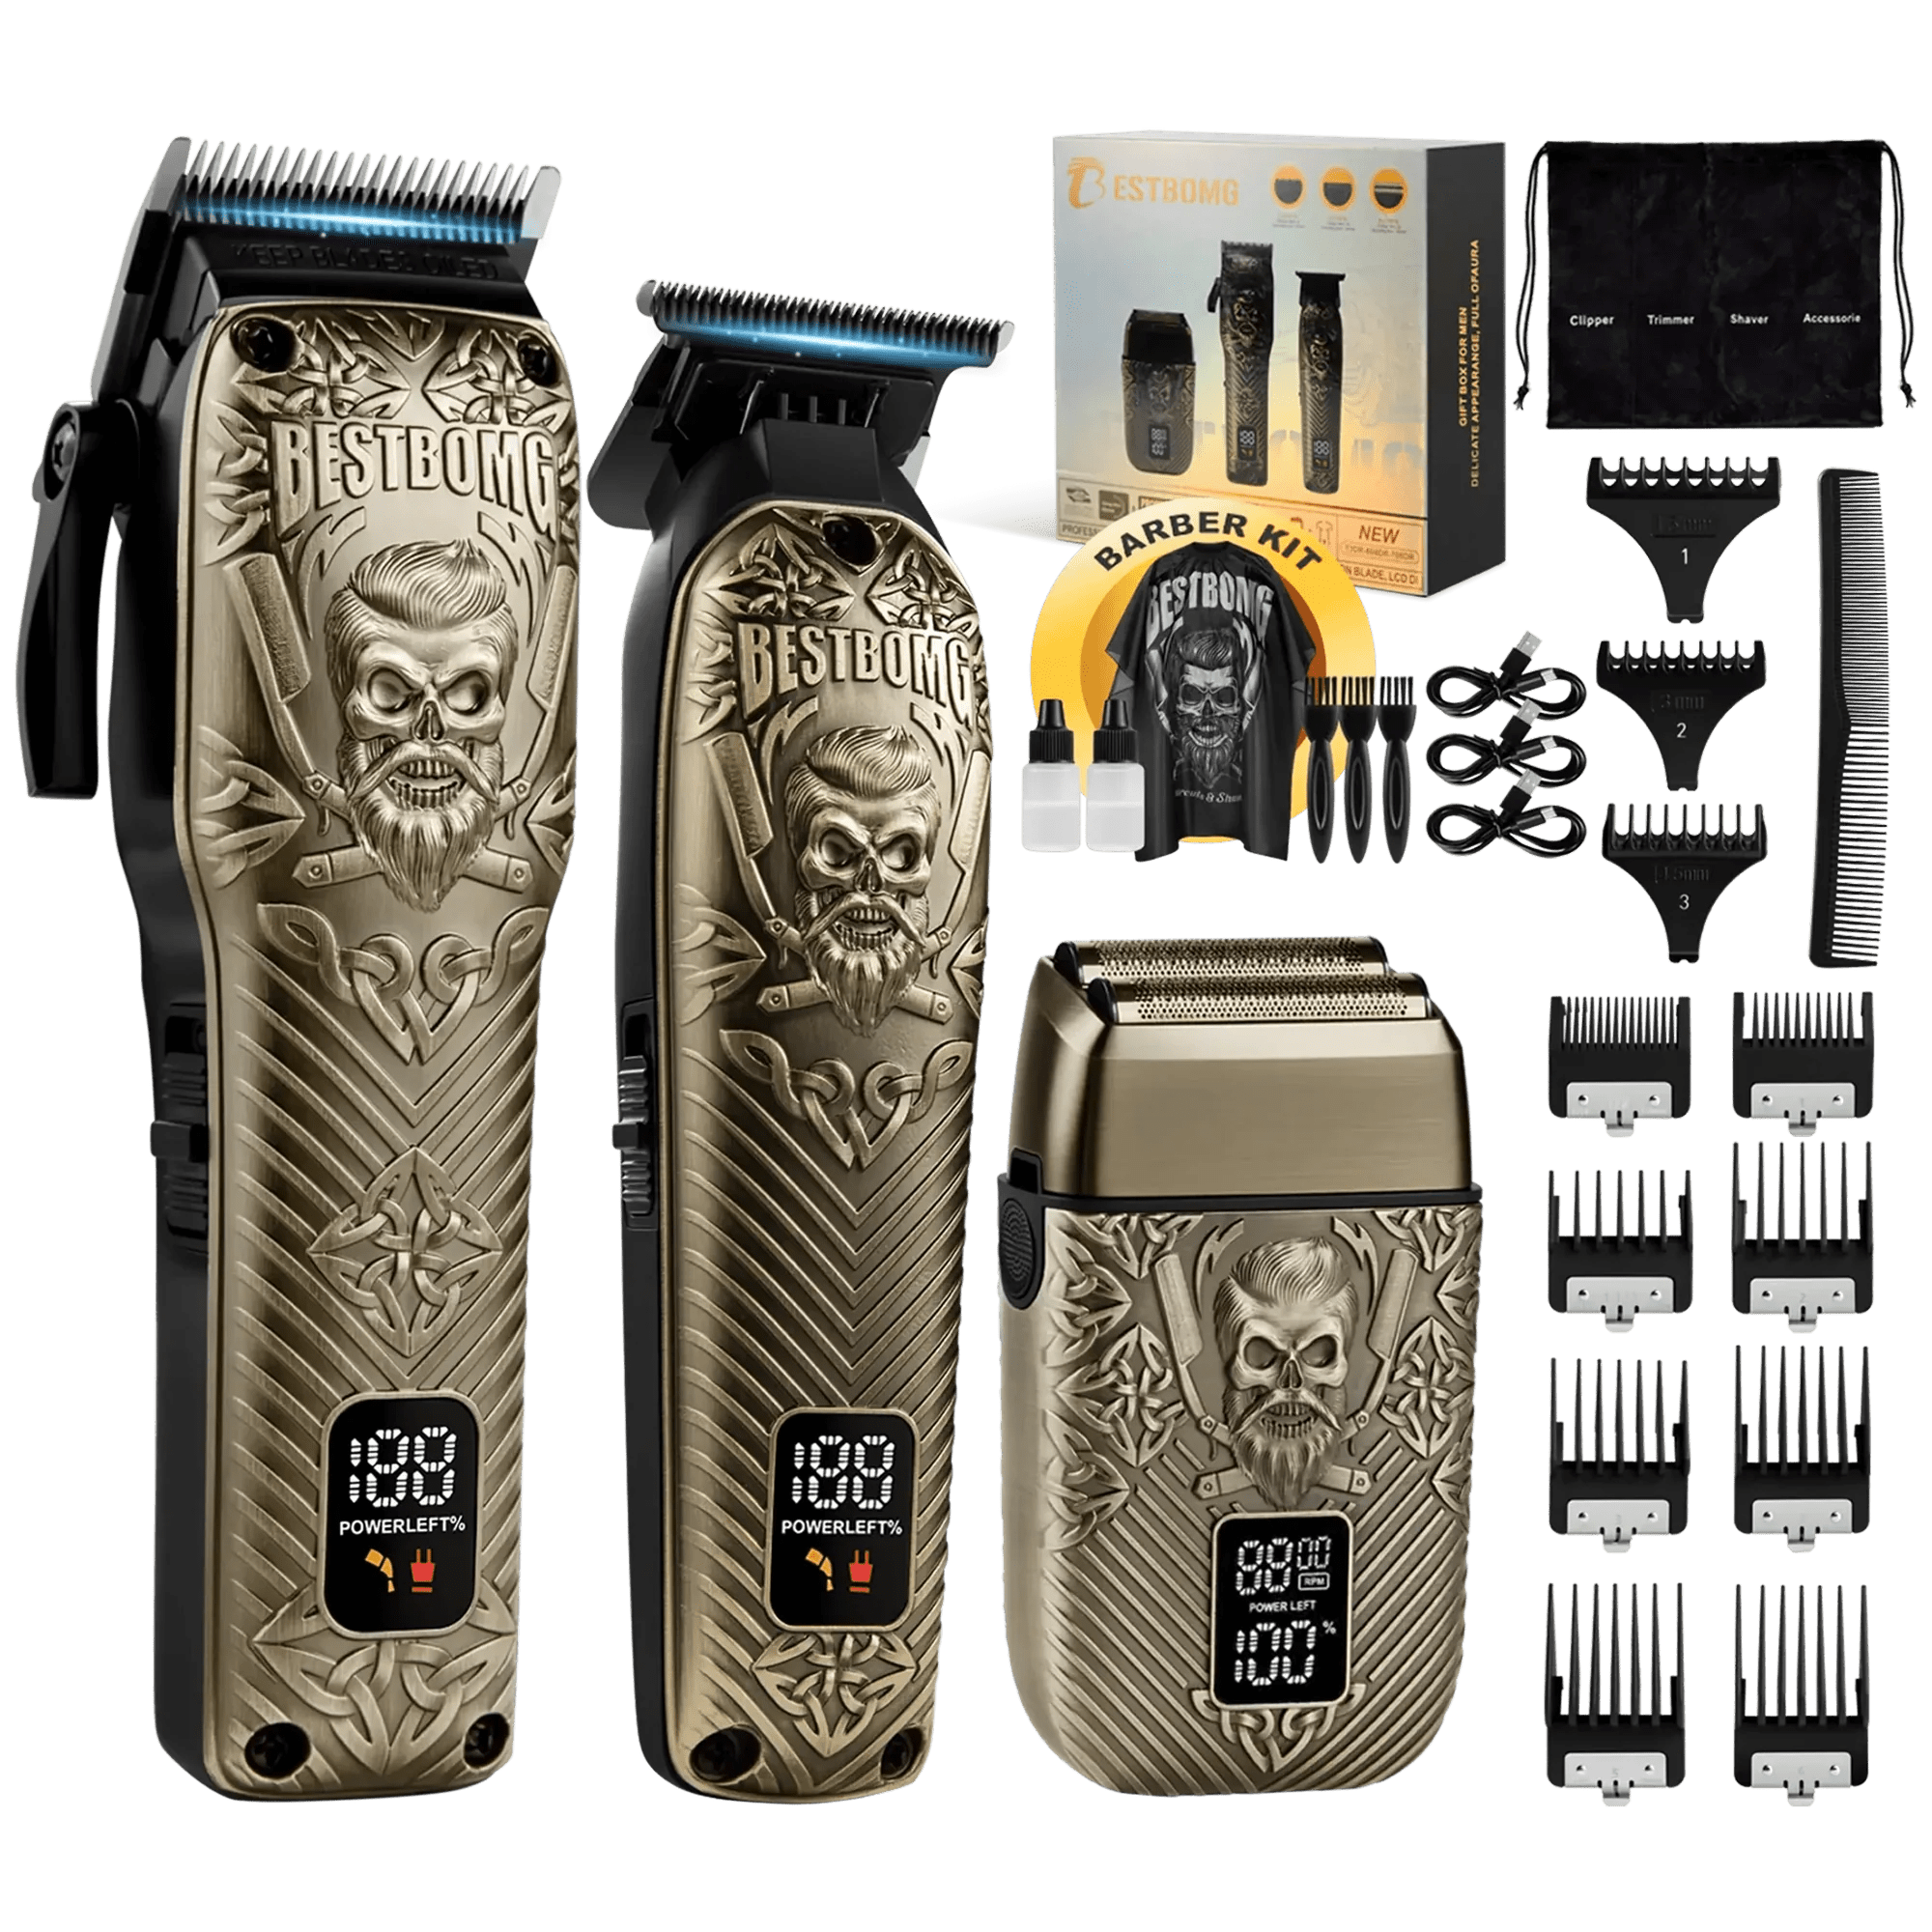
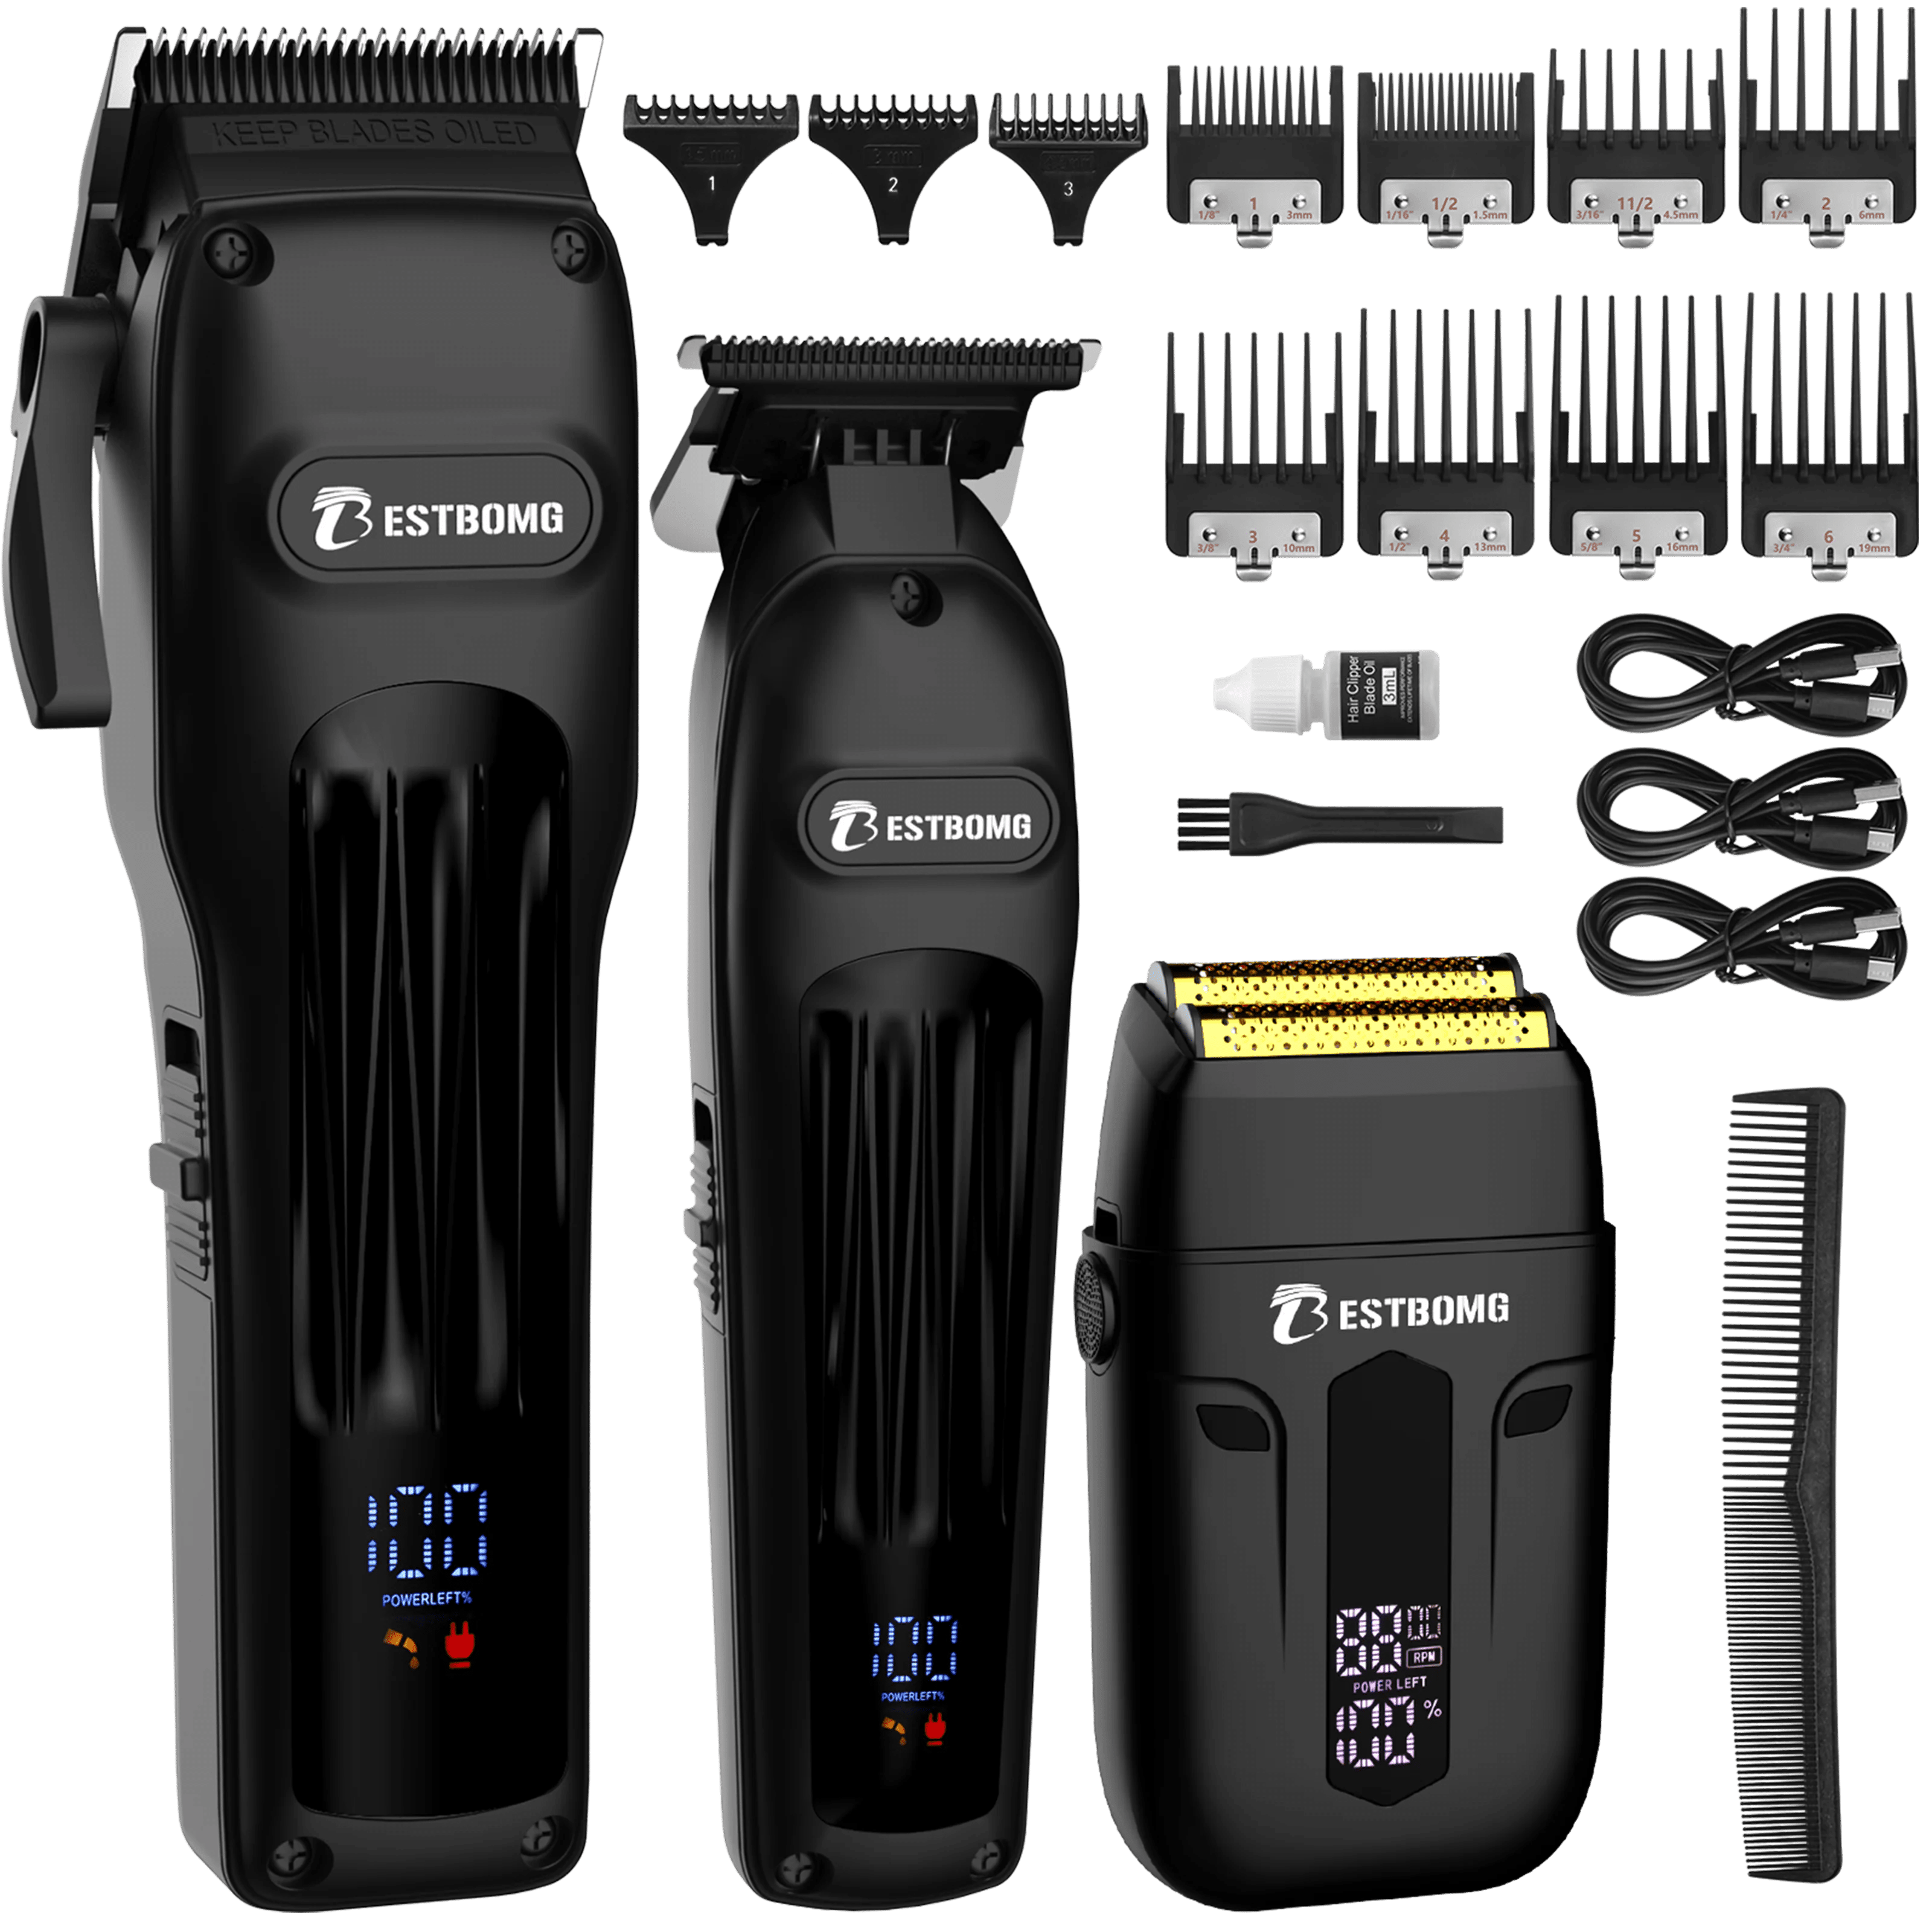
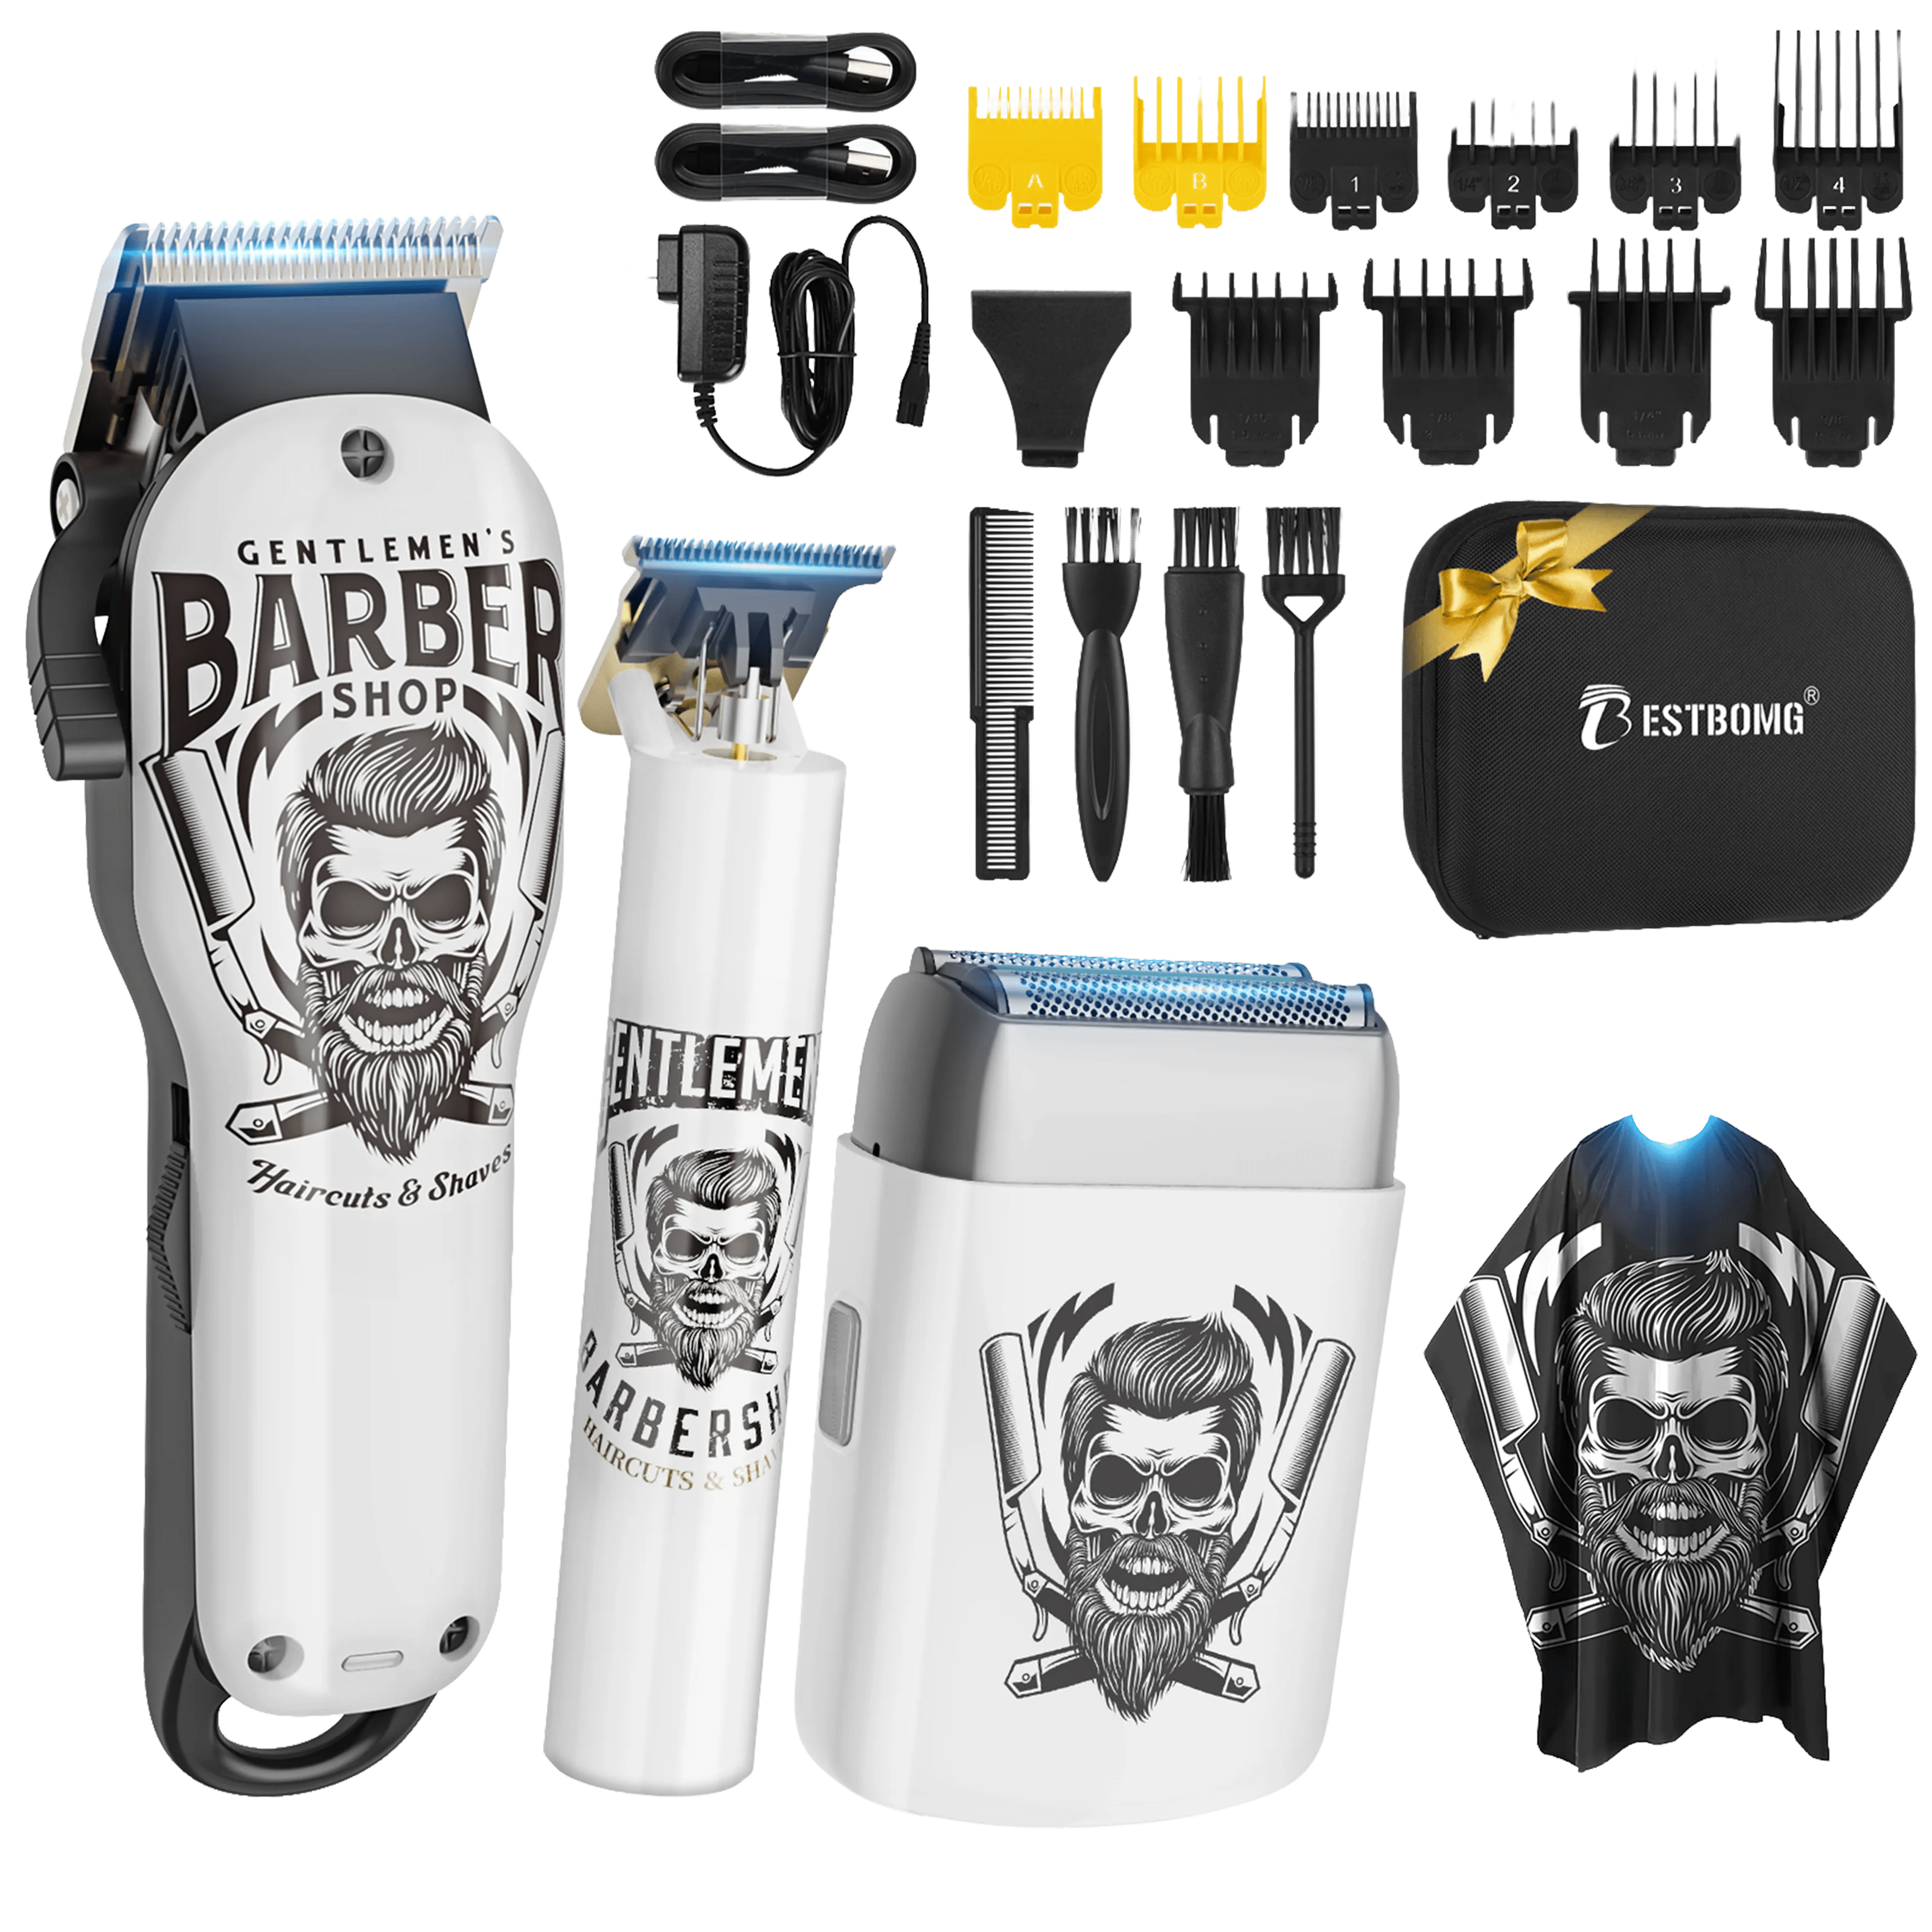
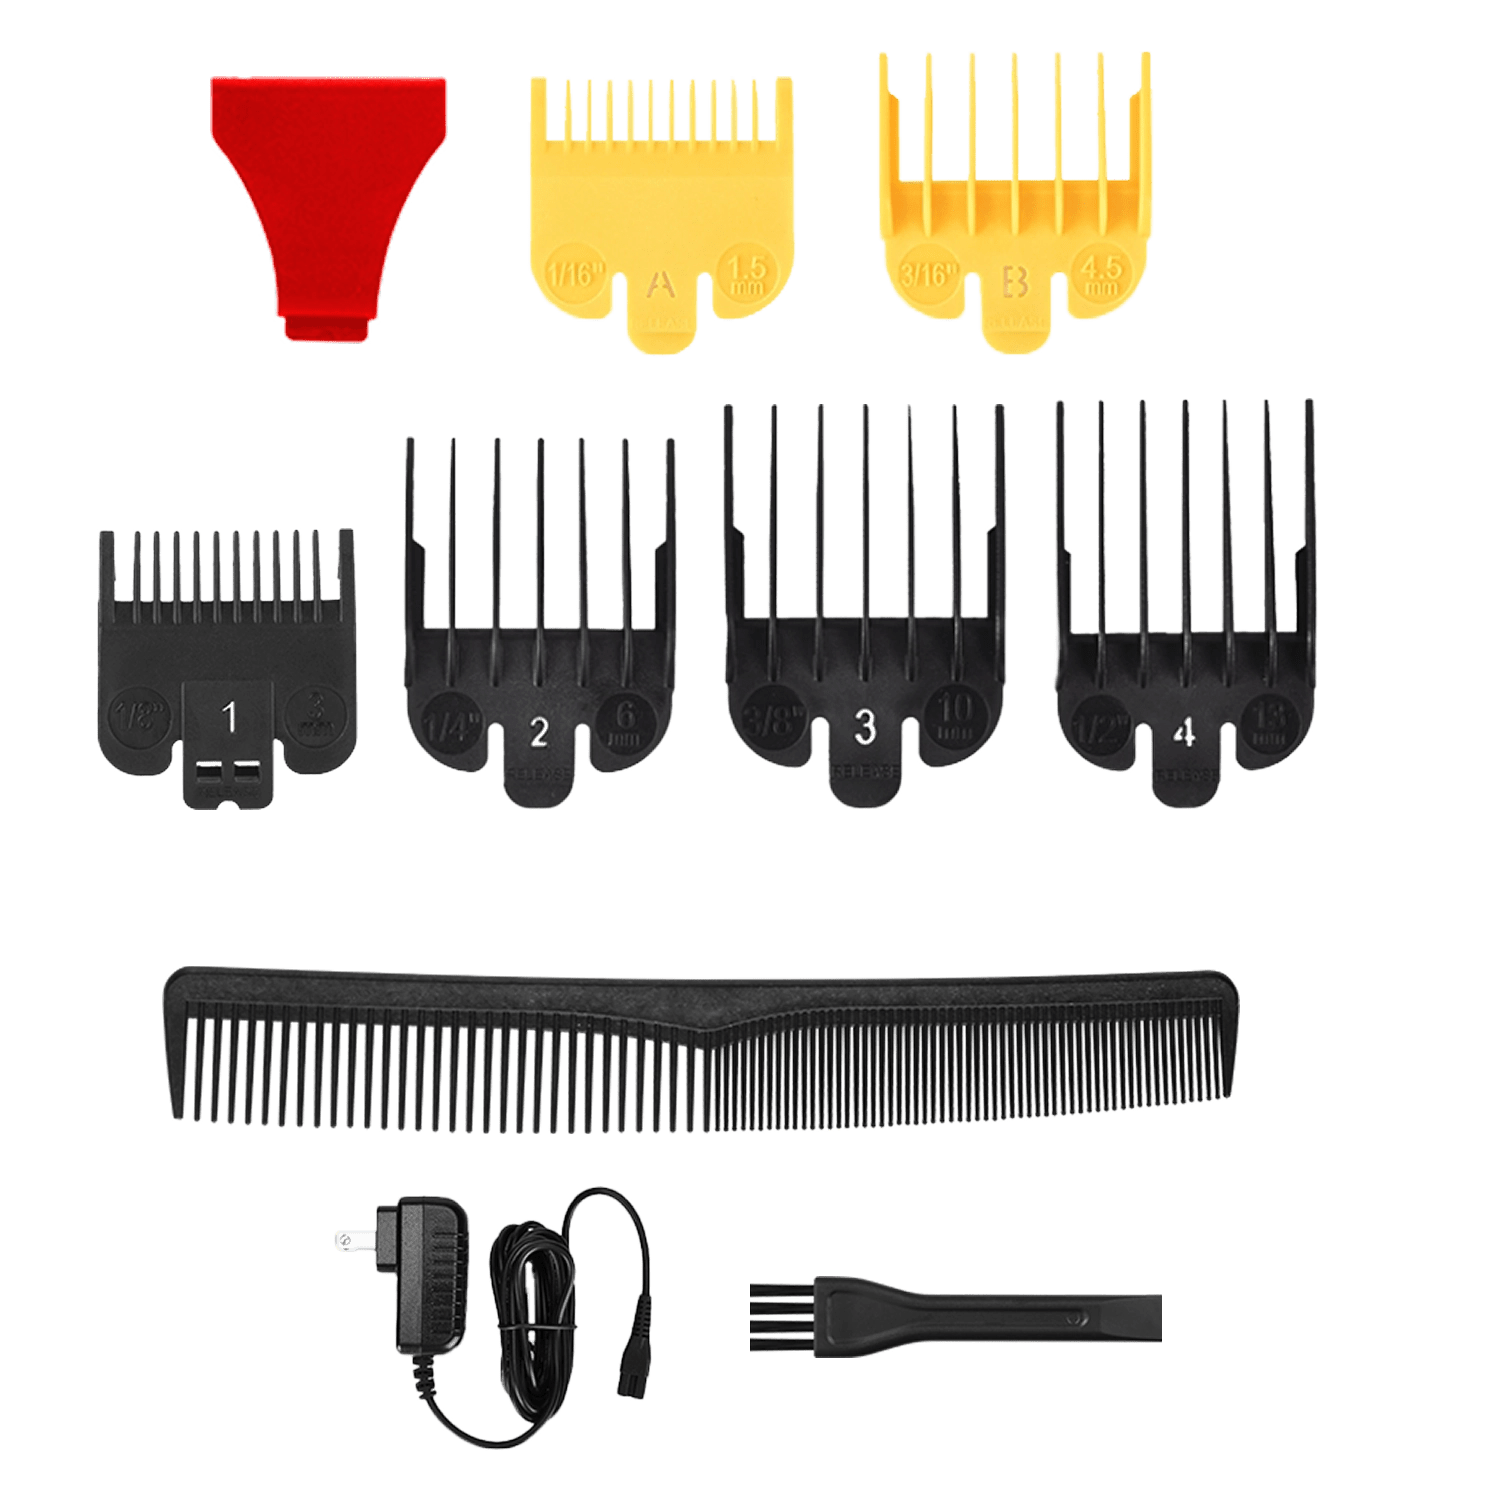
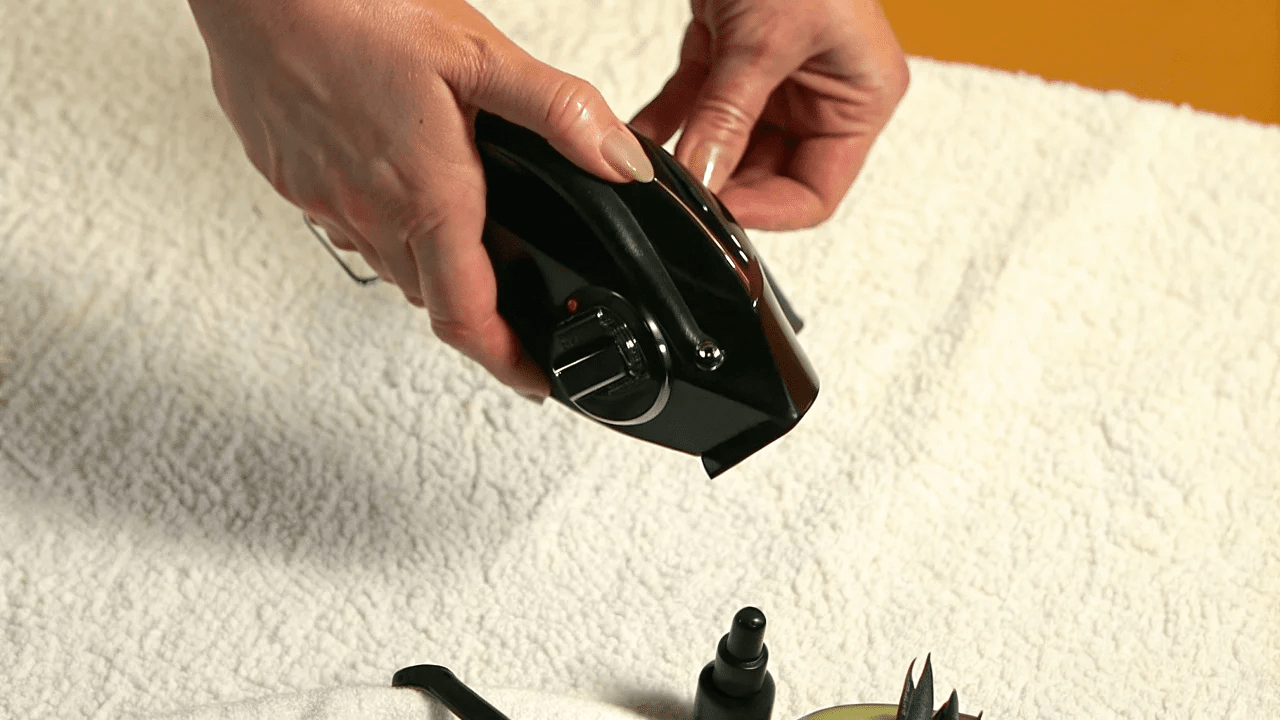
Essential Tools for Neckline Touch-Ups

Having the right equipment makes neckline maintenance easier and more precise:
- Handheld mirror: Essential for seeing the back of your neck
- Electric trimmer with guards: For maintaining hair length before shaping
- Detail trimmer or T-blade: Creates sharp, clean edges
- Electric shaver: Smooths skin below the neckline
- Wide-tooth comb: Helps guide hair direction
- Spray bottle: Dampens hair for easier cutting
- Masking tape (optional): Creates a visual guide for first-timers
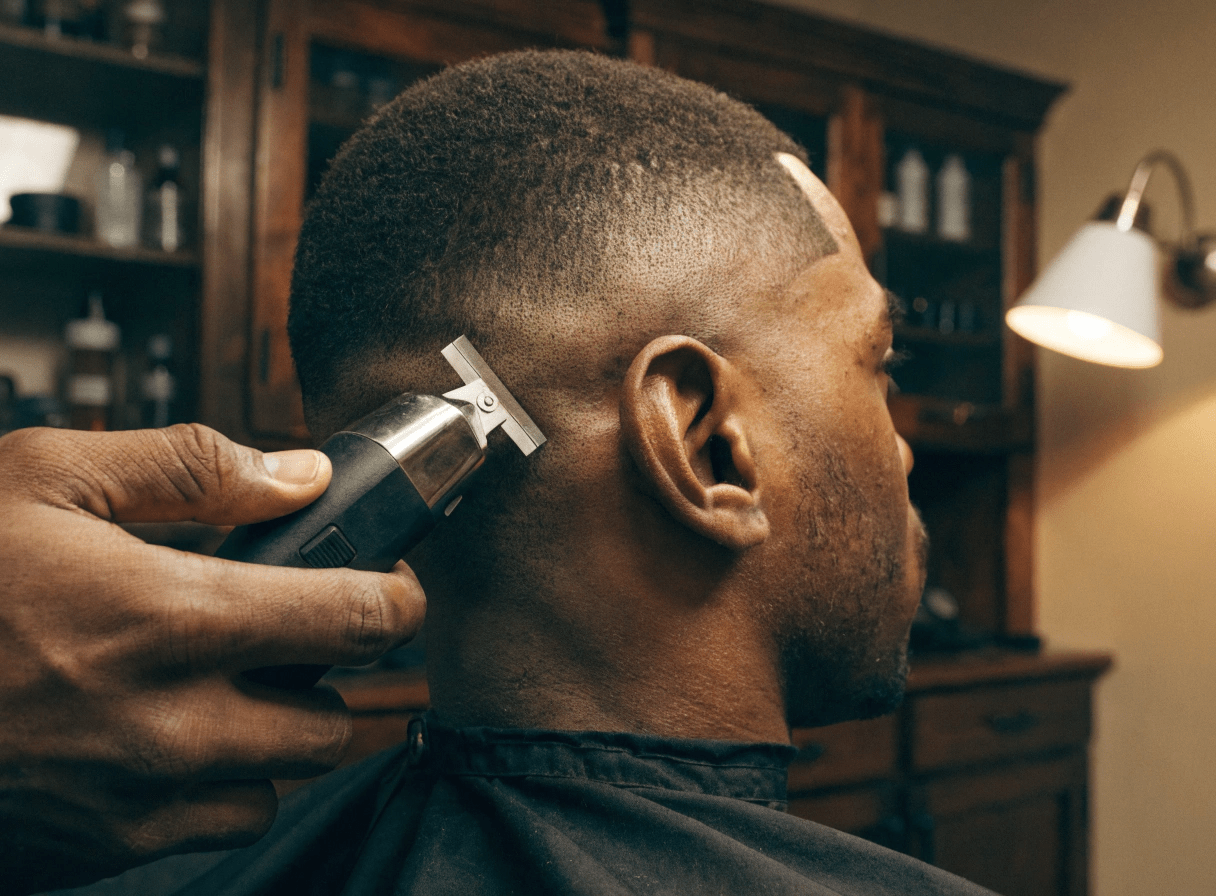
How to Trim Your Hair Neckline
Step 1: Set Up Your Mirrors
Position yourself with your back to a wall-mounted mirror while holding a handheld mirror. Angle the handheld mirror so you can clearly see the back of your neck in the wall mirror's reflection.
Step 2: Dampen and Comb Hair
Lightly spray the hair on your neck with waternot soaking wet, just damp enough to lay flat. Comb all hair downward to reveal the natural hairline and any stray hairs that need trimming.
Step 3: Identify Your Natural Hairline
Look for the curve where hair naturally stops growing at the nape of your neck. This is your guideline. Don't try to trim higher than this natural line or create an artificial shapework with what's already there.
Step 4: Trim the Bulk
If your hair extends significantly beyond your natural neckline:
- Attach a #2 or #3 guard to your trimmer
- Trim downward to reduce length evenly
- Work from the center of your neck outward to each side
- Keep the trimmer moving smoothly to avoid choppy patches
Step 5: Define the Edge
Now create the clean outline:
- Remove the guard or switch to a detail trimmer
- Position the trimmer facing down (blade pointing toward the floor)
- Start at the center of your natural hairline curve
- Trim a straight horizontal baseline across the center, about 1 inch wide
- Move to the sides: Angle the trimmer to follow the natural curve upward toward each ear
- Use the corner of the blade for precision on curved sections
Step 6: Clean Below the Line
Shave or trim everything below your new neckline to skin level:
- For a sharp, defined look: Use a trimmer with no guard
- For a softer finish: Use an electric shaver or safety razor with light pressure
- Stretch skin taut with your free hand to prevent nicks
Step 7: Check Your Work
Use both mirrors to inspect from multiple angles. Look for:
- Symmetry on both sides
- A smooth, continuous curve (no flat spots or sharp angles)
- Cleanly shaved area below the line
- No stray hairs above or below your neckline
How to Trim Your Beard Neckline

Step 1: Find Your Baseline
Use the two-finger rule: Place your index and middle fingers flat against your neck, stacked horizontally just above your Adam's apple. The top edge of your top finger marks the lowest point of your neckline.
Step 2: Mark the Center Point
Make a small trim or mark at this center point with your trimmer. This serves as your reference for creating the curved line.
Step 3: Create the Curve
Working from the center point:
- Visualize the curve: It should follow the underside of your jawbone
- Move toward one ear: Angle upward gradually, staying about 1 inch below the visible jawline
- Stop where your jaw meets your ear: The line should curve up to meet your sideburn or beard at this point
- Repeat on the other side: Mirror the same curve for symmetry
Step 4: Define the Line
Use a detail trimmer or your main trimmer without a guard to sharpen the edge:
- Trim just below the curved line you created
- Work with steady, controlled movements
- Keep checking both sides for symmetry
Step 5: Shave Below the Neckline
Everything below your curved neckline should be clean-shaven or trimmed to skin:
- Use an electric shaver for speed and convenience
- Or use a safety razor for the closest shave
- Apply light pressure and work with the grain to minimize razor burn
Step 6: Blend the Transition
If your beard is longer, blend the neckline area:
- Use a slightly longer guard (like a #1 or #2) just below the neckline
- Fade upward into the full beard length
- This creates a gradual transition rather than a harsh line
Common Neckline Mistakes to Avoid
Trimming Too High
The biggest error men make is shaving their neckline too high up on the neck. This creates a "chinstrap" effect and makes your face look fuller. Always keep the neckline at least 1–2 finger-widths above the Adam's apple.
Creating a Straight Line
Your neckline should curve upward toward your ears, not run straight across. A horizontal neckline looks unnatural and disconnected from your facial structure.
Ignoring Symmetry
One side higher than the other throws off your entire appearance. Always compare both sides before making final adjustments.
Cutting Against the Grain First
When shaving below the neckline, always make your first pass with the grain (in the direction hair grows). Going against the grain immediately can cause irritation and ingrown hairs.
Rushing the Process
Neckline touch-ups require patience and good lighting. Rushing leads to uneven lines and over-trimming. Take your time and check your progress frequently.
Maintenance Schedule
How often you need to touch up your neckline depends on hair growth rate and personal preference:
|
Hair Growth Speed |
Recommended Frequency |
Method |
|
Fast |
Every 3–5 days |
Quick trim with detail trimmer |
|
Average |
Once per week |
Full shave or trim below neckline |
|
Slow |
Every 10–14 days |
Complete neckline reshaping |
Between Haircuts: Touch up your hair neckline every 2–3 weeks to maintain a fresh appearance even as your hair grows out.
Beard Maintenance: Shave or trim below your beard neckline every 3–7 days to keep the line crisp and prevent scraggly growth.
Tool Comparison: Trimmers vs. Shavers for Necklines

Detail Trimmers
- Best for: Creating sharp edges and initial neckline definition
- Pros: Precision control, won't cause razor burn, versatile
- Cons: Doesn't shave to skin level, requires more frequent touch-ups
- Ideal user: Men who prefer stubble or defined edges
Electric Shavers
- Best for: Smoothing skin below the neckline
- Pros: Closest shave, fastest for large areas, less irritation than razors
- Cons: Less precision for defining the line itself
- Ideal user: Men who want completely smooth necks
Safety Razors
- Best for: The absolute closest shave
- Pros: Smoothest results, inexpensive blades
- Cons: Higher risk of cuts and irritation, requires shaving cream
- Ideal user: Experienced shavers comfortable with manual razors
Frequently Asked Questions
Where should your beard neckline be?
Your beard neckline should sit 1–2 finger-widths (about 1 inch) above your Adam's apple at the center, curving upward along the underside of your jawbone toward each ear. This placement defines your jawline without looking like a chinstrap. Anything below this line should be shaved or trimmed to skin for a clean, intentional appearance.
How to shave your neckline without irritation?
Start by trimming hair short with clippers before shaving. Use warm water to soften hair and open pores. Apply shaving cream or gel, then shave with the grain (direction of hair growth) using light pressure. Rinse with cool water and apply an alcohol-free aftershave or moisturizer. Avoid shaving the same area multiple times in one session, which causes irritation and razor burn.
How often should you trim your neckline?
Trim your neckline every 3–7 days to maintain clean lines and prevent overgrowth. Men with fast hair growth may need touch-ups every 3–4 days, while those with slower growth can extend to 7–10 days. For the hair neckline specifically, touch up every 2–3 weeks between full haircuts to keep your cut looking fresh.
Can you use regular clippers for neckline touch-ups?
Yes, regular hair clippers work for neckline touch-ups, but a detail trimmer or T-blade offers better precision for creating sharp edges. Use clippers without a guard or with the shortest guard setting to define the line. For shaving below the neckline to skin level, switch to an electric shaver or safety razor for the smoothest results.
How do you trim your neckline by yourself?
Set up two mirrors so you can see the back of your neck. Dampen hair and comb it down. Use your fingers to find the natural hairline or beard neckline placement. Start trimming at the center and work outward, following the natural curve. Use a detail trimmer for sharp edges and check symmetry frequently. Take your time and trim small amountsyou can always take more off, but you can't put it back.
What's the difference between a hair neckline and beard neckline?
A hair neckline follows the natural curve where hair stops growing at the nape of your neck, creating a rounded or U-shaped bottom to your haircut. A beard neckline is a defined line under your jaw (about 1 inch above the Adam's apple) that separates bearded areas from clean-shaven neck skin. Hair necklines emphasize head shape; beard necklines define and elongate the jawline.
Conclusion
Mastering how to touch up your neckline transforms your grooming routine from amateur to professional. By following proper placement guidelineswhether for hair or beard and using consistent technique, you'll maintain crisp, clean lines that elevate your entire appearance.
Remember to work slowly, check symmetry frequently, and invest in quality tools for the best results. Ready to take control of your grooming? Explore our collection of beard trimmers designed for precision neckline work and easy at-home maintenance.
Looking for something else?

How to Cut Baby Boy Hair with Clippers: Step-by-Step Guide
LEARN MORE
Do Hair Clippers Get Dull? Causes, Signs & Prevention
LEARN MORE
Can an Electric Shaver Cut You? Safety Facts & Prevention
LEARN MORE
How to Shave Balls with Electric Shaver: Safe Guide
LEARN MORELooking for something else?

Does Using Trimmer Increase Hair Growth? Facts & Myths
LEARN MORE
Best Hair Clippers for Men: Top Picks for Home & Pro Use
LEARN MORE
Best Professional Hair Clippers for Barbers: Top Picks
LEARN MOREYou may also like


Further reading
Best Hair Clippers for Perfect Fades at Home
Clipper Lever Open vs Closed: What It Means (with mm)
Why You Need a Cordless Detailer Trimmer (And How to Pick the Right One)