


How to Use a Nose Hair Trimmer
Learning how to use a nose hair trimmer properly ensures painless, effective grooming without irritation or injury. Nose hair serves important functions filtering dust, allergens, and bacteriabut visible growth beyond the nostril opening looks unkempt and detracts from an otherwise polished appearance.
The right technique with a quality trimmer removes only what's visible while preserving the protective inner hairs. This guide covers everything from choosing between rotary and blade styles to proper insertion depth and maintenance, so you can groom confidently with tools like precision beard trimmers for sharp lines that often include nose trimming attachments.
Understanding Nose Hair Trimmer Types

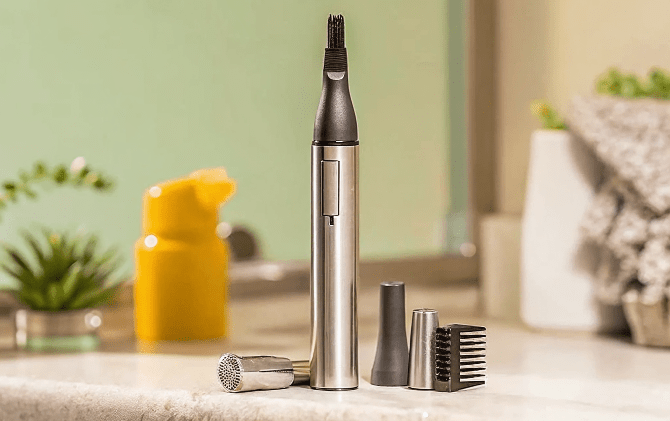
Rotary Trimmers
How They Work: A rotating blade inside a protective guard catches and cuts hairs that enter through slots or holes.
Pros:
- Safest designblade never touches skin directly
- Best for beginners
- Works at any angle
- Least likely to cause nicks or cuts
Cons:
- Can miss some hairs on first pass
- Requires circular motion for thorough trimming
Blade/Foil Trimmers
How They Work: A small oscillating blade moves back and forth behind a thin metal foil with precision holes.
Pros:
- More precise, closer cut
- Faster trimming in fewer passes
- Better for thick or coarse hair
Cons:
- Requires more careful technique
- Slightly higher risk of skin contact
- More expensive
Manual Scissors
How They Work: Small, blunt-tip scissors designed specifically for nose hair trimming.
Pros:
- No batteries or charging needed
- Ultimate control over length
- Silent operation
Cons:
- Slowest method
- Requires steady hand and good lighting
- Easy to miss hairs
|
Feature |
Rotary Trimmer |
Blade/Foil Trimmer |
Manual Scissors |
|
Safety |
Highest |
Moderate |
Moderate |
|
Speed |
Moderate |
Fast |
Slow |
|
Precision |
Good |
Excellent |
Excellent |
|
Ease of Use |
Easiest |
Easy |
Requires skill |
|
Maintenance |
Low |
Moderate |
Minimal |
Step-by-Step: How to Use a Nose Hair Trimmer

Step 1: Prepare Your Environment
- Find excellent lighting: Natural daylight or a bright bathroom light is essential
- Position a mirror at nose levelyou should look slightly downward into it
- Wash your face to remove oils and dirt
- Blow your nose to clear mucus that might clog the trimmer
Pro Tip: Stand in front of a window during daytime for the best visibility of nostril hairs.
Step 2: Dry Your Nose Hair Completely
Wet hair clumps together and is harder to trim effectively. Dry hair allows the trimmer to catch individual hairs more easily.
- Pat your nose dry with a clean towel
- Wait 2–3 minutes after washing to ensure complete dryness
- Avoid trimming immediately after a shower
Step 3: Position Your Head Correctly
- Tilt your head back slightly (about 15–20 degrees)
- Pull your nose up gently with your free hand to open the nostril
- Look down into the mirror so you can see inside your nostrils clearly
This position exposes only the visible hairs that need trimming while keeping deeper protective hairs hidden.
Step 4: Insert the Trimmer Properly
Critical Rule: Insert only the tipnever push the trimmer deep into your nostril.
- Turn on the trimmer before insertion (reduces pulling)
- Insert just 3–5mm (about ¼ inch) into the nostril opening
- Keep the trimmer at the entrance, not the tunnel
- Never force it deeperyou risk cutting protective hairs and causing irritation
Step 5: Trim with Circular Motions
- Move the trimmer in small circles around the inside edge of the nostril
- Rotate slowly to catch hairs growing in different directions
- Make 3–4 complete circles in each nostril
- Pull the nose in different directions to expose all visible areas
- Trim both nostrils using the same technique
For Rotary Trimmers: The circular motion is essentialhairs must enter the guard slots from multiple angles.
For Blade Trimmers: You can also use gentle up-and-down or side-to-side movements.
Step 6: Check Your Work
- Release your nose and look straight into the mirror
- Check from multiple anglesfront, sides, and slightly below
- Pull the nose up again and look for any remaining visible hairs
- Make a second pass if needed, focusing on missed areas
Don't Overdo It: If you can't see the hair in normal lighting and mirror position, it doesn't need trimming.
Step 7: Clean Up and Aftercare
- Turn off the trimmer before removing it
- Blow your nose gently to remove loose trimmed hairs
- Rinse the trimmer head under warm water (if waterproof)
- Pat your nose dry and check for any irritation
Common Mistakes to Avoid
Trimming Too Deep
Only visible nose hair needs removal. Deep trimming removes protective hairs that filter particles and can lead to increased sinus infections or irritation.
Using Dull Blades
Dull blades pull hair instead of cutting cleanly, causing pain and potential ingrown hairs. Replace blades or the entire trimmer every 12–18 months depending on use frequency.
Trimming Wet Hair
Wet hair is harder to cut and clumps together, making trimming less effective. Always trim dry hair for best results.
Rushing the Process
Taking your time (2–3 minutes per session) ensures thorough, even trimming without missed spots. Rushed trimming leads to uneven results and potential nicks.
Skipping Cleaning
Hair and bacteria buildup on trimmer heads can cause infections or skin irritation. Clean after every use.
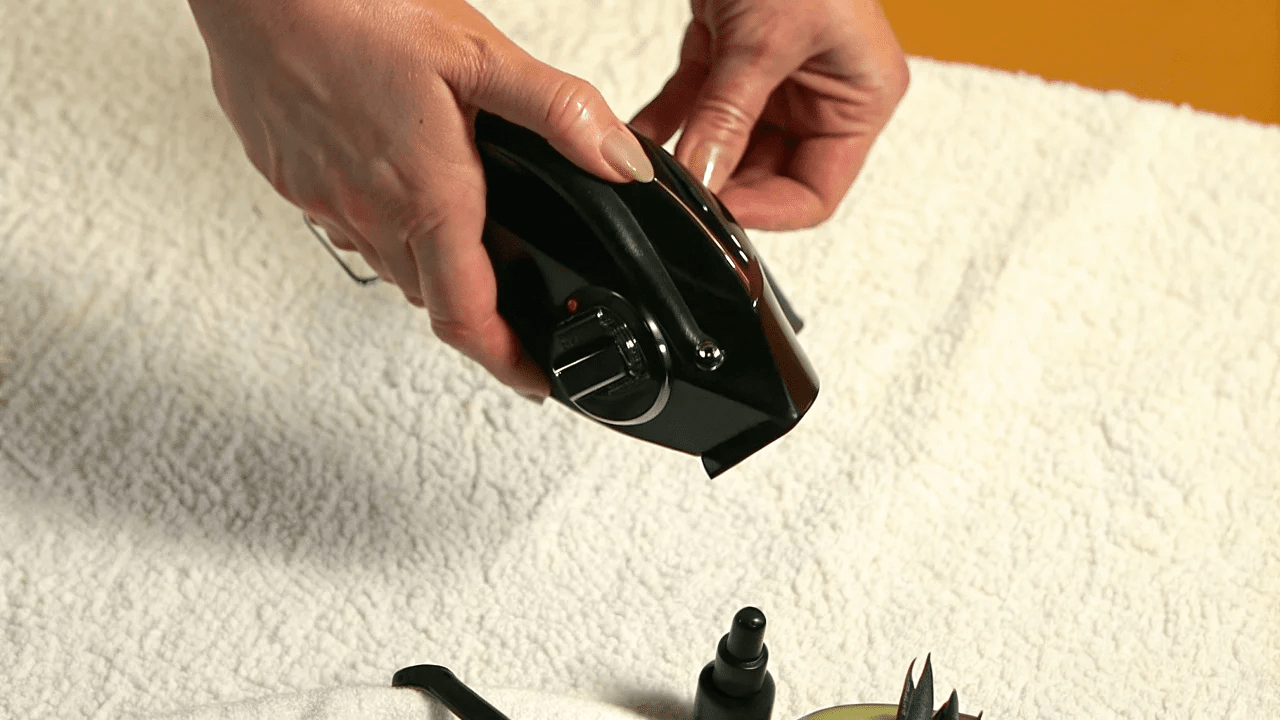
Cleaning and Maintaining Your Nose Trimmer

After Each Use
- Turn off and remove any guards or attachments
- Tap the trimmer against the sink to dislodge loose hairs
- Rinse under warm running water (for waterproof models)
- Use the included brush to remove stubborn hair from crevices
- Shake out excess water and let air dry completely
Weekly Deep Clean
- Disassemble removable parts according to manufacturer instructions
- Soak in warm, soapy water for 5 minutes
- Scrub with a small brush (an old toothbrush works well)
- Rinse thoroughly and dry completely before reassembling
- Apply trimmer oil (if recommended) to keep blades sharp
Battery Care
- Charge before complete depletion: Don't let rechargeable trimmers die completely
- Replace batteries annually: For battery-powered models, fresh batteries ensure consistent power
- Store properly: Keep in a dry place away from moisture
Note on Rust Prevention: Never store a wet trimmer in a closed case or drawer. Moisture causes rust and bacterial growth.
Nose Hair Trimmer Tips for Women

Women can use the same nose hair trimmers and techniques as men, but a few specific considerations apply:
Choose Smaller, Discreet Models
Compact trimmers designed for sensitive areas work well for women who prefer subtle grooming tools.
Be Extra Gentle
Women's nasal passages may be more sensitive to irritation. Use the lightest pressure possible and avoid over-trimming.
Consider Multi-Purpose Trimmers
Many detail trimmers handle nose hair, eyebrow shaping, and facial peach fuzz removaloffering better value for money.
Trim Less Frequently
Women typically have finer, slower-growing nose hair. Monthly trimming is often sufficient versus weekly for men.
How Often Should You Trim Nose Hair?
Trimming frequency depends on growth rate and hair thickness:
- Weekly: Men with thick, fast-growing hair
- Every 10–14 days: Average growth rate
- Monthly: Women or those with fine, slow-growing hair
- As needed: Anyone who trims only when visible hair appears
Signs You Need to Trim:
- Visible hair when looking straight into a mirror
- Hair protruding from nostrils when viewed from the side
- Tickling sensation from long hairs
Frequently Asked Questions
Is it safe to use a nose hair trimmer?
Yes, nose hair trimmers are safe when used correctly. Rotary trimmers with protective guards are the safest design because blades never contact skin directly. Always insert only the tip of the trimmer (3–5mm depth) and avoid pushing deep into the nostril. Never trim protective hairs deep inside the nasal passageonly remove visible growth at the nostril opening.
Does trimming nose hair hurt?
No, properly using a nose hair trimmer should be completely painless. If you experience pain, you're either trimming too deep, using dull blades that pull instead of cut, or have inserted the trimmer at an uncomfortable angle. Stop immediately if you feel discomfort and adjust your technique. Sharp blades and shallow insertion prevent pain.
How far should you insert a nose hair trimmer?
Insert only 3–5mm (about ¼ inch) into the nostril openingjust the tip of the trimmer. You should trim only the visible hairs at the entrance, not the protective hairs deeper inside. If you insert too far, you risk removing hairs that filter allergens and bacteria, potentially increasing sinus infections.
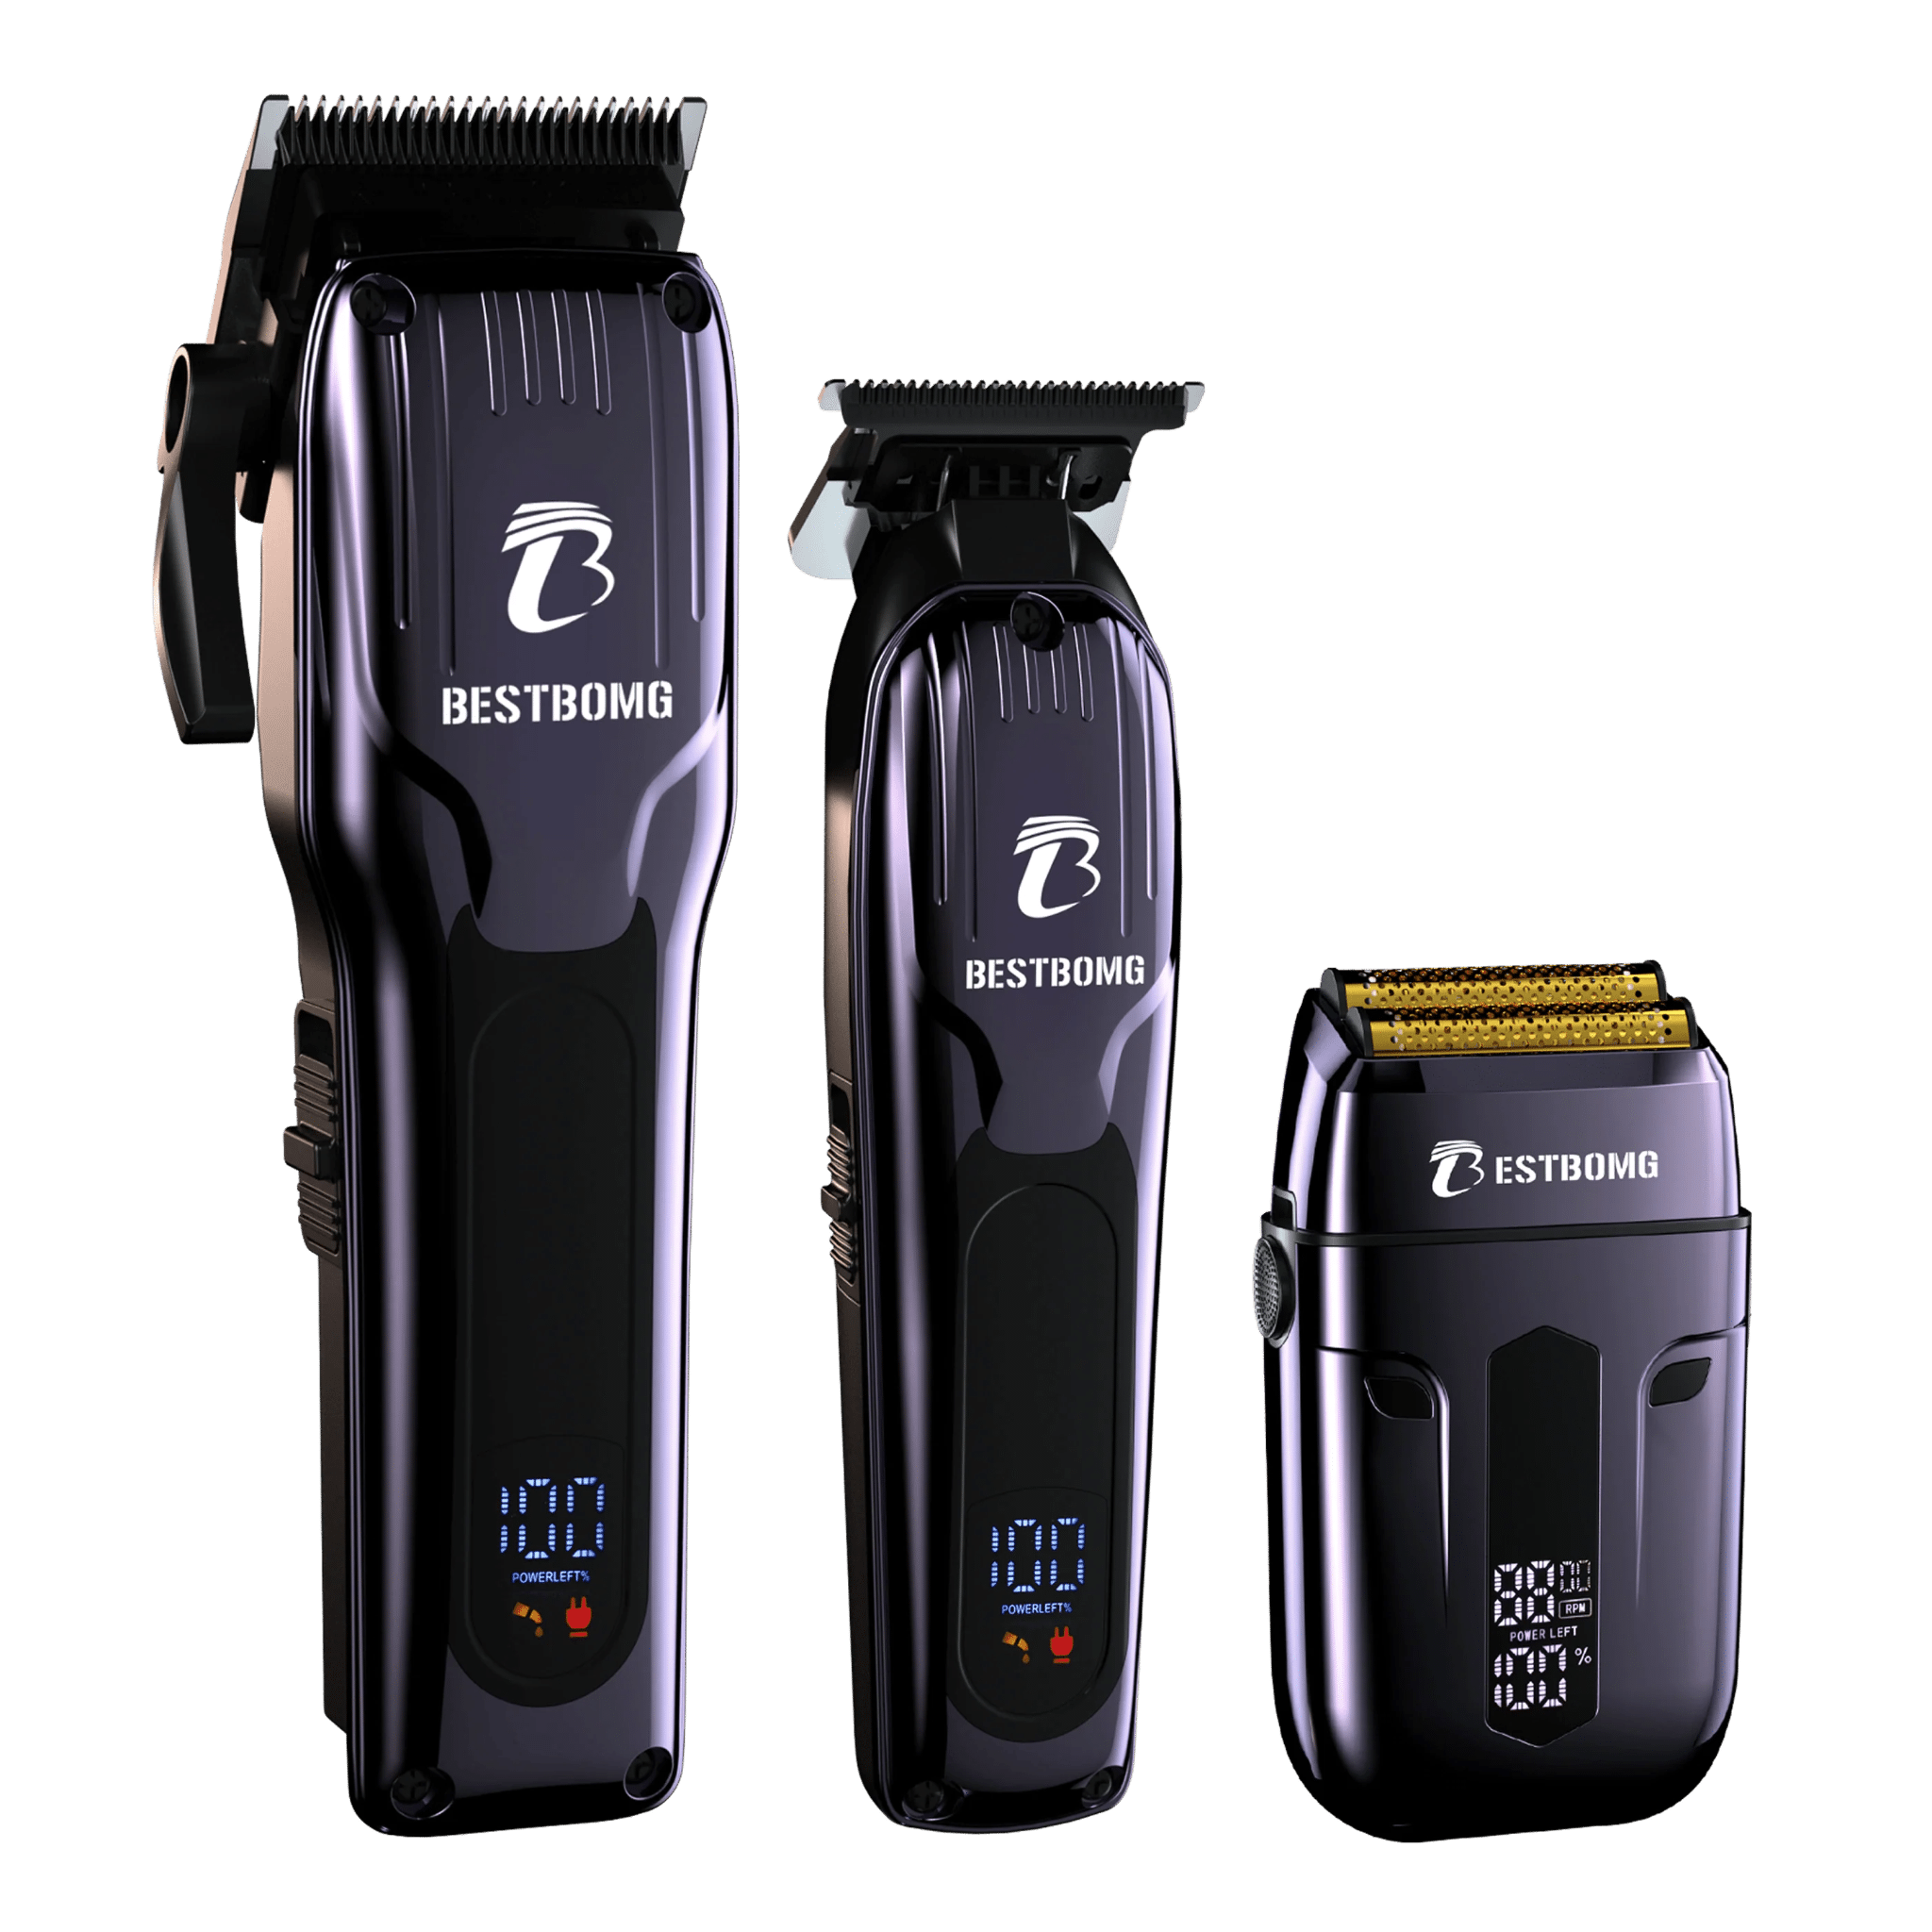
Can you use a regular beard trimmer for nose hair?
Most standard beard trimmers are too large and lack protective guards needed for safe nasal use. However, many beard trimmer kits include dedicated nose trimmer attachments with appropriate guards. If your trimmer came with a small, rounded attachment, it's designed for nose and ear hair. Never use standard clipper blades inside your nose.
Should you trim nose hair wet or dry?
Always trim nose hair when completely dry. Wet hair clumps together, making it harder for the trimmer to catch individual hairs effectively. Dry trimming provides more precision and allows the trimmer to work more efficiently. If you've just showered, wait 2–3 minutes and pat your nose dry before trimming.
How do you clean a nose hair trimmer?
After each use, tap the trimmer to remove loose hair, then rinse under warm water if waterproof. Use the included brush to clean crevices. For deeper cleaning, disassemble removable parts weekly and soak in warm, soapy water for 5 minutes, then rinse and dry completely. Never store a wet trimmermoisture causes rust and bacterial growth.
Conclusion
Using a nose hair trimmer correctly takes just minutes but makes a noticeable difference in your grooming routine. By trimming only visible hair, using proper technique, and maintaining your trimmer regularly,
you'll keep your appearance polished without compromising the important protective functions nose hair provides. Ready to refine your grooming toolkit? Explore our collection of beard trimmers that often include versatile attachments for complete facial grooming.
Looking for something else?

How to Cut Baby Boy Hair with Clippers: Step-by-Step Guide
LEARN MORE
Do Hair Clippers Get Dull? Causes, Signs & Prevention
LEARN MORE
Can an Electric Shaver Cut You? Safety Facts & Prevention
LEARN MORE
How to Shave Balls with Electric Shaver: Safe Guide
LEARN MORELooking for something else?

Does Using Trimmer Increase Hair Growth? Facts & Myths
LEARN MORE
Best Hair Clippers for Men: Top Picks for Home & Pro Use
LEARN MORE
Best Professional Hair Clippers for Barbers: Top Picks
LEARN MOREYou may also like


Further reading
Best Hair Clippers for Perfect Fades at Home
Clipper Lever Open vs Closed: What It Means (with mm)

Why You Need a Cordless Detailer Trimmer (And How to Pick the Right One)