


Clipper Lever Open vs Closed: What It Means (with mm)
The lever on a hair clipper is one of the simplest mechanical features on the tool and one of the most consistently misunderstood. Clipper lever open vs closed determines actual cutting length — how much hair the blade removes — in a measurable way. Get it wrong and a #2 guard cut ends up being a different length than expected, or a fade transition looks abrupt instead of smooth.
This guide explains exactly what lever open and closed mean in practice, the millimeter values involved, how the lever interacts with guard numbers, and how to use it deliberately for fades, tapers, buzz cuts, and line-ups.
What the Taper Lever Actually Is and Does

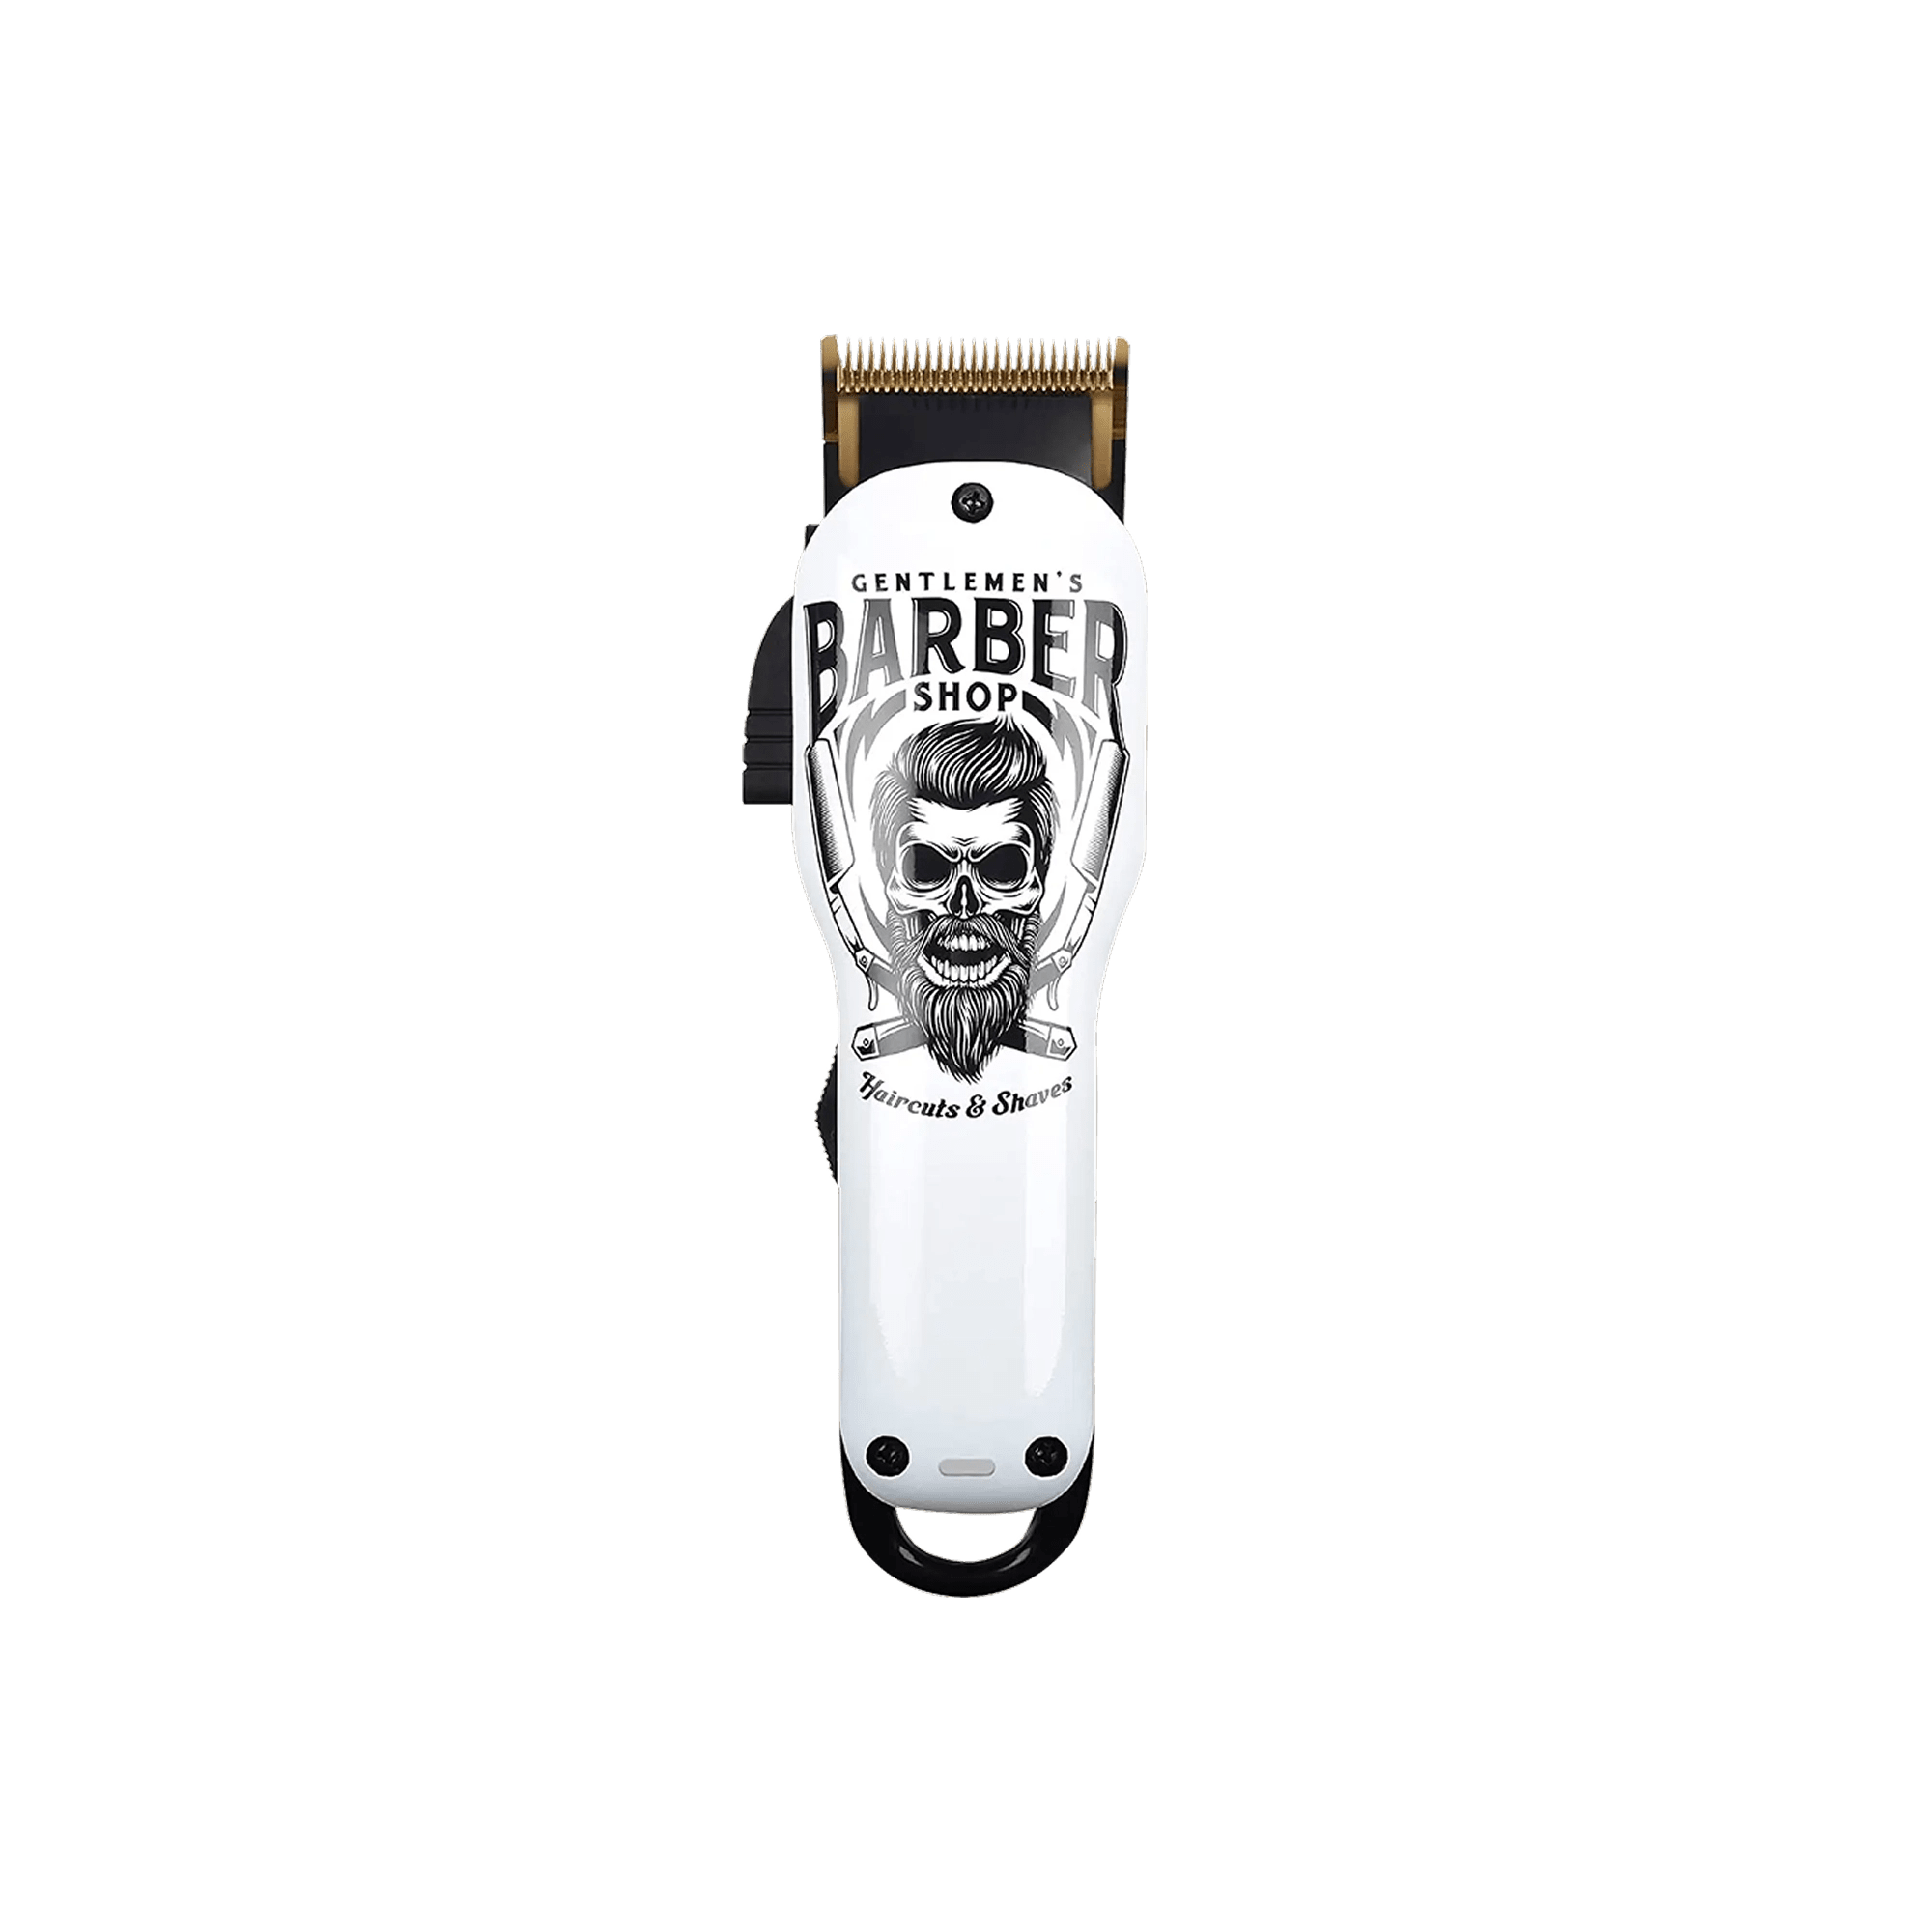
The taper lever is the adjustable arm on the side of most professional clippers. It connects mechanically to the blade assembly and moves the inner (cutting) blade up or down a fraction of a millimeter relative to the fixed outer blade. That small movement changes how much of the blade surface is exposed and therefore how closely the clipper cuts. For a full overview of how clipper mechanics work and why the lever was developed, the hair clipper overview on Wikipedia provides useful context on blade mechanics and motor types.
The lever and the blade: how they connect
The lever doesn't change which guard you're using or add extra length from outside the clipper. It changes the baseline position of the blade before any guard is applied. When you attach a guard, the guard determines the outer boundary of how long the hair can be — but the lever still controls how close to the bottom of that range the blade actually cuts. A closed lever with a #2 guard cuts shorter than an open lever with the same #2 guard, even though the guard is identical.
When you're working without any guard — for skin fades, line-ups, and close neckline work — the lever is the only length control available. In this case, understanding the positions isn't just useful; it's the entire cutting technique.
Why it's called a taper lever
The name comes from its most common application: creating a taper by blending between lengths. Moving the lever while working between guard sizes creates a smooth gradient that would otherwise require separate tools or more guard changes. The name stuck even though the same lever is equally essential in fade work, buzz cuts, and basic trimming. On Andis clippers it's sometimes just called the blade adjustment lever.
|
The one rule that doesn't change: Lever closed = shortest cut. Lever open = longest cut. This is true regardless of clipper brand, model, or which direction the lever physically moves on your clipper.
|
Clipper Lever Open vs Closed: The Core Difference in mm

The lever covers approximately 1.5 mm (about 1/16 inch) between its fully closed and fully open positions. That's the complete physical range of the blade adjustment. It's not a large measurement — but at hair-cutting scales, 1.5 mm is a visible and meaningful difference that determines whether a transition looks sharp or smooth, whether a guard-zero cut is tight or slightly longer.
Open = longer; closed = shorter — and direction varies by brand
One source of persistent confusion: 'open' and 'closed' don't refer to a universal physical direction. On most Wahl clippers, closing the lever means pushing it toward the front of the clipper. On many Andis models, the orientation is reversed. Wahl's official taper lever guide explains the specific movement for their models. For any unfamiliar clipper, test the lever on a less visible area and observe which position produces a shorter cut — that's the closed position.
Some clippers label the lever positions with numbers (0 through 9) or with markings rather than open/closed language. In all cases, the lower end of the scale = closer cut = what this guide calls 'closed.' The upper end = longer cut = 'open.'
The lever position quick reference
The table below shows the four practical lever positions, what each adds in mm, and when each is typically used:
|
Lever Position
|
mm Added vs Closed
|
Hair Length Effect
|
When to Use It
|
|
Fully Closed
|
0 mm (baseline)
|
Shortest — blade closest to scalp
|
Skin fades at zero gap, buzz cuts for uniformity, line-ups, neckline cleanup
|
|
Half-Closed (mid)
|
~0.5–0.75 mm
|
Slightly longer — soft close cut
|
First blending transition in a fade; bridging guard changes; standard daily trim length
|
|
Half-Open (mid)
|
~0.75–1.0 mm
|
Medium addition — visible but subtle
|
Bulk cutting in the upper fade zone; general tapers; smooth guard transitions
|
|
Fully Open
|
~1.5 mm
|
Longest — blade furthest from scalp
|
Upper base of a fade; heavy bulk removal before guard transitions; softening a hard line
|
The mid-lever positions (half-closed, half-open) are where most of the actual fade technique happens. Fully open and fully closed are the extremes — they define the range, but the precision is in the middle.
Guard Number + Lever Position: What Length Do You Actually Get?

The most common practical question about the lever is this: 'If I have a #1 guard with the lever open, is that the same length as a #1.5 guard with the lever closed?' The answer: approximately yes, for most clippers.
Here's why: one full guard number difference is about 3 mm of additional length. The lever covers 1.5 mm between closed and open. Moving up one guard number and closing the lever represents +3 mm from the guard and -1.5 mm from the lever = net +1.5 mm. Moving up by half a guard number (like from #1 to #1.5) and keeping the lever open is also +1.5 mm. So yes — #1 open and #1.5 closed are approximately equivalent.
Exactly equivalent? Not always. Manufacturing tolerances, blade wear, and hair thickness all introduce slight variation. But the relationship holds closely enough to be a reliable guide in practice.
|
G
uard
|
Lever Closed (mm)
|
Lever Mid (mm)
|
Lever Open (mm)
|
Practical Notes
|
|
No guard
|
~0 mm
|
~0.75 mm
|
~1.5 mm
|
Lever is the only length control. Closed = skin-close. Open = very short but hair visible. Half-lever positions critical here.
|
|
#0.5
|
~1.5 mm
|
~2.25 mm
|
~3 mm
|
Approximately equivalent to a #1 closed. Half-size guards + lever = very fine length control in the low fade zone.
|
|
#1
|
~3 mm
|
~3.75 mm
|
~4.5 mm
|
#1 open ≈ #1.5 closed. The most-asked question answered: yes, approximately equivalent.
|
|
#1.5
|
~4.5 mm
|
~5.25 mm
|
~6 mm
|
#1.5 open ≈ #2 closed. Useful reference for mid-fade transitions.
|
|
#2
|
~6 mm
|
~6.75 mm
|
~7.5 mm
|
Standard mid-length side work. Lever here controls the blend to lower guards.
|
|
#3
|
~9 mm
|
~9.75 mm
|
~10.5 mm
|
Upper sides and longer taper lengths. Lever has less visible impact at these lengths.
|
|
#4
|
~12 mm
|
~12.75 mm
|
~13.5 mm
|
Long tapers and minimal blending. Lever difference subtle at this length.
|
|
Why this table matters: These values let you achieve lengths between guard numbers without changing the guard. Instead of swapping from a #1 to a #1.5, you can move the lever from closed to open while staying on the #1. Faster, fewer interruptions, and no fumbling with guards mid-fade.
|
How to Use the Lever for a Fade — Zone by Zone

The fade is the technique that benefits most from deliberate lever use. Every pass in a fade involves a specific combination of guard number and lever position to create the gradient. The table below maps that out from skin-close to full-length:
|
Fade Zone
|
Guard + Lever Position
|
What This Pass Achieves
|
|
Zone 1 — Neckline base
|
No guard + lever closed
|
Closest possible cut at the transition point. This is where the skin fade begins or where a tight taper starts. Lever fully closed gives you the most control over the skin line.
|
|
Zone 2 — First blend (1–2 cm above base)
|
No guard OR #0.5 + lever half-open
|
Feathering the edge of Zone 1 into Zone 2. The lever half-open position adds ~0.75 mm — enough to soften the boundary without creating a visible step.
|
|
Zone 3 — Mid-transition
|
#1 or #1.5 guard + lever closed
|
Establishes the primary blend zone. The #1 closed and #1.5 closed give you the width of the transition area. Work with quick upward strokes, removing the guard before the transition line.
|
|
Zone 4 — Upper sides
|
#2 guard + lever half-closed or mid
|
Builds length toward the upper portion of the sides. Lever at mid position creates a soft top edge that blends into Zone 3 below without a hard line.
|
|
Zone 5 — Length blend to top
|
#3 or #4 + lever open
|
Final transition into the full-length hair on top. The lever open position at the higher guard adds slight length variation at the top edge of the side work — the last 2 cm blend before full-length hair begins.
|
The technique within each zone
Within Zone 1 and Zone 2 — the skin-close area — the motion matters as much as the lever position. Short, upward strokes (called 'flicking') with the lever at half-open produce a softer edge than flat passes. The blade contacts the hair at the start of each stroke and lifts away before reaching the top, which creates a natural feathered transition instead of a hard line.
At Zone 3 and above, flicking becomes less important because the guard is controlling most of the length. The lever here primarily manages the soft top edge of each guard's cutting range — making the transition between guards look blended rather than stepped.
For a complete beginner approach to home fades, how to cut men's hair with clippers at home walks through the full process with guard selections and technique tips that complement this lever guide.
Using the Lever for Tapers, Buzz Cuts, and Line-Ups

Taper cuts — lever moves between guards
A taper doesn't go to skin, but the lever still does the blending work between guard transitions. The approach: set the guard, complete the pass at closed lever, then flip to half-open and make a second pass through the same zone. That half-open pass adds 0.75 mm of additional length to the edge of the zone you just cut, softening the boundary where one guard length meets the next.
Clippers with a reliable adjustable clippers with taper lever mechanism make this motion natural. A lever that holds its mid-position reliably is more useful here than one that snaps only to fully open or fully closed.
Buzz cuts — lever stays consistent
For a buzz cut, the goal is uniformity. Set the guard, set the lever to a consistent position — typically closed for the shortest, crispest result — and don't change either one during the cut. Any lever change mid-cut creates a visible length variation even with the same guard, because you've changed the effective cutting depth. One guard, one lever position, constant passes from front to back.
Line-ups and edge work — lever fully closed
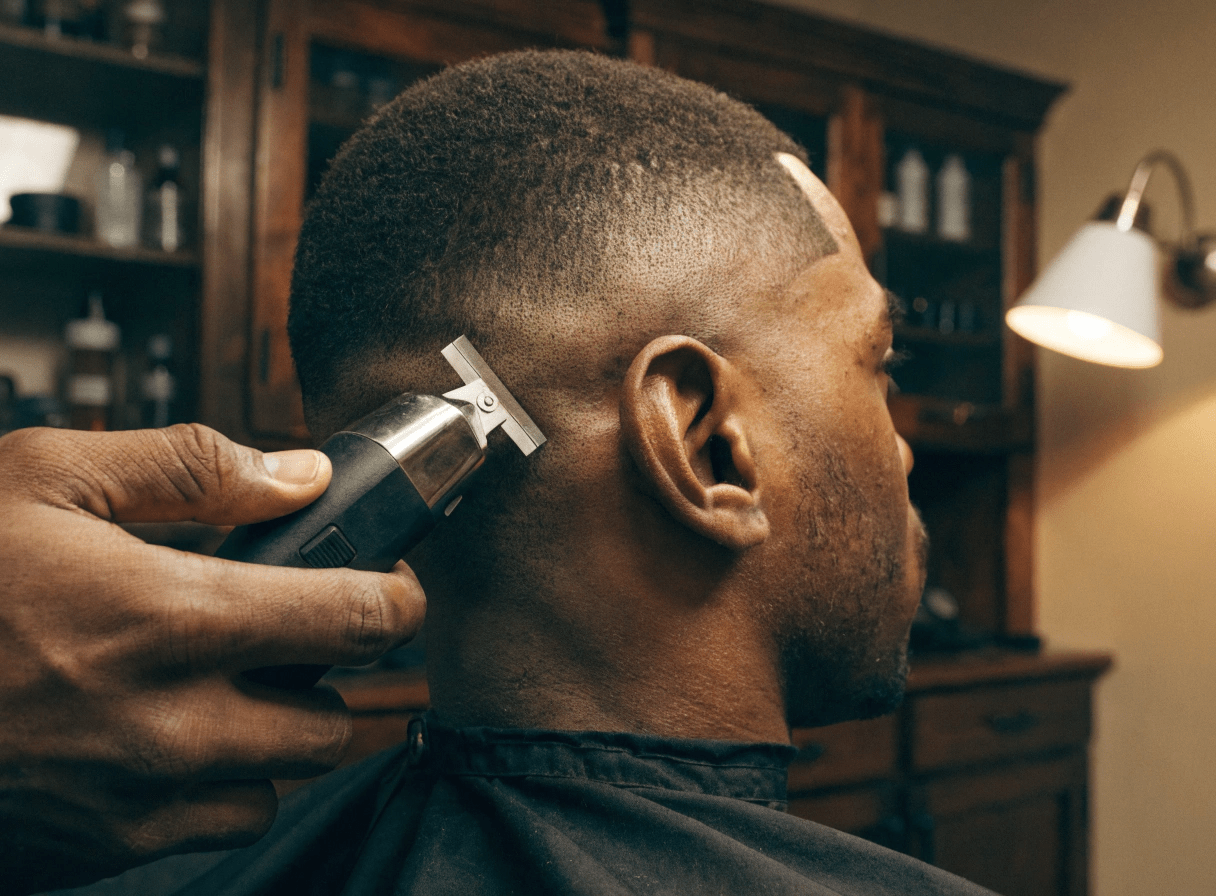
For line-ups, edge-ups, and neckline outlines, the lever goes fully closed with no guard. This is the shortest position available and the most precise. The closed lever produces a consistent baseline length across the entire blade width, which means the line is defined by your blade placement rather than any variation in depth. Keep steady hand pressure and consistent angle — the lever closed position removes the variable of blade depth from the equation entirely.
Common Lever Mistakes and How to Fix Them

Adjusting the lever mid-stroke
If the lever shifts while the clipper is moving through hair, the length changes mid-stroke. The result looks like an intentional length variation — a light flick effect — but it's actually just inconsistency. When it happens accidentally it creates patchy transitions, especially noticeable in the skin-fade zone. Set the lever before each pass and hold it there until the blade clears the hair.
Not knowing which direction is open on a specific clipper
This produces cuts that are shorter than expected (you thought open was up, but on this model it's down) or confusion when a fade doesn't come out as planned. The fix: on an unfamiliar clipper, test the lever on a patch of arm hair or against a comb before starting. Closed should produce a shorter cut or a light scraping sound on arm hair; open should produce less contact. Takes 10 seconds and prevents a frustrating first fade.
Relying on the lever to replace half-size guards
The lever is not a substitute for half-size guards (#0.5, #1.5, etc.). The lever covers 1.5 mm, which is the same range as half a guard step. But they serve different functions: the lever controls the depth of the blade within the guard's range; the guard controls the outer boundary of the cut. Using only the lever for all transitions — jumping from a #1 fully closed to a #2 fully open without intermediate guard steps — can still show a visible line on finer hair types. Half-size guards and lever adjustments work together.
Over-explaining to the barber
A note for home users getting a haircut elsewhere: telling a professional barber 'I want the lever open at the sides' is describing a technique, not a style. What you actually want to communicate is the length — guard number and length in mm. The barber uses the lever as a tool to achieve that; specifying lever positions is like telling a chef which flame setting to use. Describe what you want the result to look like, not the mechanical steps.
Maintaining the Lever Mechanism

The lever pivot collects hair debris and fine cut material over time. This creates friction that makes the lever harder to move smoothly — instead of moving through its range cleanly, it starts catching or sitting in undefined positions between open and closed. For the blade oiling and cleaning routine that supports this, see how to oil hair clippers (quick routine).
What to clean and what not to
Clean the lever pivot with a dry brush after every few uses — specifically at the pivot joint where the lever connects to the clipper body. Don't apply oil to the lever mechanism itself. Oil in the pivot joint attracts hair debris and increases buildup faster than it reduces friction. The lever requires dry cleaning only.
Oil goes on the blade. The lever-to-blade connection is mechanical — the lever pushes against the blade assembly but doesn't lubricate with it. The blade needs oil; the lever doesn't.
Signs the lever needs attention
If the lever feels noticeably harder to move than when the clipper was new, or if it sits in intermediate positions without being placed there deliberately, the pivot has accumulated debris. A thorough brush-out at the joint usually restores normal movement. If the lever wobbles slightly from side to side (has lateral play), the pivot pin has worn — this typically requires a repair or blade assembly replacement, not cleaning.
Does Lever Quality Actually Matter?

Yes — more than most clipper buyers check before purchasing. The lever is a precision control during fade work, not just an on/off switch. A lever that has play (wobbles slightly between positions) produces inconsistent blade depth on each pass, which shows up as visible variation in the transition zone.
The barber community discussion on lever positions consistently points to lever feel as one of the most important tactile quality indicators on a professional clipper. Barbers specifically mention whether the lever 'holds' at mid-positions — because that's where most of the blend work happens.
What good lever feel means in practice
A quality lever has some resistance at each position — you can set it at half-open and it stays there through the vibration of the motor during a pass. A poor-quality lever slides freely through the full range with no defined positions; you can set it halfway and it migrates slightly under vibration.
Some clippers have numbered lever positions (0–9) that create defined click stops throughout the range, which is excellent for repeatable fade work. Others have a simple flip from open to closed with no intermediate stop. For basic tapers and home cutting, simple is fine. For precision fade work, numbered or defined intermediate positions improve repeatability significantly.
Testing the lever before committing to a clipper
Hold the clipper and flip the lever with your thumb. Notice: does it stop in the middle, or does it slide past? Does it hold when you let go, or does gravity pull it to one extreme? Does it feel smooth or slightly gritty? A gritty lever that's new can loosen up with use; a lever that has no defined positions when new won't develop them later. Quality lever construction is something to look for during the purchase, not to hope for afterward.
|
For home users: If you mostly do buzz cuts and basic tapers, lever quality matters less — you'll primarily use fully closed or fully open positions where any lever works. For home fade attempts, a lever that holds mid-positions is noticeably more useful.
|
Conclusion
Clipper lever open vs closed is a 1.5 mm mechanical range that contains most of the precision in fade and taper technique. Closed is shorter; open is longer. That range interacts with your guard numbers so that one full lever change equals approximately half a guard step — which means guard changes and lever adjustments are complementary tools, not alternative ones.
For beginners: learn which direction is open on your specific clipper, keep the lever in one position during each pass, and test on the back of the neck first. For experienced users working on fades: the mid-lever positions and their interaction with guard numbers are the technique, not just a setting.
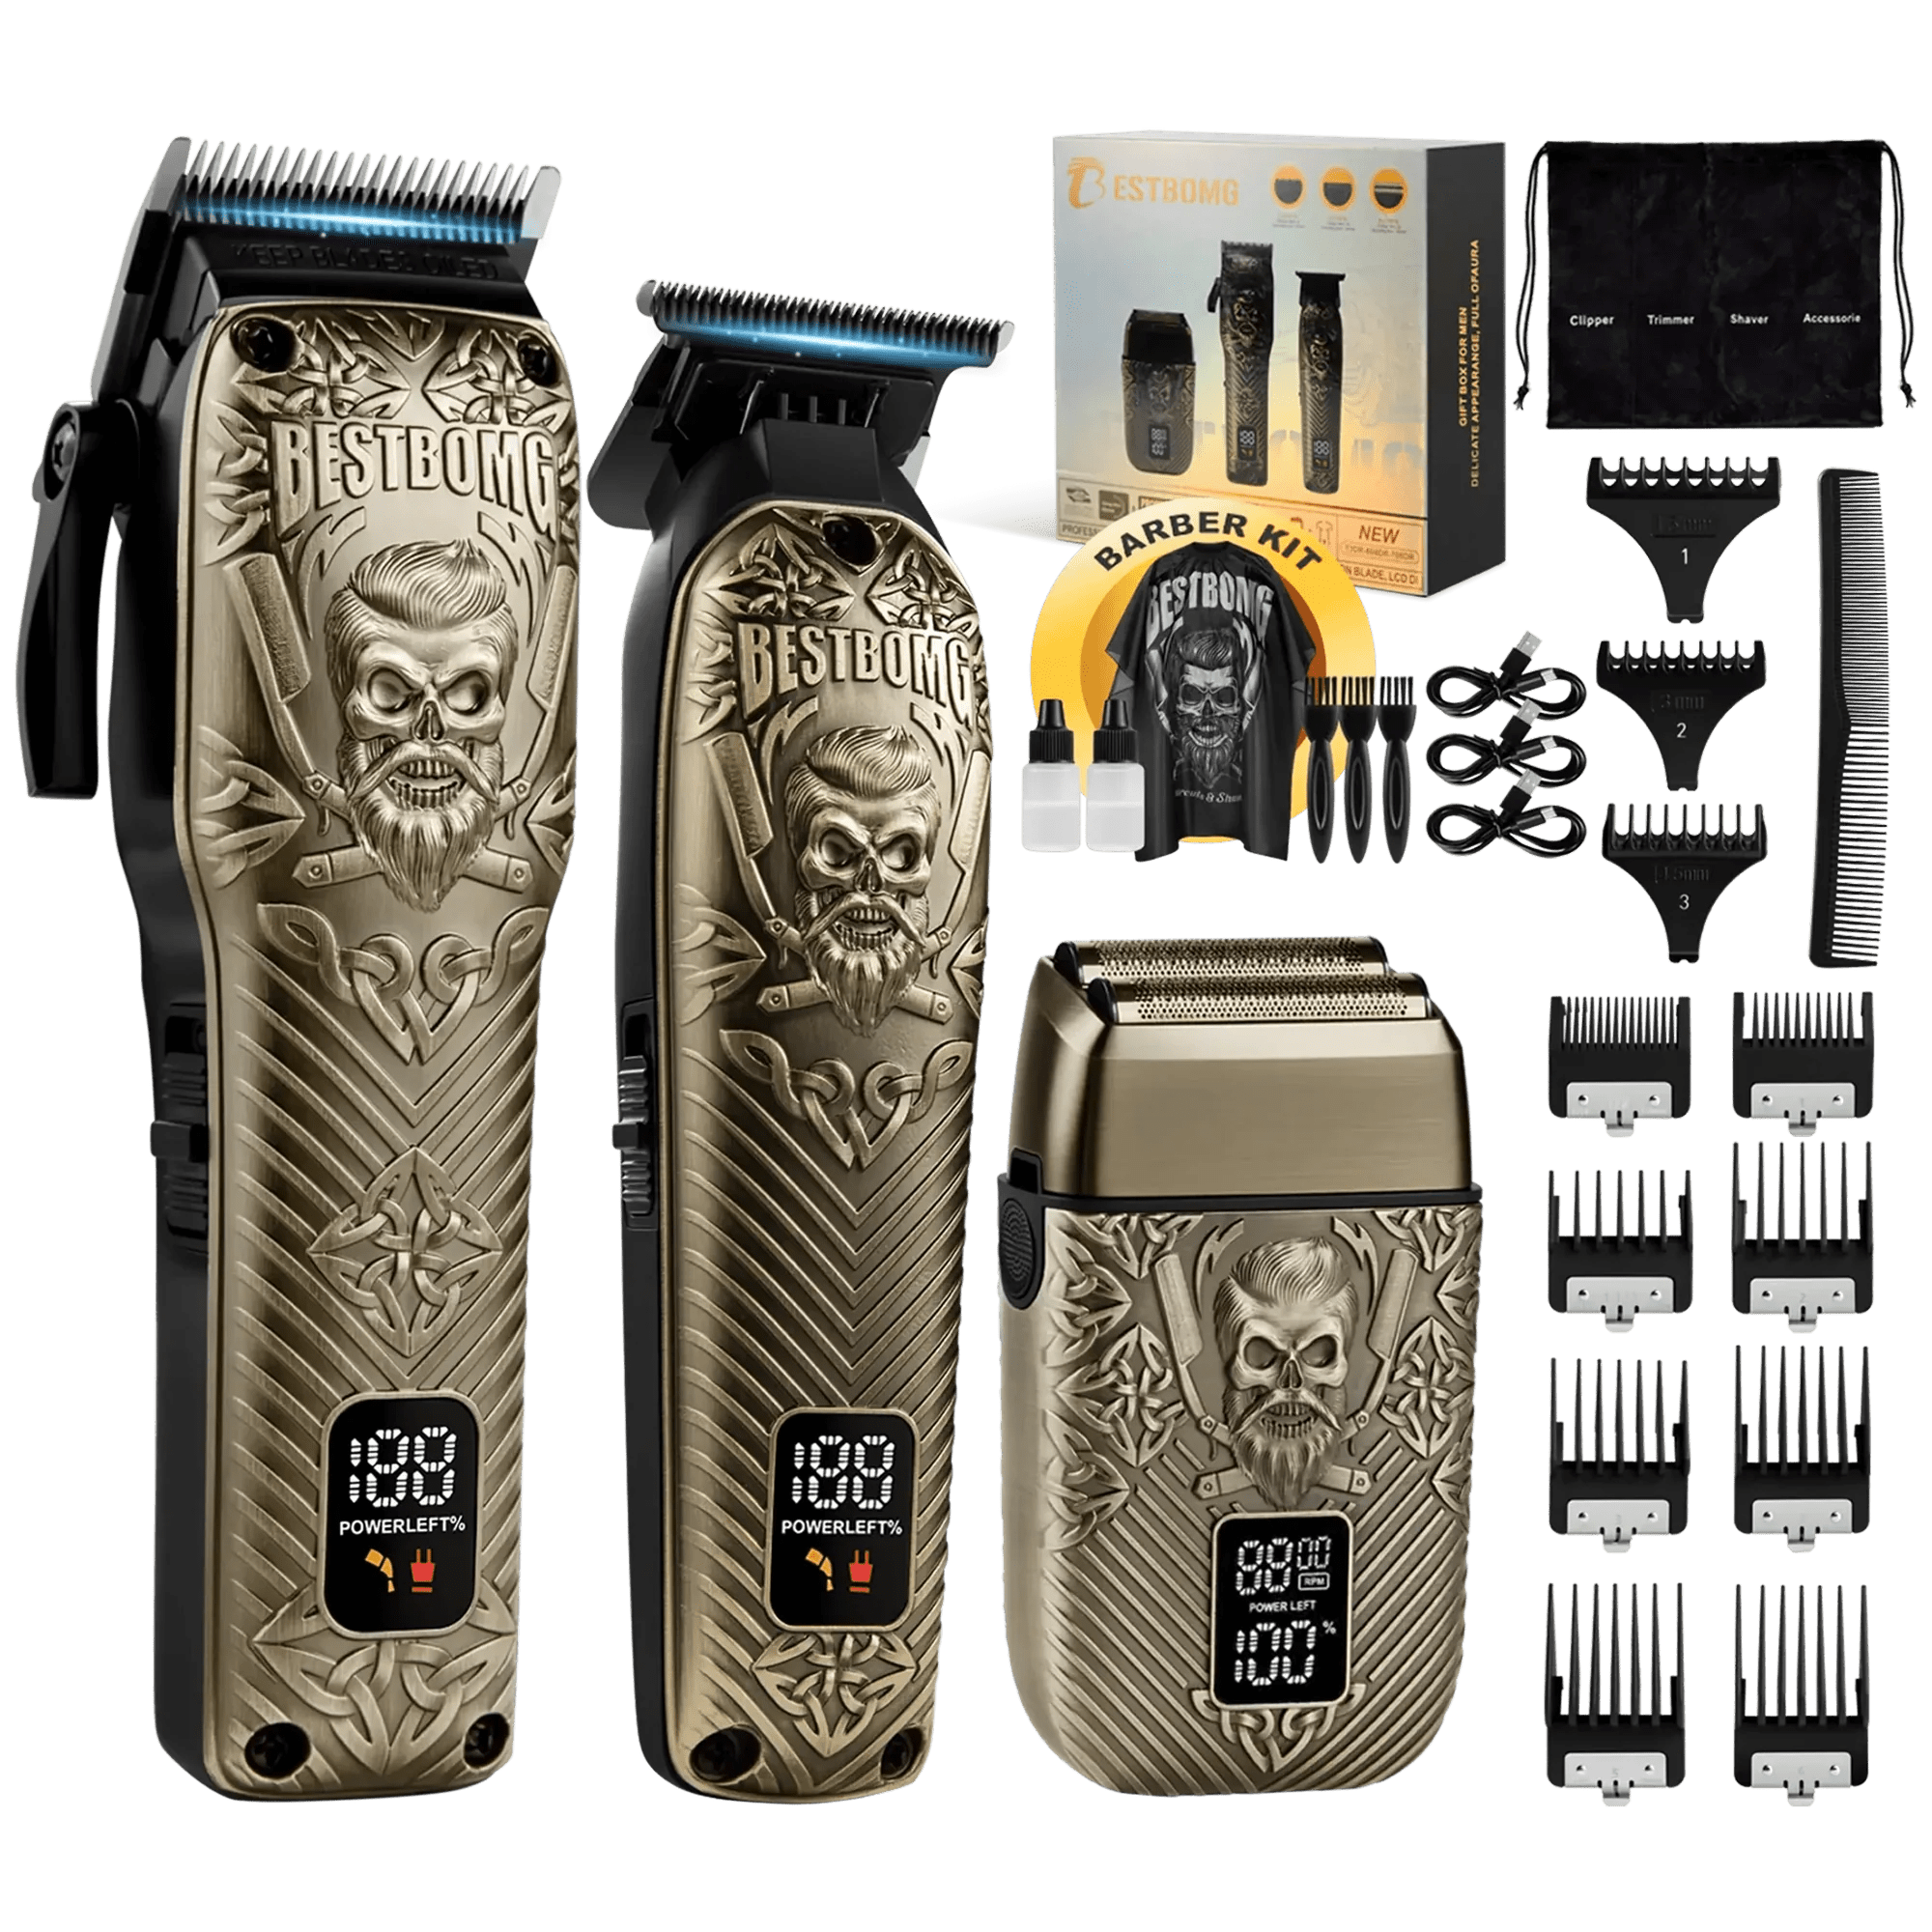
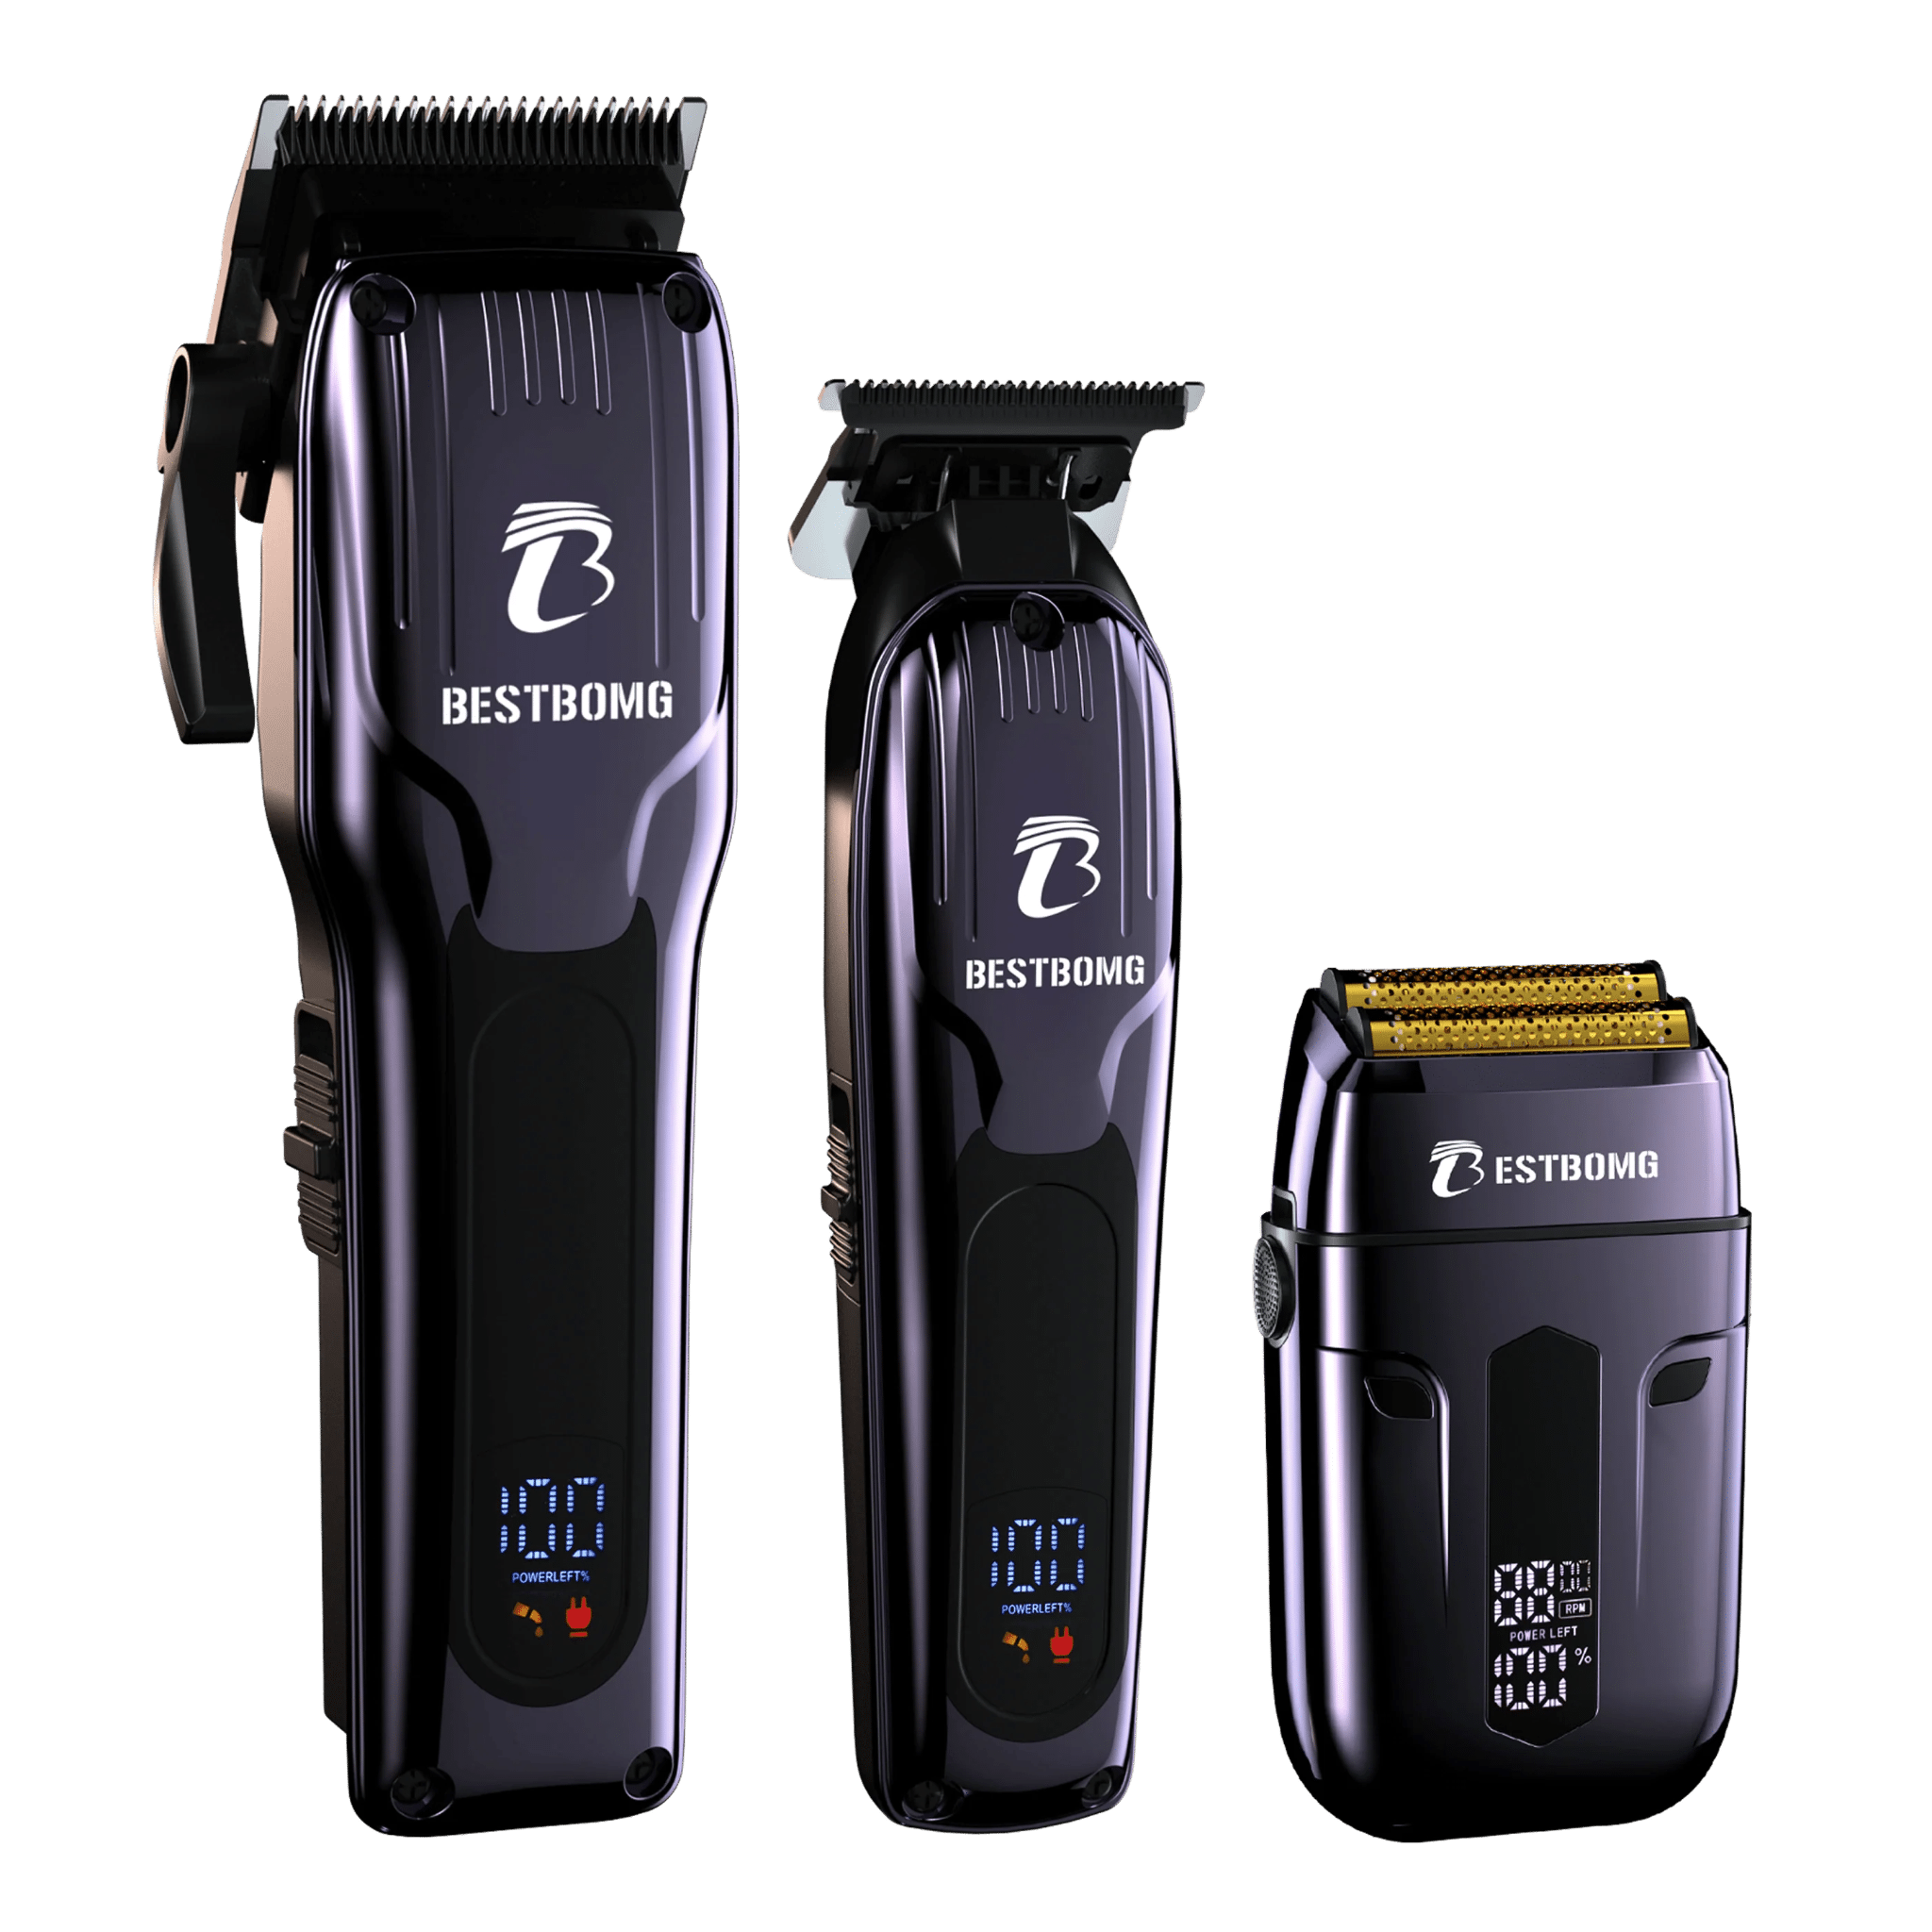
Browse the Bestbomg hair clippers range for cordless models with adjustable taper levers that hold position reliably through long cutting sessions.
FAQs
Should the lever be open or closed on hair clippers?
Closed for shorter cuts: skin fades, buzz cuts, line-ups. Open for longer cuts: the starting point of a fade, blending between guards, or anywhere you want to leave more hair length before transitioning down. Neither is universally 'correct' — each is correct for a specific purpose.
Does the open lever cut more or less?
Open cuts less — leaves more hair. Closed cuts more aggressively — removes more hair, leaving a shorter result. This is the counterintuitive part for many beginners: 'open' sounds like it's doing more work, but it's actually producing a longer result.
Is a #1 guard open the same as a #1.5 guard closed?
Approximately yes. One guard step = 3 mm; the lever = 1.5 mm. A #1 open adds 1.5 mm to the #1 closed baseline. A #1.5 closed starts 1.5 mm longer than #1 closed. The two settings are approximately equivalent. Minor differences exist based on clipper tolerances and hair type.
What is a 0.5 clipper guard in mm?
A #0.5 guard leaves approximately 1.5 mm of hair length with the lever fully closed. With the lever open, it leaves approximately 3 mm — roughly equivalent to a #1 closed. Half-size guards fill the 3 mm gap between standard full-number guards and are particularly useful in the low-fade zone.
Can I use the clipper lever for blending and fades?
Yes — it's the primary blending tool. Moving the lever from closed to open while using the same guard, or adjusting the lever between guard changes, creates gradual transitions that would otherwise require separate blending tools. The lever is specifically designed for this purpose in the taper and fade technique.
Does open cut more or less?
Open cuts less hair, leaving more length. Closed cuts more hair, leaving less length. The lever open position lifts the blade away from the scalp slightly, reducing how aggressively it cuts. Same clipper, same guard — just a different blade depth.
What is the difference between open and closed lever guards?
The lever doesn't change the guard itself — the guard's job is to set the outer boundary of the cut. The lever changes where the blade sits within that guard's range. A #2 guard with lever closed cuts to approximately 6 mm; the same guard with lever open cuts to approximately 7.5 mm. The guard defines the maximum length; the lever defines the actual length within that range.
Which way is open on hair clippers — up or down?
It depends on the clipper brand. On many Wahl clippers, the lever pushes down toward the front of the body to close (shorter cut). On Andis models, the orientation is sometimes reversed. The only reliable way to determine which direction is open on any specific clipper is to test it — or check the manufacturer's documentation.
What is the 3:2:1 rule for haircuts?
The 3:2:1 rule is a fade technique formula: three different guard lengths, two tool types (clipper and trimmer), combined into one seamless blend. The three lengths create the gradient; the trimmer handles the skin-close finishing that the clipper can't reach; the goal is one continuous transition with no visible steps.
What is a #0 buzz cut?
A #0 cut uses no guard — the bare blade on its closest setting, which typically leaves 1–1.5 mm of hair. With the lever fully closed, this is the shortest the clipper can cut without zero-gap adjustment. With the lever open, a #0 leaves approximately 3 mm — similar to a #1 closed. A #0 buzz cut is a very short, even cut across the whole head.
Sources
- Wahl USA — Taper Lever Haircutting Guide (official manufacturer guide covering open vs closed lever settings and how the lever changes cutting length for Wahl clippers), wahlusa.com.
- Reddit r/Barber — Community Q&A: Lever Closed and Lever Open Explained (experienced barbers explain open vs closed lever concepts and practical technique implications), reddit.com/r/Barber.
- Reddit r/CutYourOwnHair — Real user questions and answers about lever settings and getting consistent cutting lengths at home — practical home-use perspective on lever mechanics), reddit.com/r/CutYourOwnHair.
- Wikipedia — Hair clipper (overview of clipper blade mechanics, lever function, motor types, and historical development of the taper lever as a professional tool), wikipedia.org.
Looking for something else?

How to Cut Baby Boy Hair with Clippers: Step-by-Step Guide
LEARN MORE
Do Hair Clippers Get Dull? Causes, Signs & Prevention
LEARN MORE
Can an Electric Shaver Cut You? Safety Facts & Prevention
LEARN MORE
How to Shave Balls with Electric Shaver: Safe Guide
LEARN MORELooking for something else?

Does Using Trimmer Increase Hair Growth? Facts & Myths
LEARN MORE
Best Hair Clippers for Men: Top Picks for Home & Pro Use
LEARN MORE
Best Professional Hair Clippers for Barbers: Top Picks
LEARN MOREYou may also like


Further reading
Best Hair Clippers for Perfect Fades at Home
Fading well at home takes a specific kind of clipper — one with a reliable taper lever, a blade designed for blending rather than just bulk cutting, and enough motor consistency to maintain clean ...
Clipper Lever Open vs Closed: What It Means (with mm)
The lever on a hair clipper is one of the simplest mechanical features on the tool and one of the most consistently misunderstood. Clipper lever open vs closed determines actual cutting length — h...
Why You Need a Cordless Detailer Trimmer (And How to Pick the Right One)
A standard clipper does bulk work. A cordless detailer trimmer does finish work — and the two are not interchangeable. The last 10% of a haircut is what separates 'looks like a home cut' from 'loo...
How to Get a Crisp Line Up at Home (+ Best Trimmers)
A crisp line-up is one of the fastest, highest-impact grooming upgrades you can do at home — and one of the most commonly botched. The wrong tool gives you blurry edges. The right technique with t...