


How to Get a Crisp Line Up at Home (+ Best Trimmers)
A crisp line-up is one of the fastest, highest-impact grooming upgrades you can do at home — and one of the most commonly botched. The wrong tool gives you blurry edges. The right technique with too much pressure gives you redness. This guide covers everything: what a good crisp line-up trimmer actually does, how the technique works step by step, the specific mistakes that ruin finished edges, and which trimmers are worth buying for home use in 2026.
What You Need for a Crisp Line Up

A T-blade trimmer. That's the answer for most people asking this question. A full-size clipper can remove bulk from the sides; it can't draw a precise line at the hairline. A foil shaver is useful for cleaning up shadow below an existing line; it doesn't define one. These are three different jobs requiring three different tools — using the wrong one for any of them is why so many home line-ups look imprecise.
A line-up trimmer gives you more control than a full-size clipper
The T-wide blade is narrower than a clipper blade and extends past the trimmer housing on both sides. That extension gives you a clear sightline to exactly where the blade edge is touching skin — the housing doesn't block your view at the critical last few millimeters. At line-up precision levels, that visibility is the difference between a line that's straight and one that's slightly curved.
Sharp lines come from blade shape, not brute force
Heavy pressure causes skin flexion under the blade, which means the blade isn't cutting a straight path — it's following the skin's movement. Light, consistent contact produces a cleaner line because the blade maintains the same angle throughout the pass. The sharper the line you want, the lighter the pressure needs to be.
Most home users get better results with a T-blade trimmer
The dedicated edge-up trimmer is specifically built for this job. It's what T-blade trimmer for edging means in practice: a tool sized for close-quarters precision rather than fast bulk removal. For weekly edge-ups and beard outline maintenance, this is the single tool that directly solves the problem.
What Makes a Good Crisp Line-Up Trimmer

The category label is 'beard trimmer,' but not all beard trimmers are suitable for edge-up precision work. Here's what actually separates a genuinely useful line-up trimmer from a general grooming tool.
Blade shape: why T-blades are easier for edging
The T-shape is functional, not aesthetic. When the blade extends past the housing, the corners are exposed and visible from the front. You use the corner of the blade for guide marks, not the full blade width. A T-blade corner placed at the hairline shows you exactly where you're cutting. A standard square blade with the housing at blade-width doesn't give you that sightline.
Visibility: you need to see the corner of the blade clearly
Visibility into the cut is the most important ergonomic feature for line-up work — and one that's almost never listed in product specs. Test this mentally before you buy: can you see the blade corner at close range during a hairline pass, or does the trimmer body block your view? A trimmer that looks good in product photos but obscures your sightline during edge work defeats the purpose.
Motor consistency: fewer passes, less irritation
A motor that bogs down under thick beard growth forces multiple passes over the same zone. Multiple passes over the hairline or cheek line generate heat and micro-irritation that increases pseudofolliculitis barbae risk — the ingrown hair and bumping pattern common in curved hairlines, especially on coarser hair textures. A motor strong enough to cut cleanly on the first pass reduces this significantly.
Grip and balance: why lighter tools feel safer near the hairline
Precision requires a steady hand. A trimmer that's front-heavy — more weight near the blade than the handle — is harder to control at the odd angles required for hairline work. Target under 8 oz. Hold the trimmer like a pencil when working at the hairline — two fingers and a thumb, not a full-hand grip.
Skin comfort: sharp enough to edge, not so harsh it bites
Run the trimmer against fine arm hair at low pressure. It should cut immediately with no drag. If it only cuts under pressure, the blade is either dull, misaligned, or too low-quality for edge work. A T-blade trimmer for edge work needs to cut on contact — if it drags, the line won't be straight.
Line-Up Trimmer vs Clipper vs Shaver: Which Tool Does What

This is the question that trips up most beginners. Three different tools, three different jobs — but the jobs can look similar from the outside.
|
Grooming Job
|
T-Blade Trimmer
|
Full Clipper
|
Foil Shaver
|
|
Hairline edge-up and lineup
|
Best — T-wide blade gives exact placement visibility
|
Possible but imprecise — housing blocks the final mm
|
No edge control — designed for flat surface shaving
|
|
Neckline outline and cleanup
|
Excellent — corners follow curves cleanly
|
Usable for bulk, imprecise at the final outline
|
Can clean below a line but doesn't define one
|
|
Beard cheek line definition
|
Ideal — corner visibility allows precise placement
|
Housing obscures the cut; high risk of removing too much
|
Foil blurs rather than defines edges
|
|
Bulk hair removal (sides/top)
|
Wrong tool — too narrow, inefficient
|
Built for this — guards and motor handle bulk fast
|
Not designed for length reduction
|
|
Below-the-line skin cleanup
|
Works at zero-gap but repeated passes risk irritation
|
Too aggressive for post-line skin cleanup
|
Best for shadow removal under a defined line
|
|
Sideburn length and shaping
|
Excellent for the bottom edge and shape
|
Good for length, poor for the bottom line
|
Blurs rather than defines sideburn edges
|
The practical home setup is two tools: a clipper for bulk removal and hair cutting, and a T-blade trimmer for all edge work. The foil shaver is optional — useful for removing shadow below a defined beard line if you want a cleaner finish below the neckline.
|
Key distinction: Use the clipper to get the length right. Use the trimmer to make the line crisp. Never try to draw a hairline with a full clipper. Never try to remove bulk with a detailer. Wrong tool for the job shows in the result every time.
|
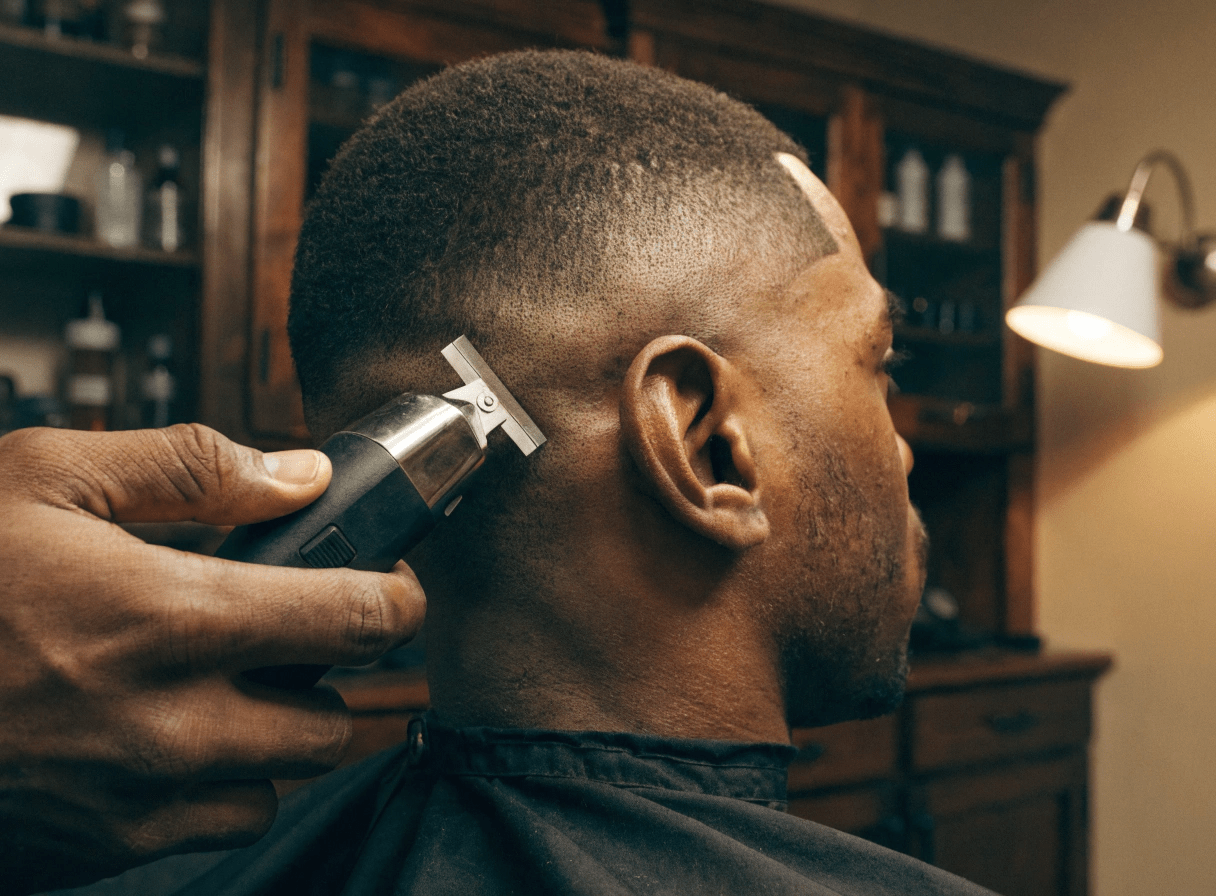
How to Line Up Your Beard and Hairline at Home Without Messing It Up

The steps below apply to both hairline edge-up and beard line work. The tool is the same; the reference points differ. For a detailed visual reference on beard-specific technique, The Bearded Chap's beard trimming guide shows what finished cheek lines and necklines should look like — useful orientation before starting.
|
Step
|
Action
|
Why It Matters for a Clean Result
|
|
1
|
Clean and dry the skin and hair
|
Oils and moisture cause hair to clump, which blurs blade contact with individual hairs. A clean dry surface gives each hair a distinct cut rather than a dragged one.
|
|
2
|
Set up a two-mirror view — especially for the neckline
|
You can only line up accurately what you can see clearly. A single mirror doesn't show the neckline or behind-the-ear zones. A door-mirror setup solves this before the first cut.
|
|
3
|
Identify your natural hairline before switching anything on
|
Look for the lowest point of natural hair growth on each side and the midpoint at the back. These are your anchor points — follow what's there, don't invent a new line.
|
|
4
|
Make the first guide mark with the corner of the blade
|
Use 5–10 mm of the blade corner only — not the full T-width. A light mark establishes the angle before you commit to the full pass. A corner mark is easy to blend; a full-blade pass is not.
|
|
5
|
Work in 1–2 cm strokes, checking alignment after each
|
Short strokes let you course-correct at every step. Each stroke is a decision, not a commitment. Adjust angle slightly between marks if the line is drifting.
|
|
6
|
Match the second side using a comb as a horizontal reference
|
Hold a fine-tooth comb at the bottom of the completed side and use it to judge the position on the second side. The comb provides a visual horizontal reference that mirrors alone can't always give.
|
|
7
|
Clean below the line after the shape is locked in
|
Only after the outline is confirmed clean should you remove hair below it. Cleaning below an unconfirmed line risks shifting the reference point you've been building.
|
|
First-timer tip: Do your first home line-up on a Tuesday, not a Friday. Give yourself two days to blend any imperfections before a social event. The technique gets faster and cleaner within 3–4 sessions.
|
How to Get a Crisp Beard Line Without Making It Look Too Harsh

The beard line-up requires two decisions: where the cheek line sits, and where the neckline sits. For professional perspective on how each should be positioned, Gillette's expert beard trimming guide covers the cheek line geometry that most home users get slightly wrong.
Follow your natural cheek line before you sharpen it
Your cheek line isn't a straight line — it curves gently downward from the sideburn to the corner of the mustache. Trying to create a perfectly straight cheek line overrides your natural growth pattern and looks artificial after 10 days of regrowth. The T-blade corner's job is to clean the edge of what's already there, not to design a new line from scratch.
Keep the neckline clean, but don't push it too high
The neckline should sit approximately one to two finger-widths above the Adam's apple. Lower than that and the beard looks unkempt from the side. Higher than that and it visually shortens the neck. The trimmer technique here is correct; the placement decision is what goes wrong most often.
When a softer beard line looks better than a super-sharp edge
For longer, fuller beards, a razor-sharp defined cheek line can look mismatched with the volume above it. Softer blending — using the trimmer at a slight upward angle on the cheek line rather than flat against the skin — leaves a faded transition rather than a hard cut. This suits beard lengths above 10 mm better than a skin-contact hard line.
The best trimmer to line up beard edges is the one you can hold steadily
Your cheek line follows a curve. Your neckline involves working in the mirror's reflection, which reverses your hand orientation. A trimmer you can hold with one or two fingers and pivot at the wrist is more useful for beard line work than a heavy, feature-heavy tool you can't maneuver precisely in these positions.
Common Line-Up Mistakes That Ruin the Final Look
Pushing the hairline back for a 'cleaner' look
The most common and least reversible line-up mistake. Every time you 'clean up' the hairline by pushing the line back slightly, you permanently remove hair from the front. After a few months, the hairline has moved 5–10 mm further back than where it started. Stay at the natural hairline — clean means precisely defined, not moved.
Pressing too hard and causing redness
Heavy blade pressure against the skin creates the appearance of a clean line immediately, then redness within an hour. The skin flexes under heavy pressure, which means the blade was actually following the skin's movement rather than a fixed plane. The line looks sharp but is slightly uneven — and the redness reveals the technique problem.
Trying to make both sides identical in one pass
The goal of the first pass is to establish the line and angle. The second pass is where you compare sides and make corrections. Trying to match both sides simultaneously — cut, check, adjust, recheck — creates a spiral of small overcorrections that produces asymmetry. Establish first, then compare and correct.
Using dull or dirty blades
A dull blade drags before it cuts. The drag pulls skin sideways at the hairline, which means the blade is cutting in a slightly different position than aimed. On coarser hair, blade drag generates enough heat in a precision zone to cause visible irritation. Replace or sharpen blades when lines start requiring multiple passes.
Doing the line-up before the rest of the cut is finished
The line-up is the last step, not the first. If you edge the hairline before taking down the sides, any variation in haircut length afterward changes the visual relationship between the top and the defined edge — even though the line itself didn't move. Finish all length work, then define the edges.
Best Trimmers for Crisp Line-Ups at Home

The right line-up trimmer depends on your specific routine. Here's a breakdown by user need — with the key features to prioritize for each profile:
|
Who It's For
|
Pick Category
|
What to Prioritize
|
Bestbomg Option
|
|
Home beginner, occasional edge-up
|
Cordless T-blade trimmer
|
Lightweight under 8 oz, full T-wide blade visibility, LiIon battery, adjustable lever. A charge stand keeps it ready between weekly uses without having to track down a cable.
|
T9 Beard Trimmer
|
|
Daily beard outlining (cheek/jaw)
|
Dedicated cordless liner/outliner
|
Narrow blade with a defined corner — the corner handles cheek line curves. Zero-gap capability preferred. Motor that handles coarse beard growth on the first pass without snagging.
|
—
|
|
Dense or coarse hair
|
High-torque rotary motor trimmer
|
Motor specs matter more than blade width here. Rotary or full-sized clipper motor in a trimmer body. A weak motor creates jagged edges on thick beard growth near the cheek line.
|
—
|
|
Budget/simple neckline cleanups
|
Affordable cordless T-blade
|
Doesn't need premium coatings or a charge stand. Needs: T-wide blade, LiIon battery (not NiCd), and a body light enough to hold at odd angles without hand fatigue.
|
—
|
|
DIY haircut + beard line combo
|
Clipper + trimmer two-piece setup
|
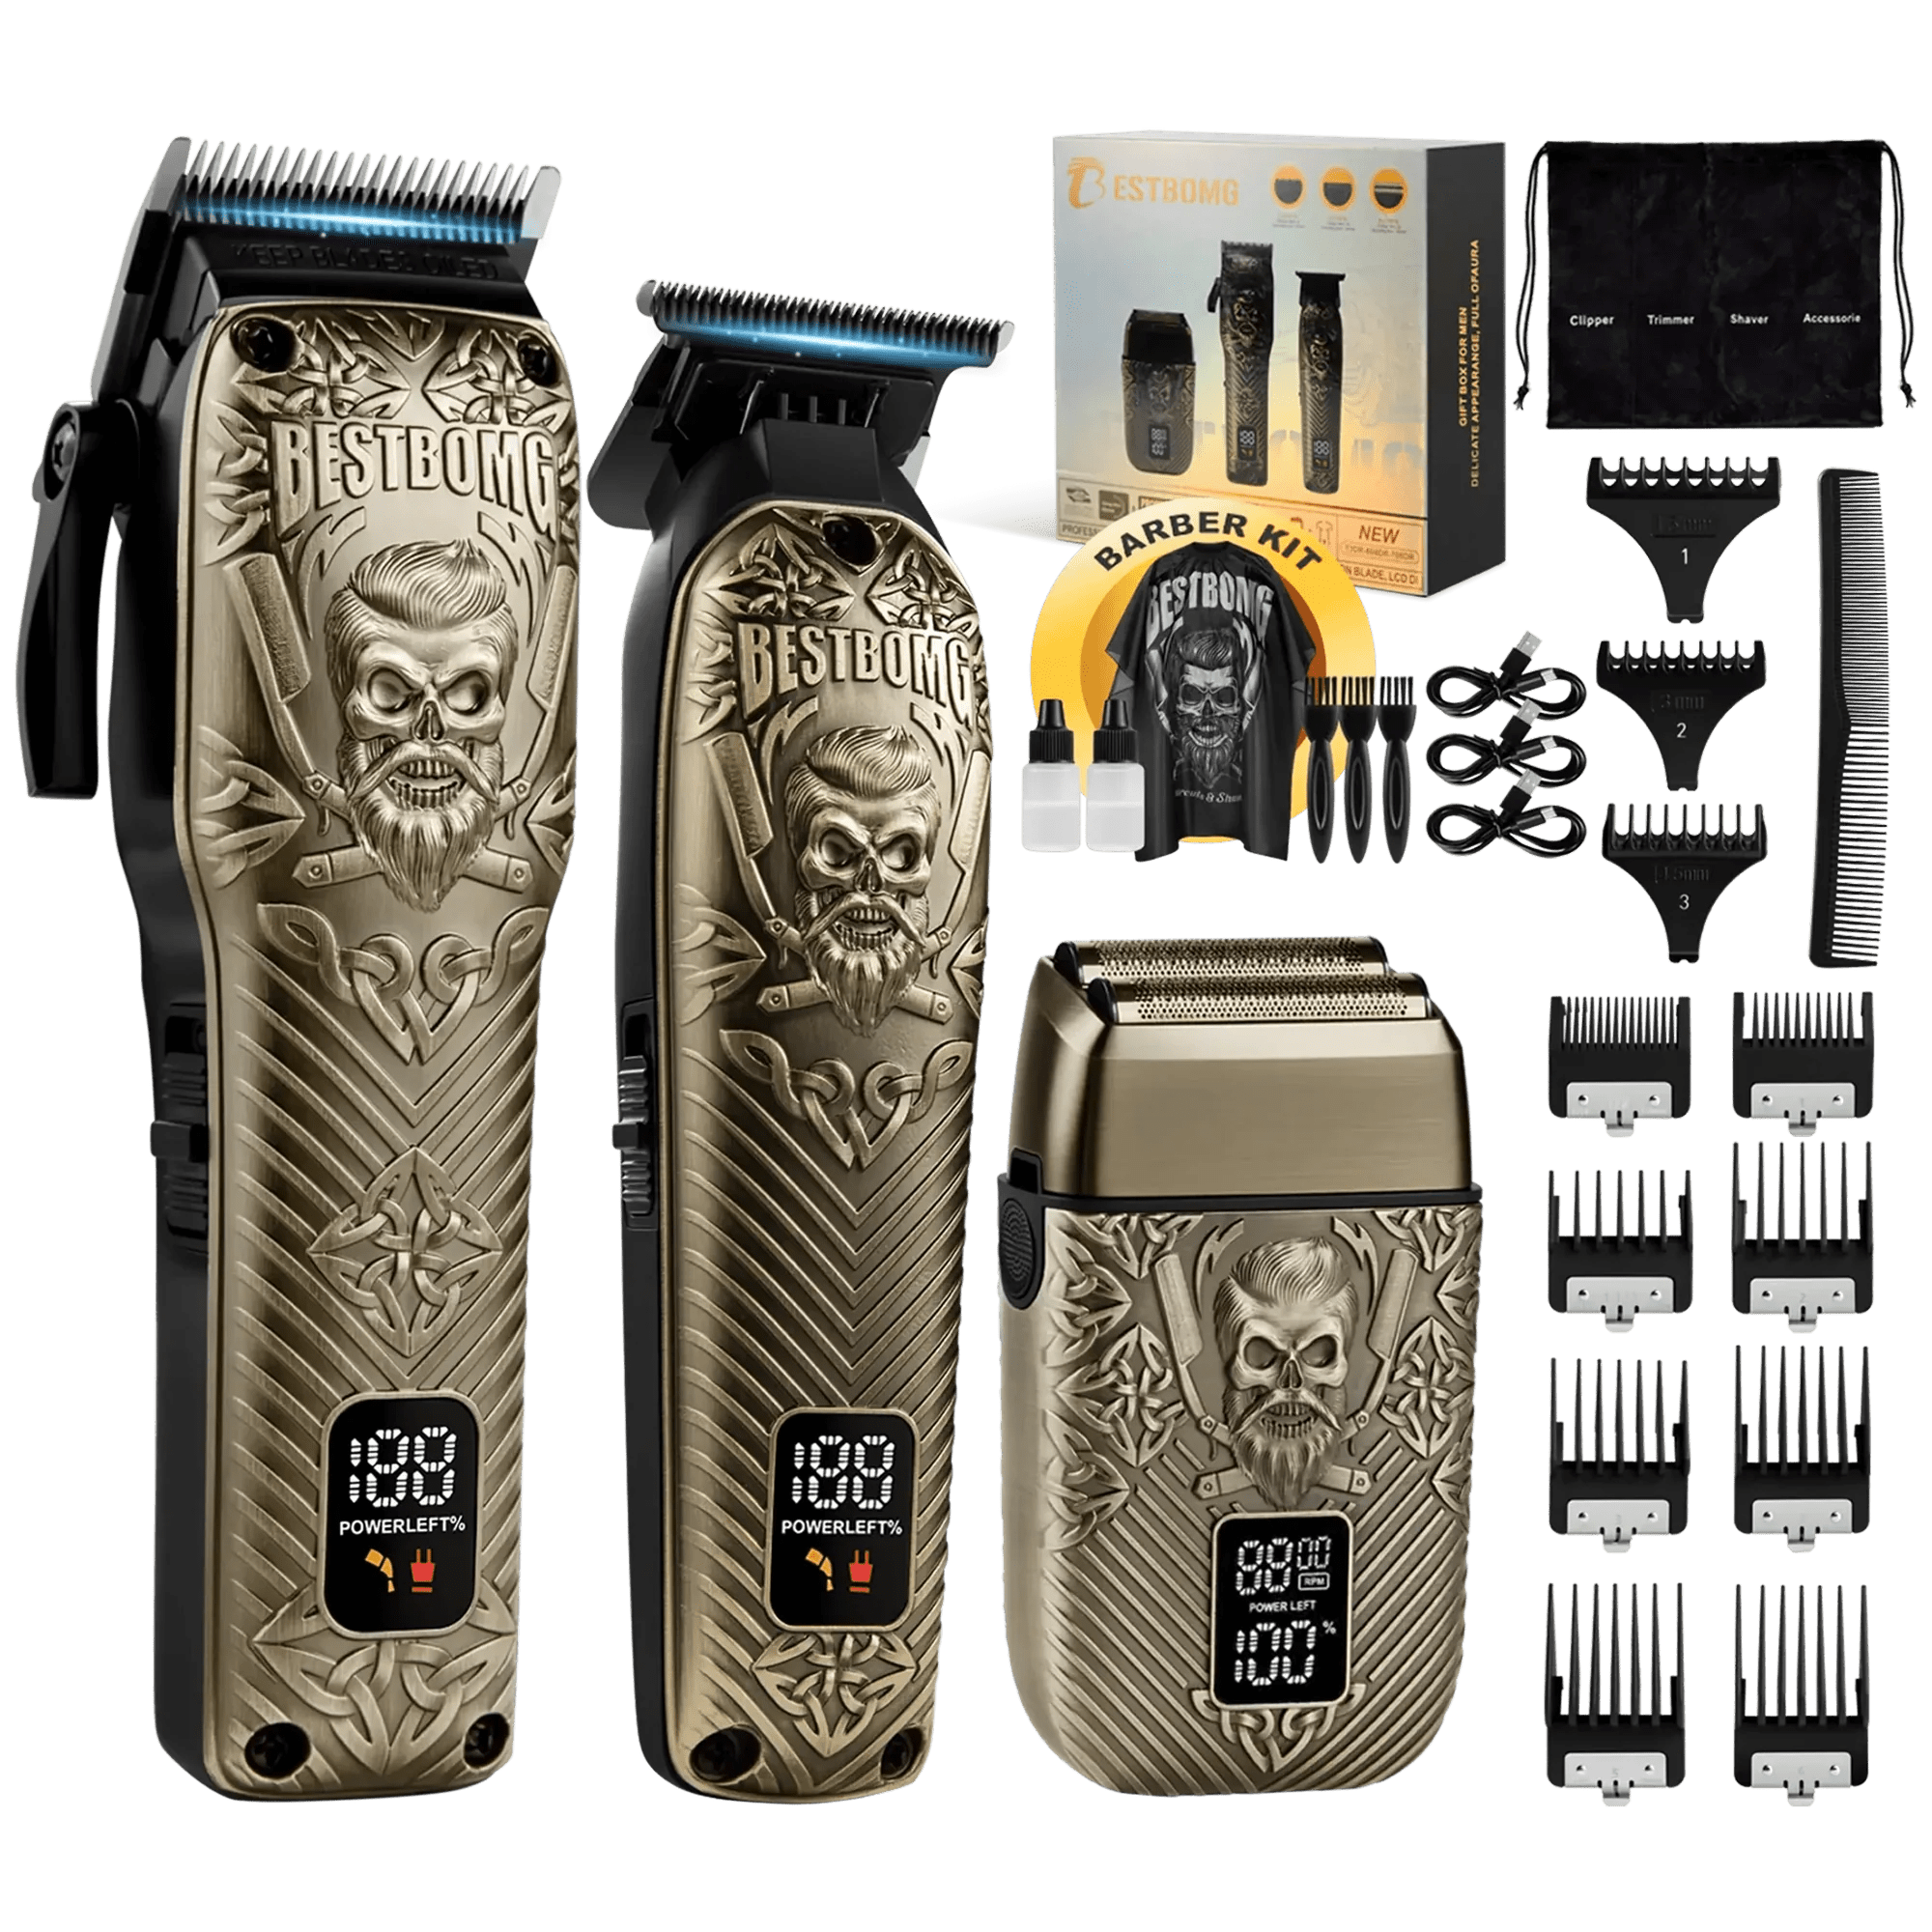
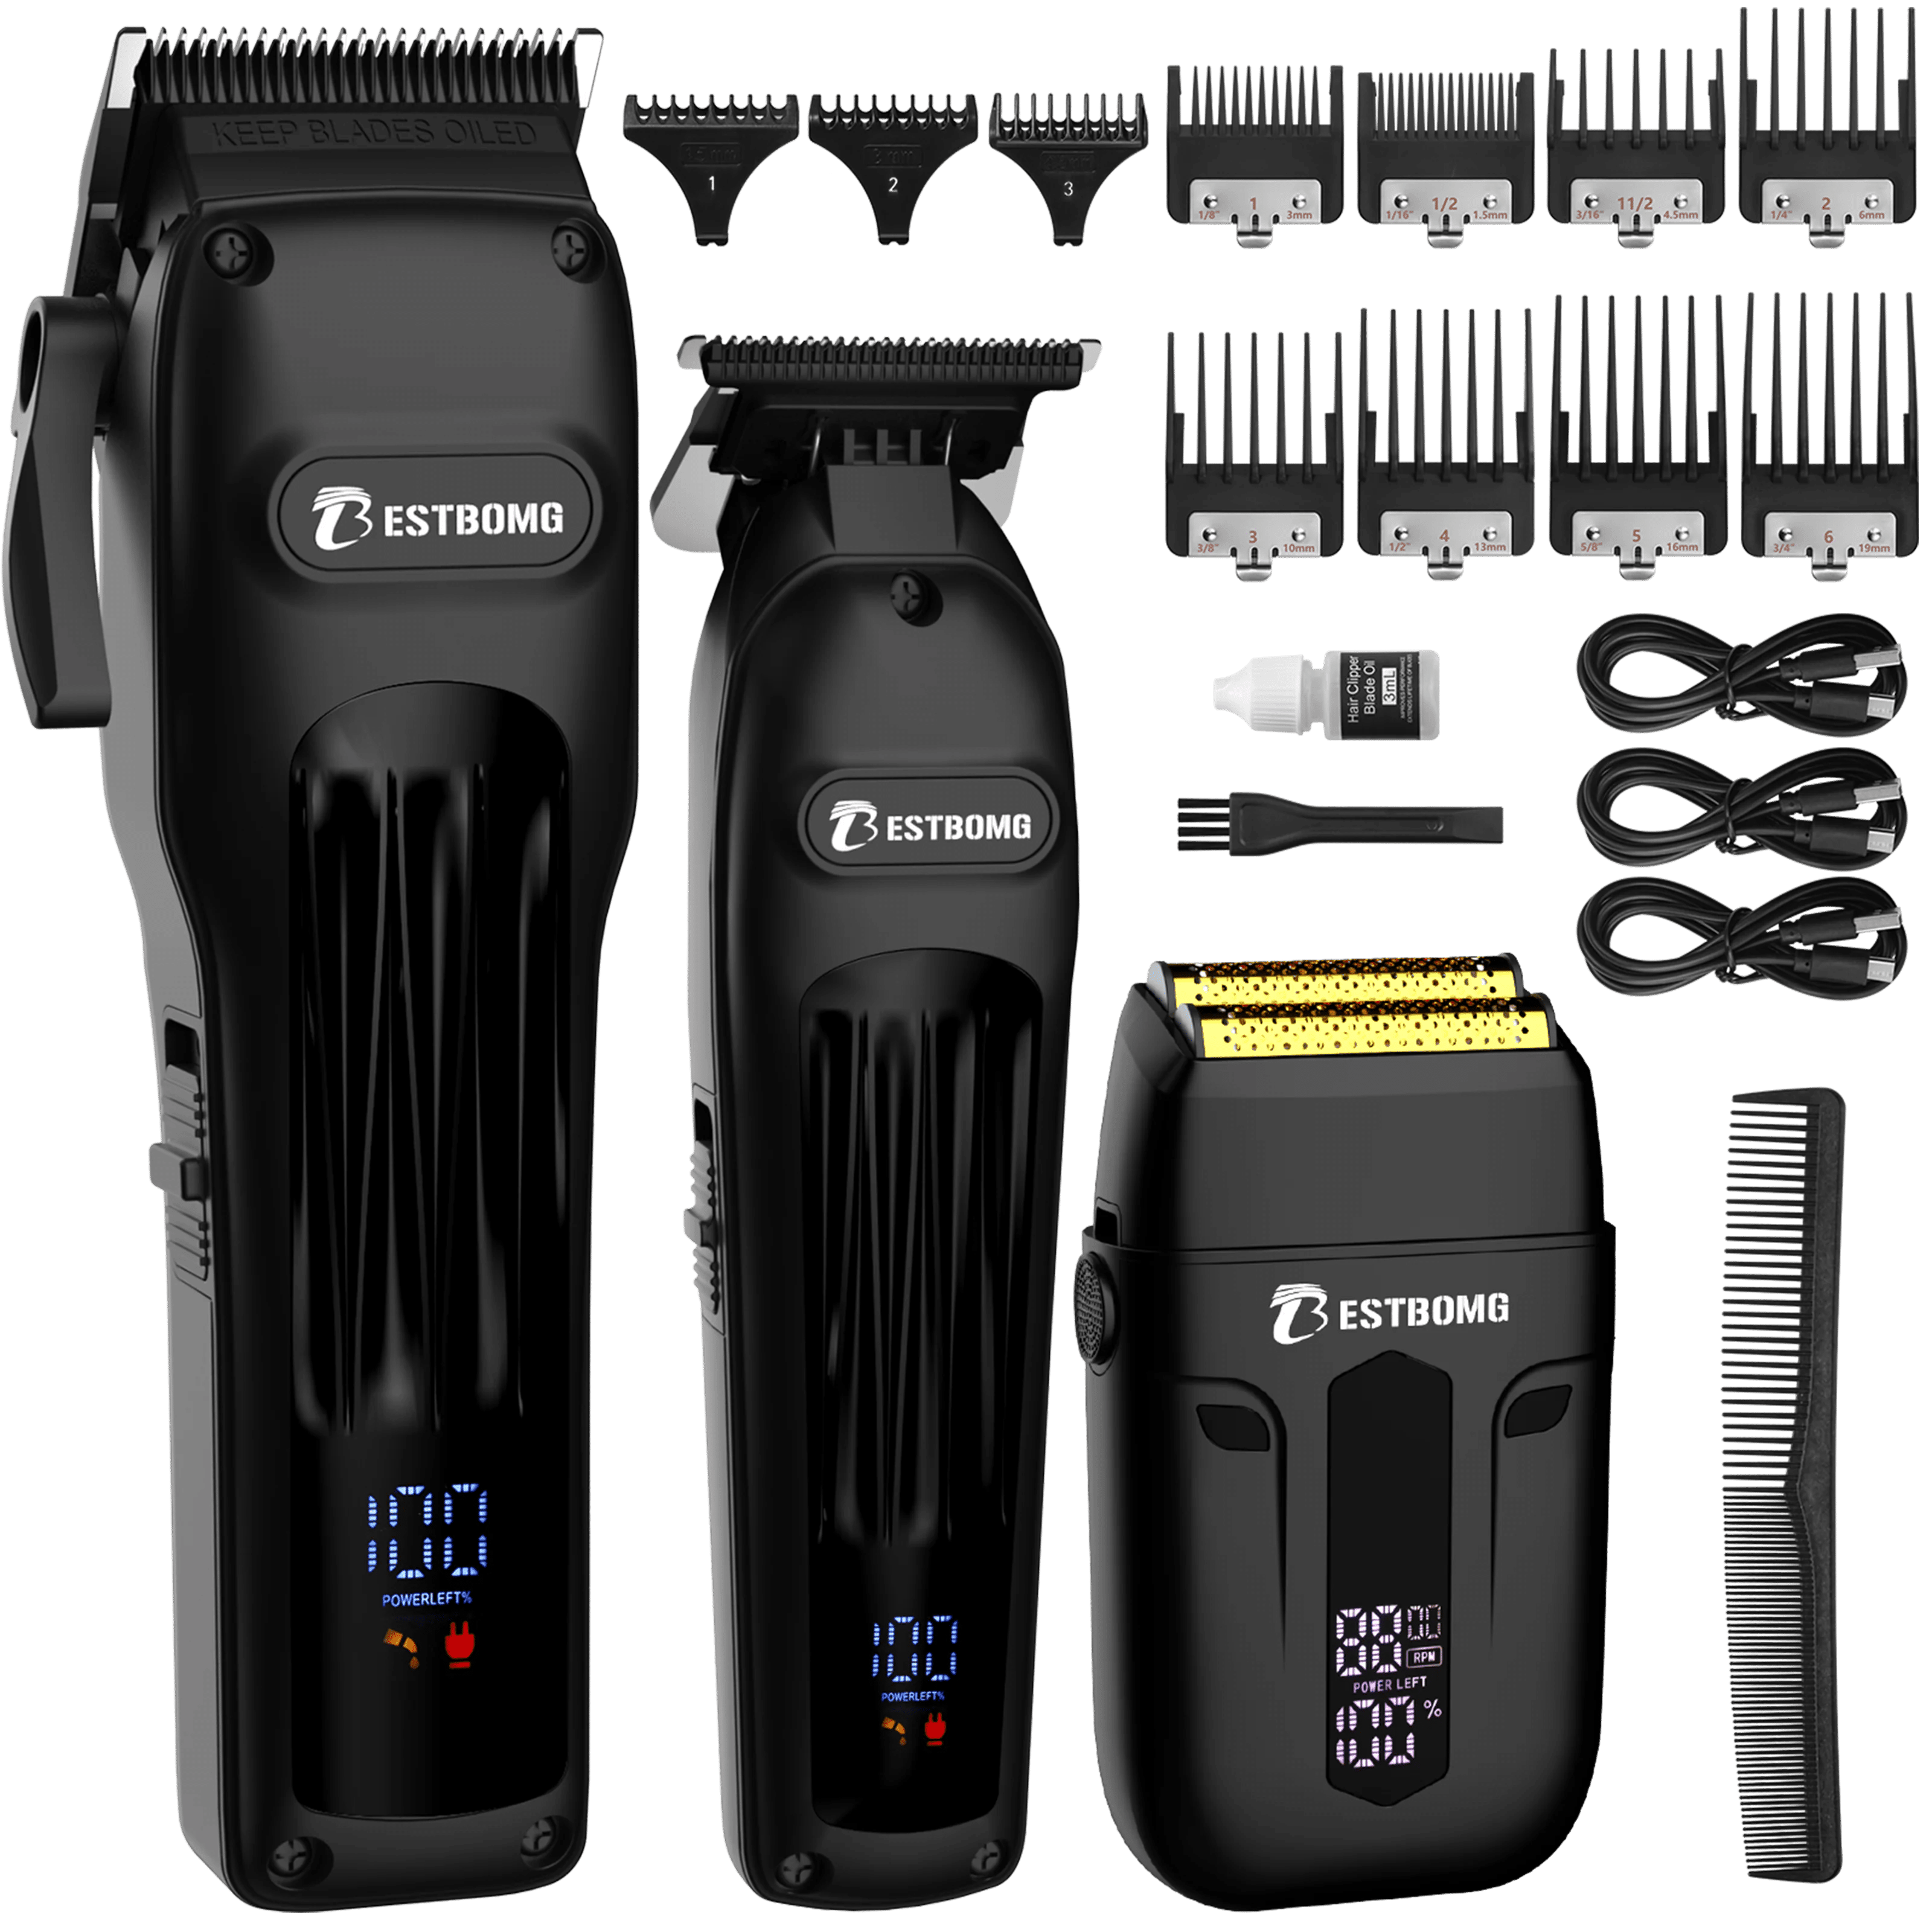
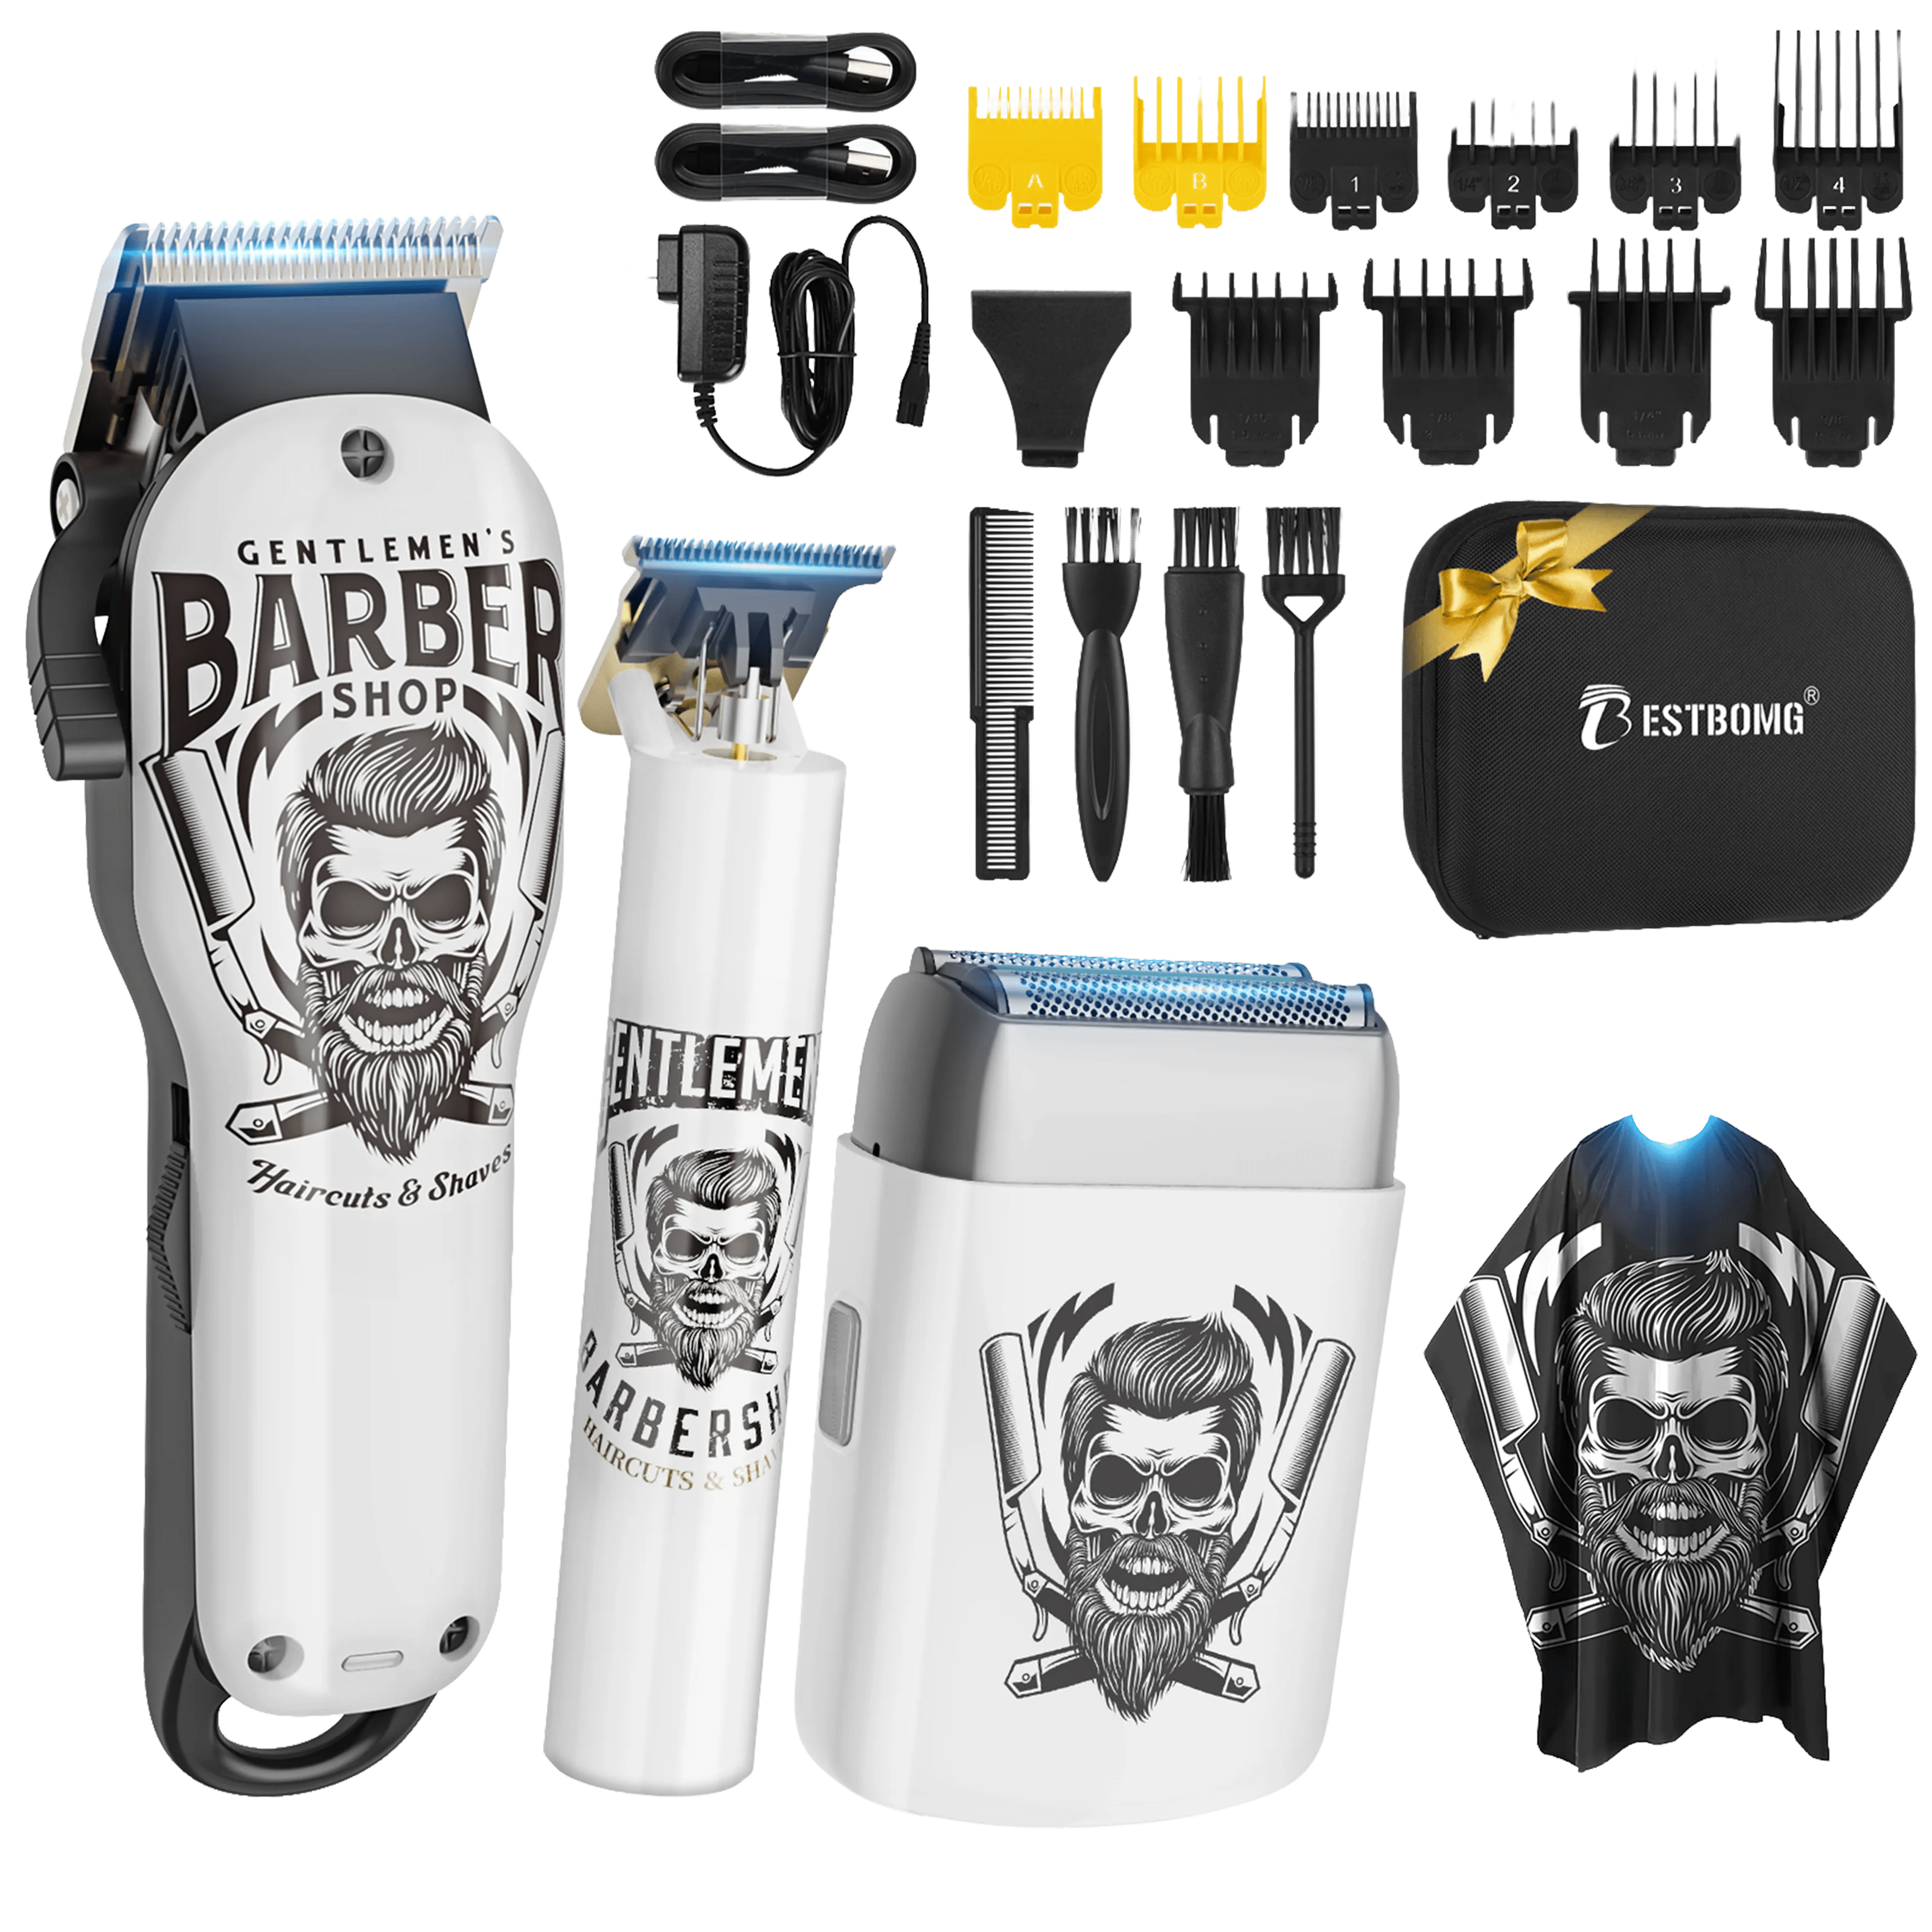
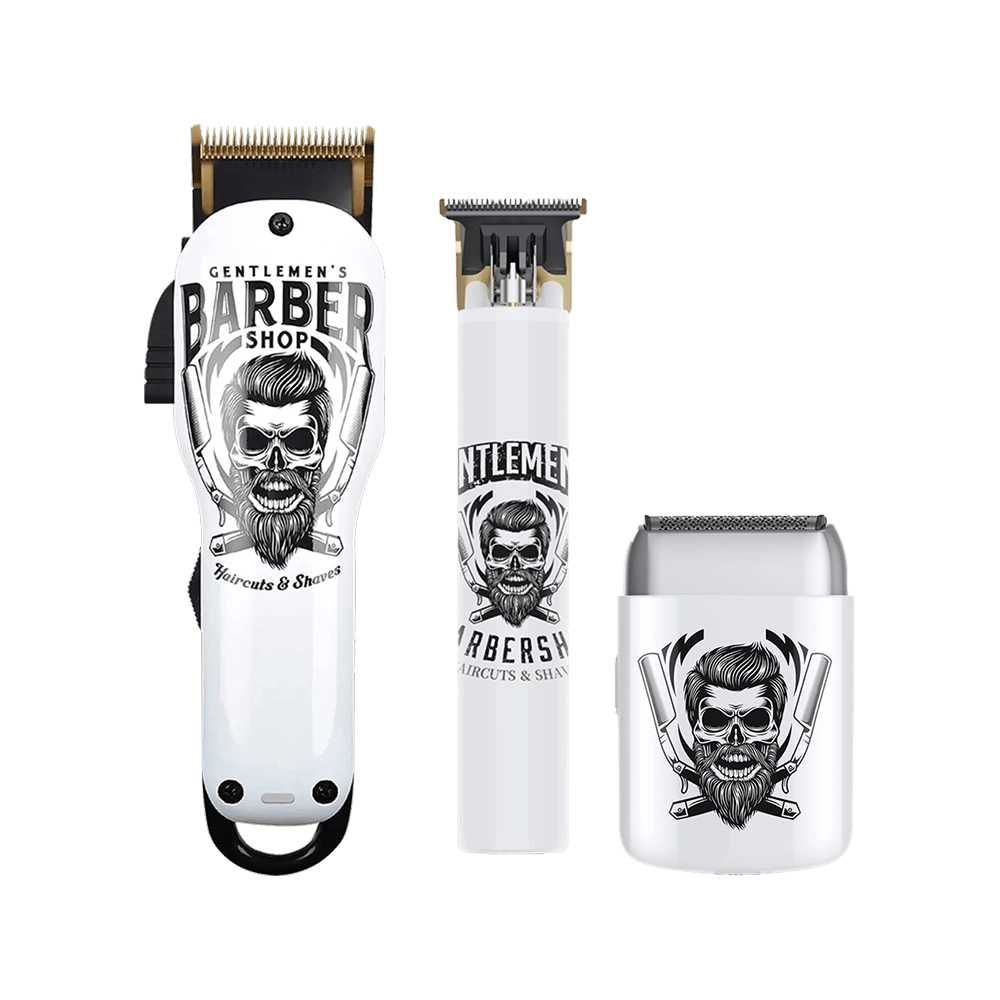
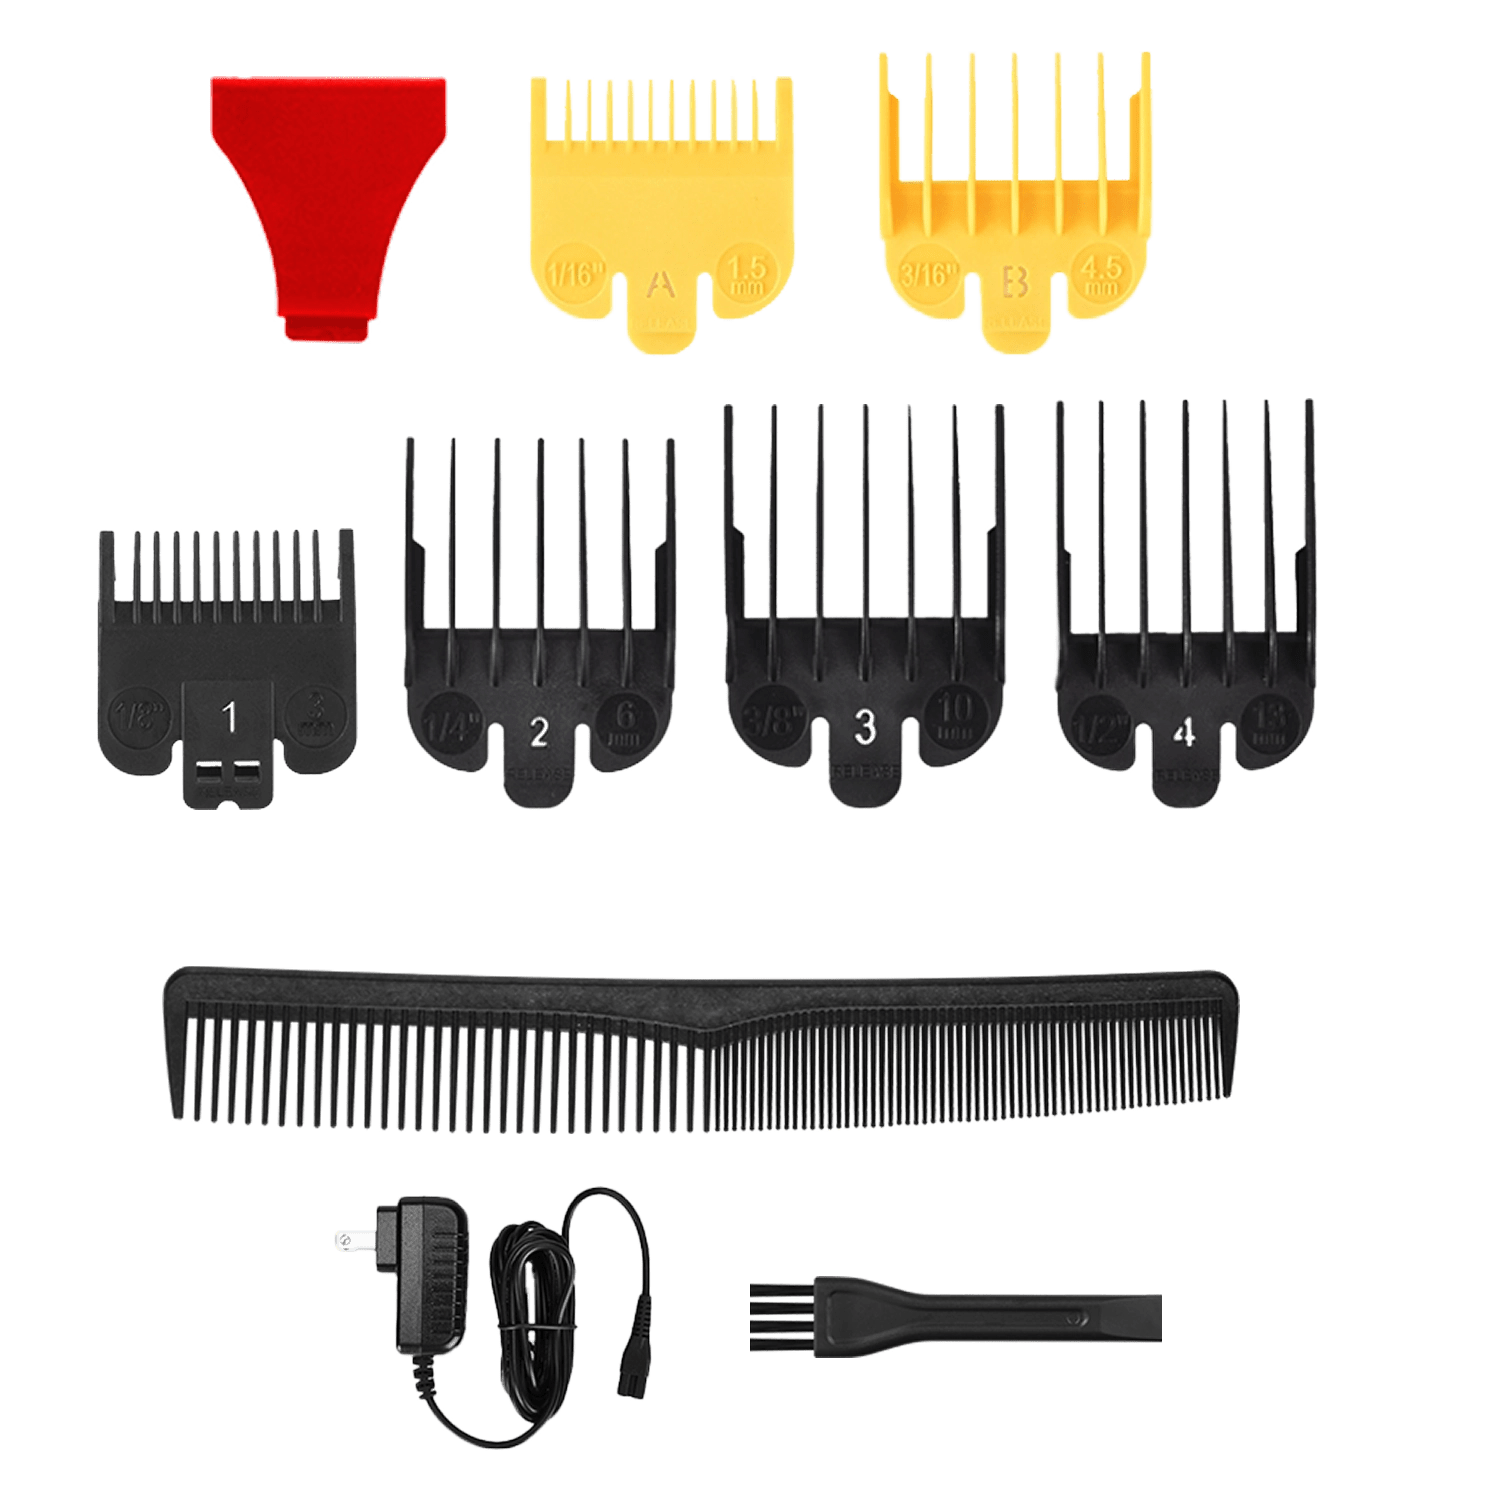
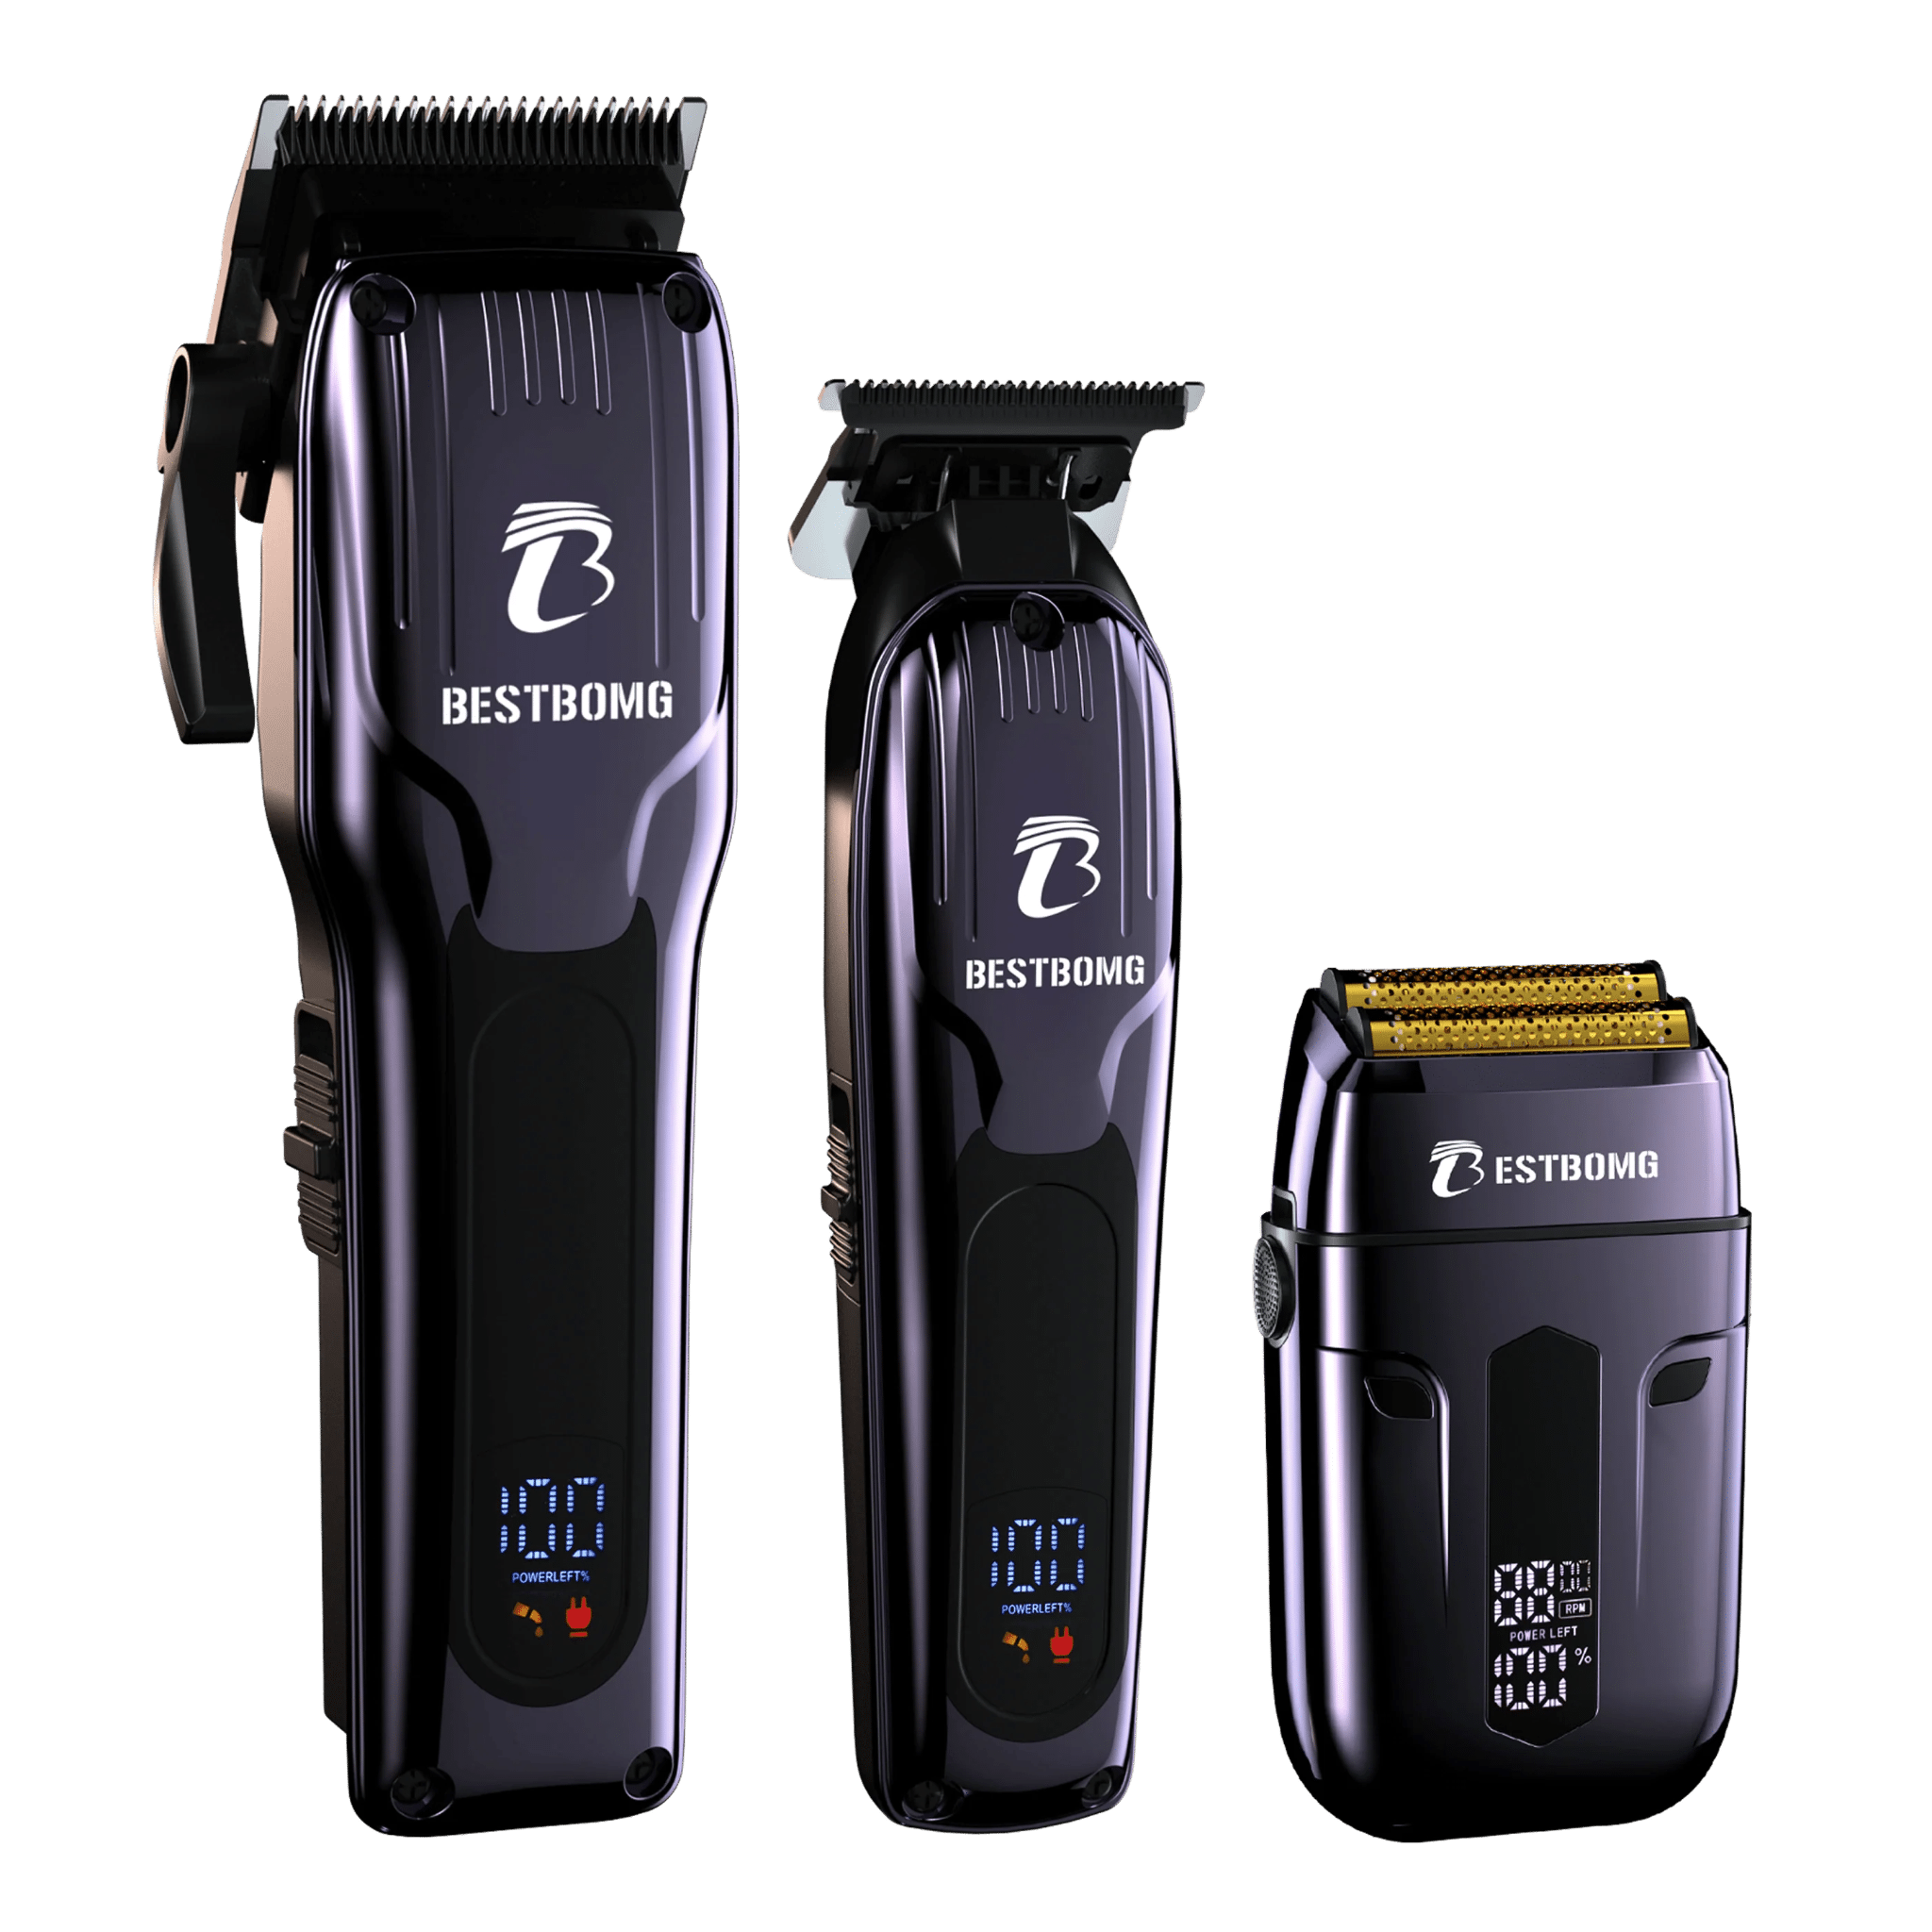
Use the clipper for sides and bulk; the T-blade trimmer for all edge work. A matched two-piece kit is more practical than one tool trying to do both jobs adequately.
|
Hair Cutting Kits
|
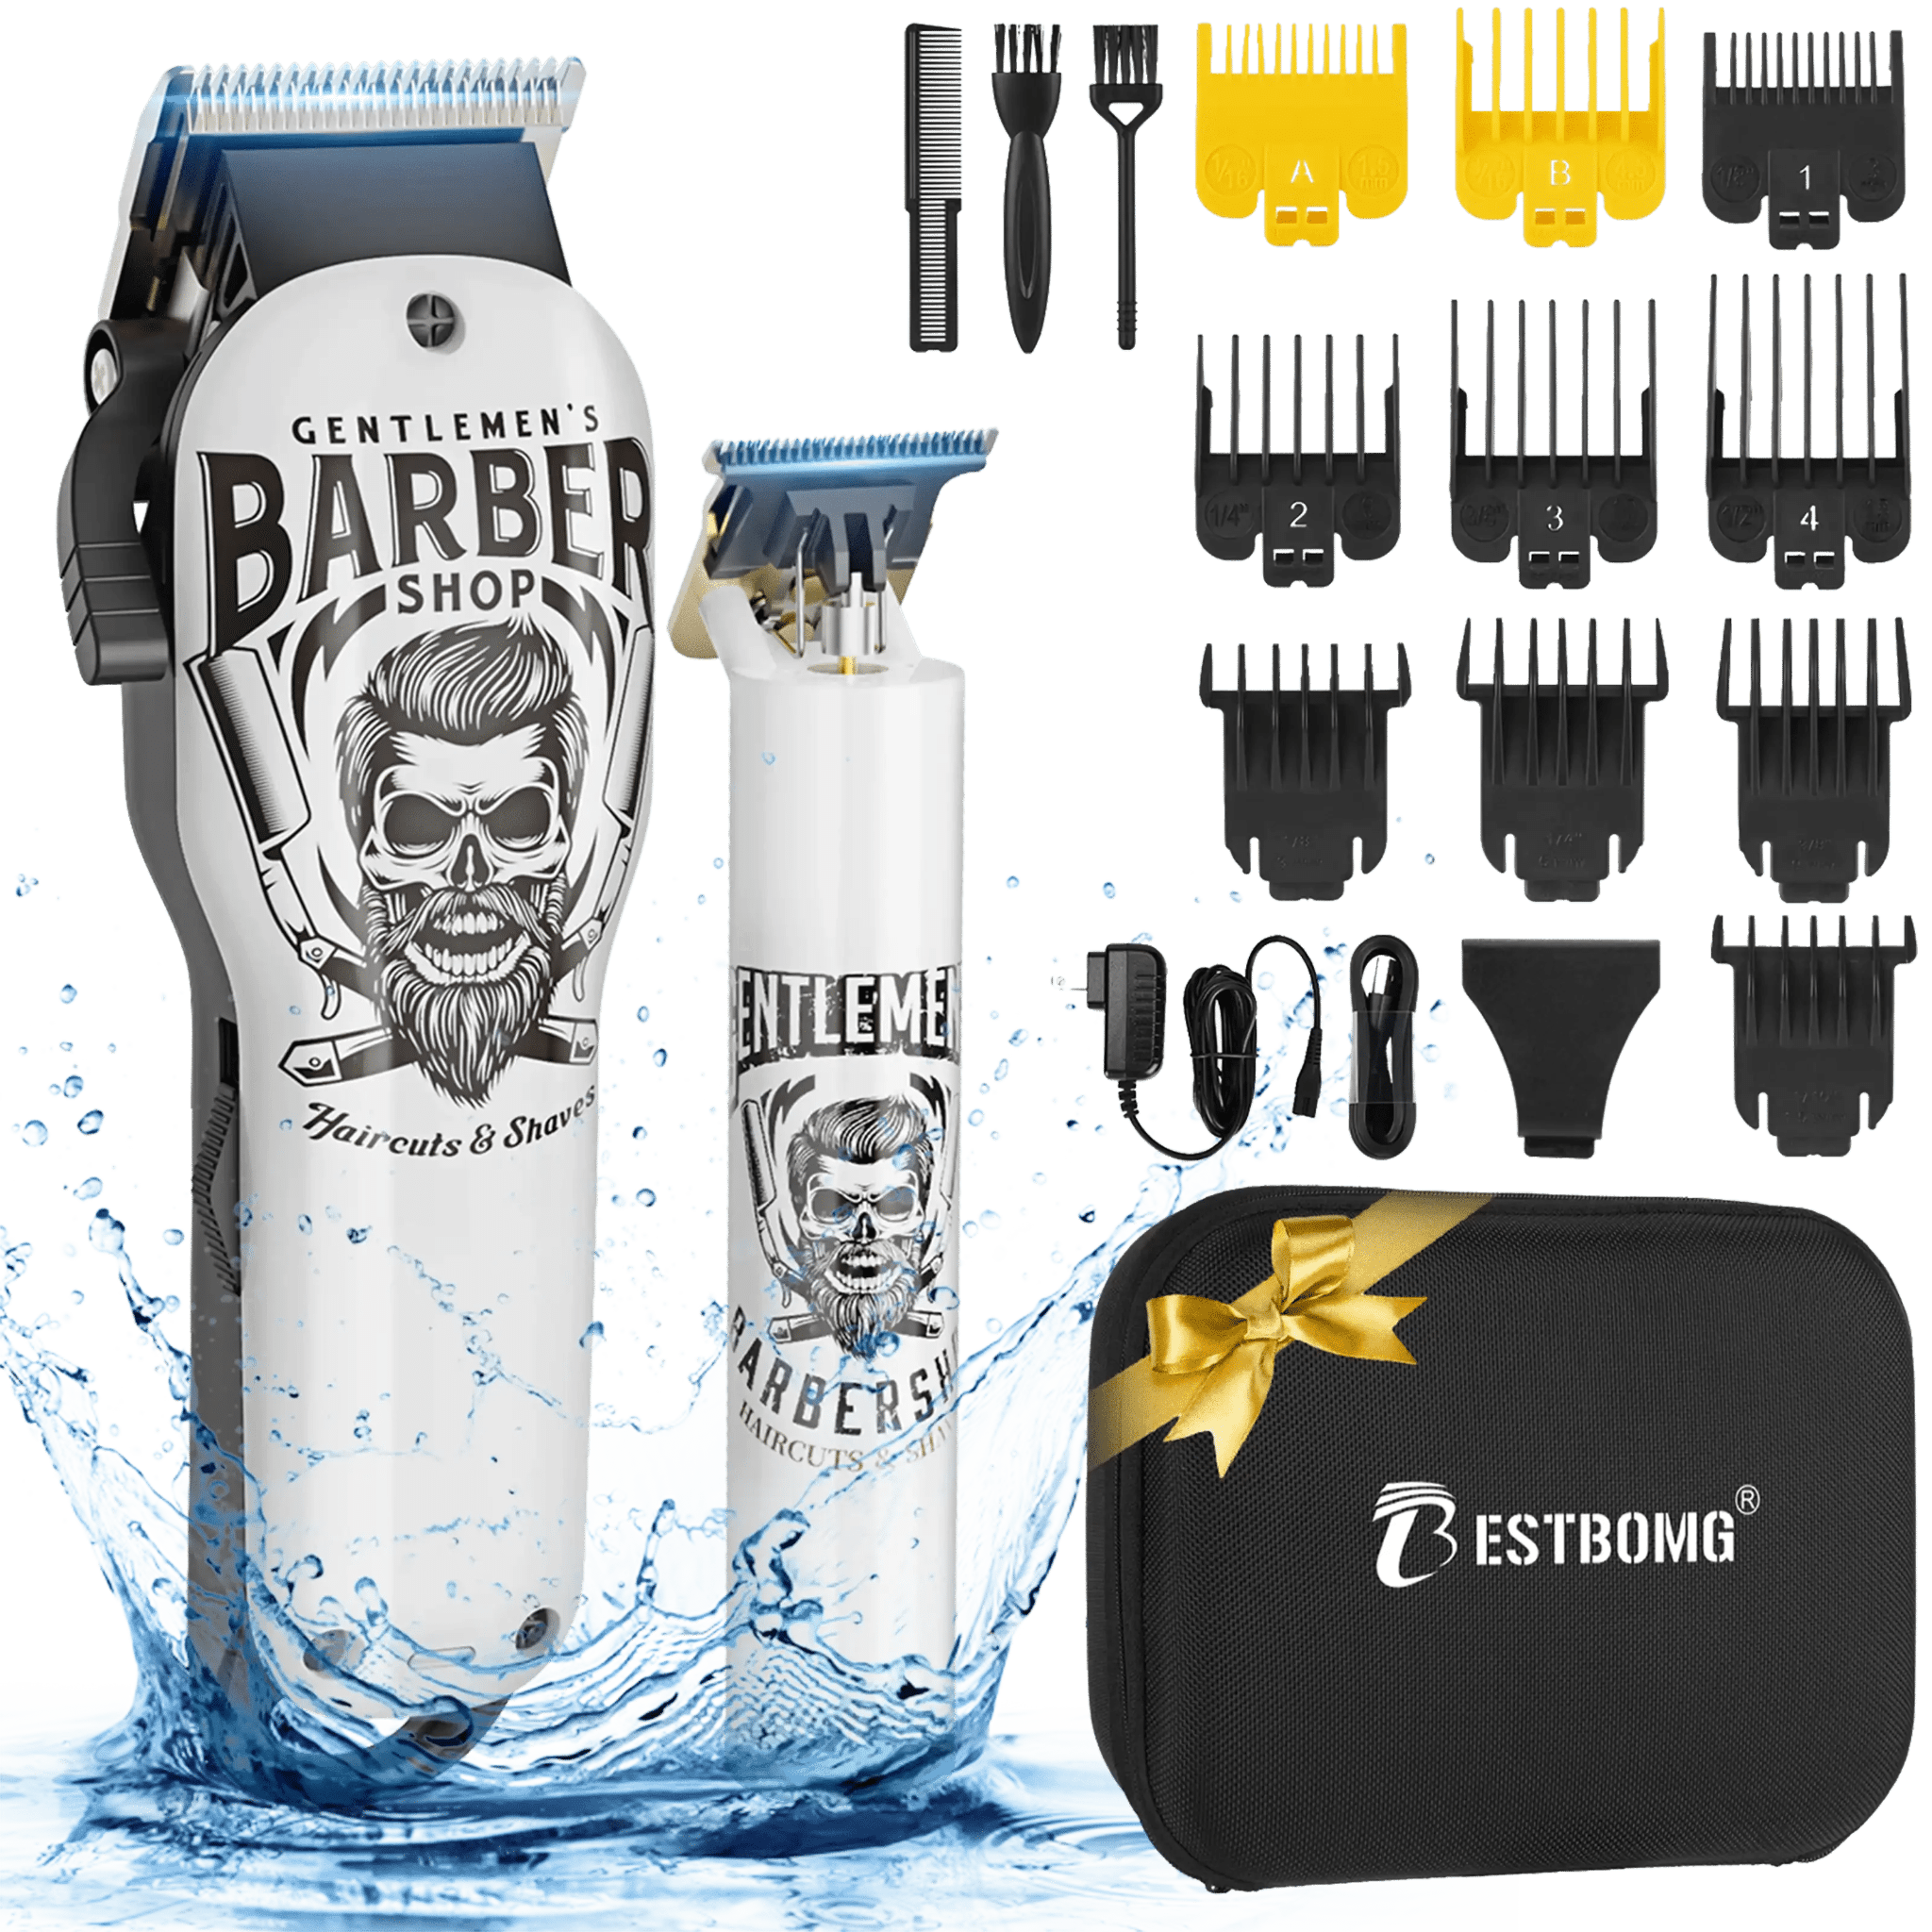
For the home beginner category — occasional edge-ups, beard outline work, and neckline cleanup — the Bestbomg detail trimmer for crisp outlines (T9 trimmer) is the practical starting point: T-blade visibility, cordless LiIon operation, and a body sized for pencil-grip technique. Free US shipping, 12-month warranty.
For the full home haircut + line-up combo, the Bestbomg Hair Cutting Kits collection includes matched clipper and trimmer sets. A matched two-piece means compatible guard ranges and blade quality calibrated to work together — versus sourcing a clipper and trimmer separately and hoping they're compatible.
How to Choose the Right Line-Up Trimmer for Your Routine
Choose a narrow visible blade if lines are your only concern
If your grooming routine is primarily beard maintenance and weekly edge-ups — no bulk cutting — a dedicated T-blade trimmer is all you need. Don't pay for motor power or guard attachments you won't use. Prioritize blade visibility and body balance above every other feature.
Choose a stronger motor if your beard is dense or wiry
Dense, curly, or coarse beard growth at the cheek line requires more torque to cut cleanly on the first pass. If you've experienced a trimmer snagging through the cheek line, the issue is almost always motor torque rather than blade sharpness. Look for rotary motor or full-clipper motor specifications explicitly stated.
Choose cordless if you do your own line-up often
Cord management during line-up work is a real problem — especially for neckline work where any cord pull affects the precision of the pass. Cordless removes that variable. For weekly use, a 60-minute LiIon battery lasts multiple sessions before needing a charge.
Choose a kit if you also cut your own hair at home
If your routine includes shortening the sides as well as lining up, a matched clipper + trimmer kit is more efficient than a standalone trimmer. The clipper handles length work; the trimmer defines the final edge. Using a full clipper for edge work is the most common compromise that produces the worst results.
Keeping Your Trimmer Sharp, Clean, and Ready for the Next Edge-Up
Edge-up trimmers wear faster than general trimmers because the motion pattern concentrates blade contact in small zones — the hairline corner, the cheek line curve — rather than spreading it across a large area. Full oiling and cleaning routine at how to clean hair clippers (step by step).
Brush out loose hair after every use
Pay specific attention to the blade corners — this is where T-wide blade debris accumulates most and where it most affects cut quality. Brush outward from center to corners, not just front-to-back. 30 seconds after every use keeps the corners clean and line quality consistent between sessions.
Oil the blade lightly to keep the cut smooth
One drop of clipper oil at three points across the T-wide blade: left corner, center, right corner. Run the trimmer 10 seconds to distribute. The blade corners are where most precision work happens — they need oil coverage as much as the center of the blade.
Check blade alignment before blaming your technique
If a previously clean trimmer suddenly starts producing fuzzy lines, check blade alignment before assuming the blade is dull. The inner blade can shift slightly out of position from normal use, creating uneven cutting across the blade width. Loosen the blade screws, re-center, retighten. This solves about 70% of sudden quality-drop complaints.
Replace worn blades before your lines start looking fuzzy
The signal: the trimmer requires 2–3 passes to produce the result that used to take one. Clean, oil, check alignment — if none of those restore single-pass performance, the blade is worn. A replacement blade restores factory performance at significantly lower cost than a new trimmer.
Conclusion
A crisp line up at home is achievable with the right trimmer and a technique built around short strokes, light pressure, and working from natural reference points rather than inventing new lines. The tool provides visibility and precision; your job is not to override it with pressure or long dragging passes.
The two most important decisions: choose a T-blade trimmer specifically designed for edge work, and take the first guide mark slowly. Everything else — matching sides, cleaning below the line, maintaining the blade — follows from getting those two things right.
Browse the Bestbomg beard trimmers range for cordless T-blade options, or check the full Hair Cutting Kits collection for a matched clipper + trimmer setup that handles the whole home grooming routine.
FAQs
How do you get a crispy lineup at home?
Clean dry skin, a T-blade trimmer with clear blade visibility, short overlapping strokes instead of long dragging passes, and light consistent pressure. The first guide mark sets the angle for the whole line — take it slowly. Once the angle is confirmed, fill in the rest with the same short-stroke method.
What is the best line-up trimmer for beginners?
A lightweight cordless T-blade trimmer with LiIon battery, full T-wide blade design, and a body light enough to hold with pencil-grip control. Beginners benefit more from visibility and control than from premium blade coatings or motor specs. The tool should feel steady in your hand at the odd angles required for neckline and ear-area work.
What is the best trimmer to line up beard edges?
A T-blade trimmer with an exposed corner you can see clearly during the cheek line pass. For beard work specifically, the corner of the blade is the precision instrument — it follows curves and transitions that the full blade width can't navigate. Zero-gap capability is useful for sharper cheek line definition on shorter beard styles.
Can you use clippers instead of a line-up trimmer?
Technically yes, but practically no for precise work. A full clipper blade is wider and the housing extends to the full blade width — blocking the sightline at the critical last few millimeters of hairline placement. Clippers are the right tool for taking hair down to length; the trimmer is the right tool for drawing the line.
Should you line up before or after trimming your beard?
After. Finish all length work before any edge work. If you edge the hairline or cheek line first and then adjust lengths, any subsequent change affects how the edge reads visually — even though the actual line didn't move. Edge work is always the final step.
Why does my line-up look sharp at first and blurry the next day?
Two most common causes: too much blade pressure caused slight skin irritation and puffiness that subsides overnight, taking the sharp edge with it — fix with lighter pressure; or the area just inside the line wasn't trimmed cleanly, so new growth at a slightly different angle appears within 24 hours — fix by cleaning 3–4 mm inside the line during the initial pass.
Sources
- Hair Clippers Club — 4 Best Hair Edgers and Liner Trimmers for Barbers (practical overview of barber-tool edge trimmers and how T-blade visibility affects crisp line results in professional use), hairclippersclub.com, March 20, 2025.
- Vibe Ant — 6 Best Line Up Clippers for Crisp, Sharp Edges (comparative guide on line-up tools, blade quality, and how precision trimmer features affect edge work results), vibeant.com, February 4, 2025.
- The Bearded Chap — How to Trim and Shape a Beard (step-by-step beard shaping tutorial covering cheek line placement, neckline position, and technique sequence for home users), thebeardedchap.com, November 23, 2020.
- Gillette — How to Trim and Edge Your Beard at Home (professional-level tips on defining beard lines, cheek line geometry, and finishing groomed edges for home users), gillette.com, accessed 2026.
- Wikipedia — Hair clipper (overview of trimmer and clipper blade types including T-blade design, motor classifications, and edge trimmer tool development in professional barbering), wikipedia.org.
Looking for something else?

How to Cut Baby Boy Hair with Clippers: Step-by-Step Guide
LEARN MORE
Do Hair Clippers Get Dull? Causes, Signs & Prevention
LEARN MORE
Can an Electric Shaver Cut You? Safety Facts & Prevention
LEARN MORE
How to Shave Balls with Electric Shaver: Safe Guide
LEARN MORELooking for something else?

Does Using Trimmer Increase Hair Growth? Facts & Myths
LEARN MORE
Best Hair Clippers for Men: Top Picks for Home & Pro Use
LEARN MORE
Best Professional Hair Clippers for Barbers: Top Picks
LEARN MOREYou may also like

Beard Trimmer-T9
$25.99


Electric Shaver Y4
$25.99

Further reading
Best Hair Clippers for Perfect Fades at Home
Fading well at home takes a specific kind of clipper — one with a reliable taper lever, a blade designed for blending rather than just bulk cutting, and enough motor consistency to maintain clean ...
Clipper Lever Open vs Closed: What It Means (with mm)
The lever on a hair clipper is one of the simplest mechanical features on the tool and one of the most consistently misunderstood. Clipper lever open vs closed determines actual cutting length — h...
Why You Need a Cordless Detailer Trimmer (And How to Pick the Right One)
A standard clipper does bulk work. A cordless detailer trimmer does finish work — and the two are not interchangeable. The last 10% of a haircut is what separates 'looks like a home cut' from 'loo...
How to Get a Crisp Line Up at Home (+ Best Trimmers)
A crisp line-up is one of the fastest, highest-impact grooming upgrades you can do at home — and one of the most commonly botched. The wrong tool gives you blurry edges. The right technique with t...