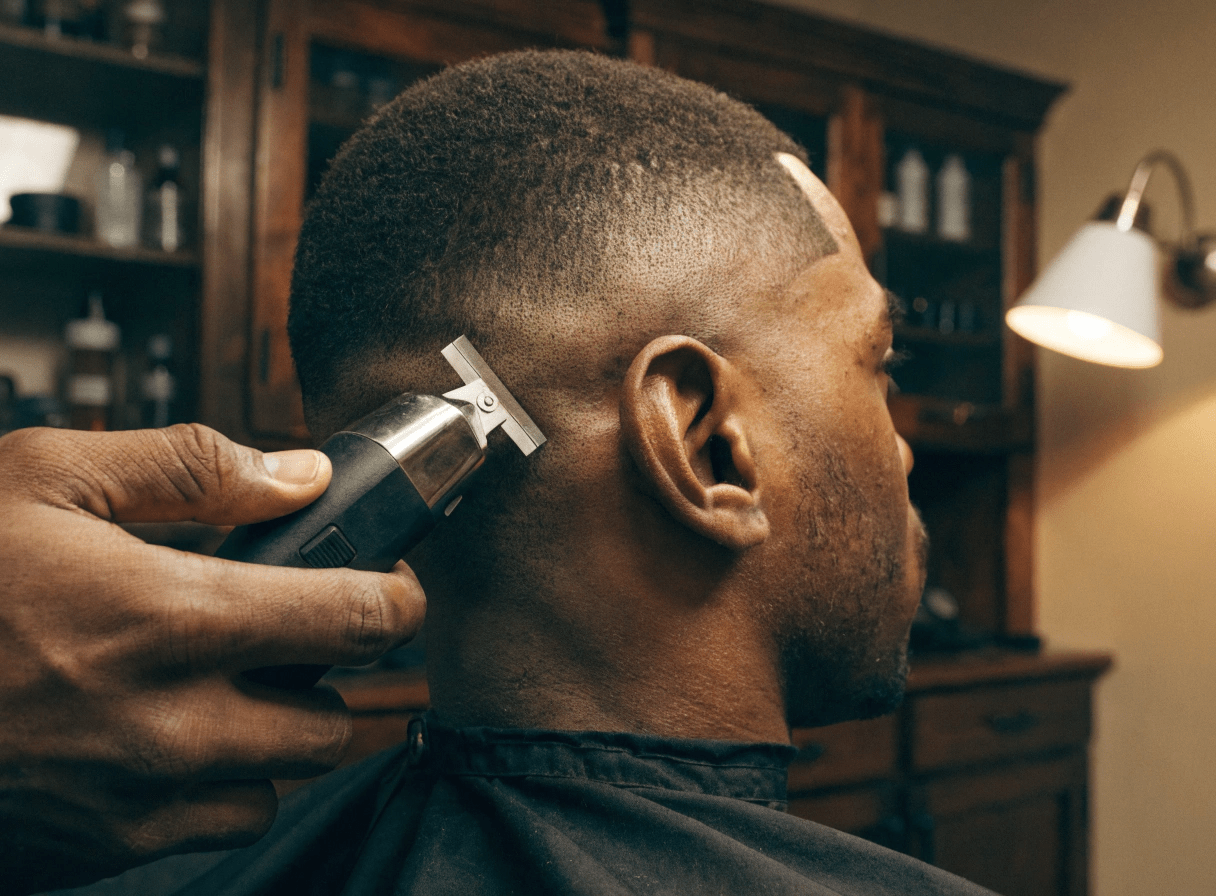


How to Cut Men's Hair with Clippers Fade: Step-by-Step Guide
Learning how to cut men's hair with clippers fade requires the right tools, guard progression, and blending technique. A fade haircut gradually transitions from short to long, creating a clean, professional look.
You'll need hair clippers with adjustable guards, a taper lever, and patience to blend seamlessly. This guide covers low, mid, and high fades with step-by-step instructions for beginners and home barbers.
What You Need for a Fade Haircut

Essential Tools
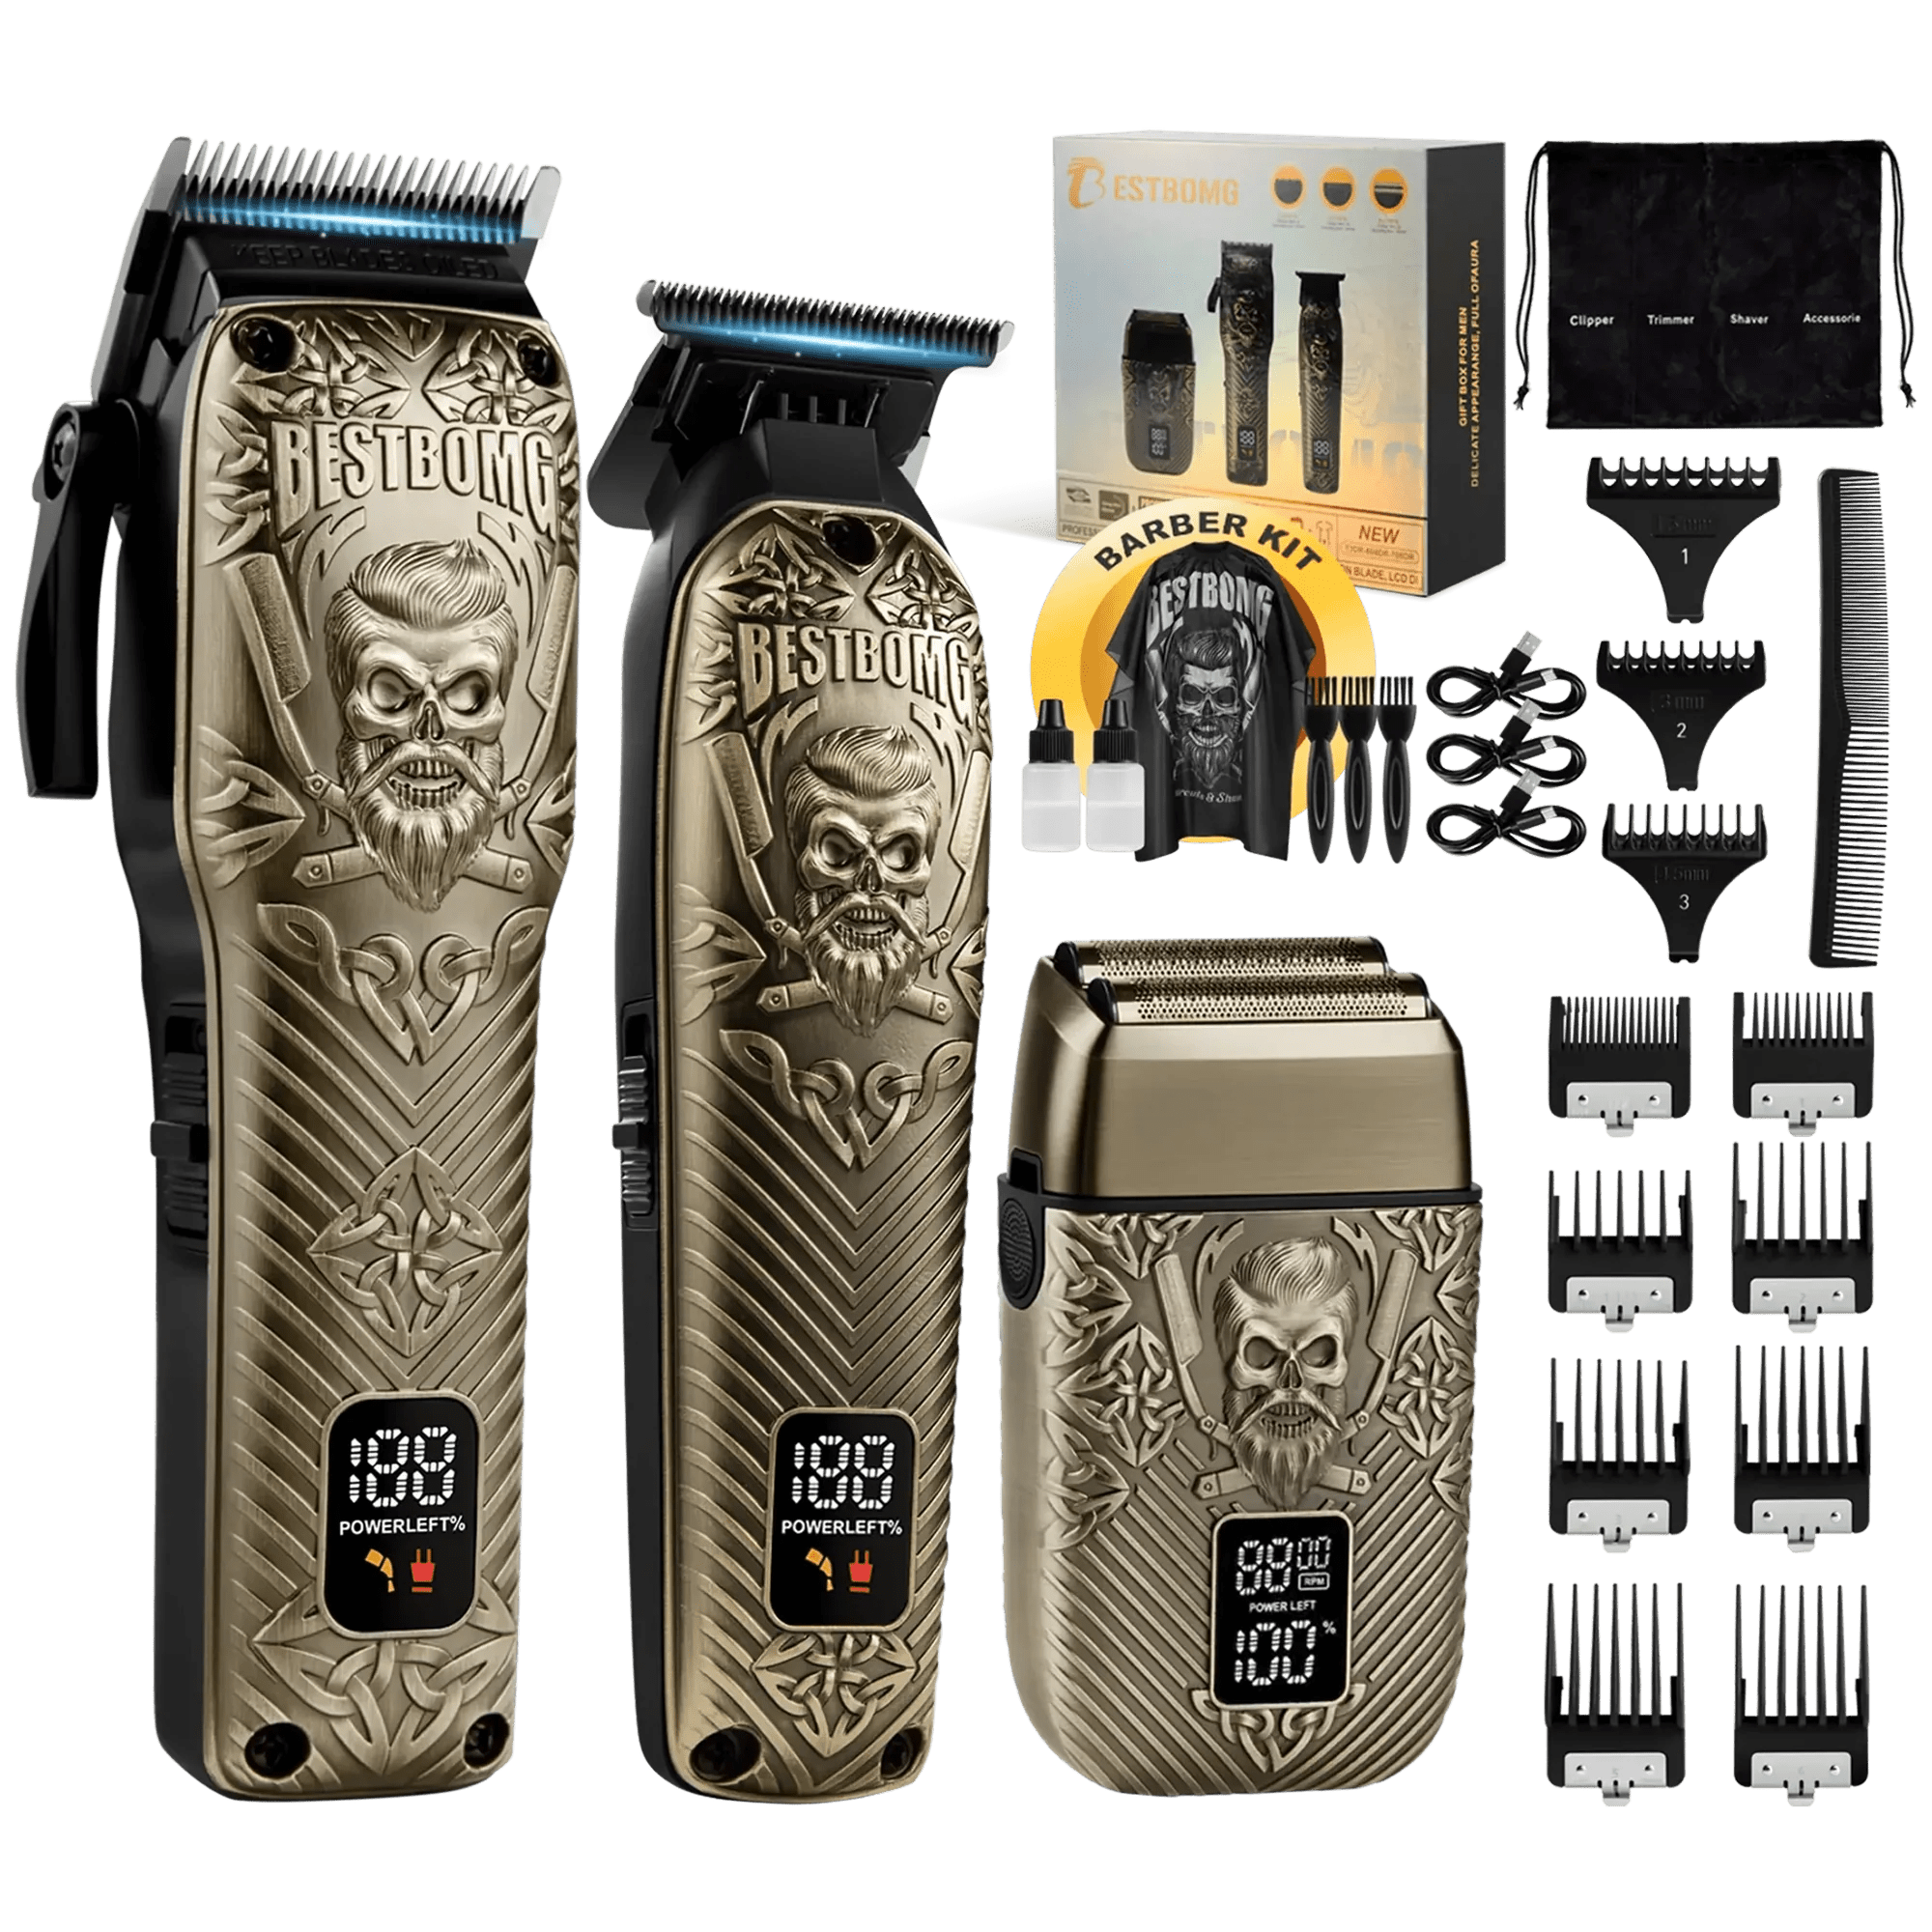
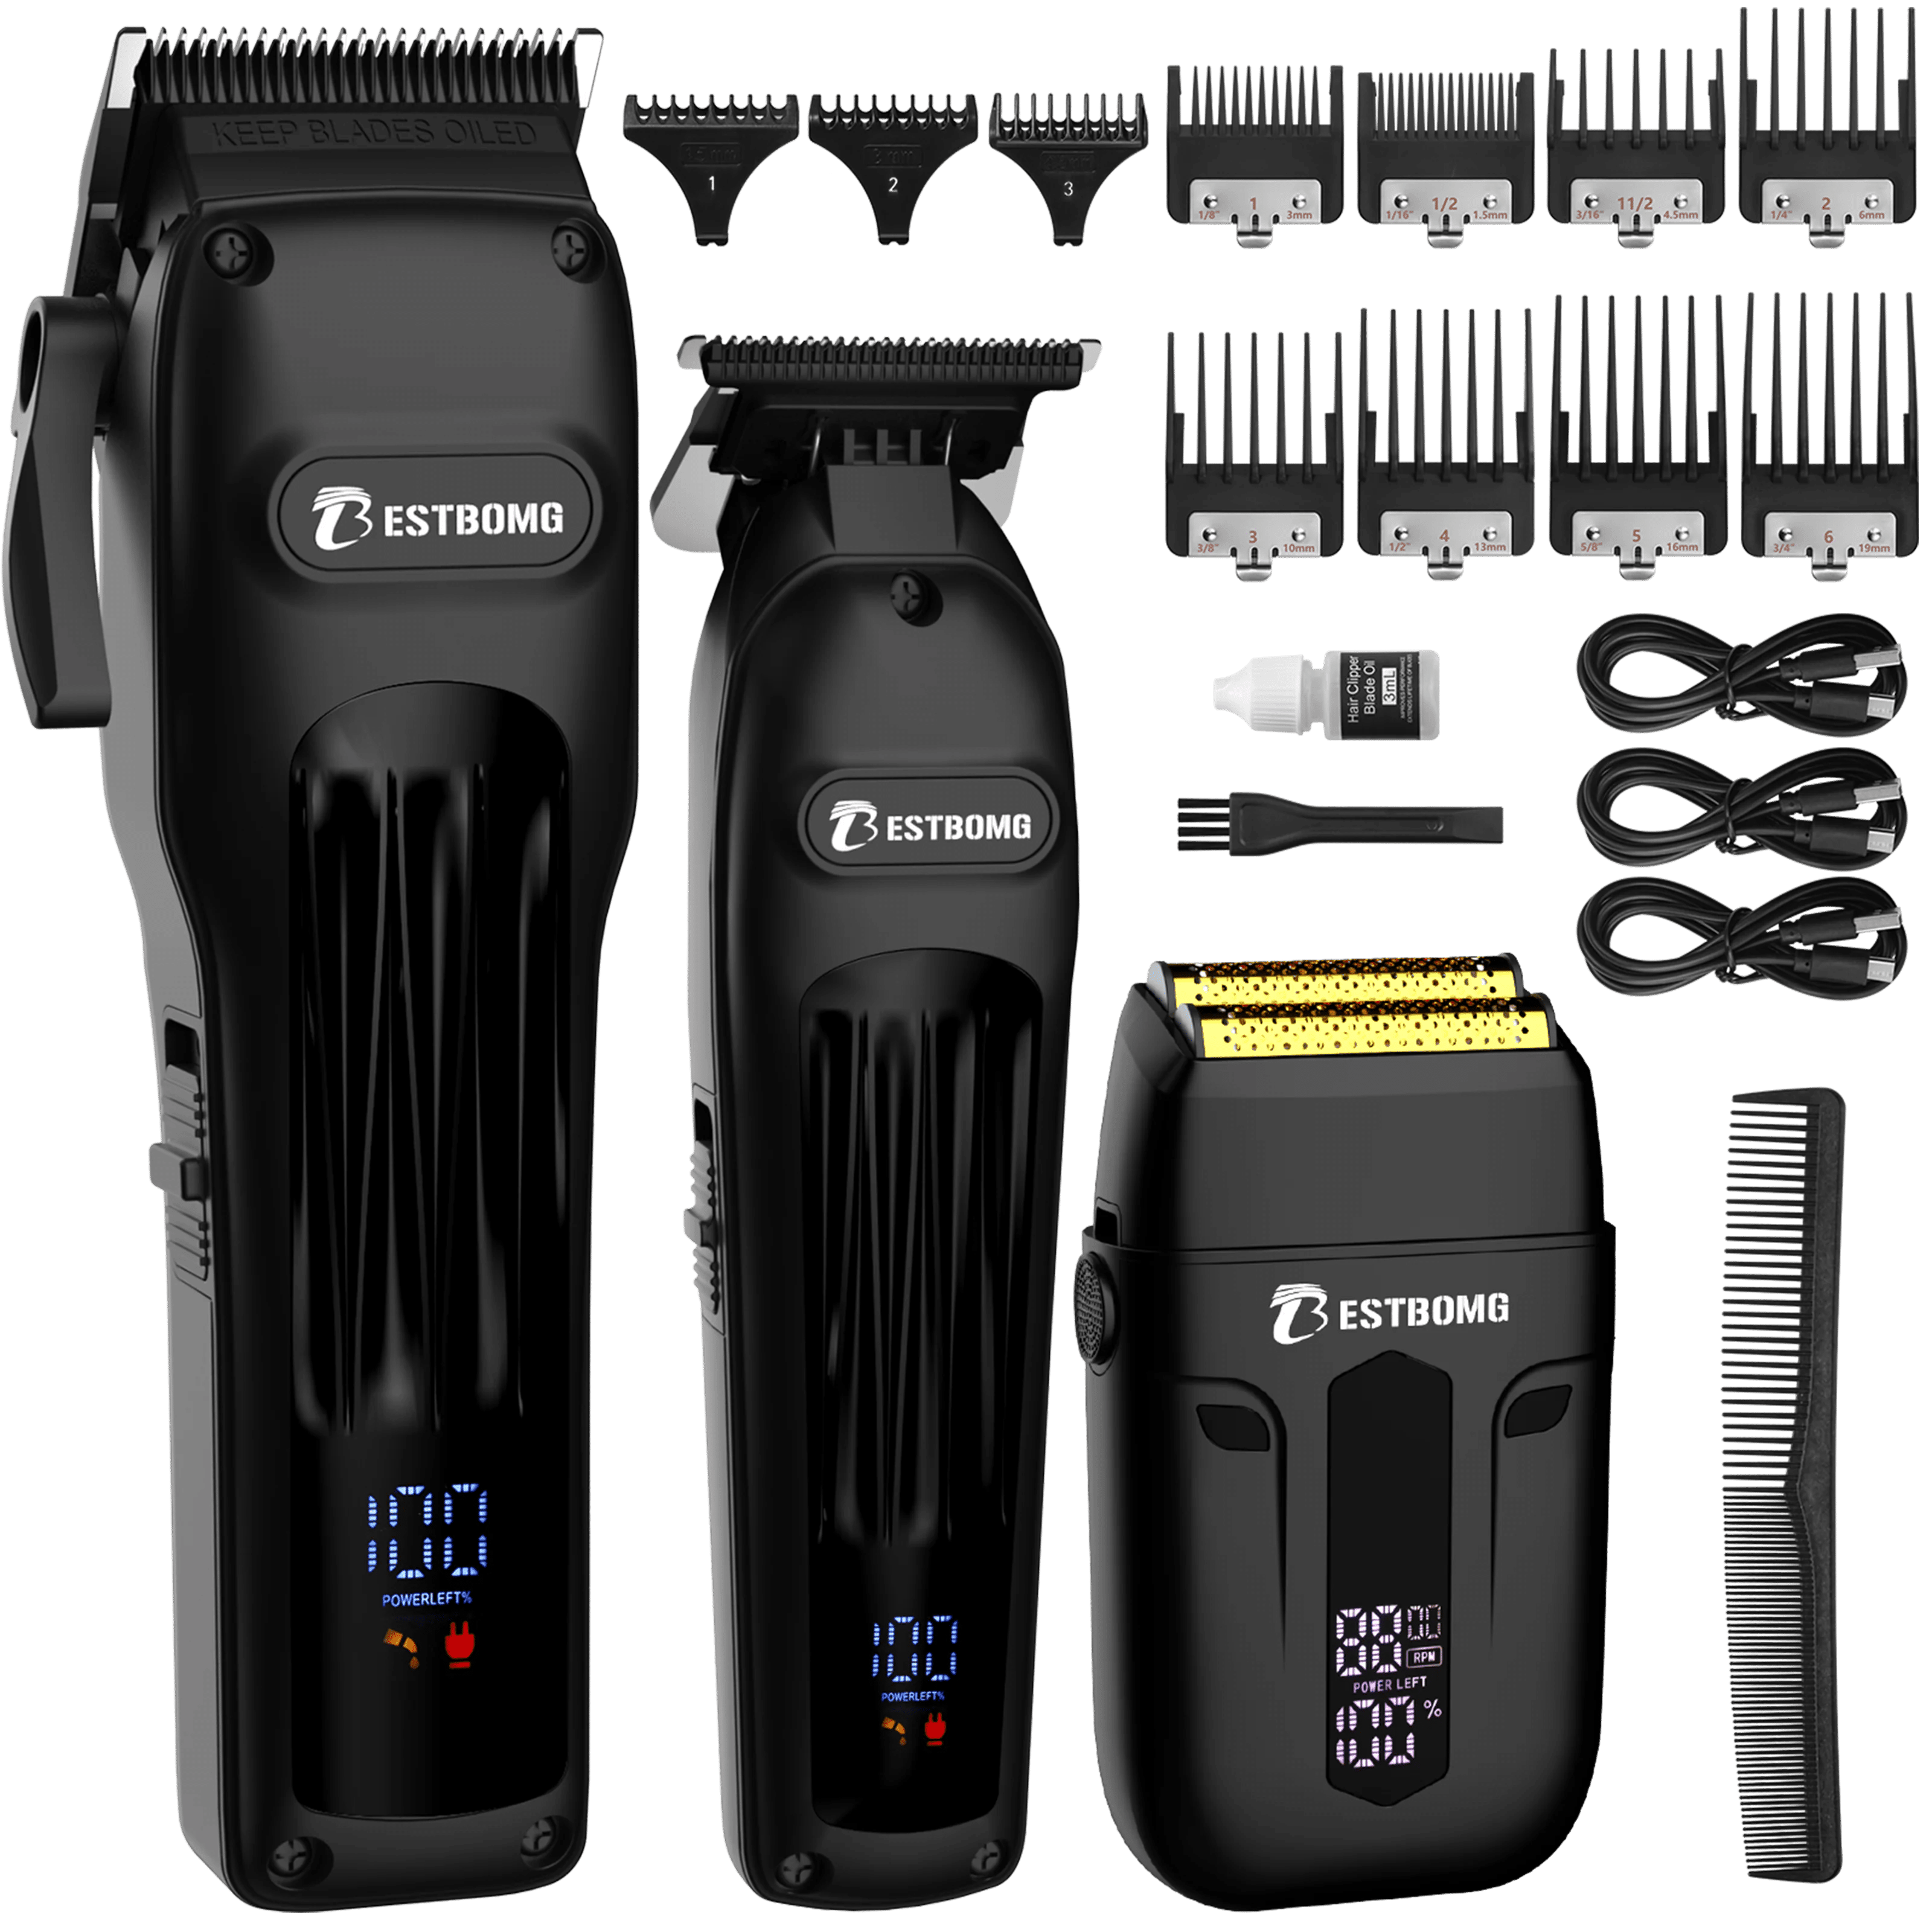
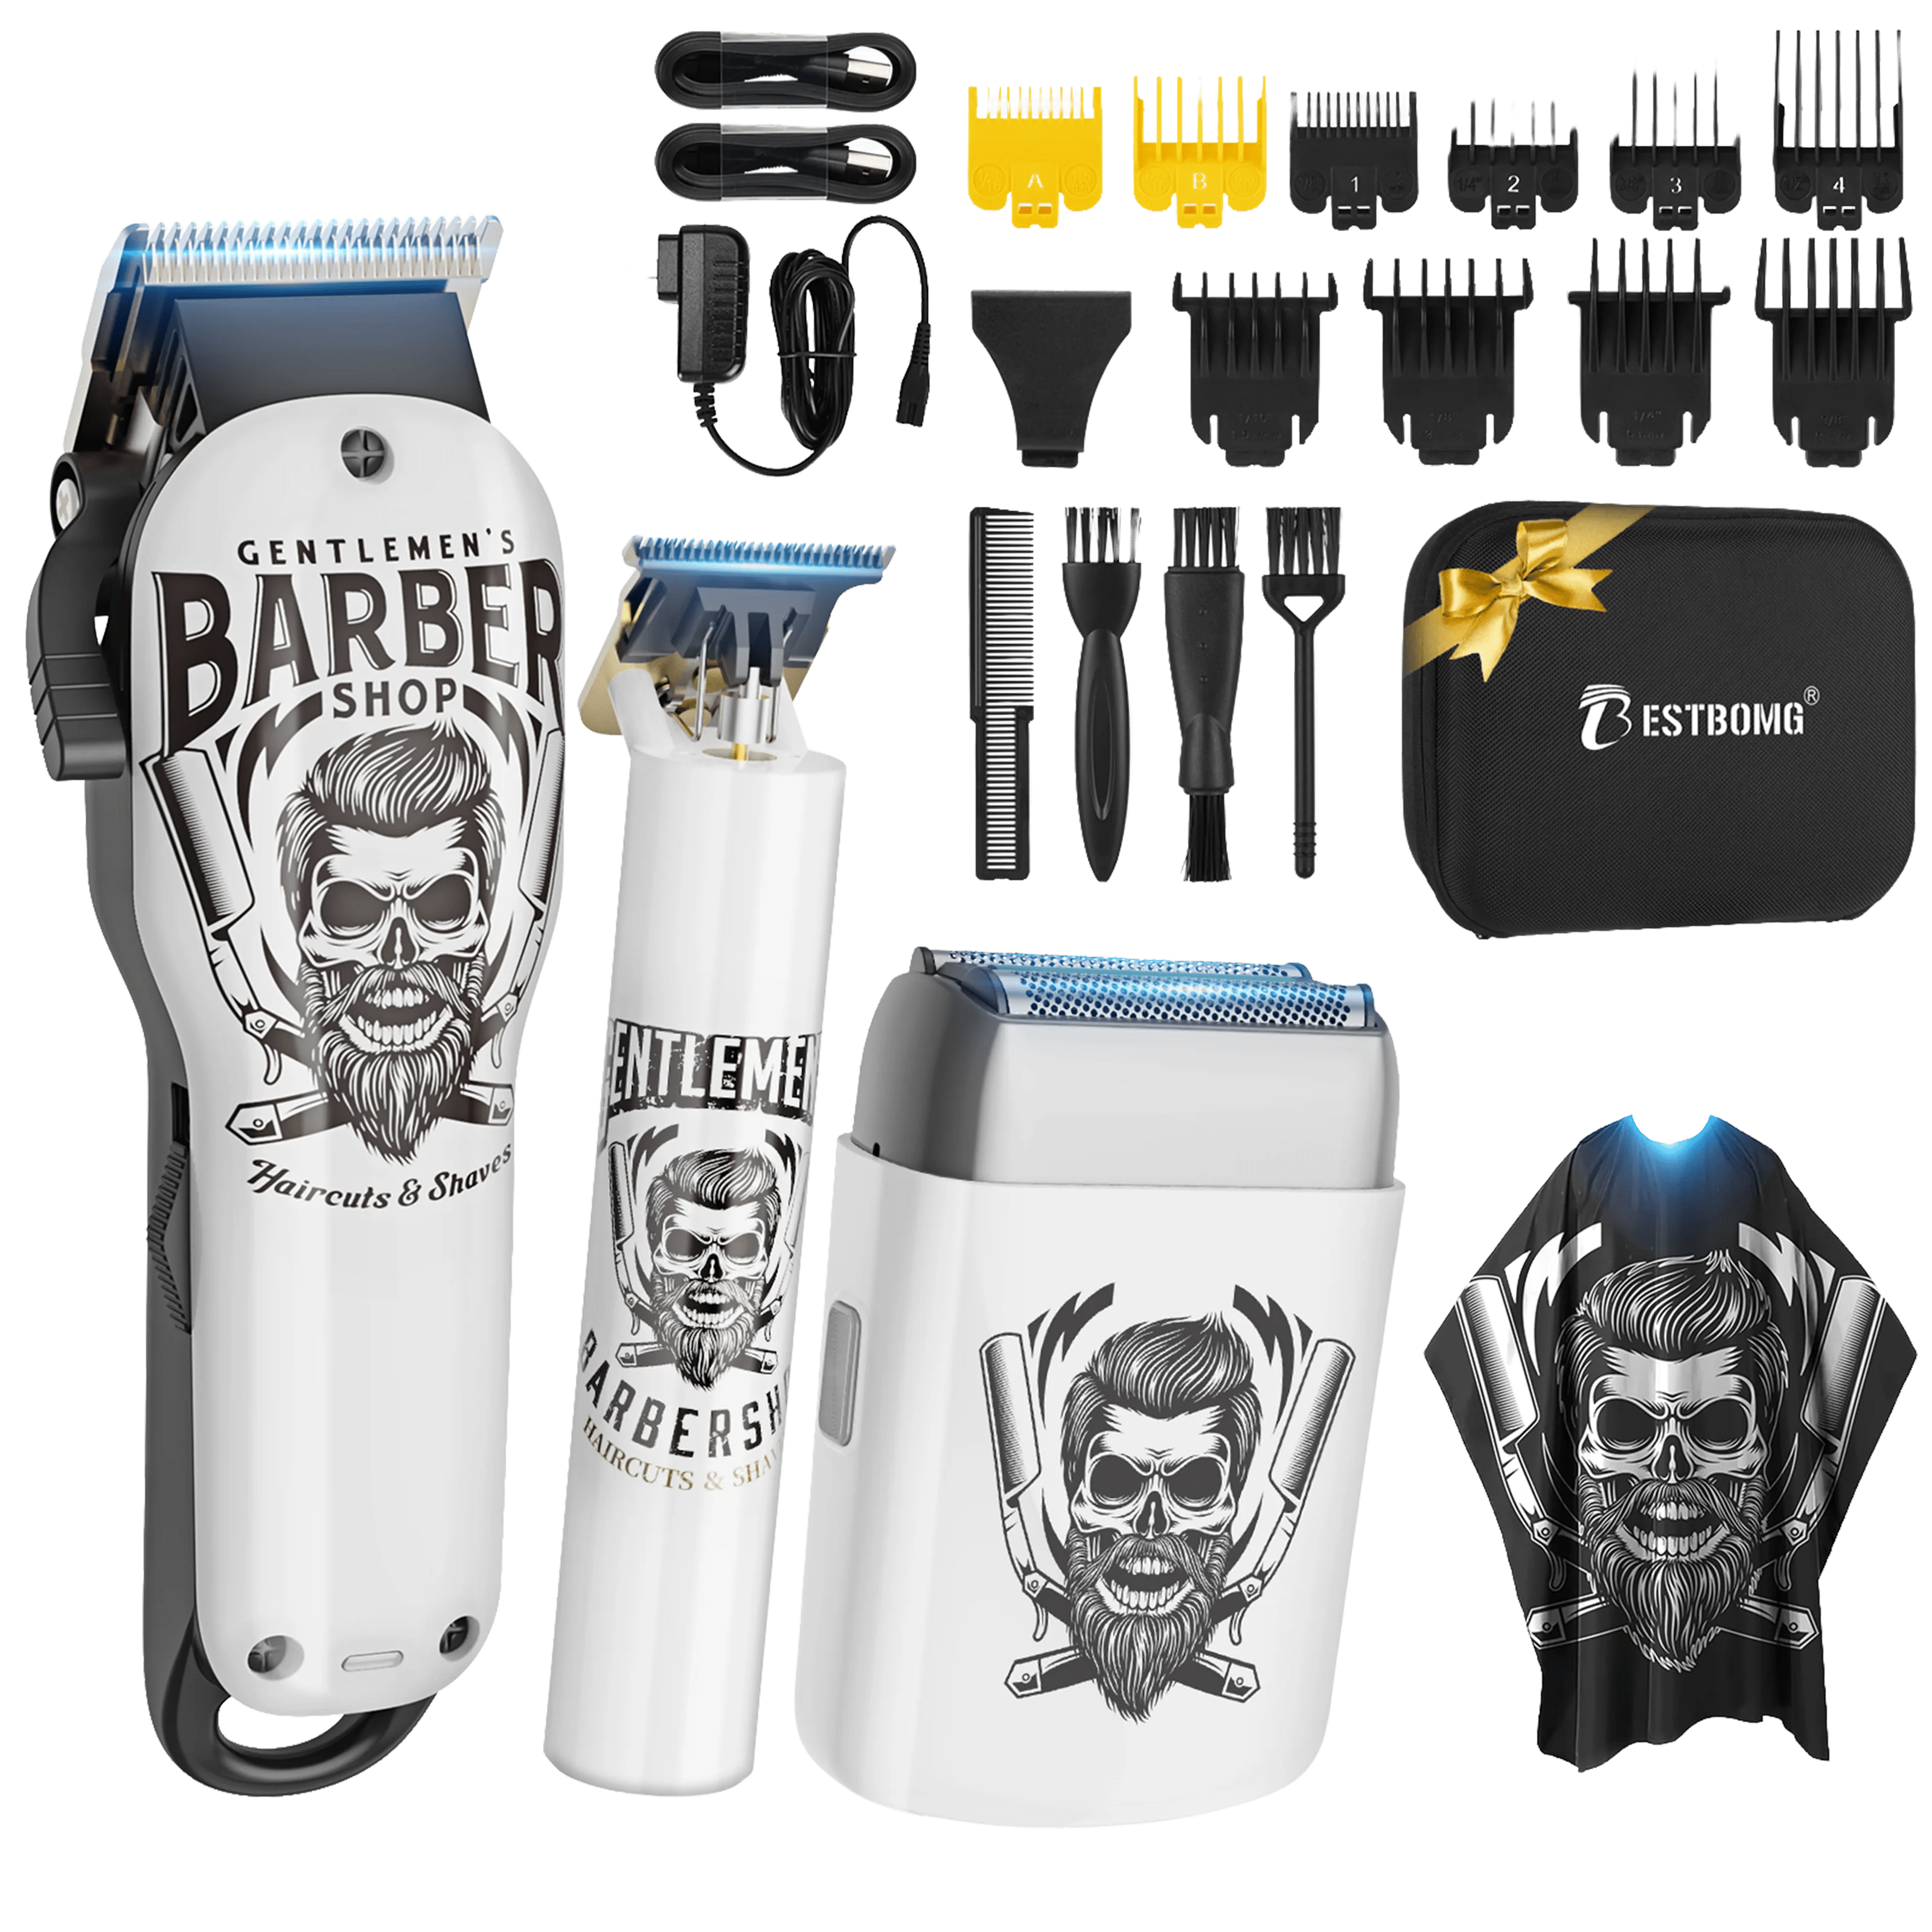
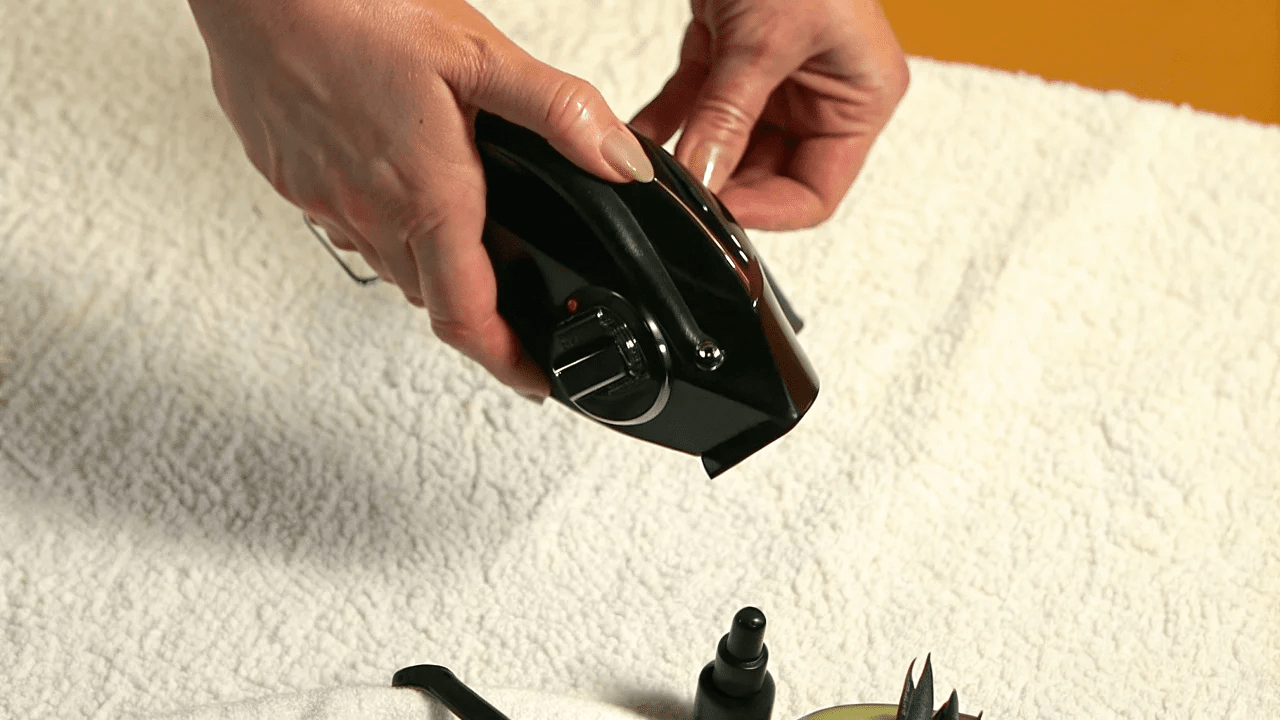
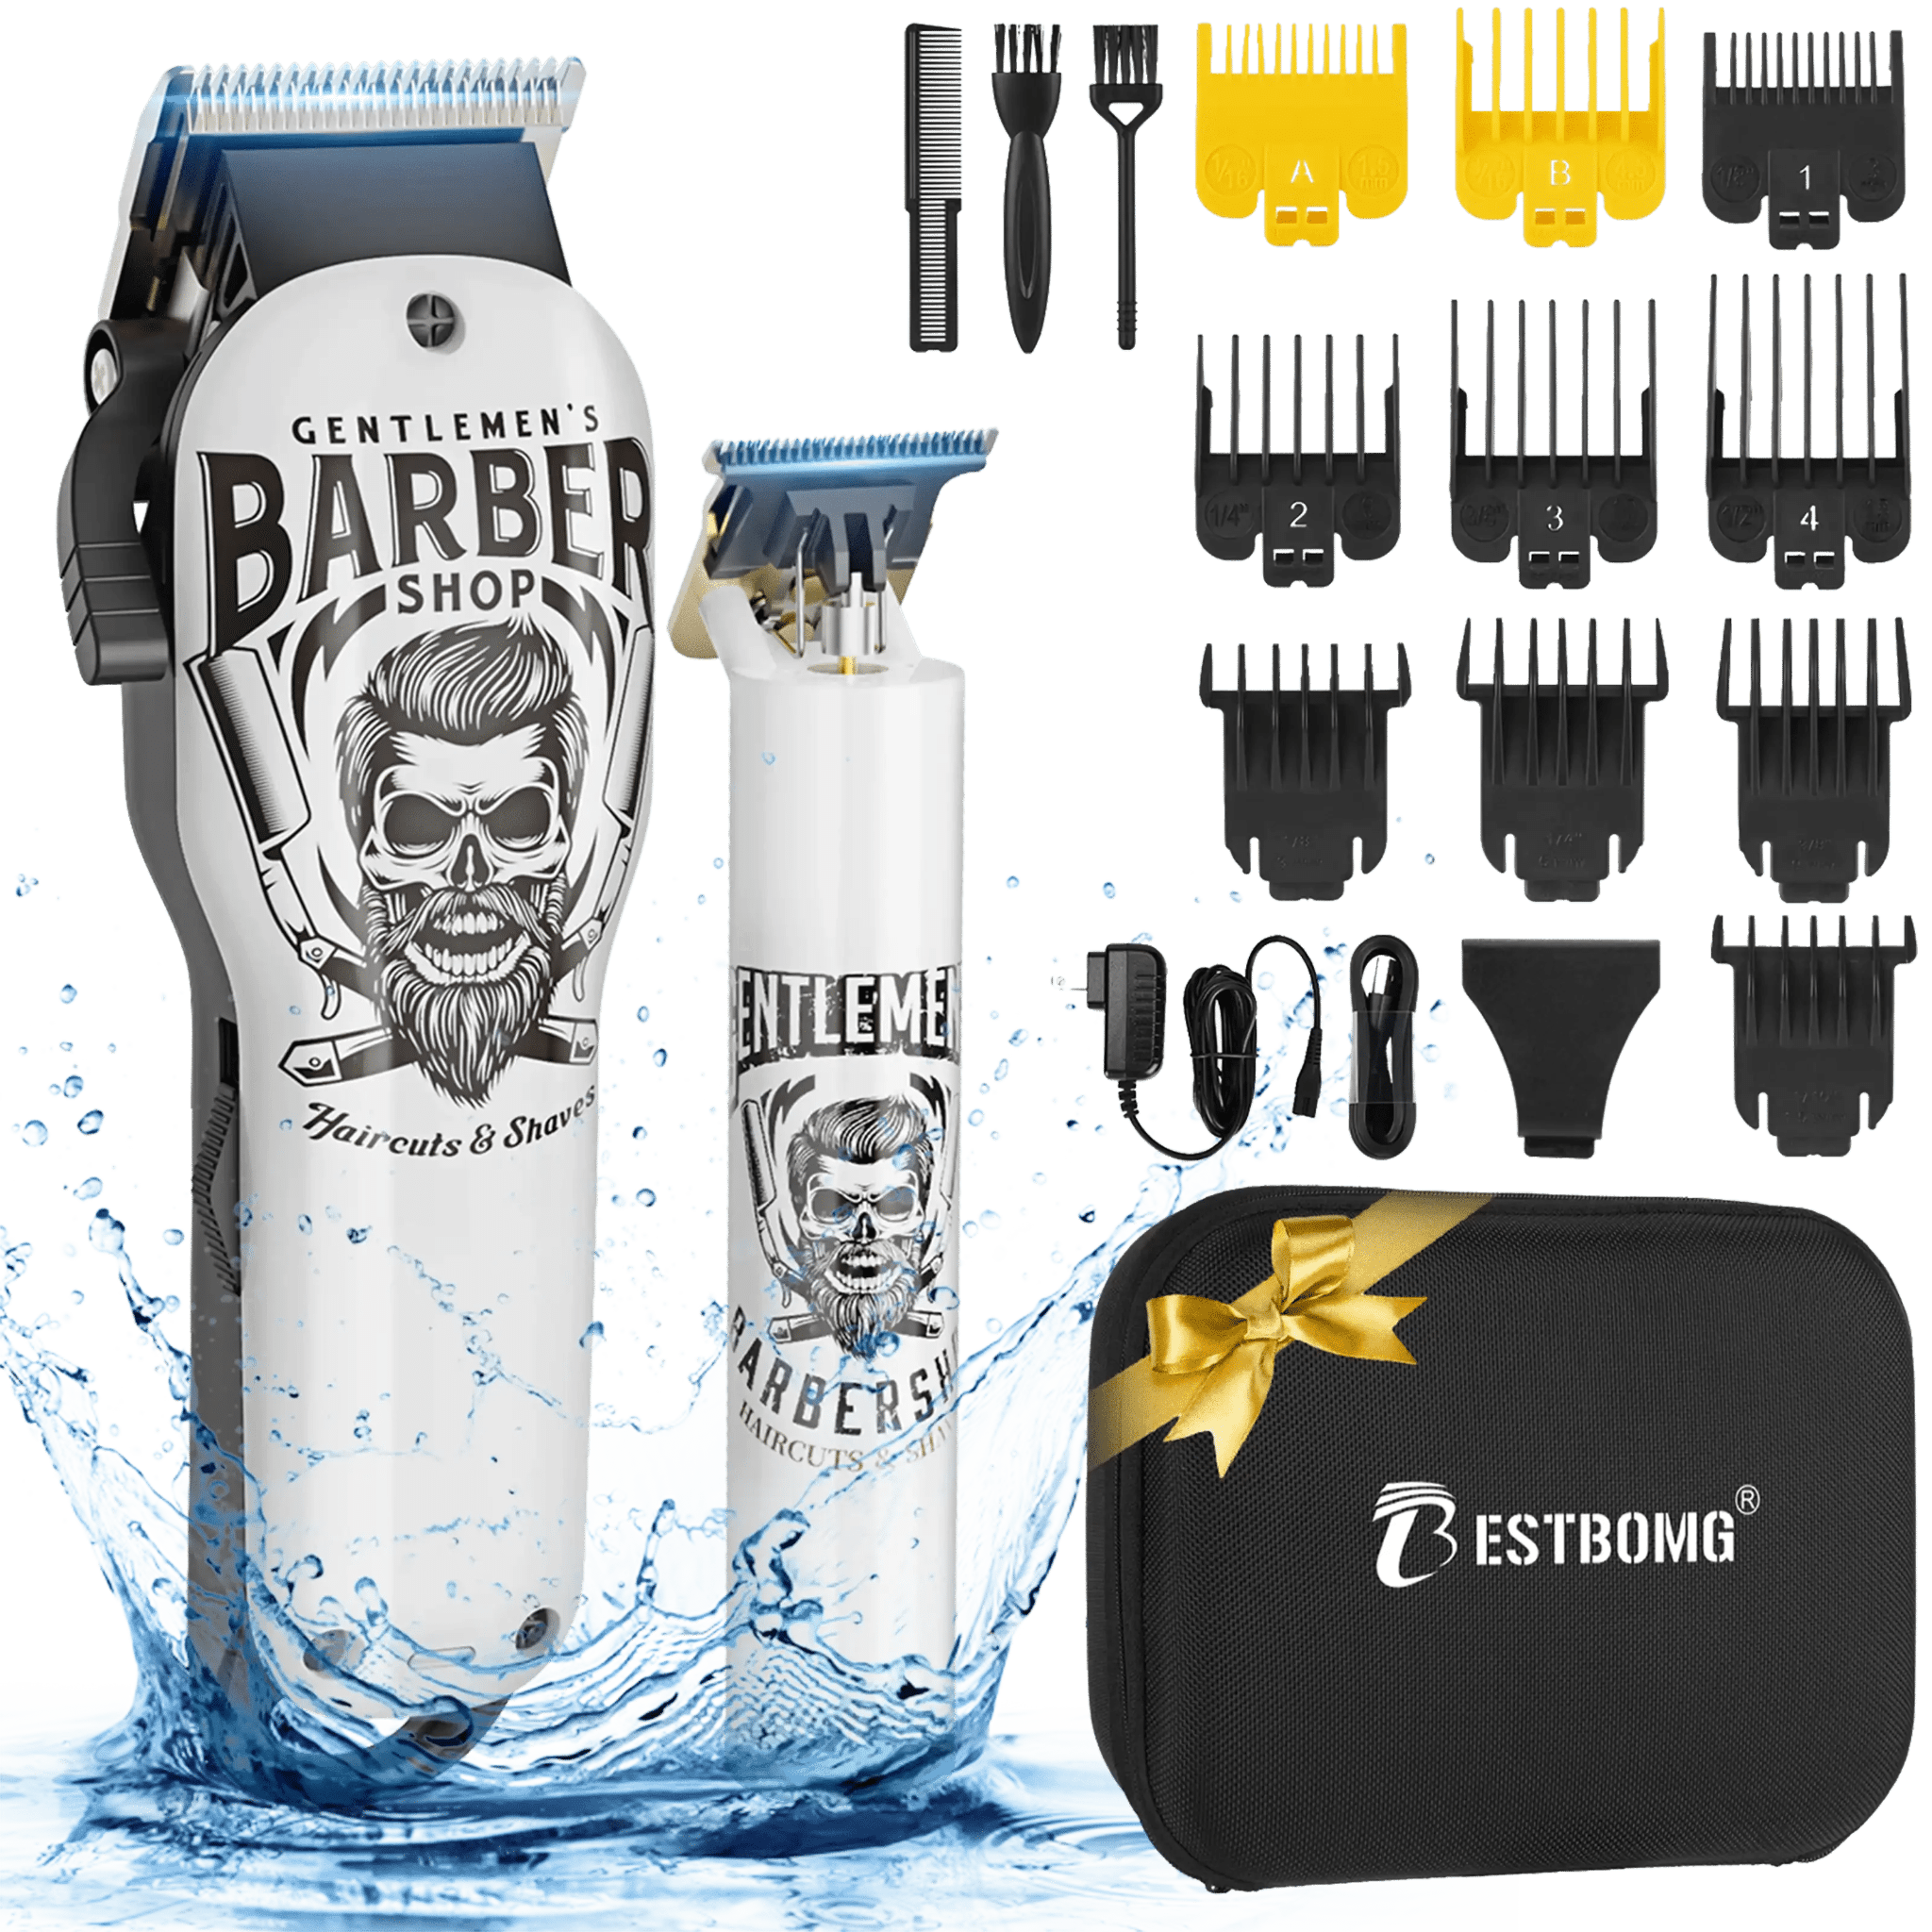
- Hair clippers with adjustable taper lever
- Guard set (#0, #1, #1.5, #2, #3, #4)
- T-blade trimmer for edging and neckline
- Comb for sectioning and checking length
- Mirror (handheld for back view)
- Cape or towel to catch clippings
- Spray bottle (optional, for damp hair)
Understanding Guard Sizes
|
Guard Size |
Length |
Use |
|
#0 (no guard) |
1.5mm |
Baseline, skin fade |
|
#1 |
3mm |
Low fade starting point |
|
#1.5 |
4.5mm |
Blending between #1 and #2 |
|
#2 |
6mm |
Mid fade transition |
|
#3 |
9mm |
Upper fade, blending to top |
|
#4+ |
12mm+ |
Top length, crew cuts |
Types of Fades
Low Fade
Where It Starts: Just above the ear, around the temple
Best For:
- Conservative, professional styles
- First-time fade attempts
- Shorter hair on top
Mid Fade
Where It Starts: Halfway between the ear and temple
Best For:
- Most versatile fade
- Modern, stylish looks
- Works with most hair types
High Fade
Where It Starts: High on the head, near the temple/parietal ridge
Best For:
- Bold, dramatic styles
- Maximum contrast with longer top
- Athletic, edgy looks
Step-by-Step: How to Cut a Mid Fade

Step 1: Prep the Hair
- Start with dry hair (fades are easier to see on dry hair)
- Comb hair down in its natural direction
- Identify the fade line (halfway between ear and top of head)
Step 2: Establish the Baseline
- Use a trimmer or #0 guard
- Create a guideline just above the ear
- Curve the line around the back of the head following the occipital bone
- Keep it even on both sides
Pro Tip: This baseline is your shortest point. Everything above it will blend upward.
Step 3: Create the First Guideline
- Open the taper lever fully (closest cut)
- Move up about 0.5 inches from the baseline
- Use short, controlled strokes
- Work around the entire head
Step 4: Blend with #1 Guard
- Attach #1 guard
- Open the lever (adds 0.5–1mm to guard length)
- Go up another 0.5 inches from the first guideline
- Flick wrist outward at the top of each stroke to blend
Flicking Technique:
- Angle clippers flat against the head
- As you reach the guideline, tilt the clipper away and lift
- This creates a gradual blend instead of a hard line
Step 5: Blend with #1.5 Guard
- Attach #1.5 guard (or close the lever on #2)
- Go up another 0.5 inches
- Flick wrist outward to avoid harsh lines
- Check for dark spots (areas that need more blending)
Step 6: Blend with #2 Guard
- Attach #2 guard
- Blend into the top (where longer hair begins)
- Use a rocking motion (tilt clippers slightly as you move up)
- Avoid cutting too much from the top
Step 7: Connect to the Top
- Use #3 or #4 guard depending on top length
- Blend the transition between fade and top hair
- Work in sections (sides first, then back)
Step 8: Detail Work
- Switch to trimmer
- Clean up neckline (straight, rounded, or tapered)
- Edge around ears
- Define sideburns
- Remove stray hairs
Step 9: Final Check and Touch-Ups
- Check both sides in mirror (use handheld for back view)
- Look for uneven spots or harsh lines
- Blend with appropriate guard
- Brush away clippings
Common Fade Mistakes and How to Avoid Them

Hard Lines Between Guards
Problem: Visible lines where guard sizes change
Solution:
- Use the flicking technique (tilt clippers outward at the end of each stroke)
- Add half-guard sizes (#1.5, #2.5) for smoother transitions
- Use the taper lever to adjust between full guard sizes
Cutting Too Much Too Fast
Problem: Taking off more length than intended
Solution:
- Start with longer guards and work your way down
- Make multiple light passes instead of one heavy pass
- Check frequently in the mirror
Uneven Fade on Both Sides
Problem: One side fades higher or lower than the other
Solution:
- Mark your guideline with a comb before cutting
- Step back frequently to compare both sides
- Work on both sides simultaneously (a little on the left, then a little on the right)
Not Using the Taper Lever
Problem: Difficulty blending between guard sizes
Solution:
- Open the lever for a closer cut (adds length to the guard)
- Close the lever for a longer cut (subtracts length)
- Use lever adjustments for micro-blending
Tips for a Perfect Fade
Go Slowly
Fades take practice. Expect your first few attempts to take 30–45 minutes.
Use Natural Light
Overhead lighting can hide imperfections. Use natural light or a bright lamp to see your work clearly.
Stretch Skin Around Ears
Pull the ear down gently to keep skin flat and avoid nicks.
Check Angles
Use the corner of the clipper blade for precise blending in tight spots.
Practice on the Same Person
If possible, practice on a friend or family member multiple times to build consistency.
Frequently Asked Question
How do you cut men's hair with clippers fade?
Start with dry hair, create a baseline with a #0 or trimmer just above the ear, then use progressively larger guards (#1, #1.5, #2, #3) to blend upward. Flick your wrist outward at the end of each stroke to create seamless transitions, and use the taper lever for micro-adjustments.
What guards do I need for a fade?
You need #0, #1, #1.5, #2, #3, and #4 guards for a smooth fade. Half-guard sizes (#1.5, #2.5) are crucial for blending. Some clippers include these; otherwise, use the taper lever to adjust between full guard sizes.
How do you blend a fade for beginners?
Use the flicking technique: keep clippers flat against the head, then tilt outward and lift as you reach the guideline. Make multiple light passes instead of one heavy pass, and use half-guard sizes or the taper lever to blend between full guard sizes.
What is the taper lever for?
The taper lever adjusts blade closeness by 0.5–1mm, allowing micro-adjustments between guard sizes. Open (lever up) for a closer cut; close (lever down) for a longer cut. Use it to blend transitions and avoid harsh lines.
How long does it take to learn fades?
Expect 5–10 practice cuts before achieving consistent results. Your first few fades will take 30–45 minutes; with practice, you can complete a fade in 15–20 minutes. Consistency improves with repetition.
Can I do a fade on myself?
Yes, but it's challenging. Start with a low fade (easier to see and reach). Use a three-way mirror or handheld mirror to see the back, and go slowly. Many people find it easier to fade the sides and have someone else do the back.
Conclusion
Cutting a fade with clippers requires the right tools, guard progression, and blending technique. Start with a clear baseline, work upward with progressively larger guards, and use the flicking technique to create seamless transitions.
Practice on the same person multiple times to build consistency, and don't rush—fades improve with patience and repetition.Ready to start cutting fades at home? Explore hair clippers with adjustable taper levers and complete guard sets for smooth, professional-looking fades.
Looking for something else?

How to Cut Baby Boy Hair with Clippers: Step-by-Step Guide
LEARN MORE
Do Hair Clippers Get Dull? Causes, Signs & Prevention
LEARN MORE
Can an Electric Shaver Cut You? Safety Facts & Prevention
LEARN MORE
How to Shave Balls with Electric Shaver: Safe Guide
LEARN MORELooking for something else?

Does Using Trimmer Increase Hair Growth? Facts & Myths
LEARN MORE
Best Hair Clippers for Men: Top Picks for Home & Pro Use
LEARN MORE
Best Professional Hair Clippers for Barbers: Top Picks
LEARN MOREYou may also like


Further reading
Best Hair Clippers for Perfect Fades at Home
Clipper Lever Open vs Closed: What It Means (with mm)
Why You Need a Cordless Detailer Trimmer (And How to Pick the Right One)