


How to Zero Gap Clippers (Step-by-Step Guide for Beginners and Pros)
A zero-gapped blade is the difference between a line that defines and a line that smudges.
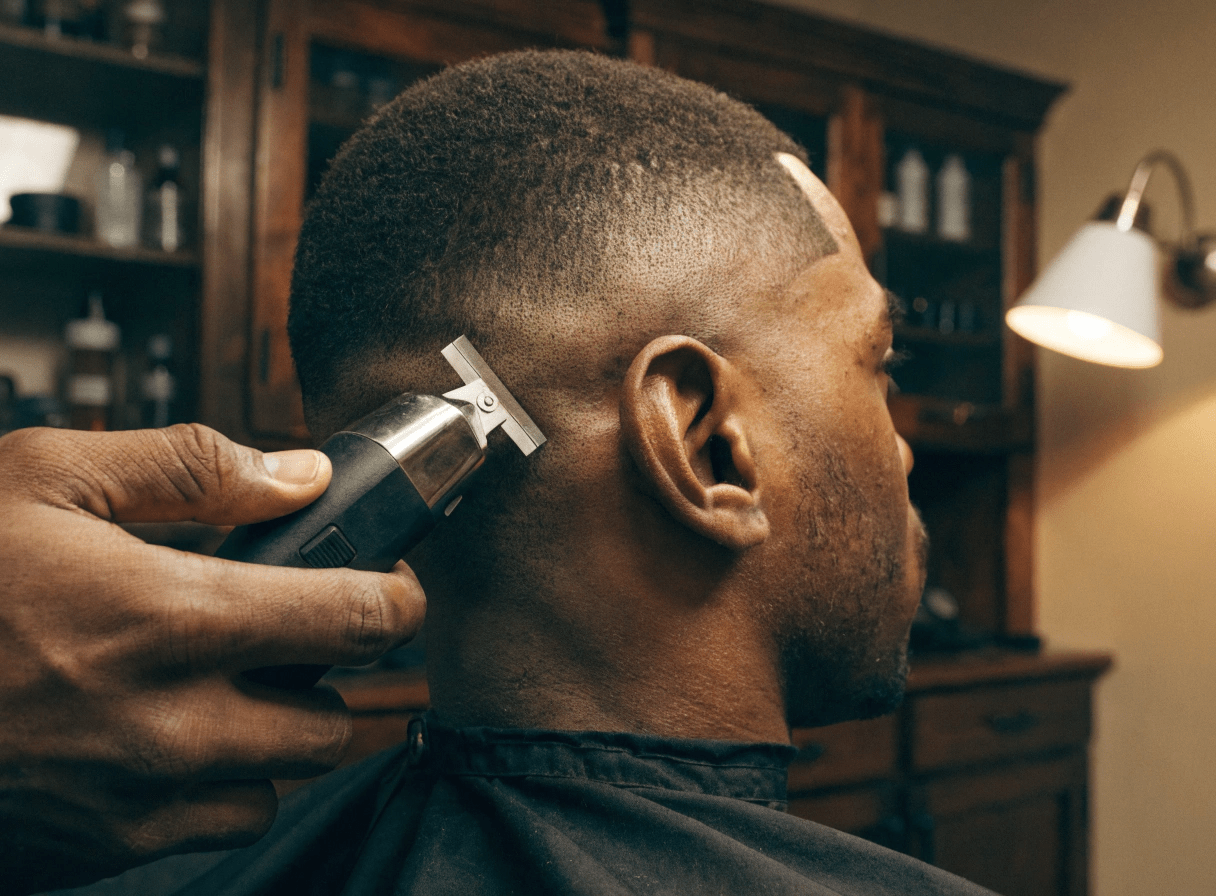
Zero-gapping is the small mod that changes the way your clippers feel for the rest of their working life. It involves aligning the cutting blade flush with the fixed blade so that there are no gaps between them. What you get after doing this is sharper lines and crisper fades that make your work look more noticeably clean. It makes your work gets more photographed and not just merely carried around.
However, if this small mod is done wrong, it can ruin everything. Over-gapping is the most common rookie barber mistake, resulting in skin cuts every time. In this guide, you'll be walked through the right process of zero-gapping your own clippers, the same process that professional working barbers use.
|
THE SHORT ANSWER Zero-gapping aligns your clipper or trimmer’s cutting blade flush with the stationary blade — no gap, no overlap. The result is sharper lines, cleaner edges, and crisper fades. The wrong adjustment causes skin cuts. The right adjustment changes the way your clippers feel for the rest of their working life. Done right, it is the smallest mod that creates the biggest jump in cut quality. |
Tools You Need Before You Start
- Screwdriver: Do not use the wrong screwdriver, it will cause the screw head to round off, hence, difficult to reverse without first replacing the blade assembly. A pro tip is to get a precision screwdriver kit, they cover every common size and cost just under $15.
- Cleaning brush: you can use that small brush that comes with most clippers to clean the hair before trimming and to remove any debris from the blade. You can also use a toothbrush as backup.
- Clipper Blade Oil: Any food-safe clipper oil is fine. Andis Clipper Oil and Wahl Premium Lubricating Oil are the working standards. Always oil before AND after adjustment. A dry blade post-adjustment will overheat and pull hair on the first test cut.
- Optional but recommended: a Wahl Pro-Set Tool (or equivalent) for trimmer-specific zero-gapping. According to Wahl Professional’s educator, the Pro-Set Tool "fits the t-wide blade found on the 5 Star Detailer, Retro T-Cut, and Cordless Detailer Li models" and removes much of the guesswork.
Step-by-Step: How to Zero Gap Clippers

Step 1: Turn Off and Clean the Clippers
Always switch the clipper or trimmer off and unplug it before any adjustment. For cordless models, ensure the tool is OFF. A sudden activation while your fingers are near the blade is the fastest way to get cut. Brush all loose hair off the blade and out of the blade slide track. Per Vega Professional’s editorial, "ensure the trimmer is switched off and unplugged before zero gapping" and clean it first because "this will allow the blade adjustment process to be smoother."
Step 2: Loosen the Blade Screws
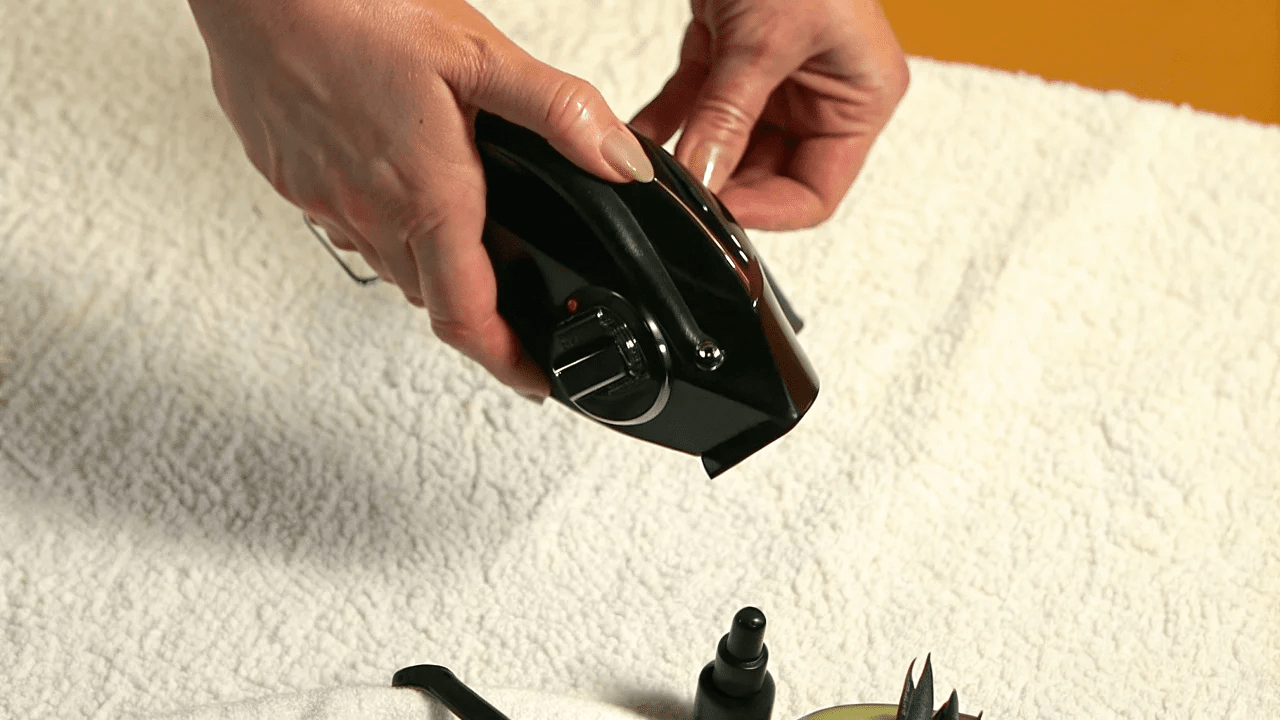
Look for the two Phillips screws that secure the blade. These screws are usually located on the back of the blade assembly, sometimes under a small label. Loosen each screw about half a turn. DO NOT remove them completely. The goal is to create enough slack to allow the blade to slide; If you loosen the screws completely, the blade falls off and you have to reposition it from scratch.
Step 3: Adjust the Blade Position
After loosening the screws, gently use your finger or a thumb to push the cutting blade down (toward the fixed blade). Make sure that the cutting blade teeth slide forward until they sit just behind the stationary blade teeth. Take important note of the cutting blade, they should ALWAYS be slightly below or even with the stationary blade, never above it. Per the working consensus on r/SelfBarber, "the cutting blade shouldn’t go past the still blade.” This is the single rule that prevents skin cuts.
|
PRO TIP The "table-edge method" makes Step 3 nearly foolproof. Lay the trimmer face-down on a flat hard surface (a glass table works perfectly). This is the most-recommended beginner-safe technique. |
Step 4: Align Blades Evenly (Side-View Check)
Check the blade from the side while holding the trimmer at eye level. Both edges of the cutting blade should be aligned with the fixed blade along its entire width. If the right side is closer than the left, you'll have an uneven 0. This mistake is very common among beginners and usually results in asymmetrical cuts and uneven details. Ensure to loosen the side slightly and gently tap the cutting blade so it levels before tightening. If it's your first time working on the tool, take pictures of the alignment from the top and side for reference purposes.
Step 5: Tighten Screws Carefully
Tighten the screws with one hand while firmly holding on to the cutting blade steady with the other. Tighten alternately, working on each screw a little at a time, not all at once. This helps prevent the alignment from shifting. When the screws are securely tightened, you can now stop. DO NOT overtighten. A broken blade housing is worse than a slightly loose blade.
Step 6: Oil and Test the Clippers
Apply 2–3 drops of clipper oil to the blade teeth and along the cutting line. Run the trimmer for 20–30 seconds to distribute the oil. Wipe excess oil with a paper towel. Per BESTBOMG editorial coverage on dragon beard trimmer technique, "oil before AND after every adjustment, a dry blade post-adjustment will overheat and pull hair on the first test cut."
Listen to the motor. A correctly aligned blade runs at the normal pitch of the tool. A misaligned or excessively gapped blade runs noisier and rougher because the cutting blade hits the fixed blade or scrapes it unevenly. If the motor sounds wrong, go back to Step 4 and re-check alignment.
Step 7: Fine-Tune If Needed
Test the trimmer on your forearm or the back of your hand FIRST. Never on a client's face or scalp without a forearm test. Light pressure only. If the trimmer pulls hair, the cutting blade is too close to the stationary blade and you need to back it off slightly. If you feel scraping or any sharp sensation, stop immediately, the blade is over-gapped and needs to be re-set.
Most barbers need 2–3 attempts on a new tool before the alignment feels right. According to a Reddit r/SelfBarber consensus, "really just trial and error and practice. The way I do it is slight turns alternating between each screw. Look at it from the side, test, loosen, slightly adjust, and so on, until it’s just right."
|
SAFETY WARNING Never zero-gap a tool right before a client appointment. The first 1-2 cuts after a zero-gap adjustment are when alignment issues become apparent. Always do the adjustment, test, refine, and let the tool sit for at least one practice cut before using it on a paying client. The 5-minute delay protects your reputation and your client’s skin. |
Maintenance Tips After Zero Gapping
 A zero-gapped blade demands more attention than a standard-gap blade. The closer alignment means hair particles, skin oils, and rust have less margin before they affect cut quality. Five maintenance habits keep a zero-gapped tool deployment-ready:
- Oil after every cut: not every shift, every cut. 1–2 drops on the blade teeth, run for 10 seconds, wipe excess. The oil cushions the cutting motion and prevents the cutting blade from scraping the stationary blade.
- Clean hair buildup weekly: use a small brush to clear hair from the blade teeth and the slide track. In BESTBOMG’s editorial coverage on cordless vs corded clippers, "the small brush that ships with most clippers is fine — a toothbrush works as a backup." Clippers that get cleaned weekly run quieter and last longer.
- Check alignment monthly: zero-gapped blades drift over time as the screws settle. Quick monthly side-view check; re-tighten if needed. Most working barbers re-zero their tools every 4–6 weeks.
- Replace dull blades every 6–12 months: a dull zero-gapped blade is more dangerous than a dull standard-gap blade because it pulls more aggressively. Per Nafi’s Grooming Lab editorial coverage, "the blades remain sharp for 3-4 months of regular use" on most professional trimmers — plan replacements accordingly.
- Disinfect between clients: a zero-gapped blade contacts skin more directly than a standard-gap blade, so hygiene matters more. Cool Care spray after every client; Barbicide jar for combs and accessories.
What Clippers Come Pre-Zero Gapped?
Some professional models ship factory-set with adjustable zero-gap blades. The user can move the blade between standard gap and zero gap using a built-in lever — no screwdriver required.
The Wahl Senior with the adjustable 0000 blade lever is the most-cited factory-adjustable zero-gap clipper. The Gamma+ Ergo Magnetic Motor Cordless Clipper features a "fully adjustable zero-gap fade blade that can be easily zero-gapped for the closest cut and finish" per ProStylingTools editorial. The BaBylissPRO GoldFX+ ships with a zero-gap adjustment tool inside the package.
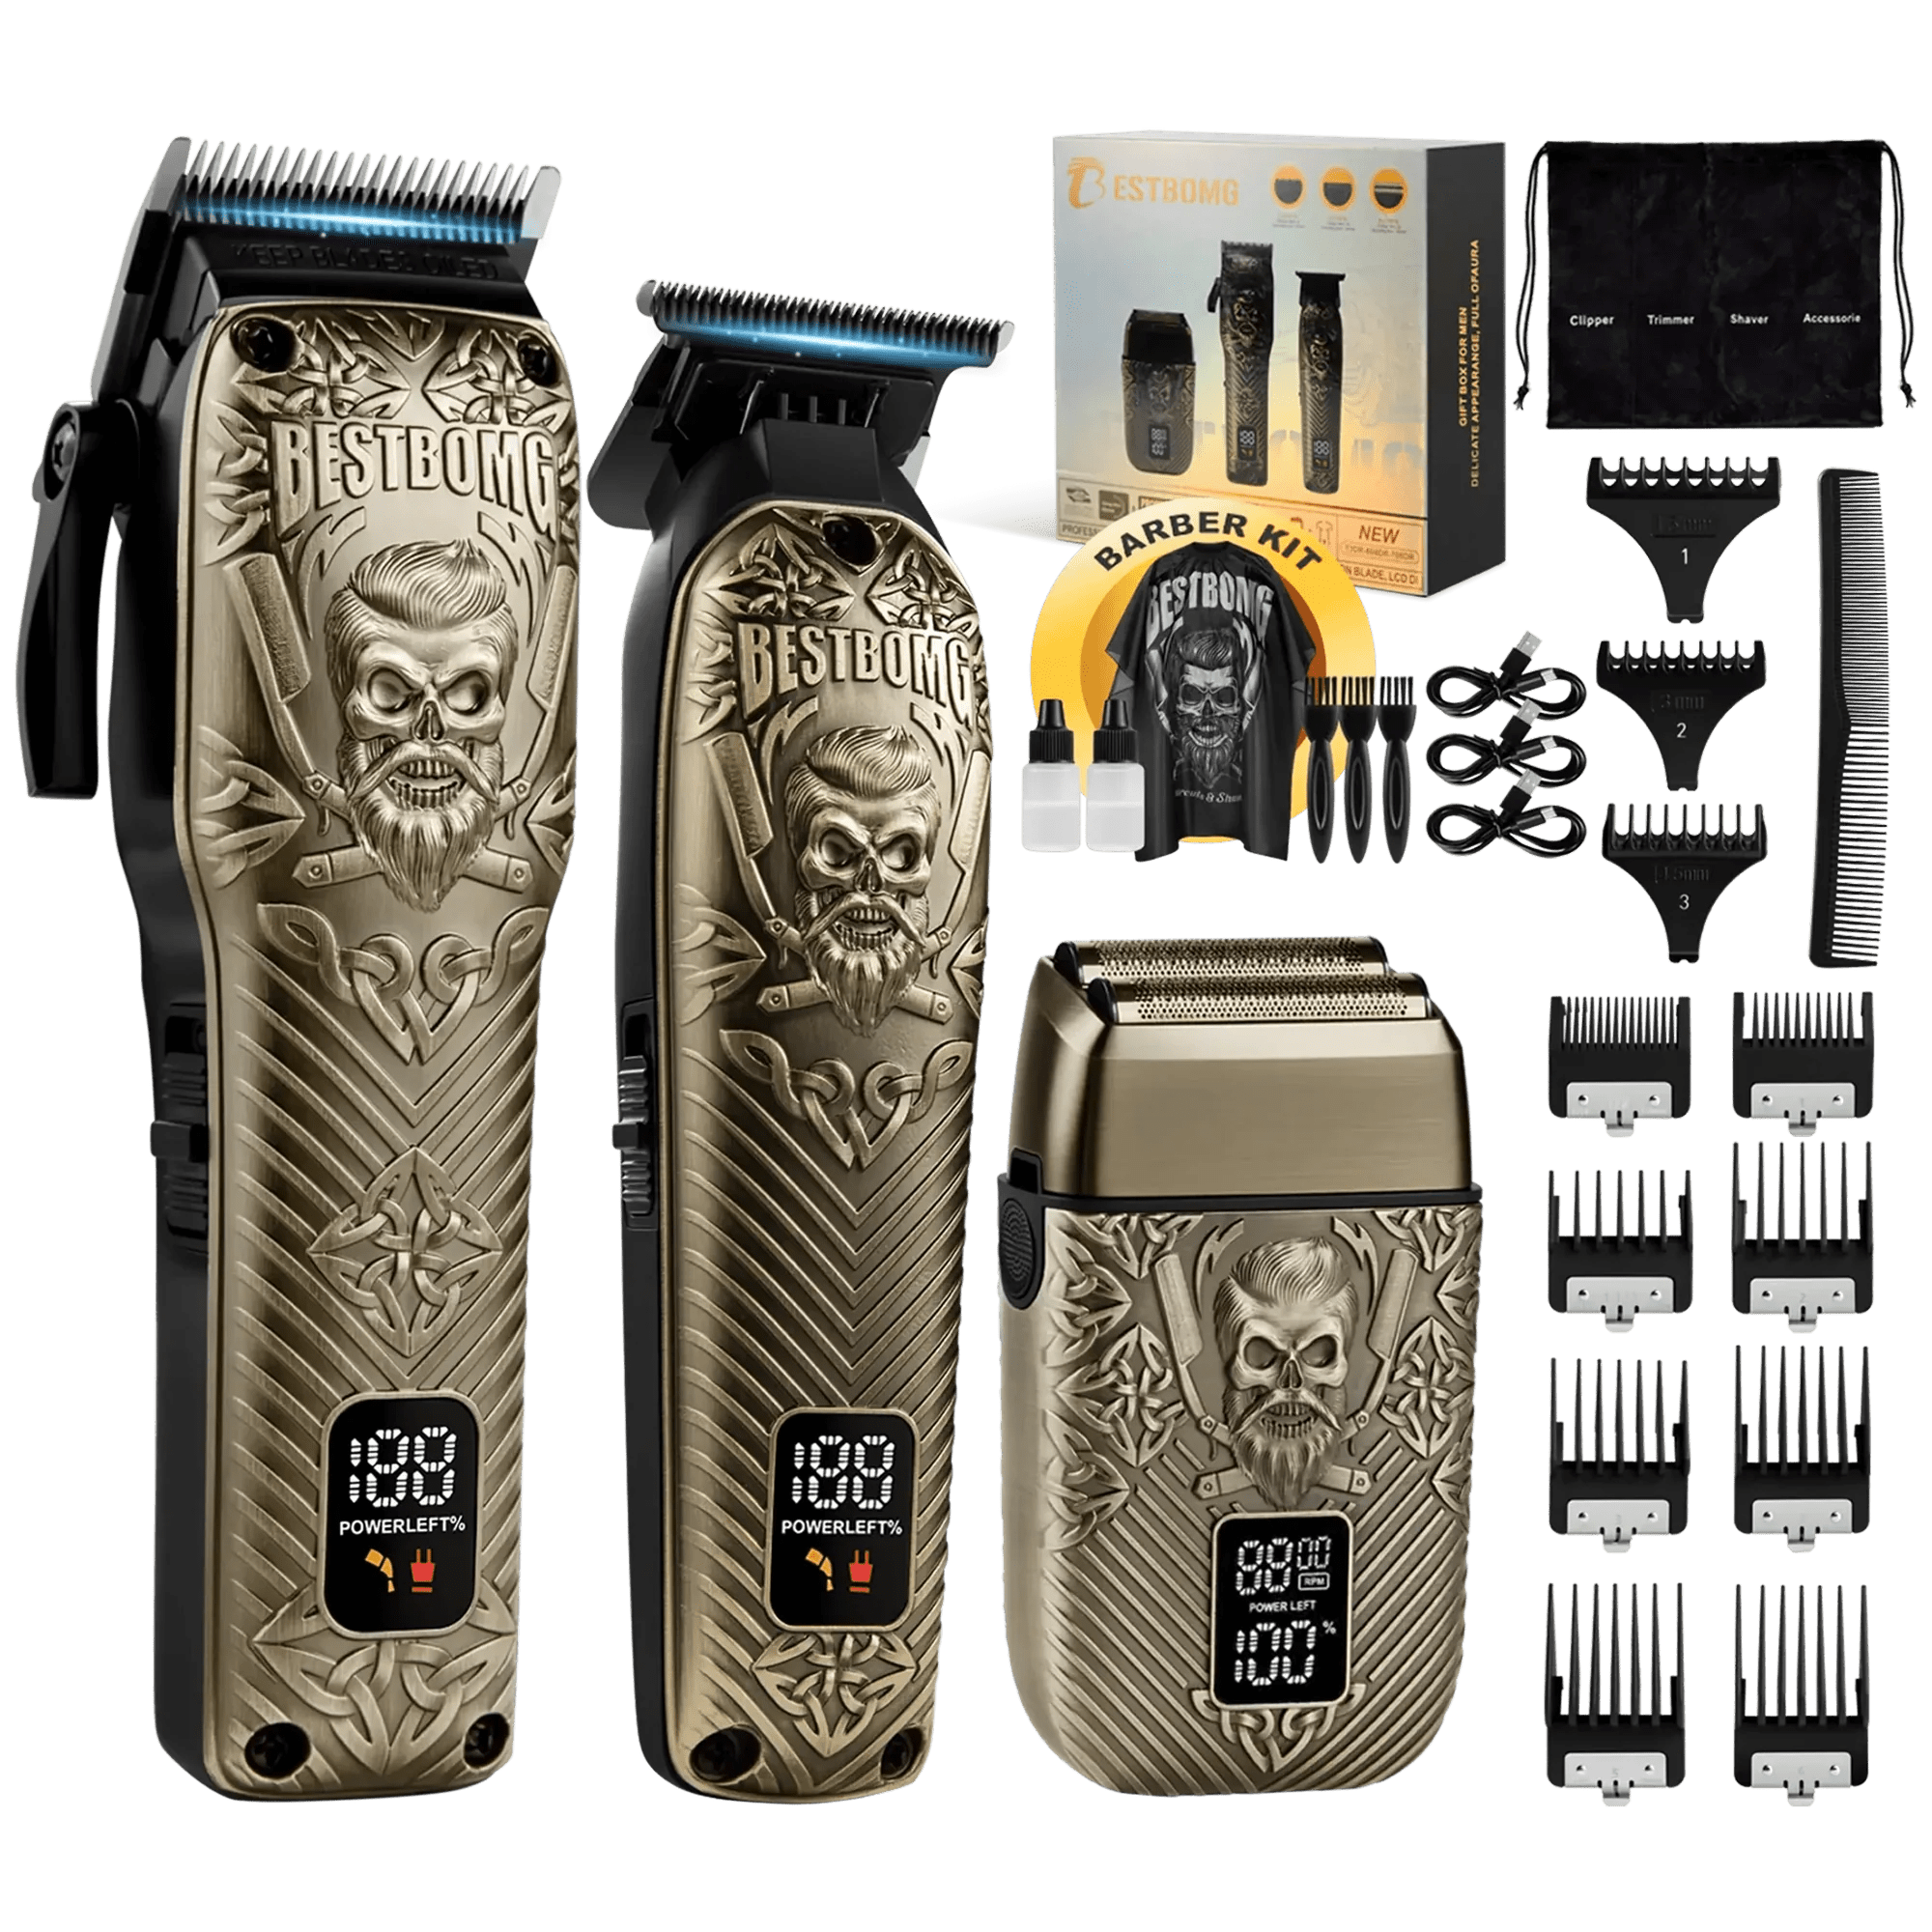
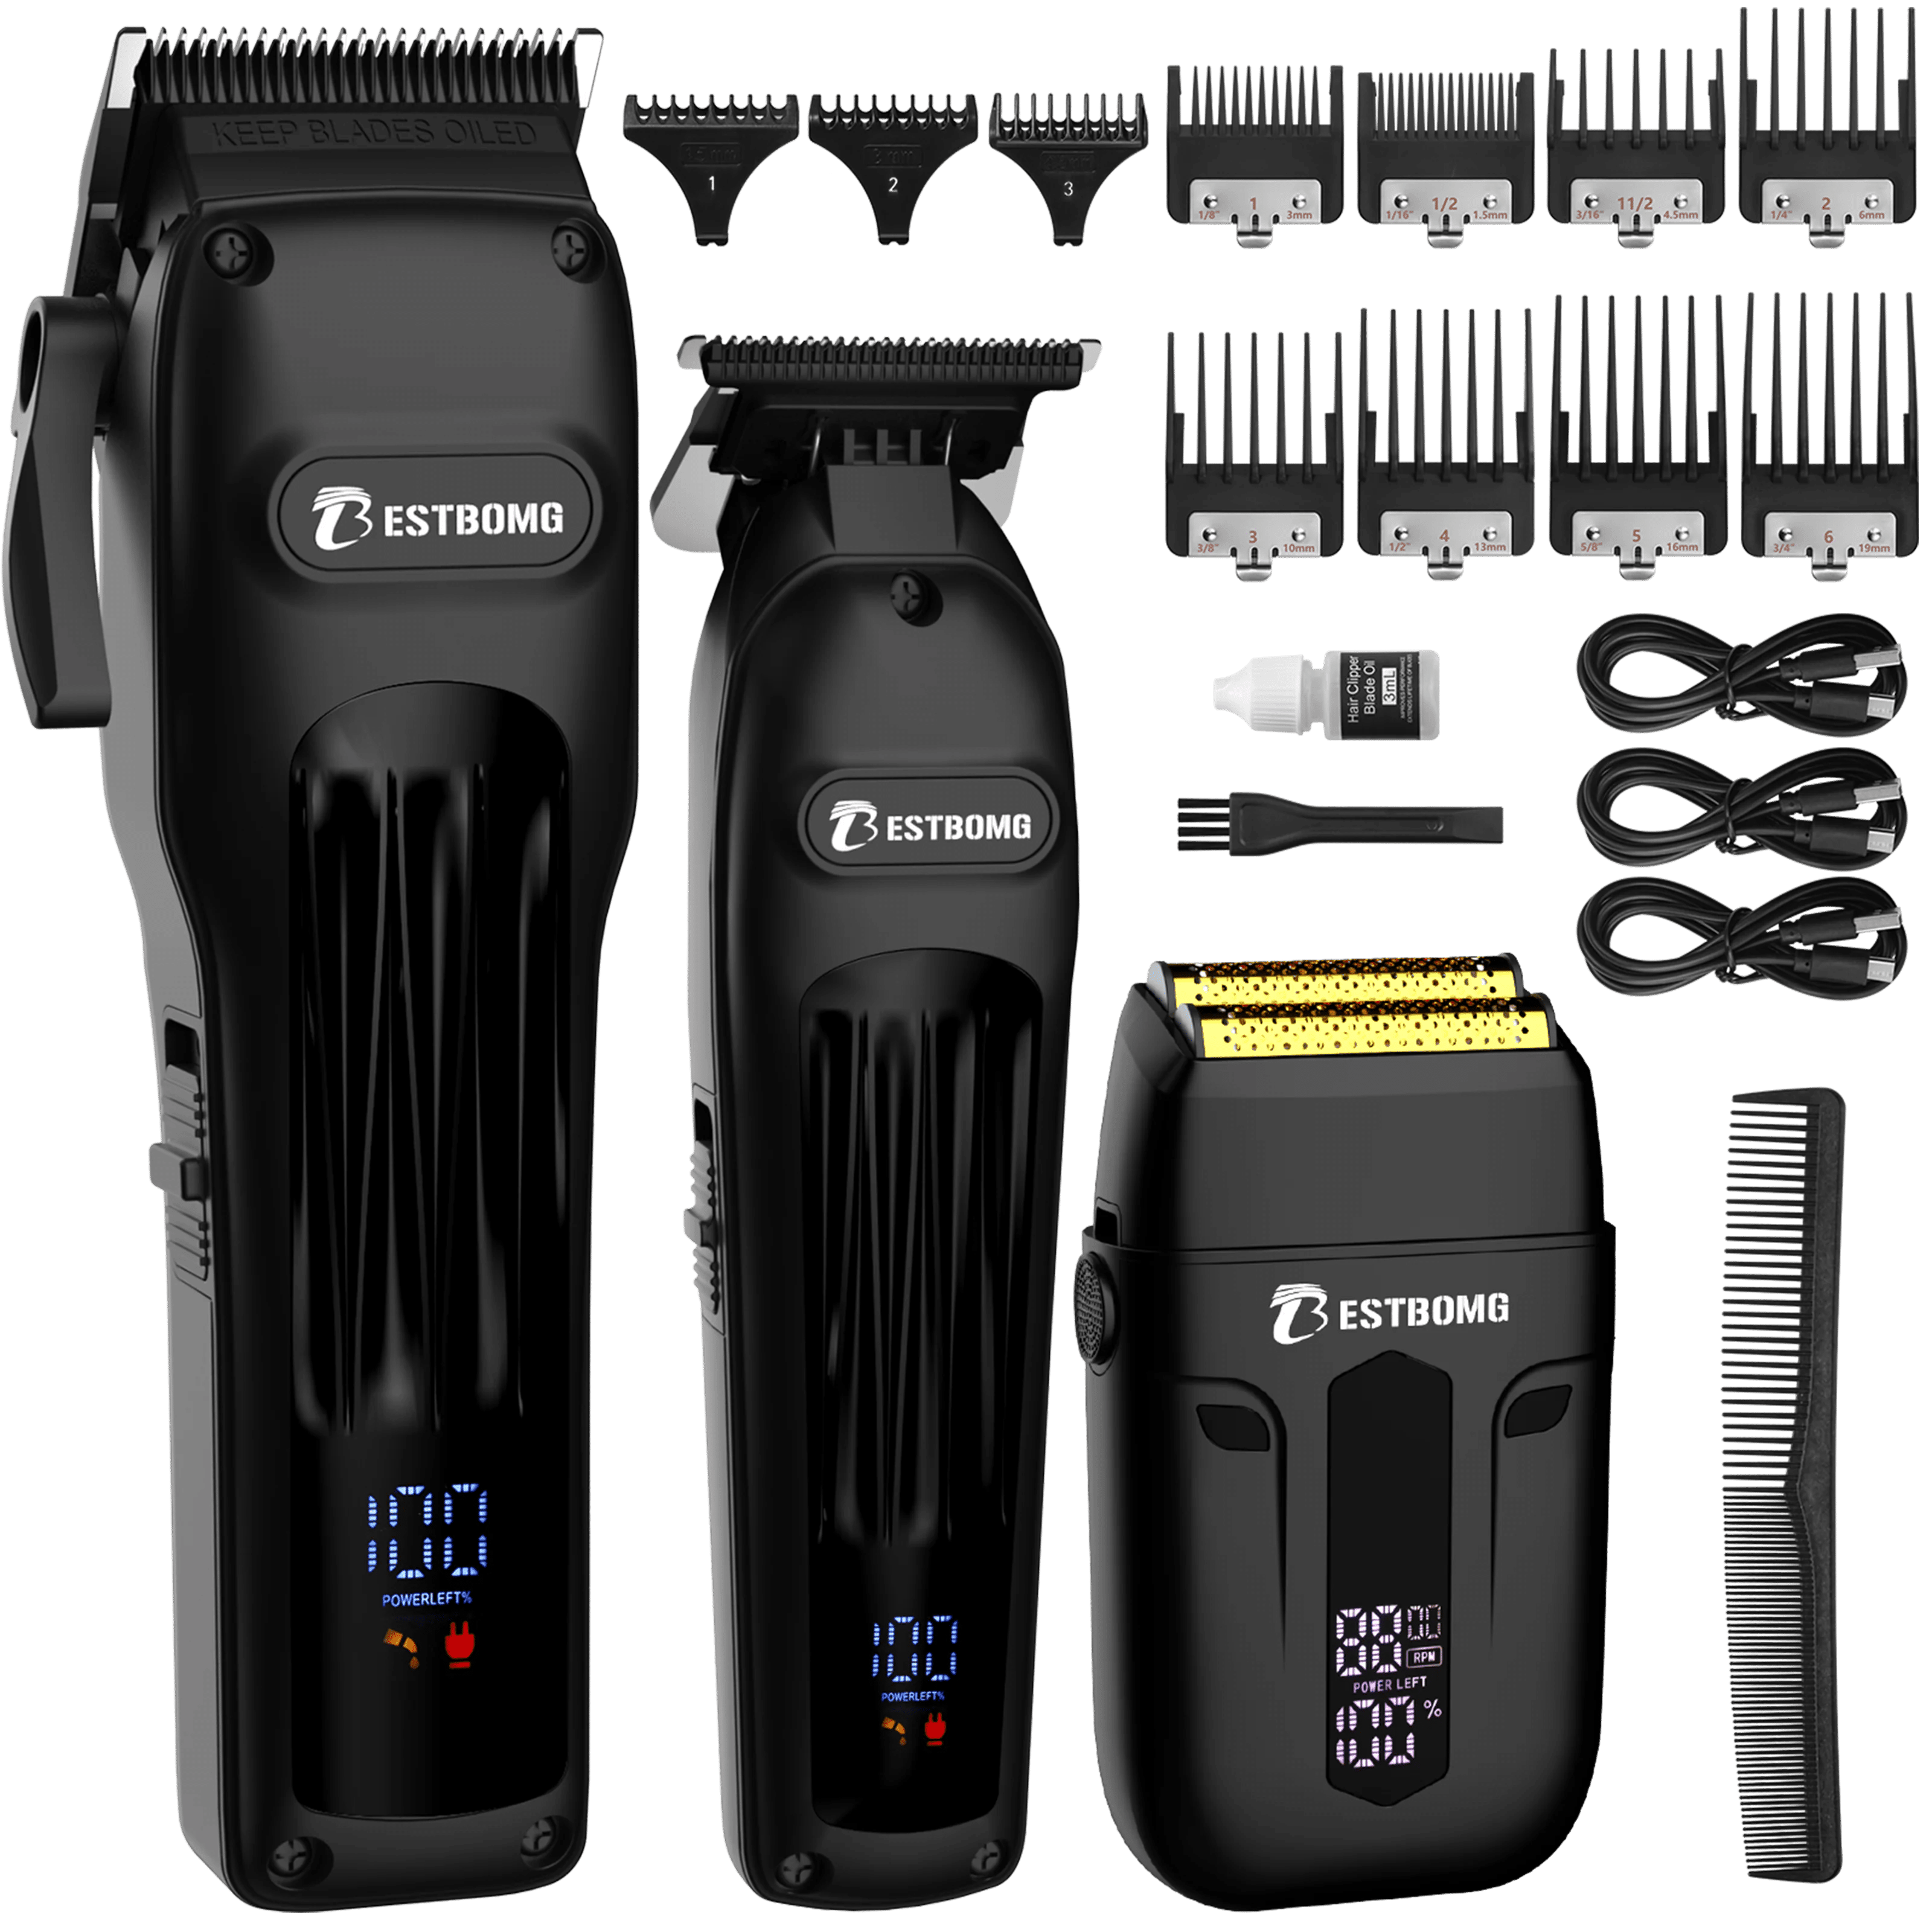
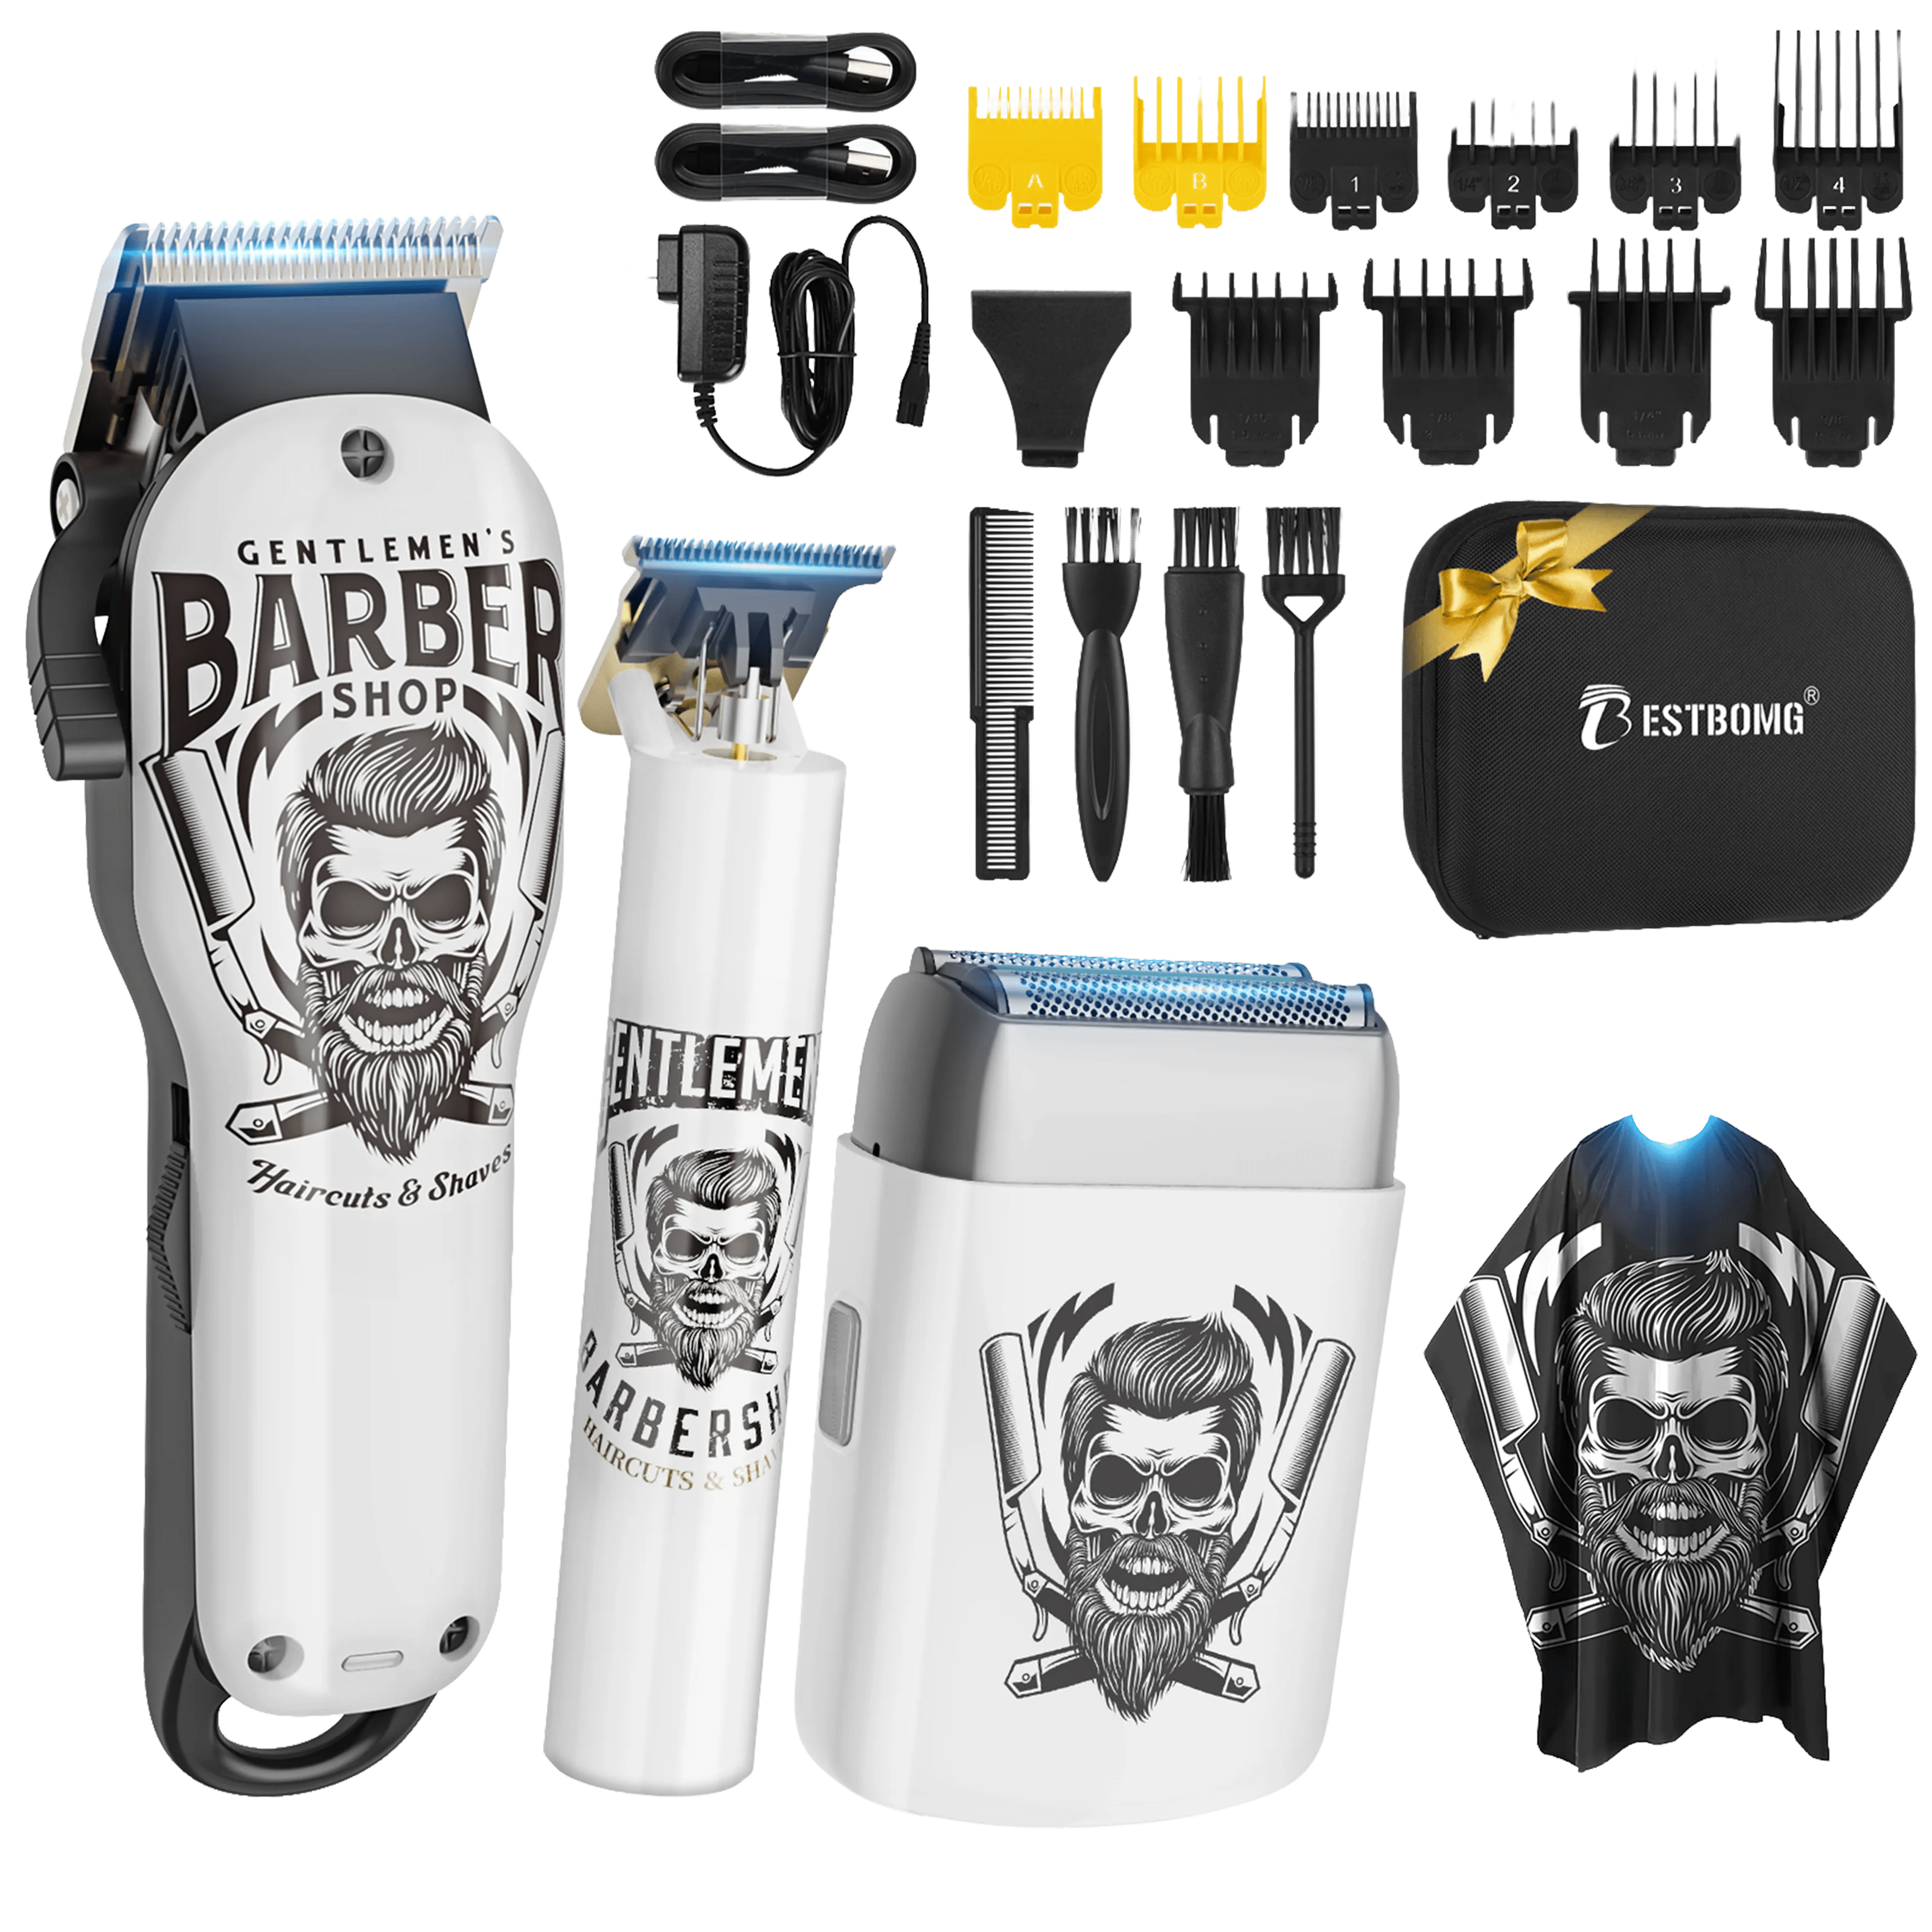
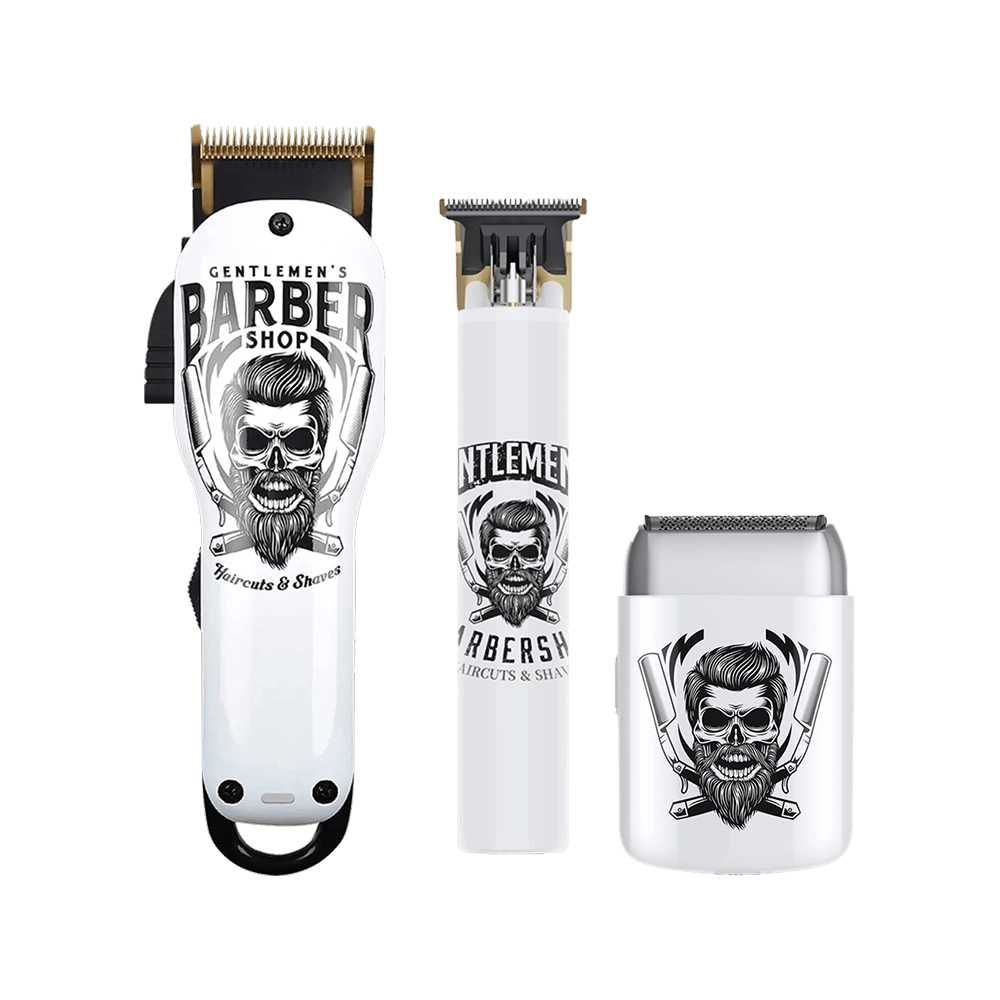
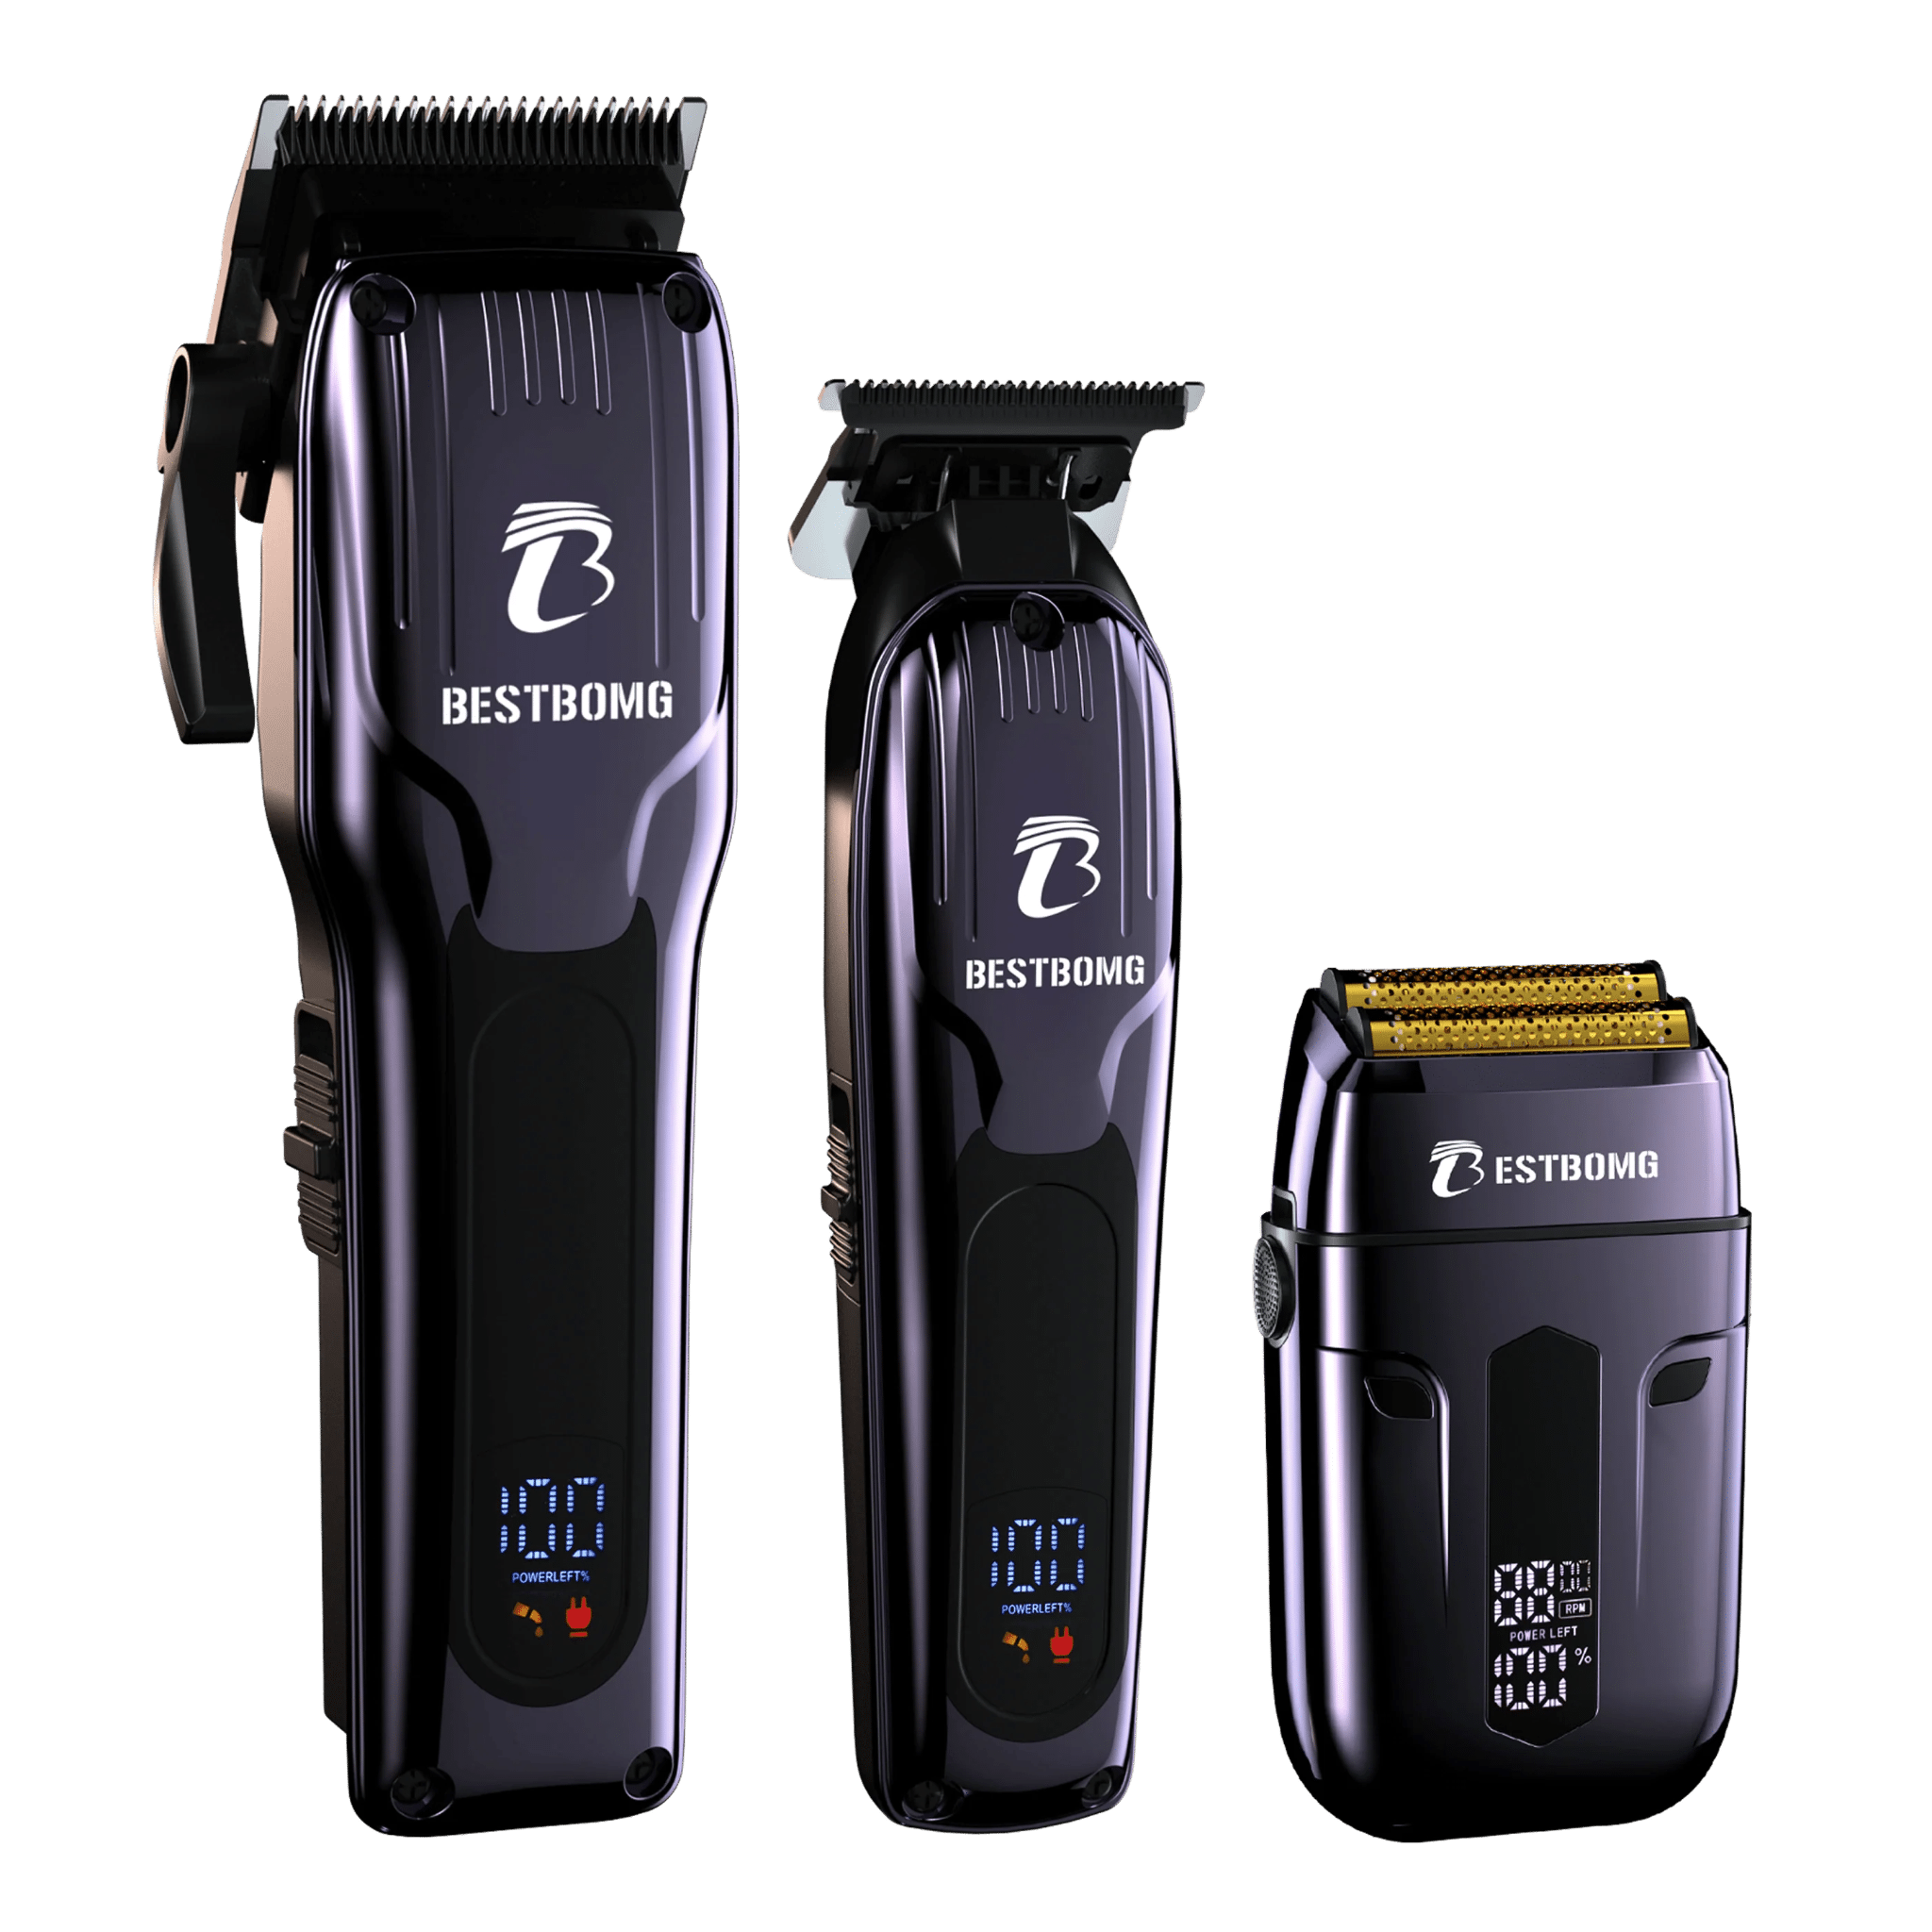
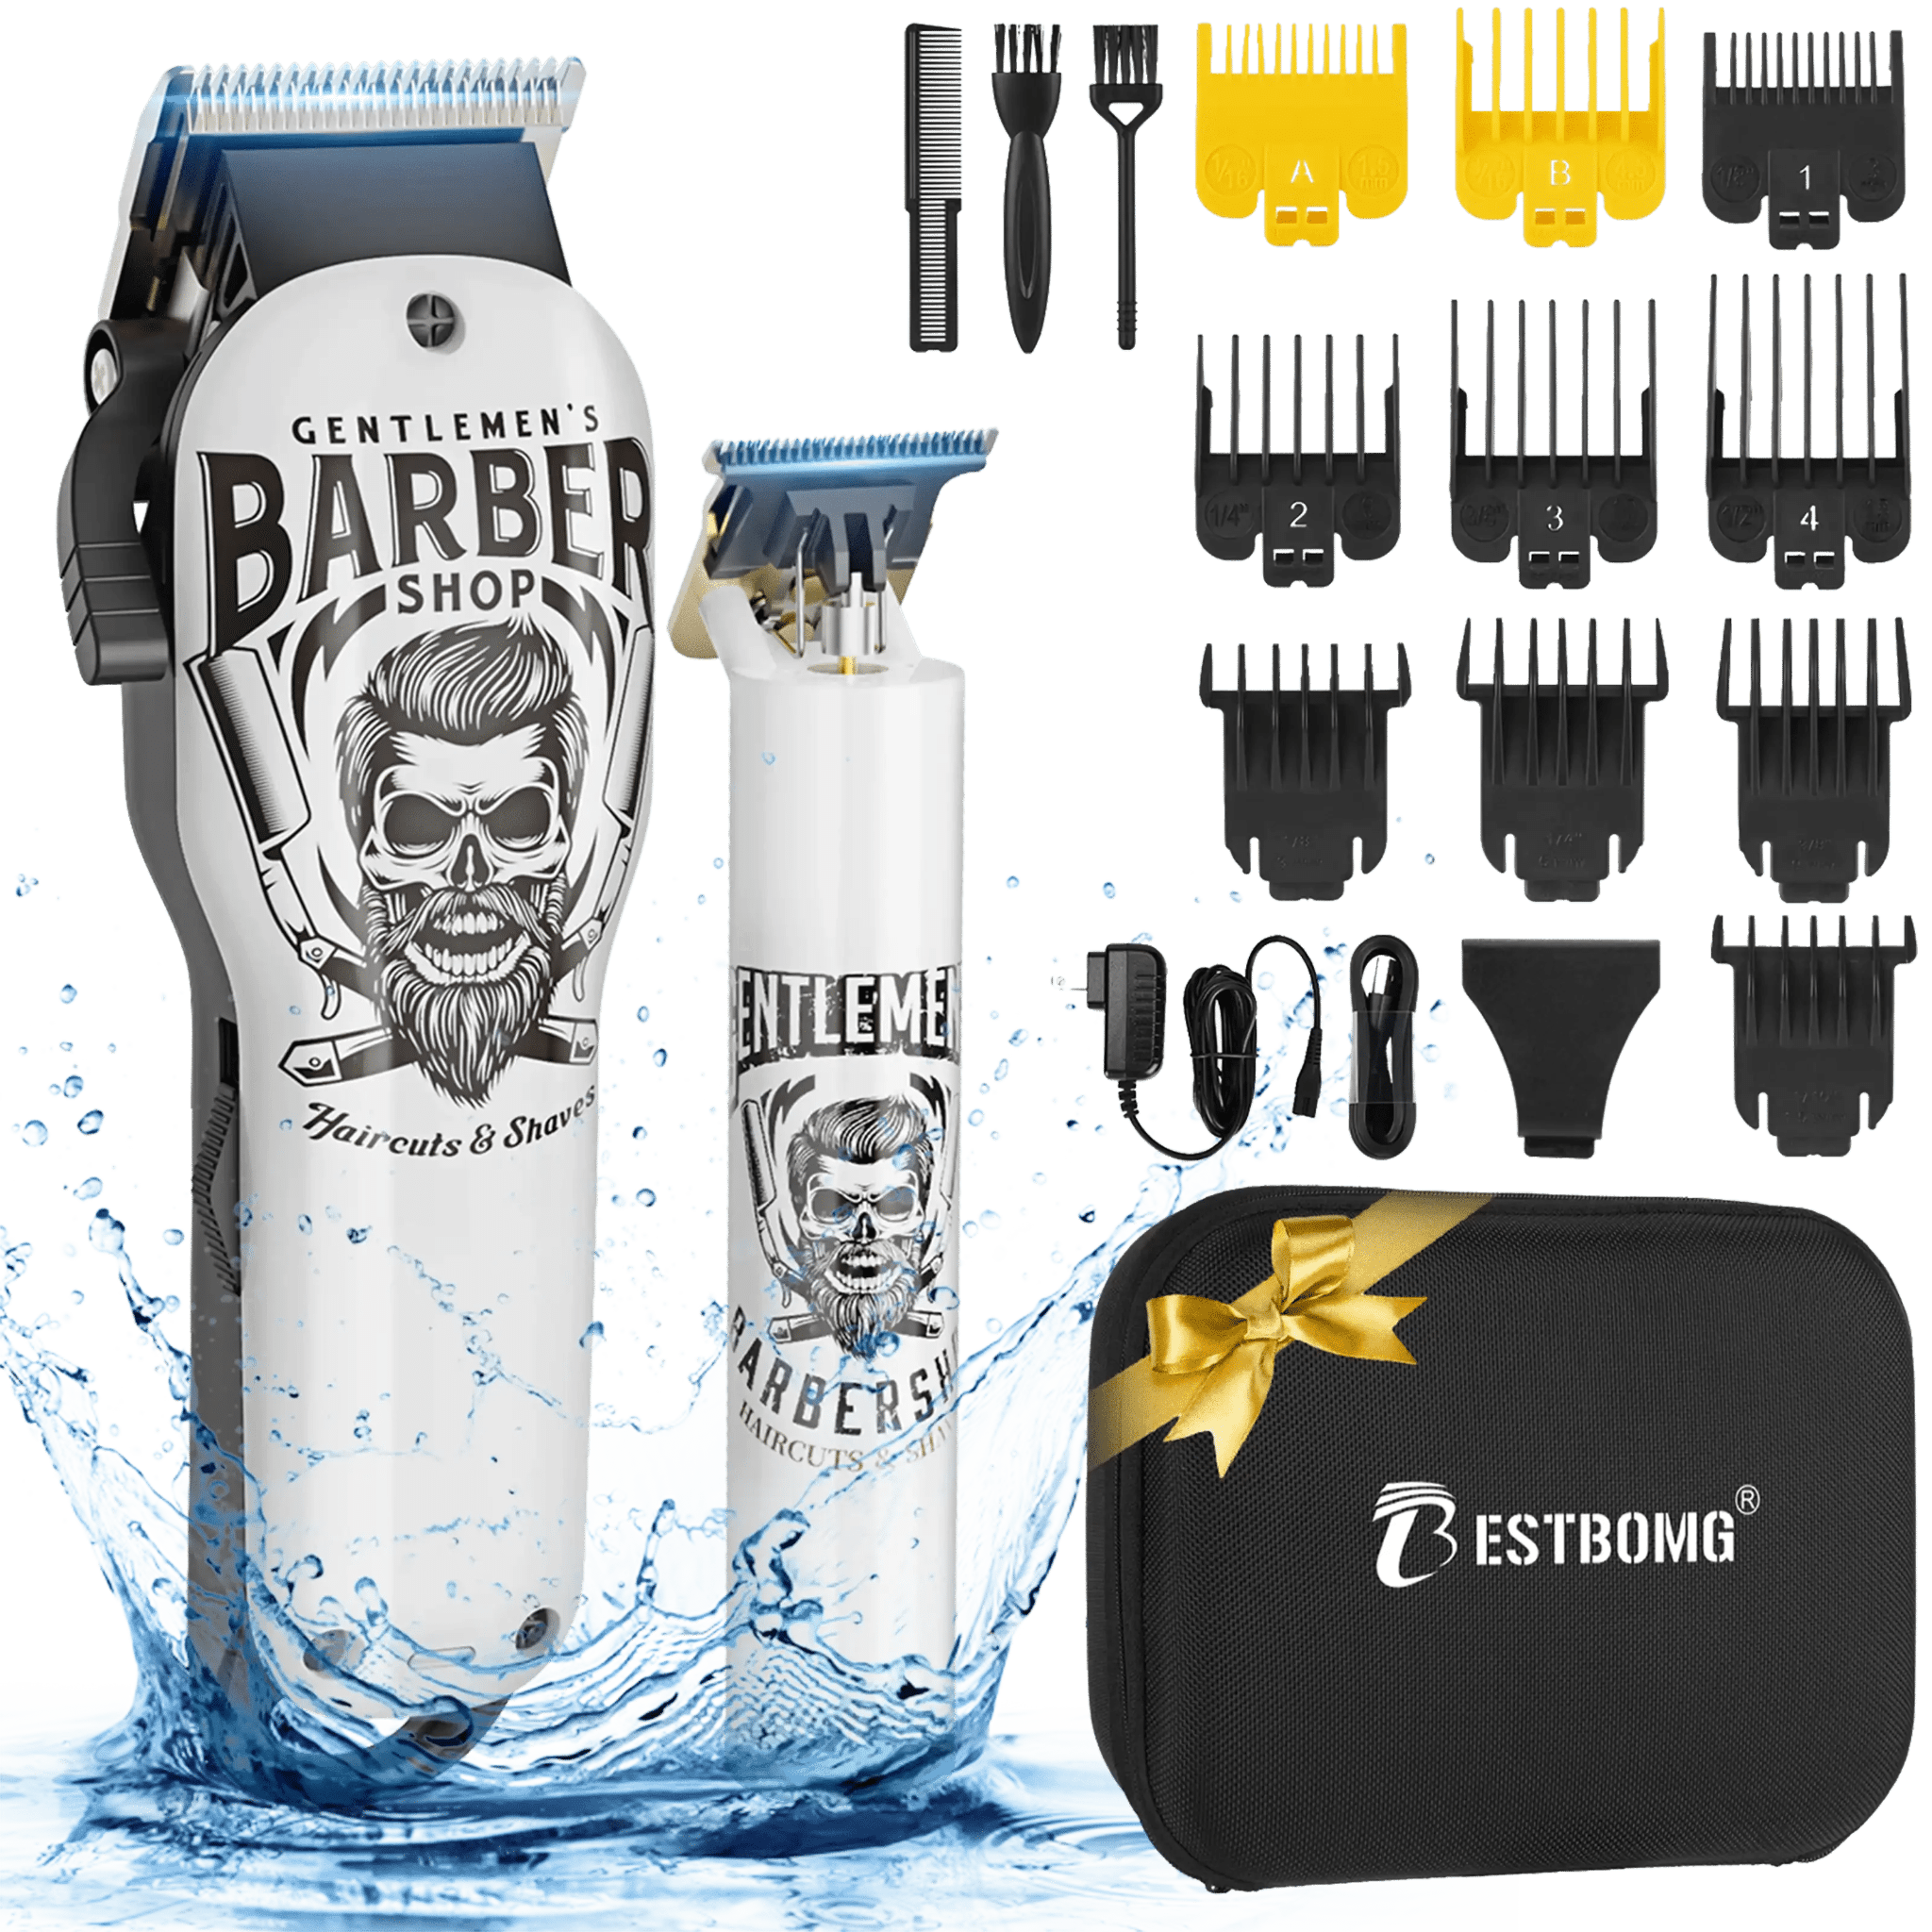
In the BESTBOMG range, the BS-808A Pro Kit and BS-807E Bronze Engraved Pro Kit both include the T9 Beard Trimmer, which has a manually adjustable T-blade that drops to zero-gap. The factory setting on the T9 is a small safe gap; the user can zero-gap it using the standard 7-step method covered in this guide.
For barbers who want zero-gap capability without the manual adjustment learning curve, factory-adjustable lever models are the smarter call. For barbers who want to learn the technique itself — and apply it to any professional T-blade trimmer they own now or in the future — the BESTBOMG T9 is the right learning tool.
Zero Gap vs Standard Clippers — Quick Comparison
|
Trait |
Standard Gap |
Zero Gap |
|
Cutting Length |
1.0–2.0mm typical |
0.1–0.5mm — closest possible |
|
Precision |
Good for general cuts |
Excellent for fine lines |
|
Skin Safety |
Higher — safe gap protects skin |
Lower — requires steady hand |
|
Best Use |
Bulk cutting, basic fades |
Fades, line-ups, hair tattoos |
|
Maintenance |
Standard oil + clean |
More frequent alignment checks |
|
Best For |
All barbers — default state |
Detail-focused barbers and pros |
The BESTBOMG T9 Beard Trimmer — Built for this $25.99

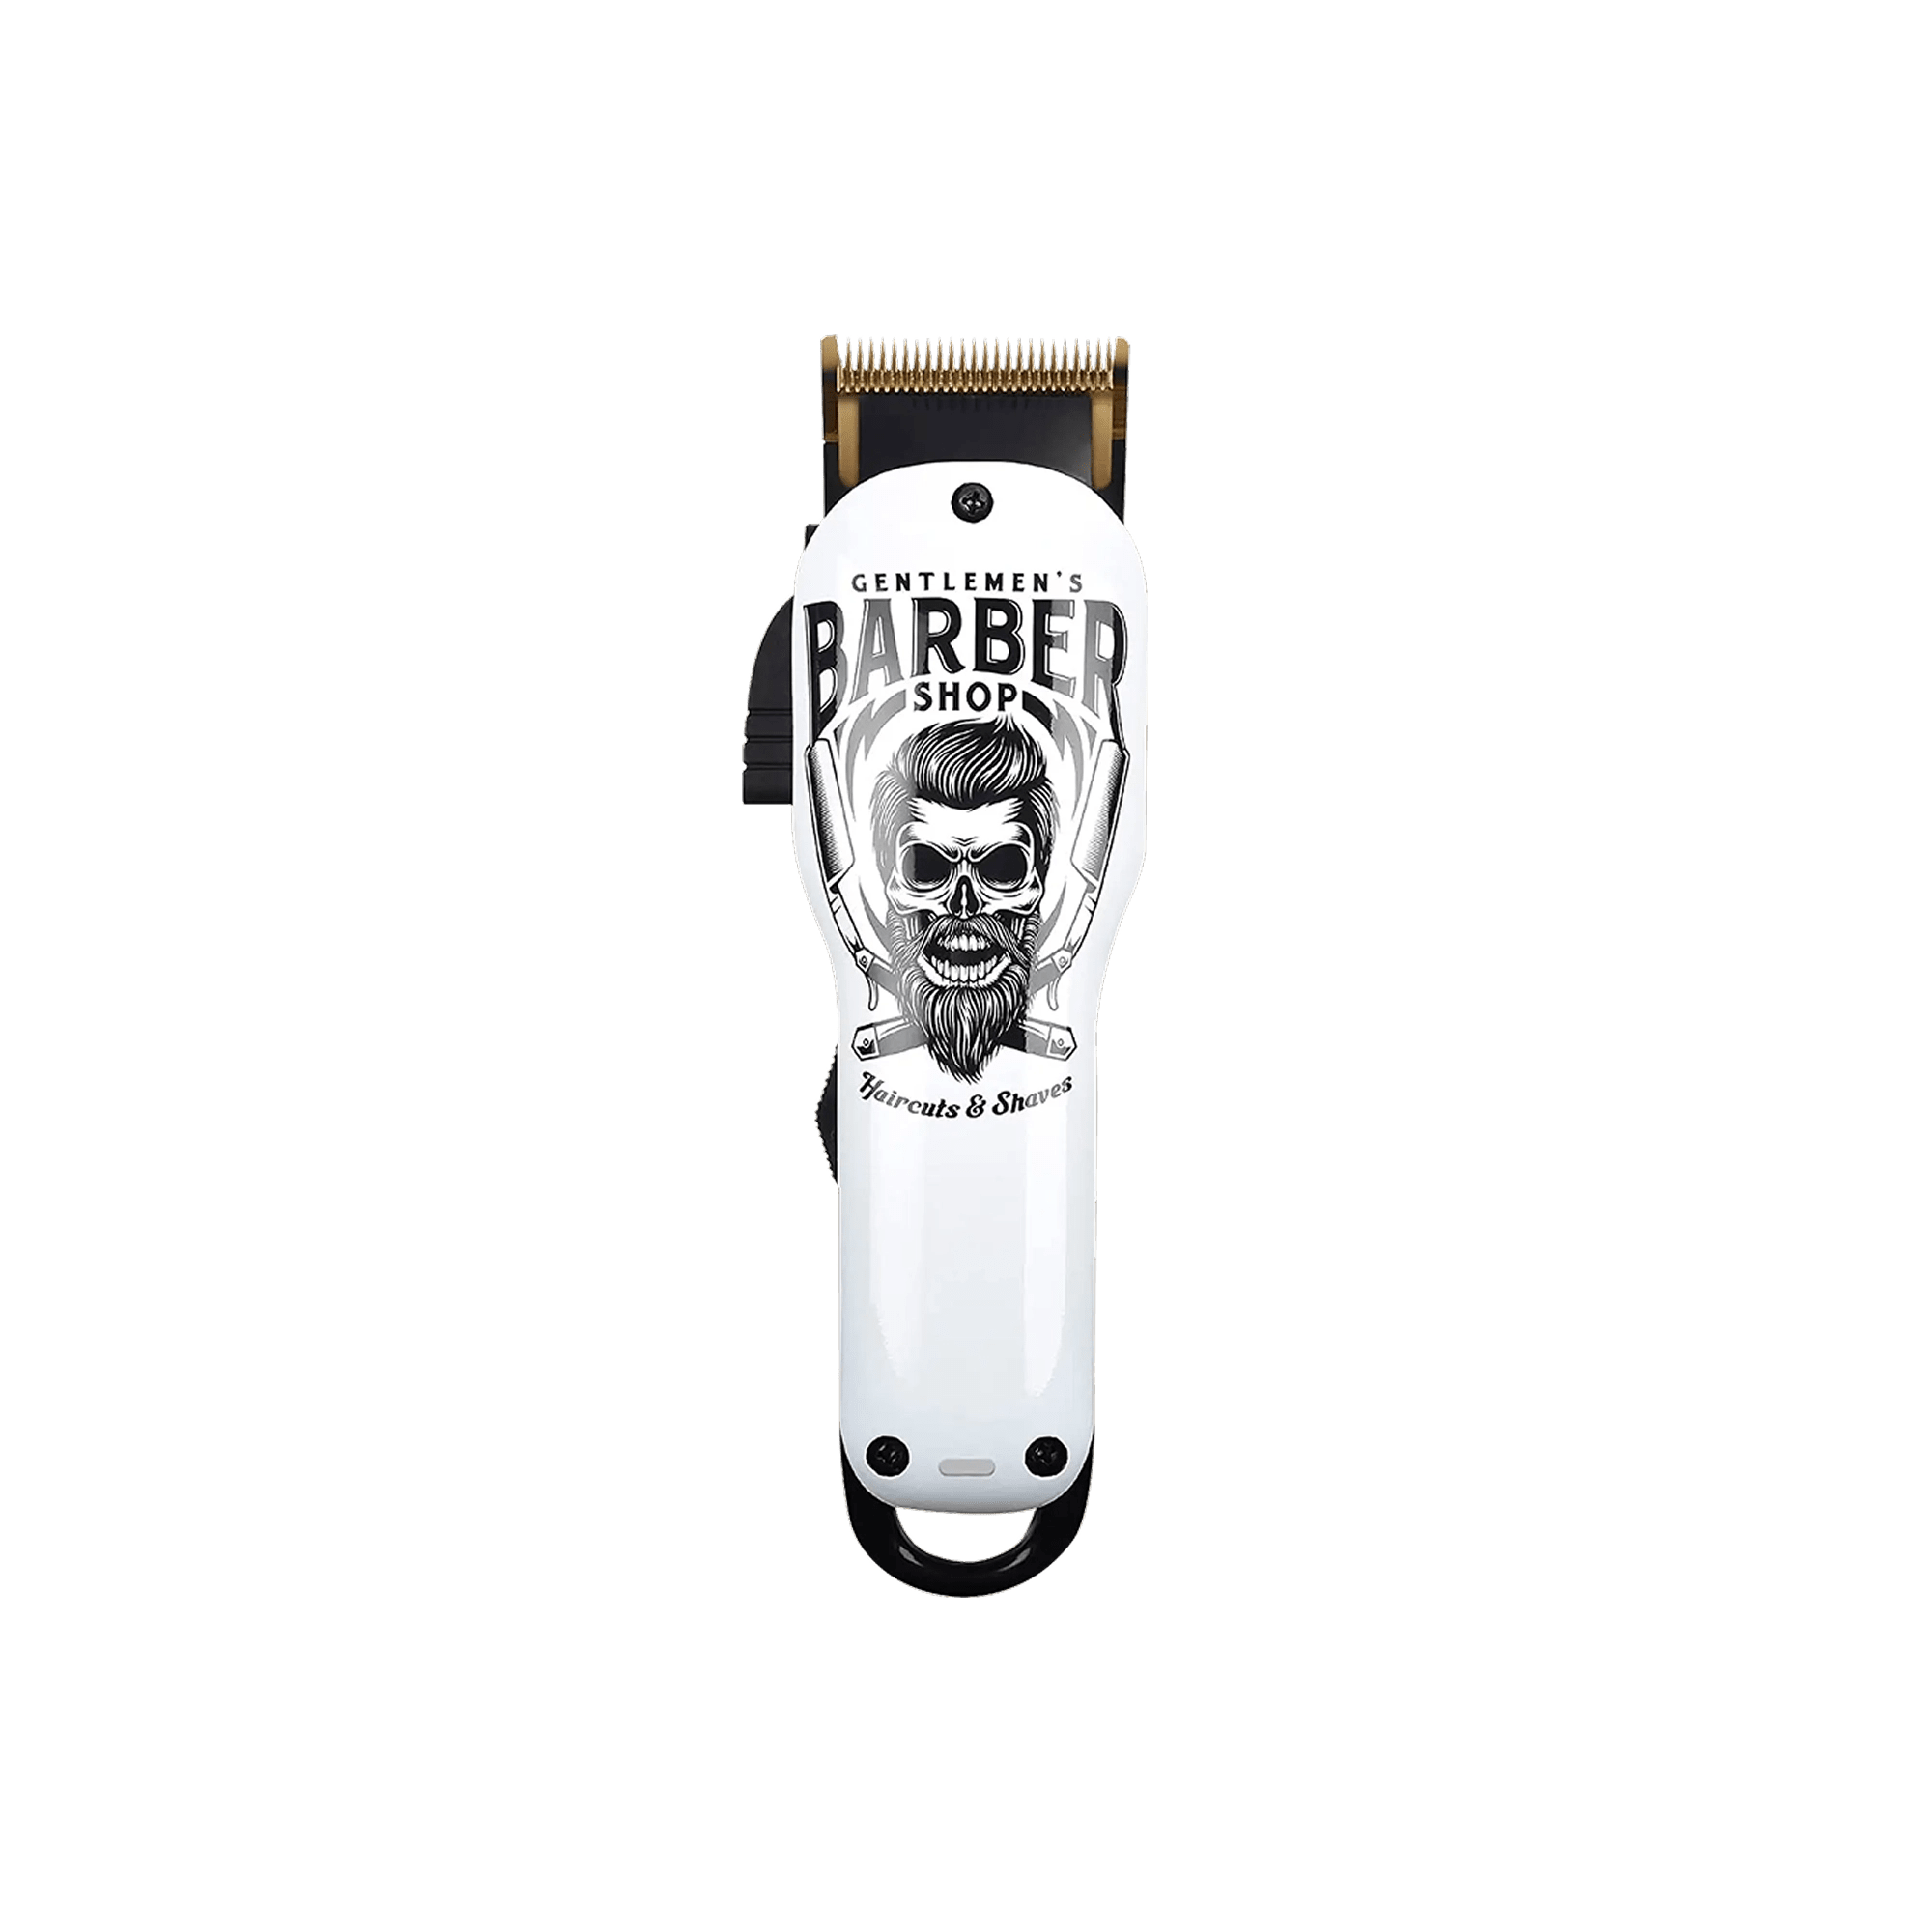
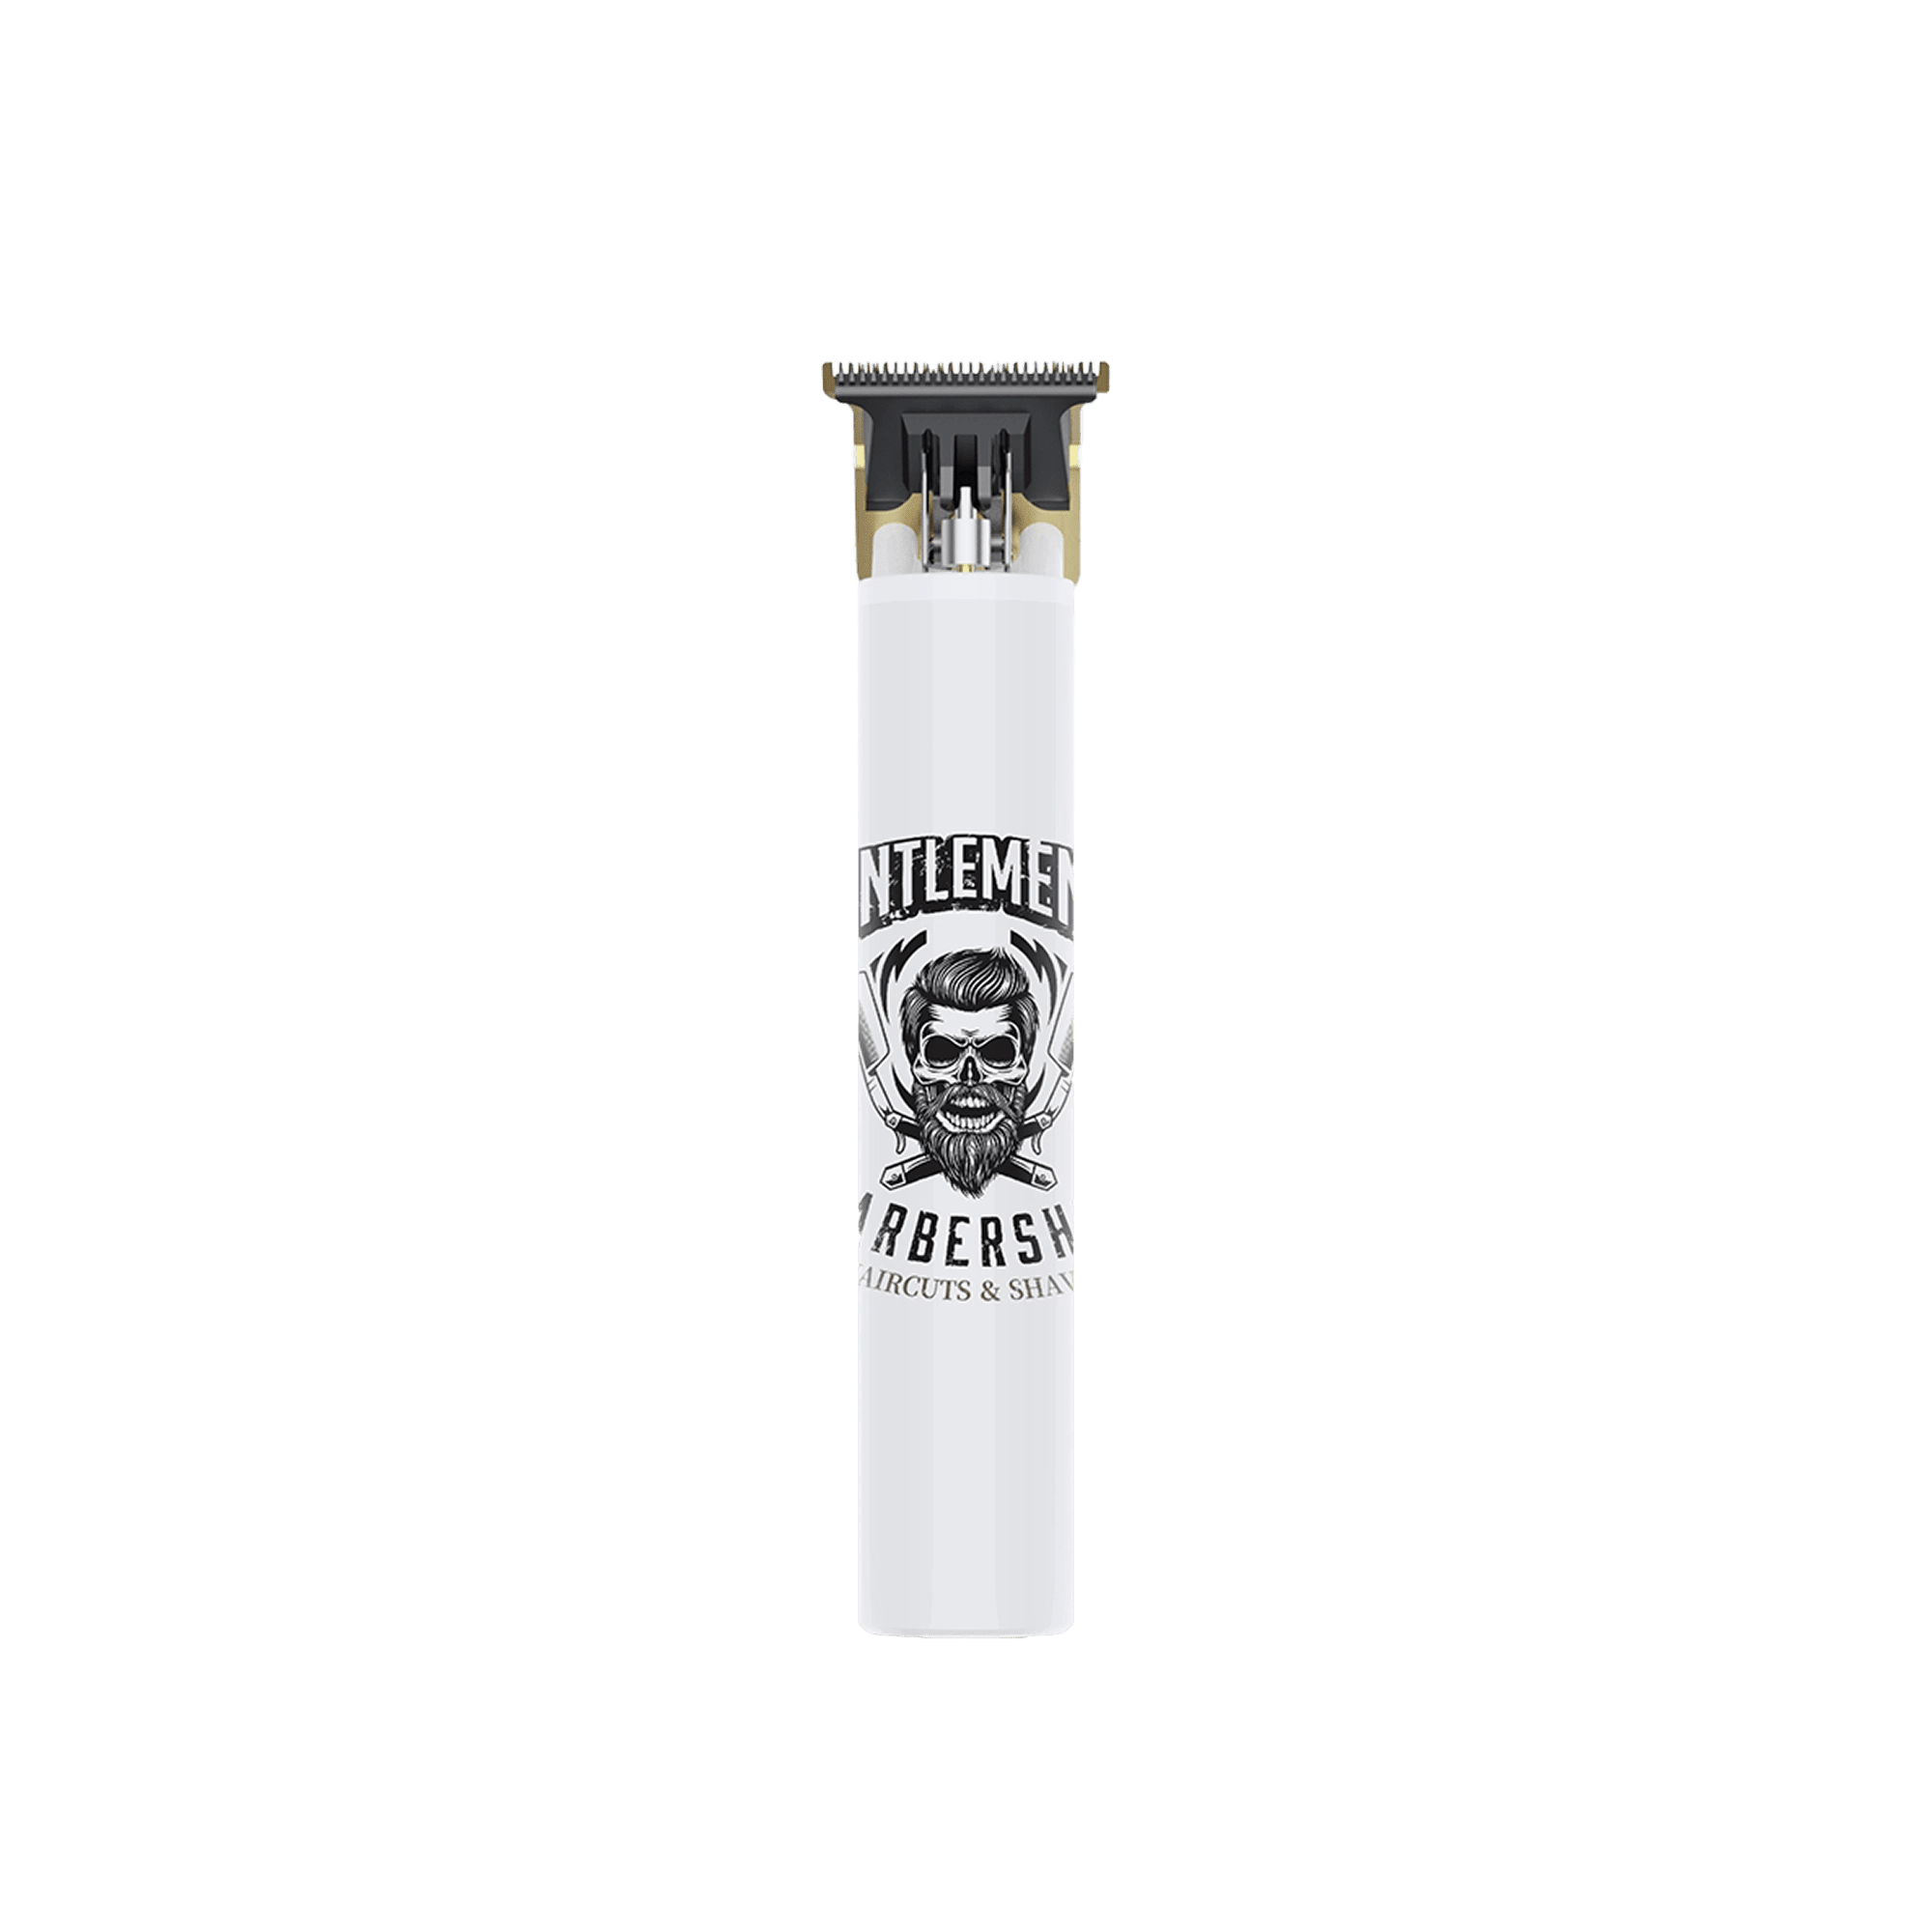
The BESTBOMG T9 Beard Trimmer is a natural fit for the zero-gap method covered in this guide. It ships factory-set with a small safe gap (the manufacturer setting), but its T-blade is fully adjustable down to zero-gap when you want to push it. The same standard Phillips screwdriver, the same 7-step method, and the same flat-surface alignment technique work on the T9 just like they work on the legacy Andis, Wahl, and BaByliss T-blade trimmers.
Why the T9 specifically
The BESTBOMG T9 Beard Trimmer uses a true T-blade design (not a narrow-detail blade), which means the alignment surface is wide enough that the table-edge method self-corrects cleanly. The motor runs vibration-balanced at speed, so you can feel the cut quality immediately during the test pass in Step 7 and it is only $25.99.
Conclusion
Zero-gapping is the small mod that delivers the biggest jump in cut quality if you do it right. The 7-step method covered above is the same one working barbers use across Wahl, Andis, BaByliss, and BESTBOMG T-blade trimmers. The difference between a $250 premium trimmer and a $20 budget trimmer is the build quality and motor specs. Either tool benefits from a properly executed zero-gap.
Practice the method on a tool you can afford to learn on. Test on your forearm before you ever test on a client's face. Take photos of the alignment from above and the side as a reference. Most importantly: if a cut feels wrong, stop and re-check Step 4 alignment.
FAQs
What does zero gap mean?
Zero gap refers to the alignment of a clipper or trimmer’s two blades. When a tool is "zero-gapped," the cutting blade sits flush with the stationary blade with no visible gap and no overlap. The result is the closest cutting length the tool can produce, typically 0.1–0.5mm, which allows for sharp lines, crisp fades, and clean detail work.
How do you adjust a zero gapped trimmer?
Follow the 7-step method covered above:
- Turn off and clean the trimmer
- Loosen the blade screws about a half-turn
- Push the cutting blade flush with the stationary blade
- Check side-view alignment for evenness
- Tighten the screws carefully alternating between left and right
- Oil and test the trimmer for 20-30 seconds
- Fine-tune if the cut feels off. The table-edge method (laying the trimmer face-down on a flat hard surface during step 3) is the most beginner-friendly technique.
Is it good to zero gap your clippers?
Yes, when done correctly. Zero-gapping delivers four real benefits: sharper lines and edges, faster cutting (fewer passes), better hygiene (no gap to trap hair), and a renewed cut quality on dull blades. The risks are real too: skin irritation, cuts if over-gapped, and reduced safety on a primary clipper used for client neckline work. Done right by a barber with steady-hand technique, zero-gapping is worth it. Done as a rookie experiment on a $250 clipper without practice, it can damage the tool and the skin.
What are the benefits of zero gapping?
Per the working barber consensus from ProStylingTools, Ceramic Clipper Blades, and Vega, the four core benefits are:
- Precision cutting, cleaner shapes, sharper lines
- Time-saving, fewer passes per cut, more clients per shift
- Improved hygiene, no gap to trap hair, dirt, or grime
- Ease of use, the blade does more cutting work per pass. For tattoo and design work specifically, zero-gapping is what makes ultra-fine lines possible without using a foil shaver or razor.
How many mm is a zero gap?
A zero-gapped blade typically cuts at 0.1–0.5mm, essentially skin-level. The exact length depends on the blade type. Wahl Senior’s adjustable 0000 blade cuts at 0.1mm at zero-gap. The BESTBOMG T9 adjustable T-blade ranges from 0.5mm to 2.0mm and drops to zero-gap. Most legacy T-blade trimmers (Andis T-Outliner, Wahl Detailer, BaByliss FX) cut at 0.2-0.5mm at zero-gap. By comparison, a stock-gap clipper typically cuts at 1.0-2.0mm with no guard.
How to tell if trimmers are zero gapped?
Three checks:
- Visual side-view at eye level. The cutting blade teeth should sit flush with or slightly behind the stationary blade teeth across the entire width
- Sound test. A correctly aligned blade runs at the normal motor pitch; loud, scraping, or grinding sounds mean alignment problems
- Light skin test on the forearm.
Are zero gapped trimmers good for beginners?
Yes, with caution. Zero-gapped trimmers are learnable for beginners who follow proper technique. The keys are:
- Practice on a low-cost trimmer first, like the BESTBOMG T9
- Use the table-edge method during alignment to avoid over-gapping
- Test on the forearm first, never on a client face on the first attempt
- Take 2-3 attempts before expecting perfect results. Beginners SHOULD start with stock-gap blades and learn the basic cutting technique first before progressing to zero-gapping (after 30+ cuts of practice).
How to get 0.5 on clippers?
To cut at 0.5mm, you need a clipper or trimmer with an adjustable blade that can drop to that length. Three paths:
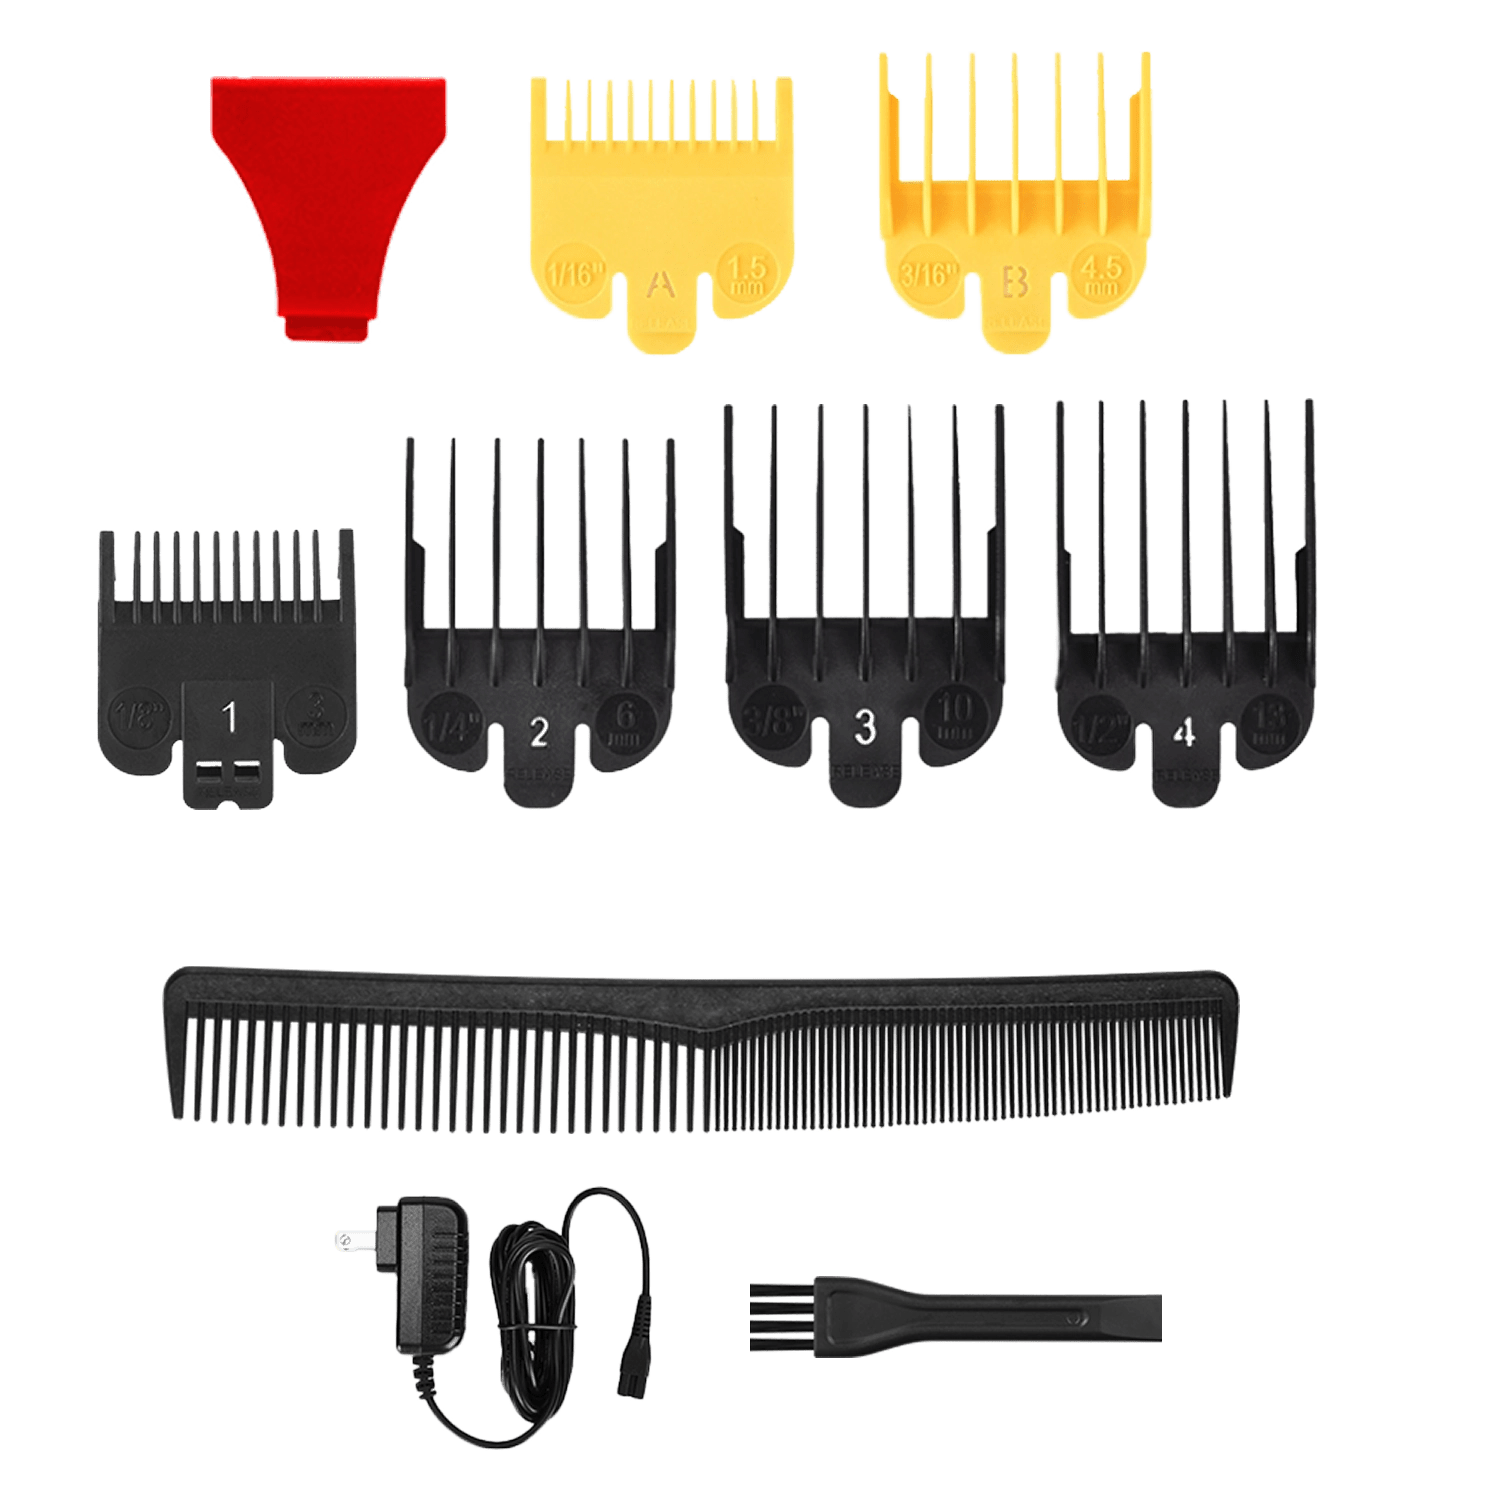
- Use a #0.5 guard if your clipper has one (some manufacturers ship a half-step guard between #0 and #1)
- Use an adjustable-blade clipper (Wahl Senior, BESTBOMG BS-808A clipper, BaBylissPRO GoldFX+) and set the lever to the 0.5mm mark
- Zero-gap a T-blade trimmer using the 7-step method covered above. The BESTBOMG T9 cuts at 0.5mm in its standard range and drops below 0.5mm at zero-gap.
Can zero gapping damage your clippers?
If done correctly, no, zero-gapping does not damage clippers. Done incorrectly, yes. Risks include:
- Stripped screw threads from over-tightening
- Cracked blade housings from improper screwdriver pressure
- Bent cutting blades from forcing alignment past the stationary blade
- Misaligned blade slides from forced adjustments on tools with non-adjustable blade arrangements. The Wahl 100th Anniversary 1919 cannot be zero-gapped without replacing the blade slide. Forcing the adjustment damages the tool. Always verify your model can be adjusted before starting.
Sources
- Ceramic Clipper Blades, professional clipper blade specialist editorial. “Zero Gapping Hair Clippers: Everything You Need to Know.”
- ProStylingTools, professional barber tool retailer editorial. “Should You Zero Gap Your Clipper Blades? Plus How To Do It.”
- Wahl Professional, manufacturer educator blog — Nieves Almaraz tutorial. “How to Zero Gap (Wahl Pro-Set Tool method).”
- Vega Professional, manufacturer editorial — step-by-step zero gap guide. “How to Zero Gap Trimmer Blades — Step-by-Step Guide.”
- Nafi's Grooming Lab, professional grooming editorial — best zero gap trimmers. “7 Best Zero Gap Clippers & Trimmers for the Sharpest Lines.”
- Reddit r/SelfBarber, self-barbering community thread on zero-gap technique. “Zero-Gapping Clippers — Need some advice,” community discussion.
- Centers for Disease Control and Prevention, U.S. federal public health authority. “Cleaning and Disinfecting.”
- BESTBOMG Editorial, in-house grooming editorial — best zero-gap trimmer guide. “Best Zero-Gap Trimmers for Detailed Line Work.”
- BESTBOMG Editorial, in-house grooming editorial — dragon beard trimmer technique. “Dragon Beard Trimmer: Precision Tools for Designs and Detail Work.”
- BESTBOMG Editorial, in-house grooming editorial — cordless vs corded clipper guide. “Cordless vs Corded Clippers: Which Should You Buy?”
- BESTBOMG Editorial, in-house grooming editorial — hair clipper expert recommendations. “What Hair Clippers Do Barbers Use?”
- BESTBOMG product specifications & internal testing, manufacturer product specifications. T9 Beard Trimmer + BS-808A Pro Kit specifications, 2025–2026.
Looking for something else?

How to Cut Baby Boy Hair with Clippers: Step-by-Step Guide
LEARN MORE
Do Hair Clippers Get Dull? Causes, Signs & Prevention
LEARN MORE
Can an Electric Shaver Cut You? Safety Facts & Prevention
LEARN MORE
How to Shave Balls with Electric Shaver: Safe Guide
LEARN MORELooking for something else?

Does Using Trimmer Increase Hair Growth? Facts & Myths
LEARN MORE
Best Hair Clippers for Men: Top Picks for Home & Pro Use
LEARN MORE
Best Professional Hair Clippers for Barbers: Top Picks
LEARN MOREYou may also like


Further reading
Best Hair Clippers for Perfect Fades at Home
Clipper Lever Open vs Closed: What It Means (with mm)
Why You Need a Cordless Detailer Trimmer (And How to Pick the Right One)